Pumpkin Leaf Place Cards
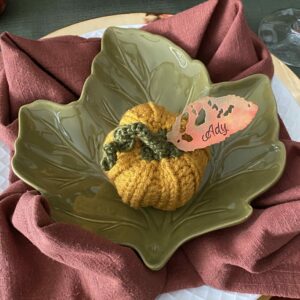
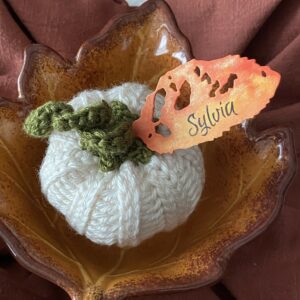
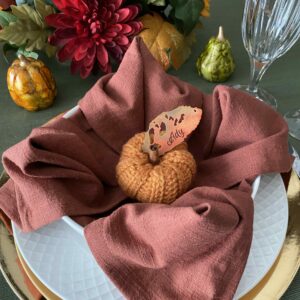
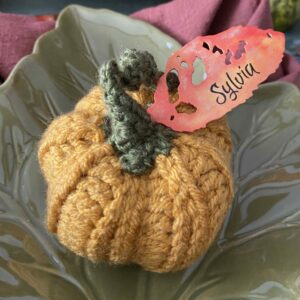
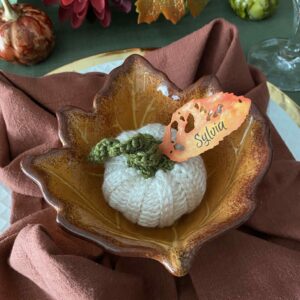
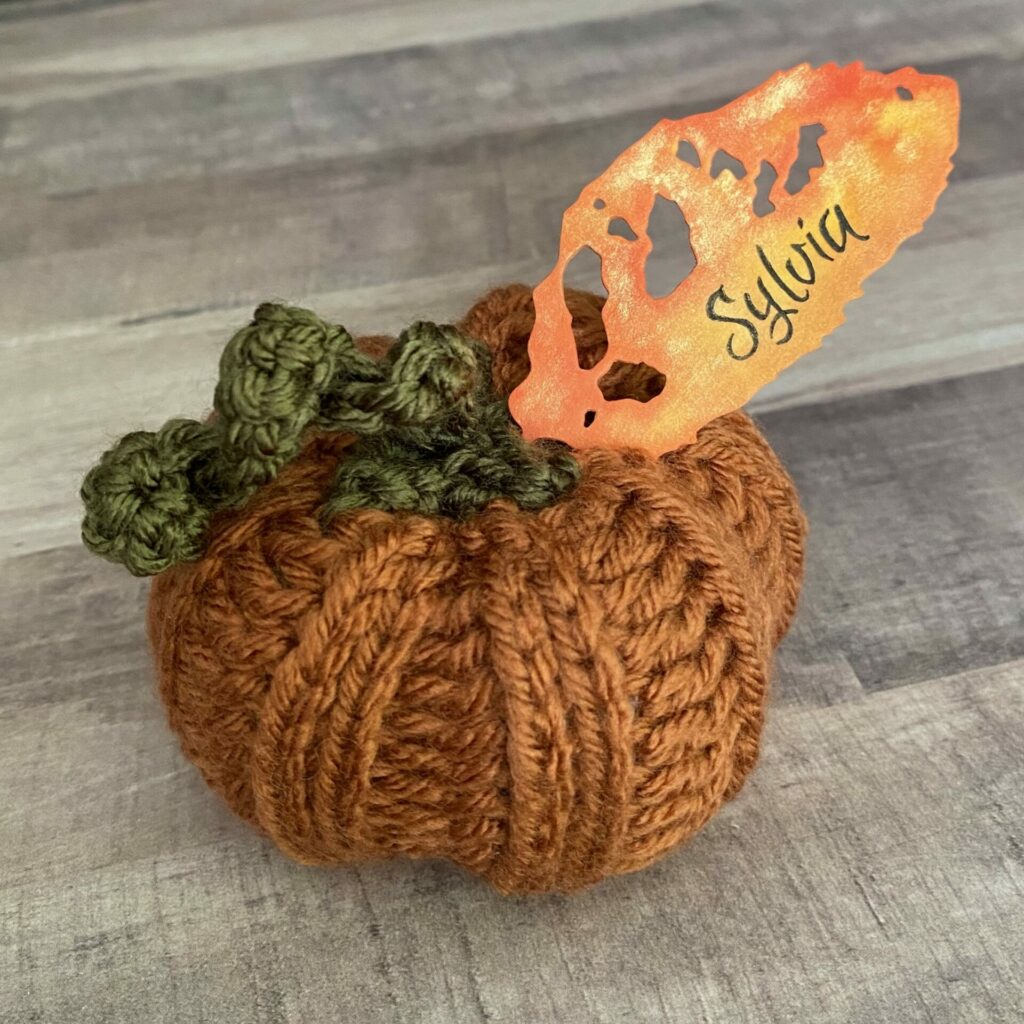
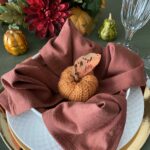
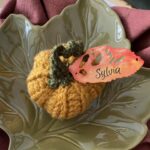
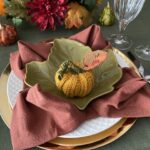
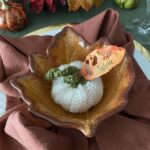
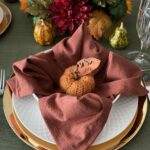
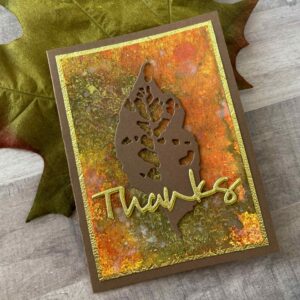
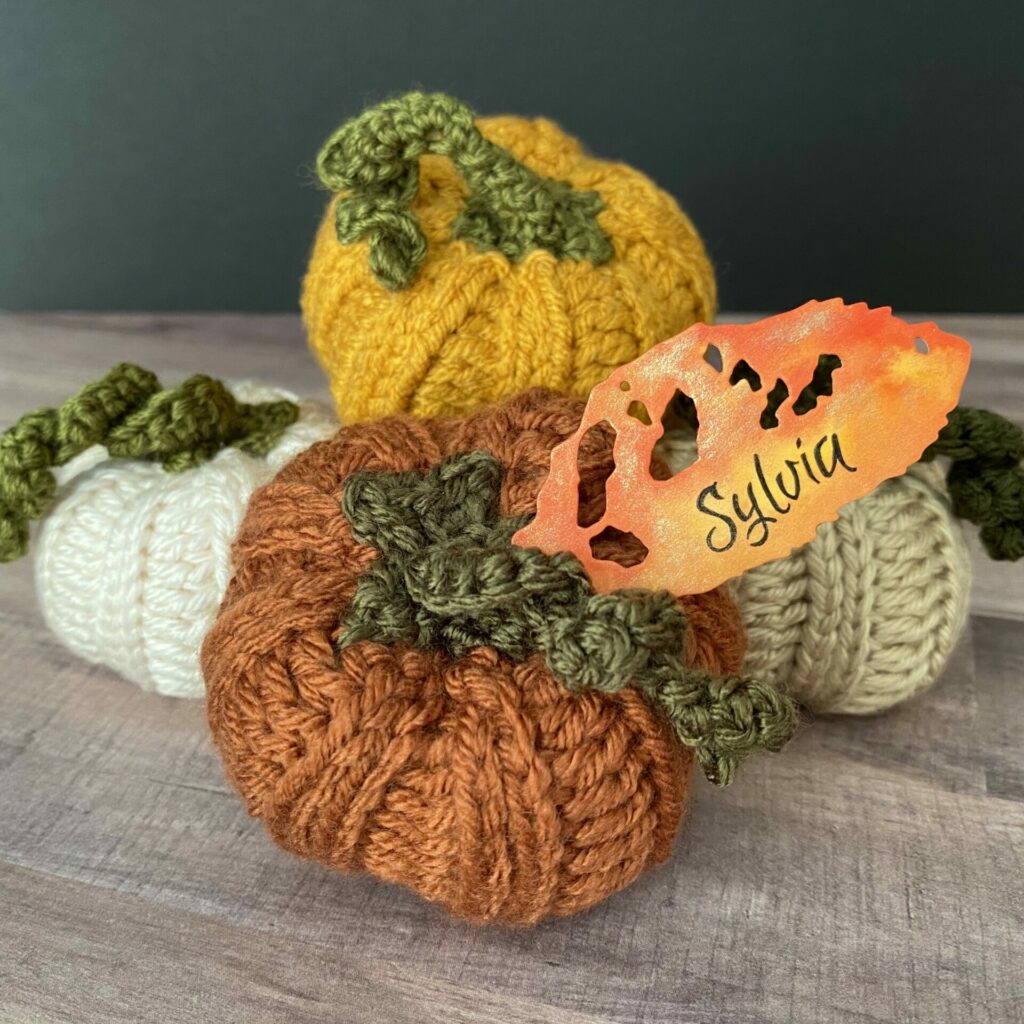
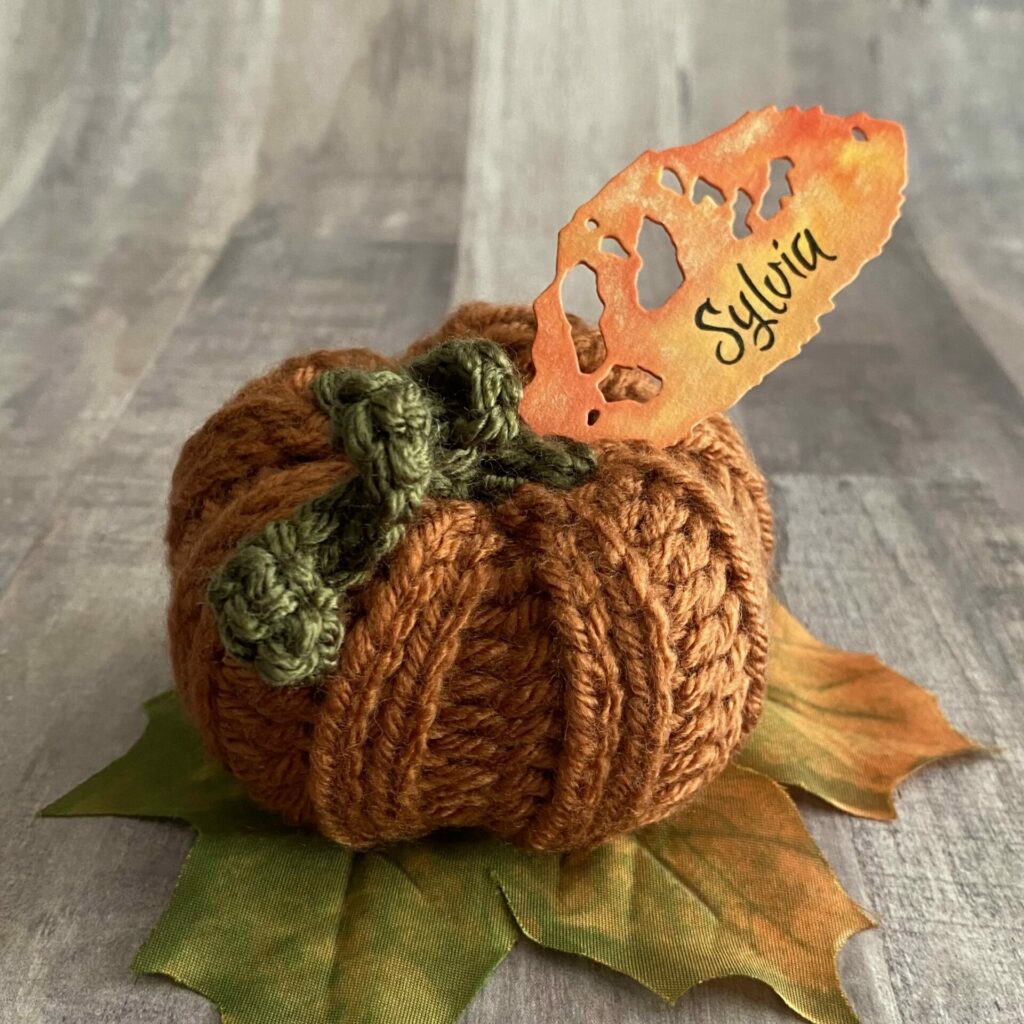
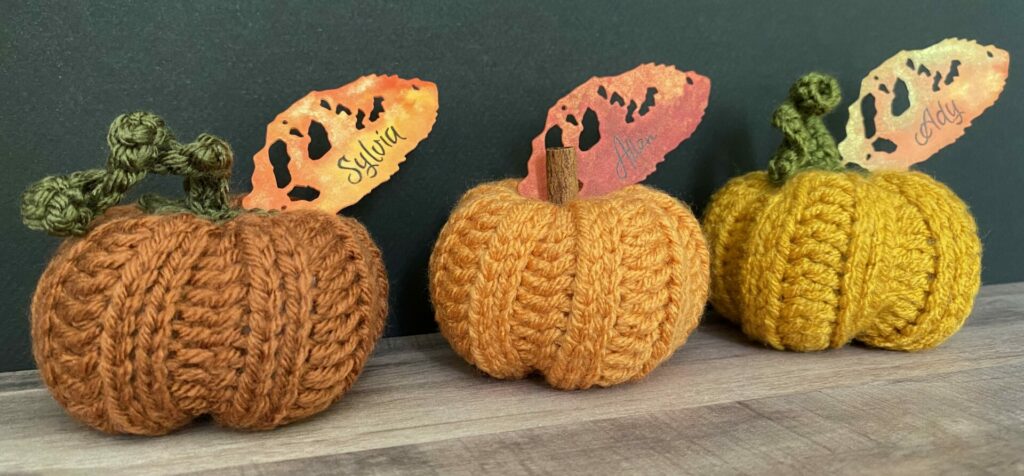
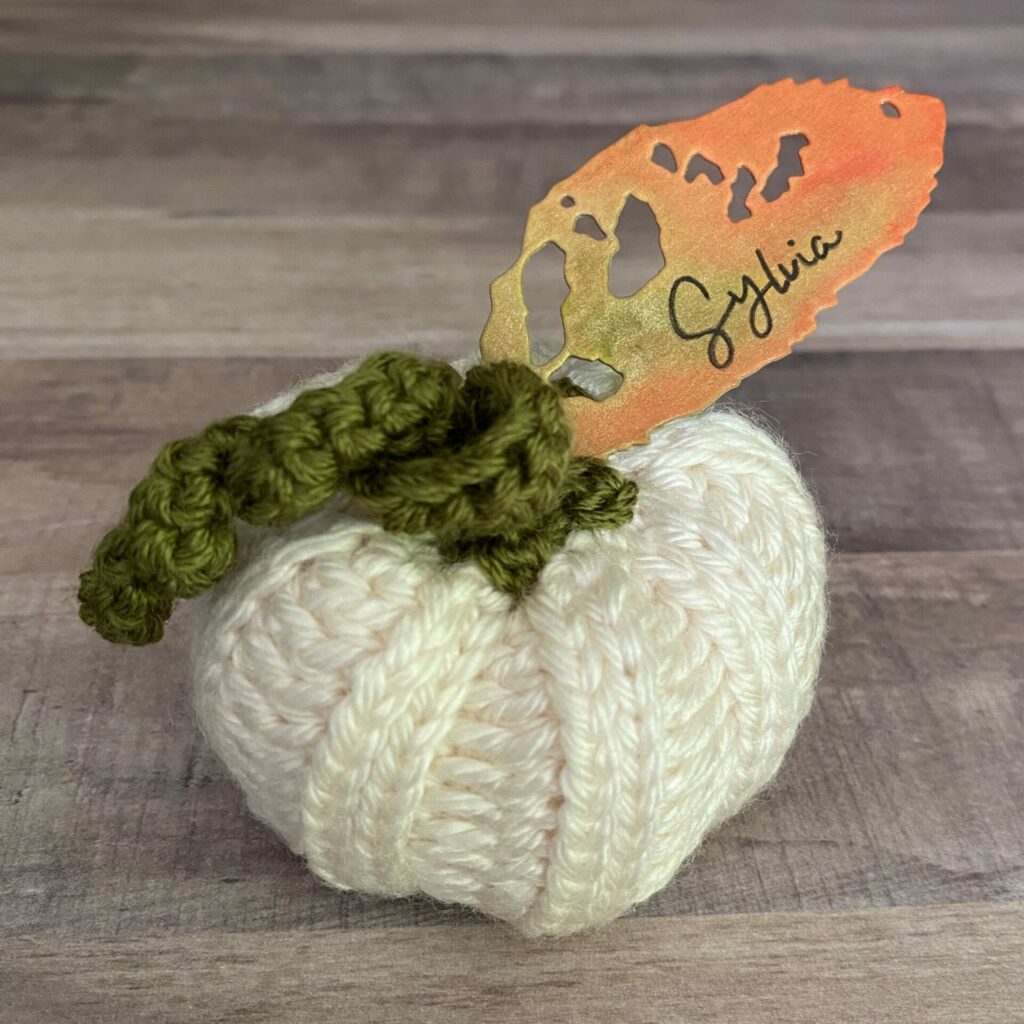
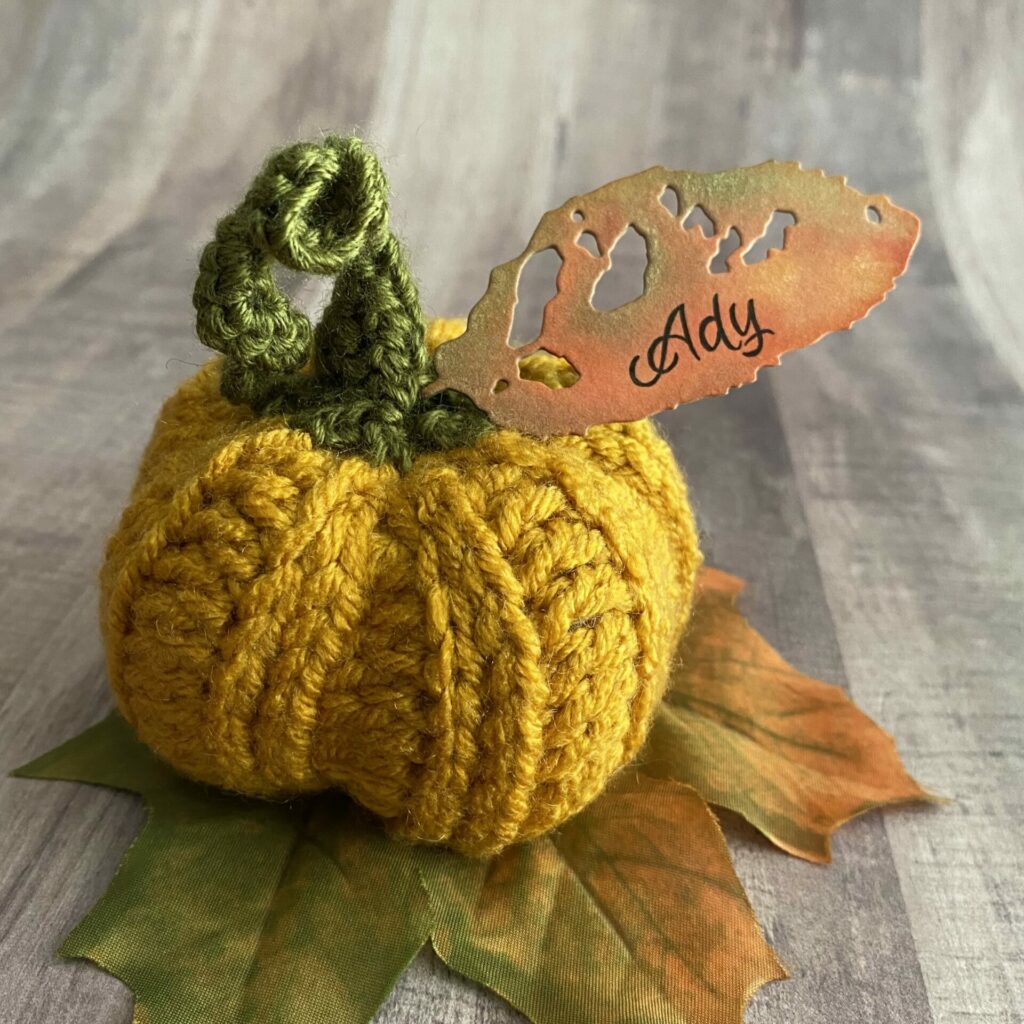
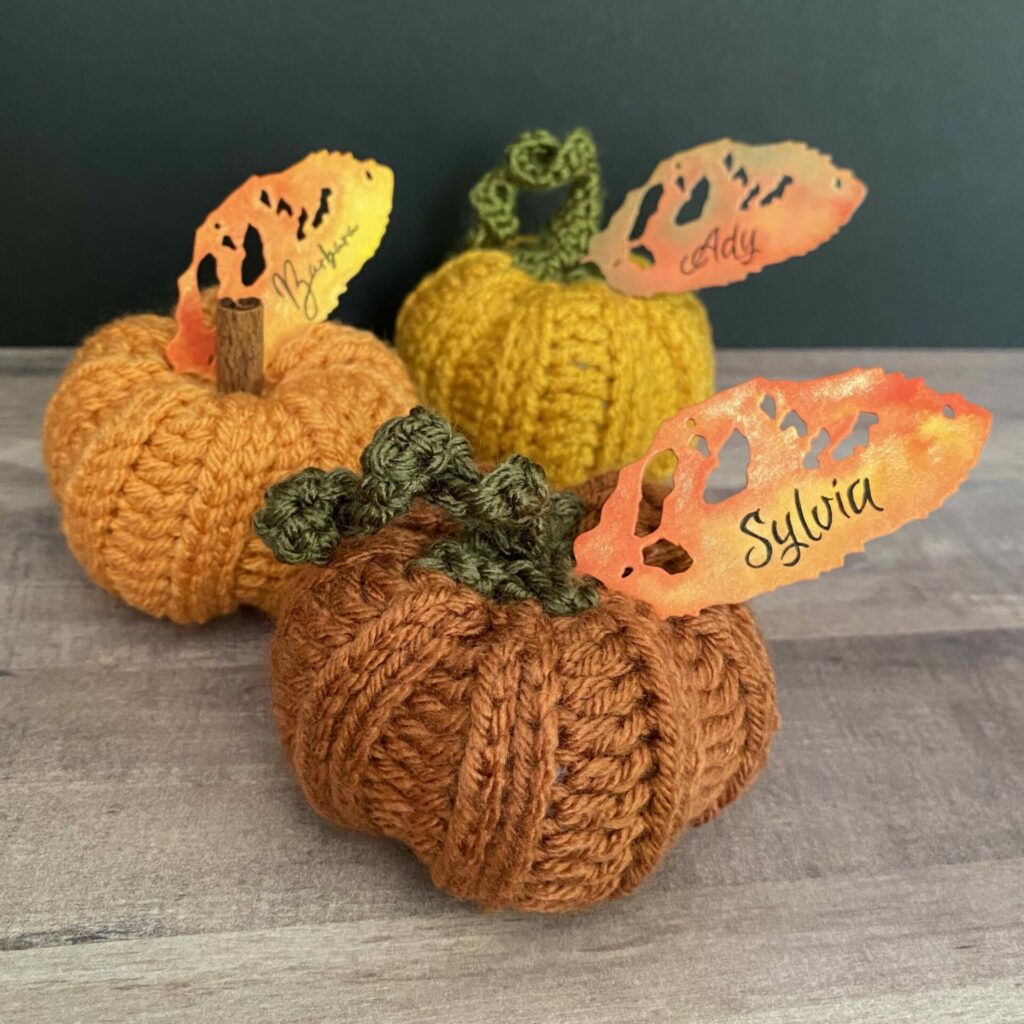
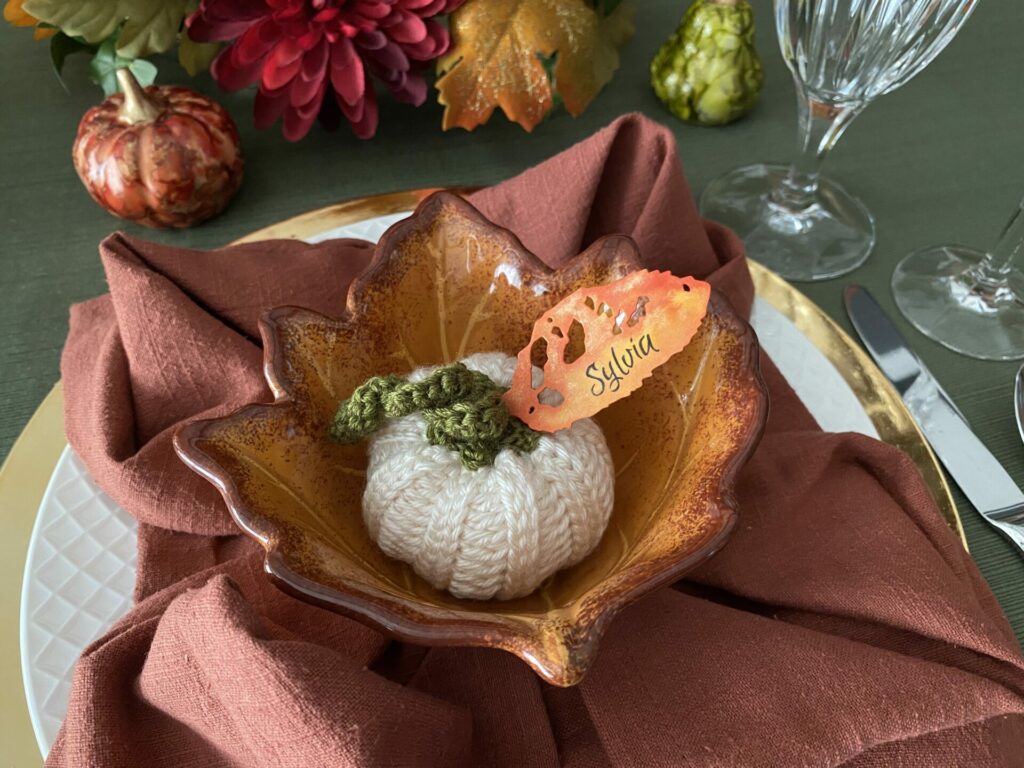
Hello makers! Oh my gourd, it’s fall! It’s that time of the year for pumpkin spice and everything nice! So today I wanted to share how I made these adorable crocheted pumpkin leaf place cards. These name cards include mica watercolored die cuts and elegant hand lettering.

Add a charming, handmade touch to your Thanksgiving dinner table this year with crocheted pumpkin leaf place cards. These adorable, easy-to-make leaves not only bring a festive fall vibe to your decor but also serve as personalized place settings for your guests.
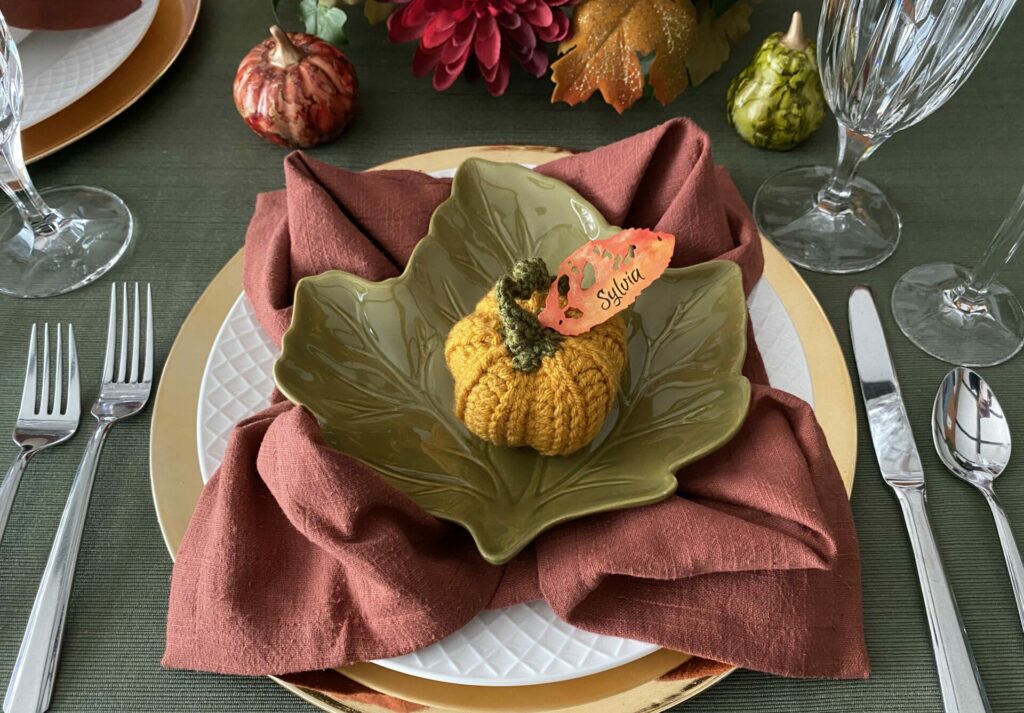
Whether you’re a crochet beginner or an experienced crafter, this simple project is perfect for adding warmth and creativity to your holiday table. In this tutorial, we’ll guide you step-by-step through the process of making these delightful pumpkin leaf place cards, ensuring your Thanksgiving celebration is extra special.
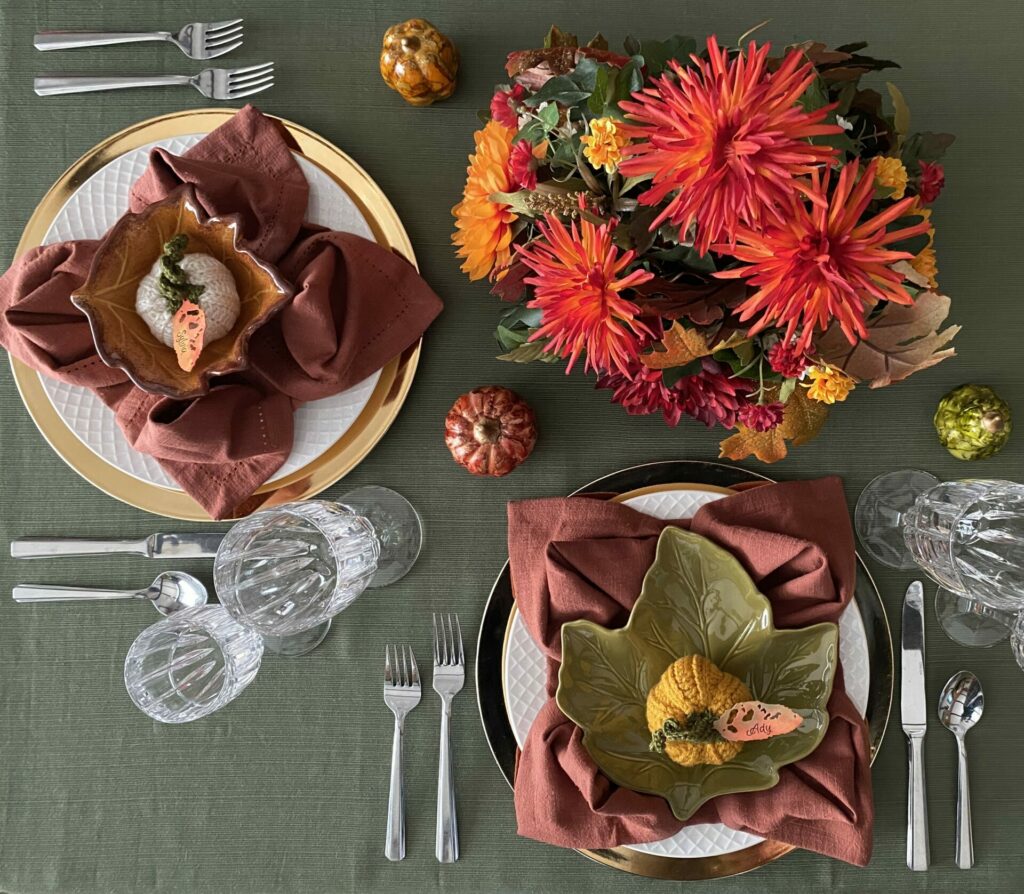
Click on each thumbnail image to view a larger version.
Table of Contents
- Crocheted Pumpkin Pattern
- Crocheted Curly Stem Pattern
- Distress Ink Fall Colors
- Leaf Pace Card Supplies
- Leaf Pace Card Tutorial
- Fall Ink Color Combos
- More Pretty Pictures
Crocheted Pumpkins
This crocheted pumpkin pattern was expertly created by the talented Michelle at Mj’s Off The Hook Designs. She offers a wide variety of beautiful patterns, including many festive options. If you’re an avid crocheter, I highly recommend exploring her collection of patterns.
YouTube Video – This is the video I followed to make these adorable x-small crocheted pumpkins.
Mj’s Off The Hook Designs Blog – Michelle’s blog post featuring the written pattern for creating this country harvest crocheted pumpkin in six distinct sizes.
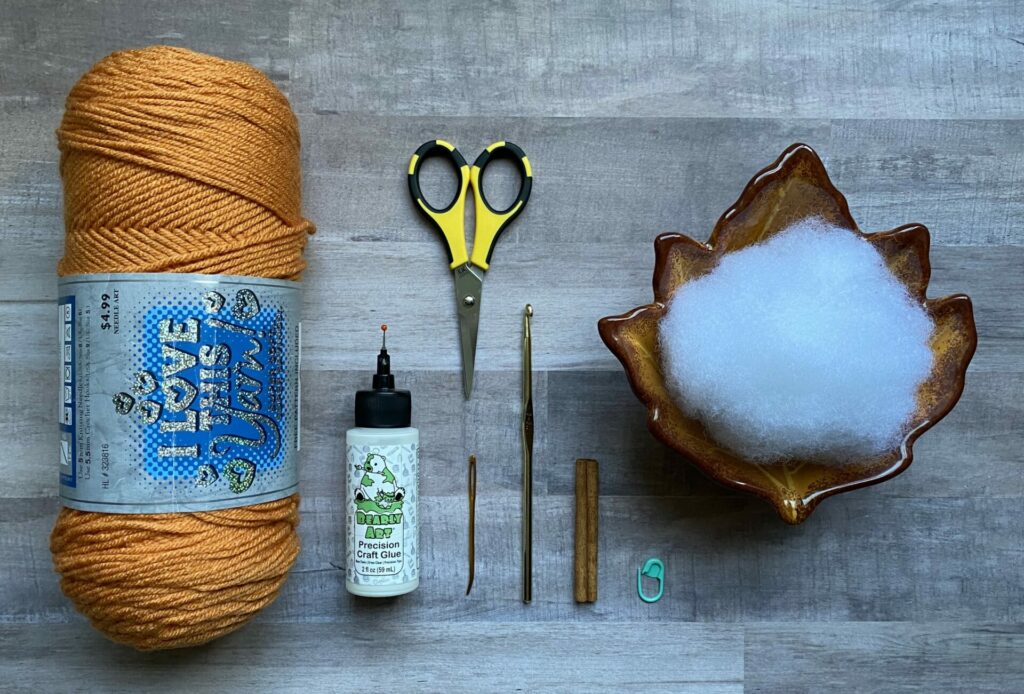
Supplies Needed:
- Worsted Weight Yarn #4
- 5mm Crochet Hook US H-8
- Yarn Needle
- Scissors
- Polyester Fiber Fill Stuffing
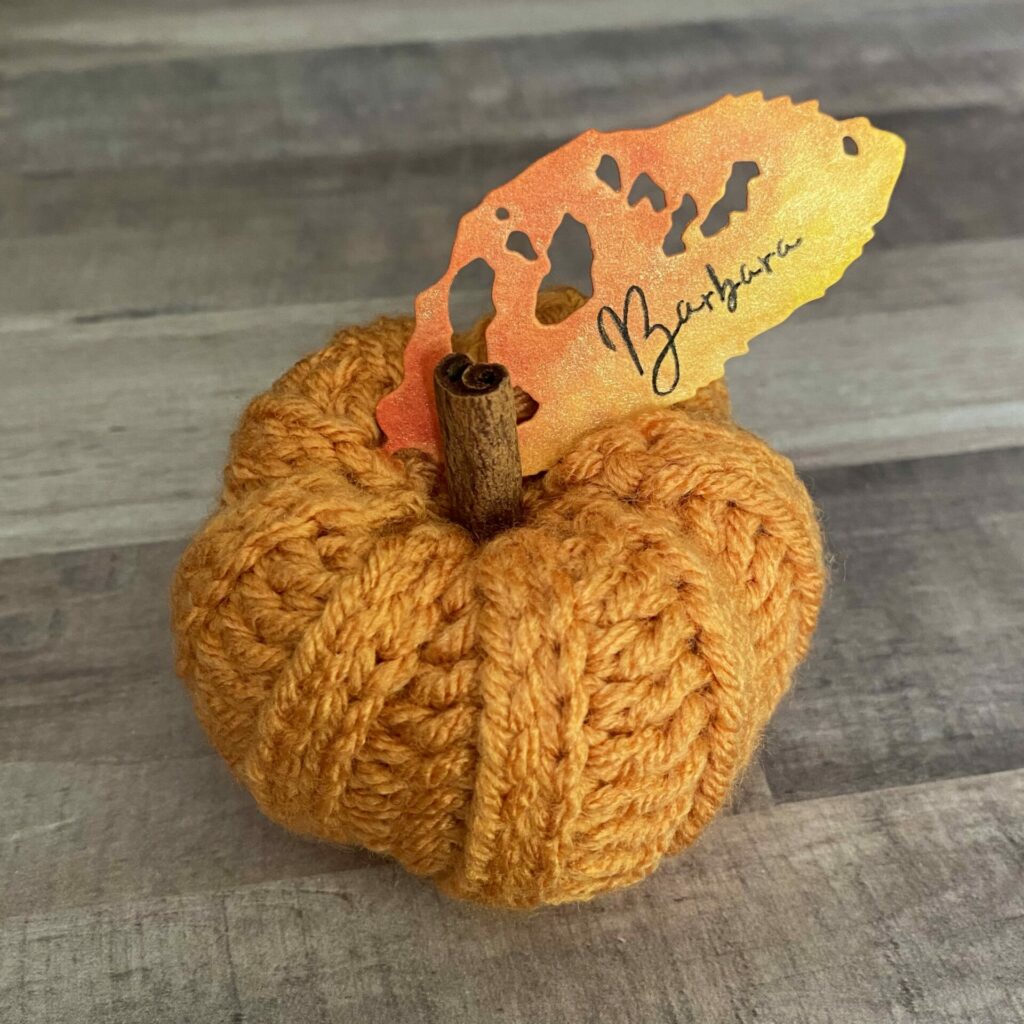
- Cinnamon Stick
- Stitch Marker
- Glue
Yarn
You can use any worsted weight yarn for this project, but I like to use “I Love This Yarn“ from Hobby Lobby. With a selection of 74 vibrant colors, it offers a soft and enjoyable crafting experience. Each skein contains 355 yards, allowing you to create up to 17 extra-small pumpkins from a single skein—perfect for decorating your Thanksgiving table.
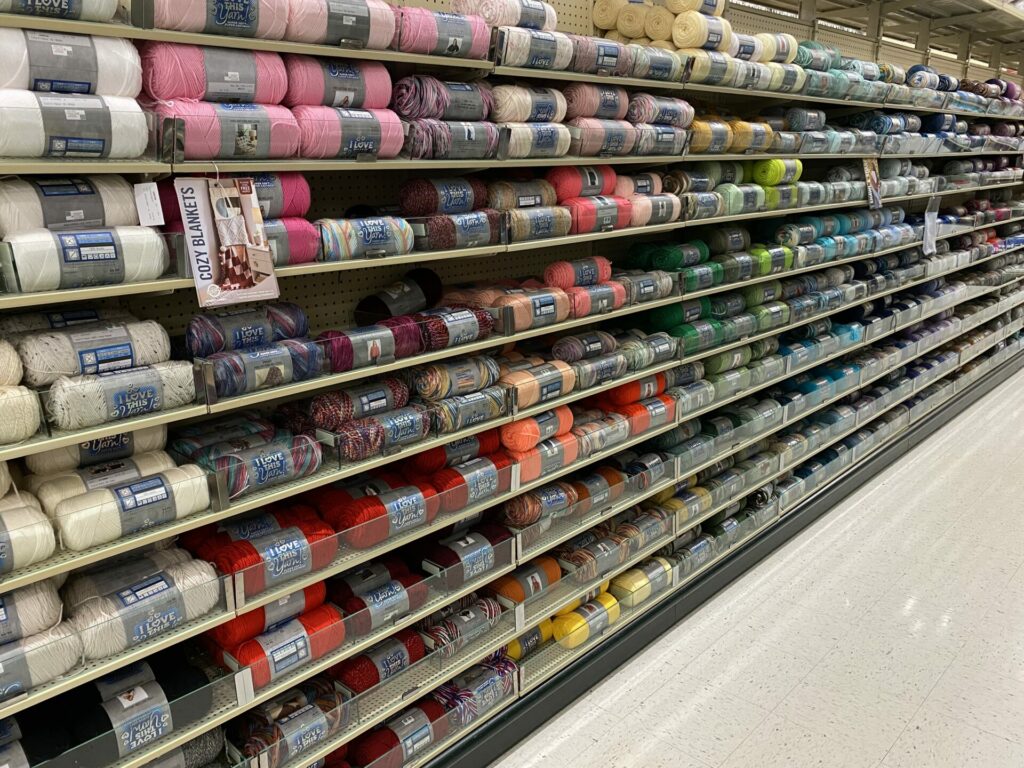
Consider incorporating additional fall colors to enhance your table design. Some excellent autumnal color options pictured below.
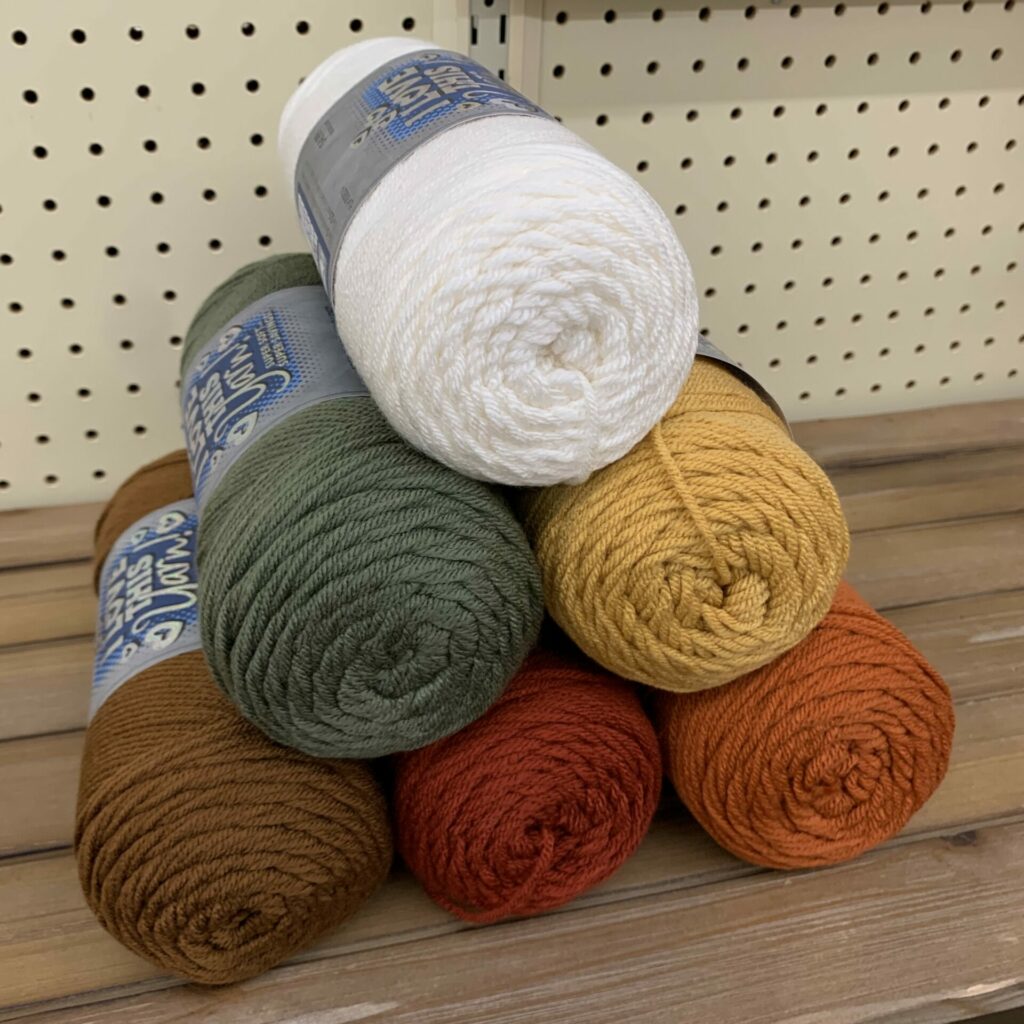
Ivory (top), Clover (middle left), Sungold (middle right), Cinnamon (bottom left), Terra Cotta (bottom middle), Burnt Pumpkin (bottom right)
However, if you’re not a crocheter, you could buy some already done from the craft store. Or you could always befriend someone who does know how to crochet.
Pumpkin Stem
You have two options for creating the stem:
- Utilize a cinnamon stick, as demonstrated in Michelle’s pattern, to achieve a rustic appearance for the pumpkins.
- Alternatively, you can crochet a curly stem using green yarn for a more whimsical touch.
Curly Stem Pattern
Abbreviations
- mr = Magic Ring
- ch = Chain
- sc = Single Crochet
- sl kn = Slip Knot
- sl st = Slip Stitch
- trch = Triple Crochet
- (_) = Number of stitches in a round after finishing the round.
*The stem is crocheted in a spiral using a hook size G – 4 mm.
Stem Pattern
- Row 1: mr, sc5 (5)
- Row 2: sc 5 (5)
- Row 3: sc 5 (5)
- Row4: (trch, sl st 2 down the side of the trch, sl st into the same stitch you did your trch) x 5 (20)
sl st into the next stitch, fasten off and leave a long tail for sewing to the pumpkin.
Curly Pattern
- Row 1: sl kn, ch 12 (12)
- Row 2: sl st into the 2nd ch, sc 2 into each ch x 10 (21)
Fasten off and leave a short tail for sewing to the top of the stem.
Sewing
- Sew the curly part to the top of the stem and weave in the ends.
- Then, sew the stem to the top of the pumpkin, ensuring it is securely fastened, and tuck the yarn tail inside the pumpkin.
© Grove Crafted 2024. All rights reserved. This curly stem crochet pattern is a unique creation—please respect the art of handmade!
Advice Before You Start
Before selecting your yarn and ink colors, consider the hues of your tablecloth, napkins, and dishes. For instance, if you have a burnt orange tablecloth, avoid using orange for your pumpkins, as they may blend in and become less noticeable. Opt for colors that complement and stand out against the surrounding elements.
Link Abbreviations
- AMZ – Amazon*
- Sb.com – Scrapbook.com*
- SIZ – Sizzix*
- RI – Ranger Ink*
- BA – Blick Art Materials*
- SSS – Simon Says Stamp
Full Disclosure: This post contains affiliate links which are indicated with an (*). If you click on an affiliate link and later make a purchase, I may receive a small commission. Clicking on an affiliate link which earns a commission does NOT result in additional charges to you or cost you anything extra. Money earned via affiliate links helps pay the fees to keep this blog up and running. Thank you so much for shopping through my links to show your support for the brands that we love and the products that I share!
Leaf Place Cards
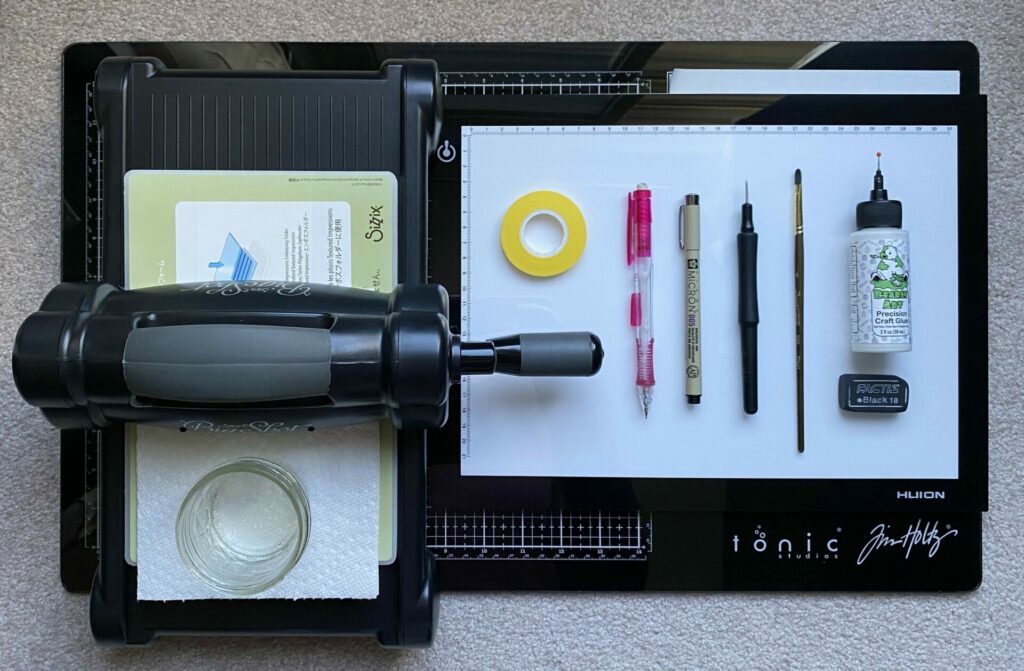
Supplies Used / Substitutions:
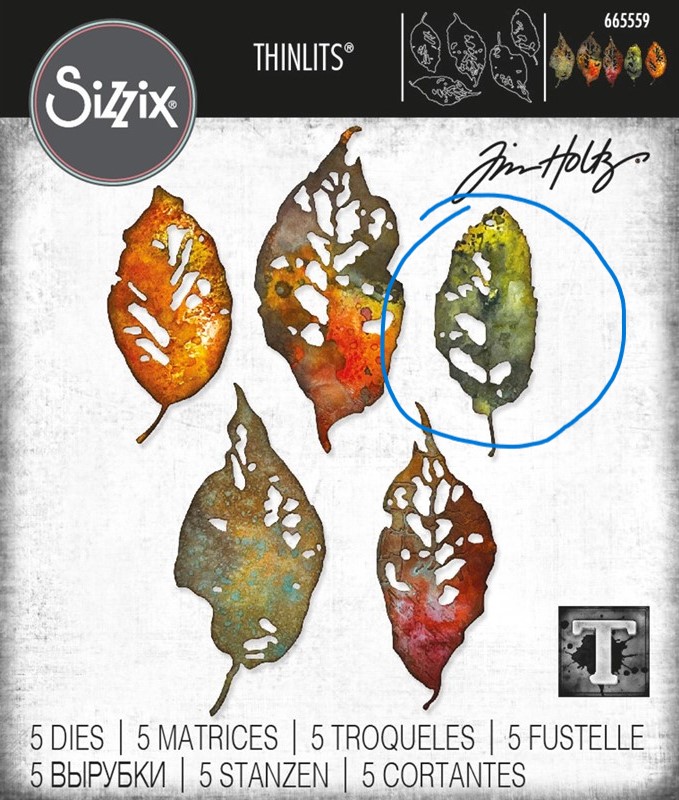
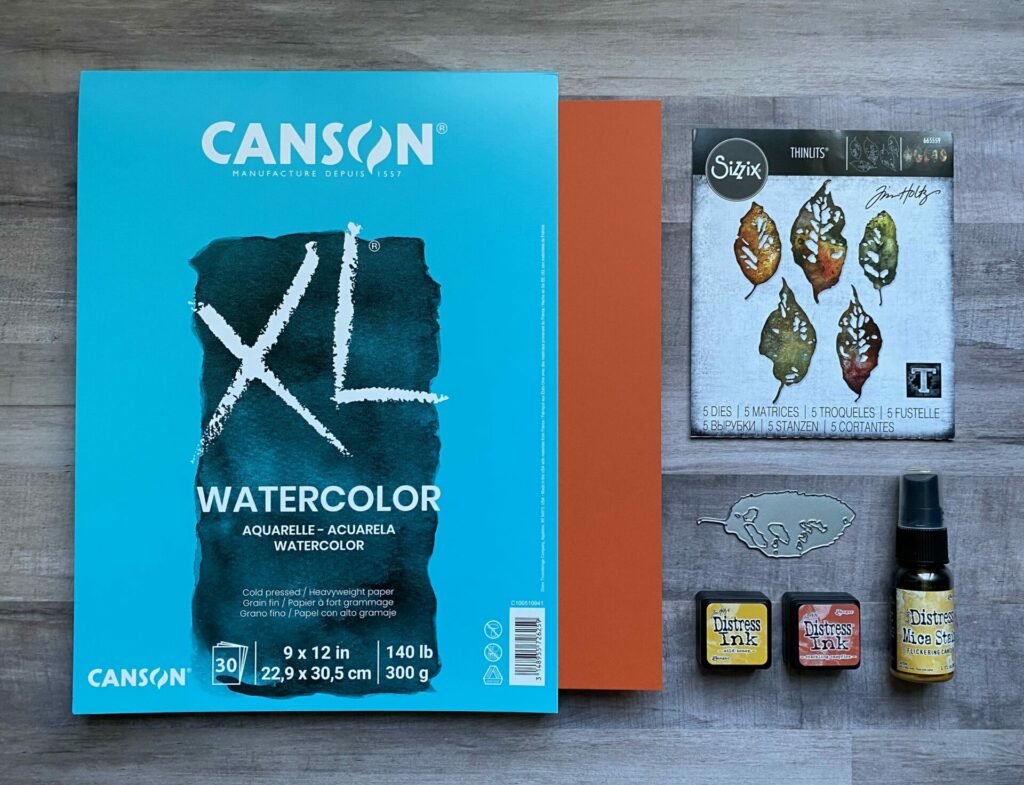
- Sizzix Tim Holtz Thinlits Dies – Leaf Fragments #665559 | SIZ | AMZ | SSS |
- Canson XL 140lb Watercolor Paper – Cold Press | BA | AMZ / Any watercolor paper
- Colored cardstock that is close to the ink colors you choose
- Distress Mica Stain – Flickering Candle | Sb.com | RI | SSS / Distress spritz – fossilized amber | SSS / Any mica stains
- Distress Ink Pads – full size & mini ink pads linked below / Distress spray stains, watercolor pencils, or any watercolors
Tools Used / Substitutions:
- Sizzix Big Shot | SIZ / Spellbinders Platinum Six | Sb.com / Any die cutting machine
- Tim Holtz Glass Media Mat | Sb.com | AMZ | SSS / Non-Stick Craft Sheet
- Huion L4S LED Light Pad | AMZ / Window, tape, & the sun
- Bearly Art Glue | Sb.com | AMZ | SSS / Any liquid adhesive
- Die Pick | Sb.com | SSS / Toothpick
- Sakura Micron Pen 005 – Black | BA / Any fine tip marker that doesn’t bleed
- Mechanical Pencil | AMZ / Any mechanical pencil
- Watercolor Brush / Any small brush
- Washi Tape / Any low tack tape
- Jar of Water
- Paper Towel
- Eraser
Choosing Your Colors
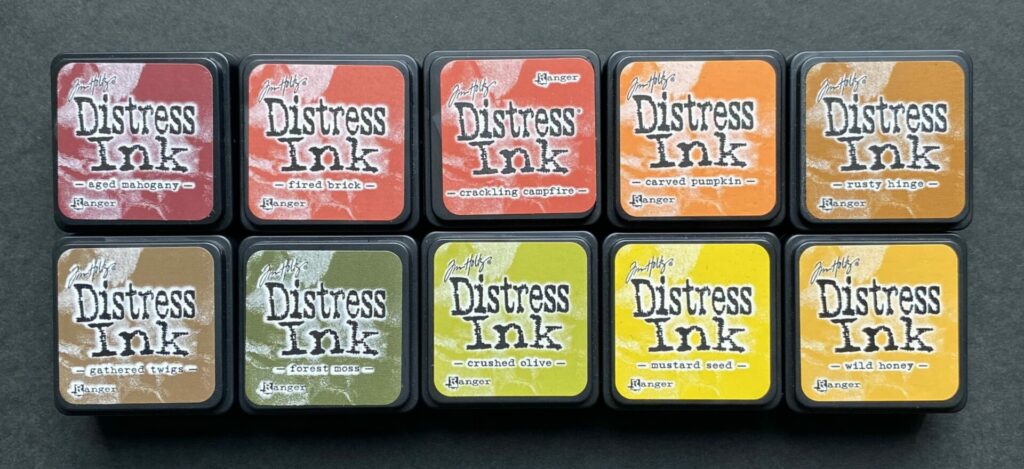
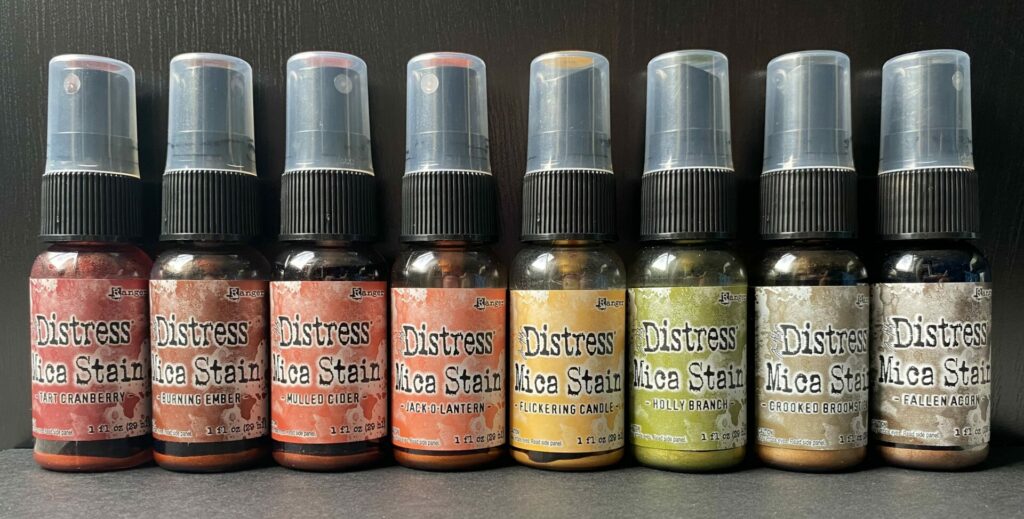
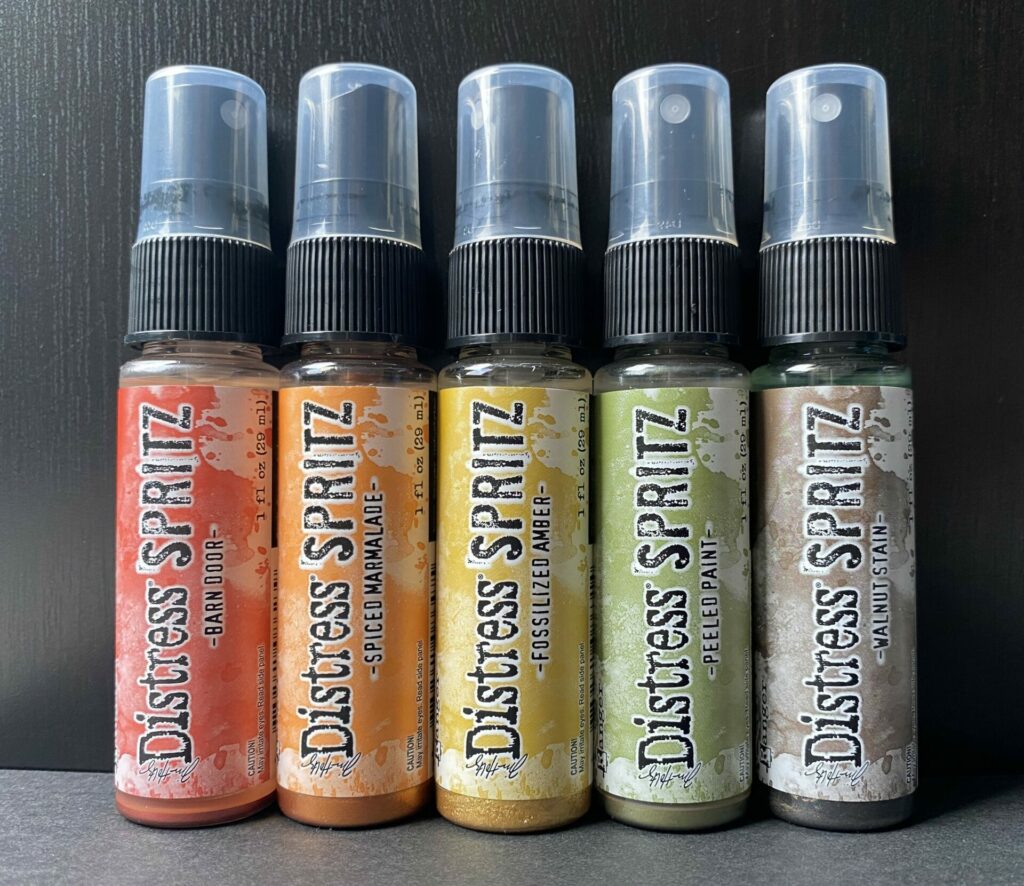
I have compiled a list of autumnal colors of distress inks, mica stains, and spritz, along with links for purchasing them.
Distress Ink Fall Colors
Full size ink pads linked below at Scrapbook.com and Ranger. Mini ink pads linked at Simon Says Stamp.
- Aged Mahogany | Sb.com | RI | SSS |
- Fired Brick | Sb.com | RI | SSS |
- Crackling Campfire | Sb.com | RI | SSS |
- Carved Pumpkin | Sb.com | RI | SSS |
- Rusty Hinge | Sb.com | RI | SSS |
- Wild Honey | RI | SSS |
- Mustard Seed | Sb.com | RI | SSS |
- Crushed Olive | Sb.com | RI | SSS |
- Forest Moss | Sb.com | RI | SSS |
- Gathered Twigs | Sb.com | RI | SSS |
Distress Mica Stain Fall Colors
- Tart Cranberry | Sb.com | RI | SSS |
- Burning Ember | Sb.com | RI | SSS |
- Mulled Cider | Sb.com | RI | SSS |
- Jack-o-Lantern | Sb.com | RI | SSS |
- Flickering Candle | Sb.com | RI | SSS |
- Holly Branch | Sb.com | RI | SSS |
- Crooked Broomstick | Sb.com | RI | SSS |
- Fallen Acorn | Sb.com | RI | SSS |
Distress Spritz Fall Colors
- Barn Door | Sb.com | RI | SSS |
- Spiced Marmalade | Sb.com | RI | SSS |
- Rusty Hinge | Sb.com | RI | SSS |
- Fossilized Amber | Sb.com | RI | SSS |
- Crushed Olive | Sb.com | RI | SSS |
- Peeled Paint | Sb.com | RI | SSS |
- Vintage Photo | Sb.com | RI | SSS |
- Walnut Stain | Sb.com | RI | SSS |
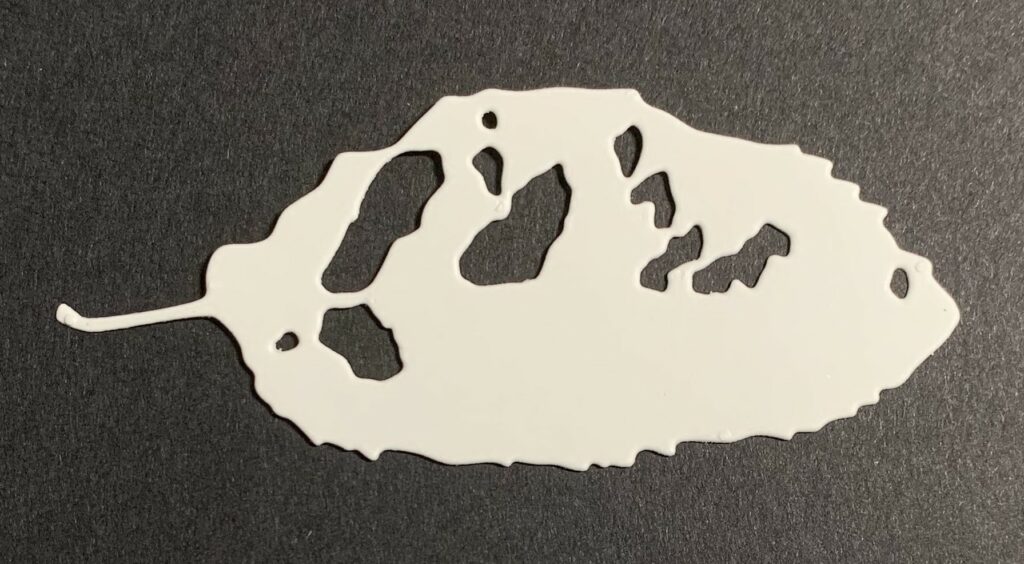
Die Cutting The Leaf
- Use the circled leaf die and cut it from watercolor paper.

- Cut as many leaves as you have guests in attendance for your gathering.
Lettering The Name
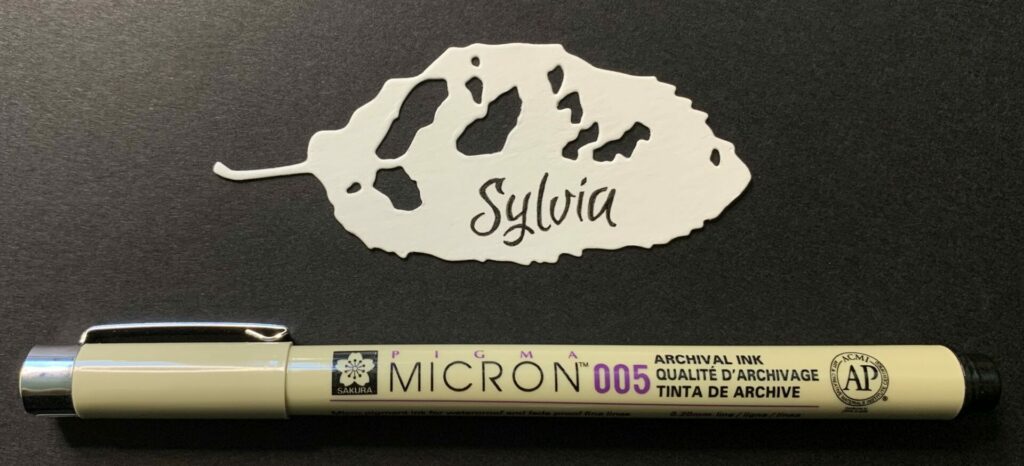
If you have beautiful handwriting or are skilled in hand lettering/calligraphy, feel free to write the names with your preferred marker. Should you decide to write the names personally, I suggest completing this step after the inking process. Skip to Inking Step
However, if you’re like me and aren’t confident in your handwriting, you can trace the names instead. I have designed an editable name template in Canva that you can access here.
To to accomplish this step, you’ll need a light pad. But if you don’t have one, you can use “nature’s light box” instead. Just tape the paper to a window and let the sunlight be your light source. Just remember, this method works best on a sunny day.
- Enter your list of names into the Canva template.
- Double-check that all names are spelled correctly.
- Print out the list at 100%. DO NOT SCALE TO FIT PAGE.
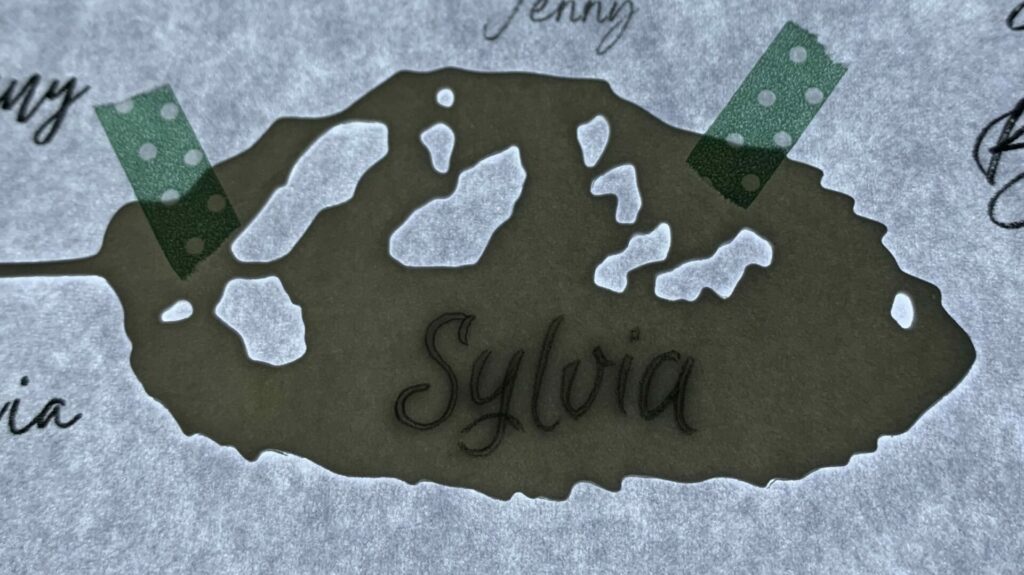
- Then, put the name printout on your light pad/window.
- Position the leaf die cut over the name, ensuring it is centered within the leaf design.
- Secure the leaf to the paper by using some washi tape.
- Then, use a mechanical pencil to trace the outline of the name.

- Remove the washi tape.
- Trace and fill in the letters with a black Sakura micron pen.
- When dry, erase any pencil lines that are visible.
- Repeat steps 5-10 for every name.
Inking the Leaf
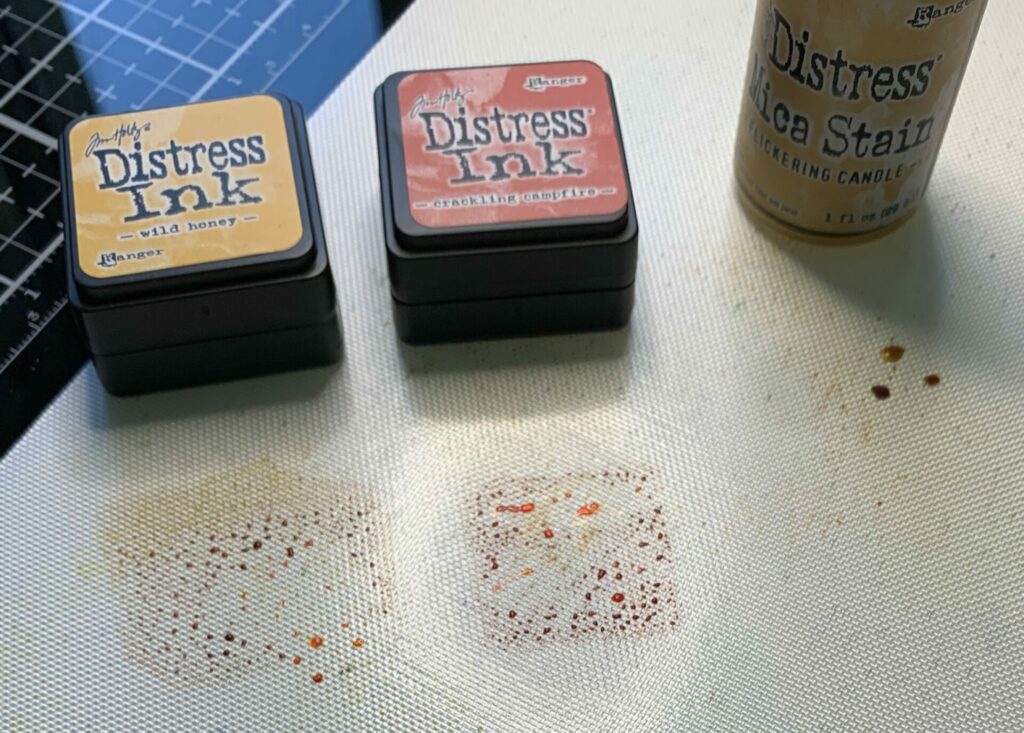
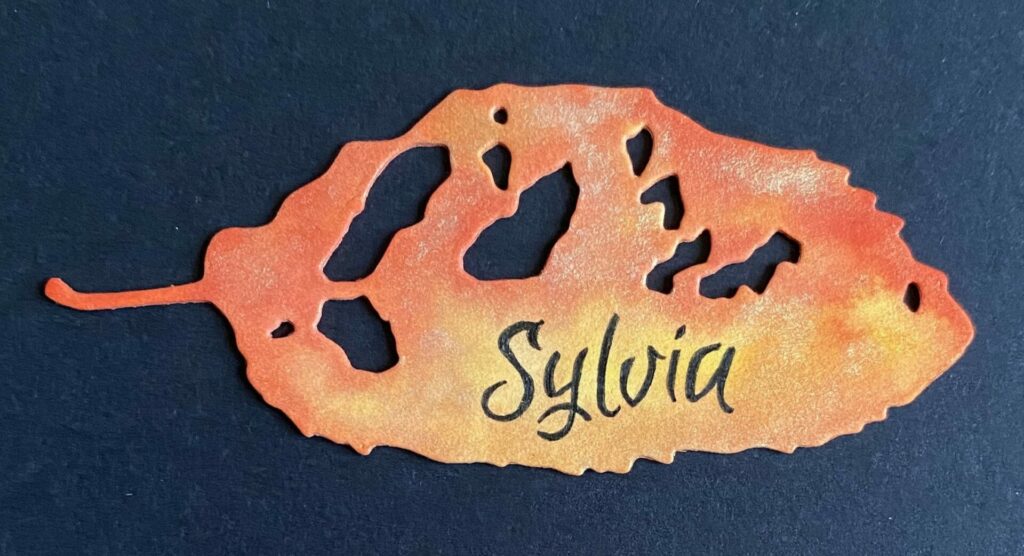
- Begin by applying distress inks and mica stain onto your craft sheet to create a color palette.

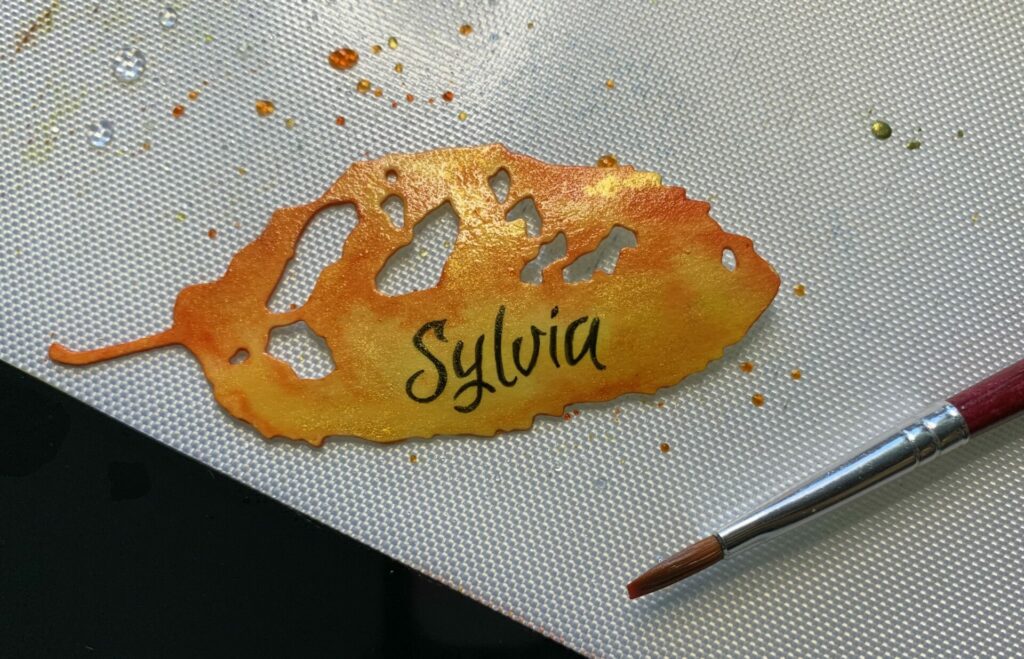
- Using a brush, apply just water to the leaf die cut.
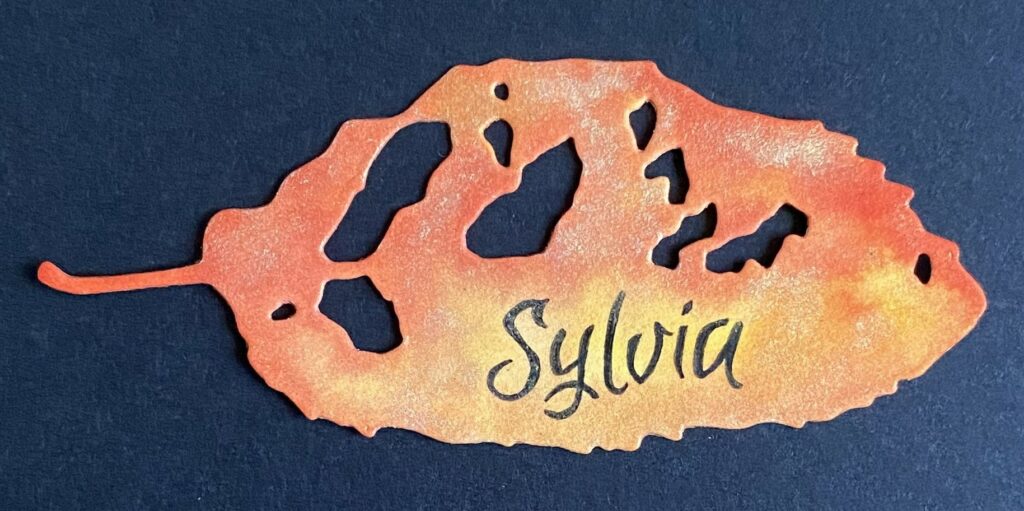
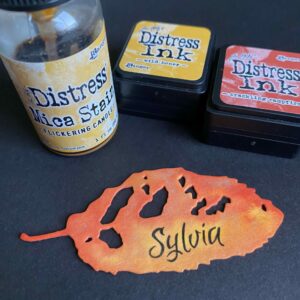
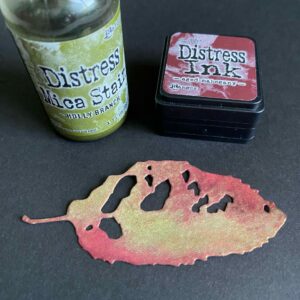
- Next, with the same brush, apply the ink to the leaf. I added crackling campfire ink to the top part of the leaf and wild honey to the bottom, while scattering the flickering candle mica stain throughout.

- Customize the amount of ink to your preference. Just remember to keep the darker colors away from the name, as it may become harder to read.
- Allow the ink to dry completely.

- Once dry, use a black micron pen to trace over the name, covering any mica residue that may have settled on it.
Finishing the Back
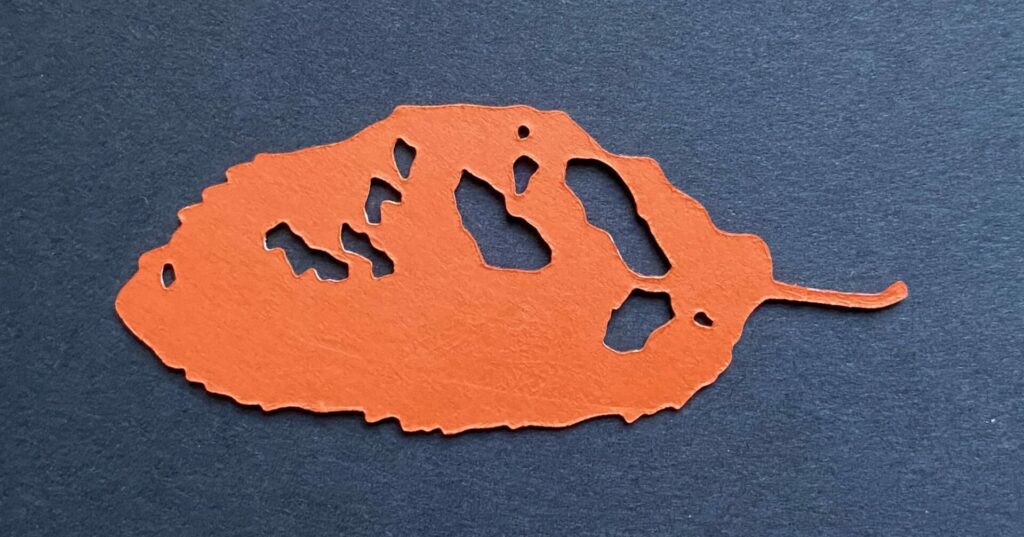
- Use the same leaf die to cut cardstock that matches your chosen ink color.
- Then, glue it to the back of the inked leaf.
- Set something heavy on it while dries.
More Color Combos
Here are a few additional color combinations I created.
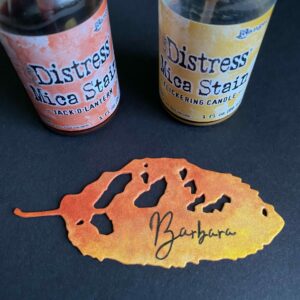
- Mica Stain – Jack-o-Lantern Distress Ink – Aged Mahogany & Crackling Campfire
- Mica Stain – Flickering Candle Distress Ink – Wild Honey & Crackling Campfire
- Mica Stain – Jack-o-Lantern & Flickering Candle
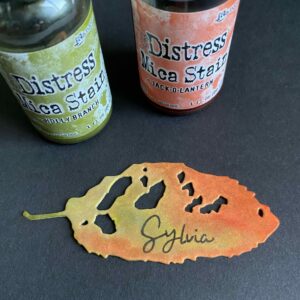
- Mica Stain – Holly Branch & Jack-o-Lantern
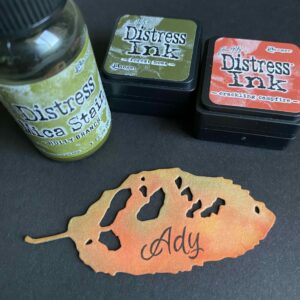
- Mica Stain – Holly Branch Distress Ink – Forest Moss & Crackling Campfire
- Mica Stain – Holly Branch Distress Ink – Aged Mahogany
Pumpkin Leaf Place Cards Complete!
Hey, congrats! You’ve finished making your pumpkin leaf place cards! I really hope you had a blast following this tutorial, just like I did. If you decide to give it a go, don’t forget to tag me (@silversgrove or @grovecrafted) on Instagram. I’m super excited to see what you’ve come up with! Thanks for checking this out, and I hope it sparked some fresh ideas for your own creations. Have a great time crafting!
Click on each thumbnail image to view a larger version.
If you enjoyed making these crocheted pumpkin leaf place cards, check out my other Autumnal Tutorials for additional inspiration and ideas.

