Sealed with Love: Beary Sweet Birthday
Spellbinders – Puffy Heart Mini Wax Seal
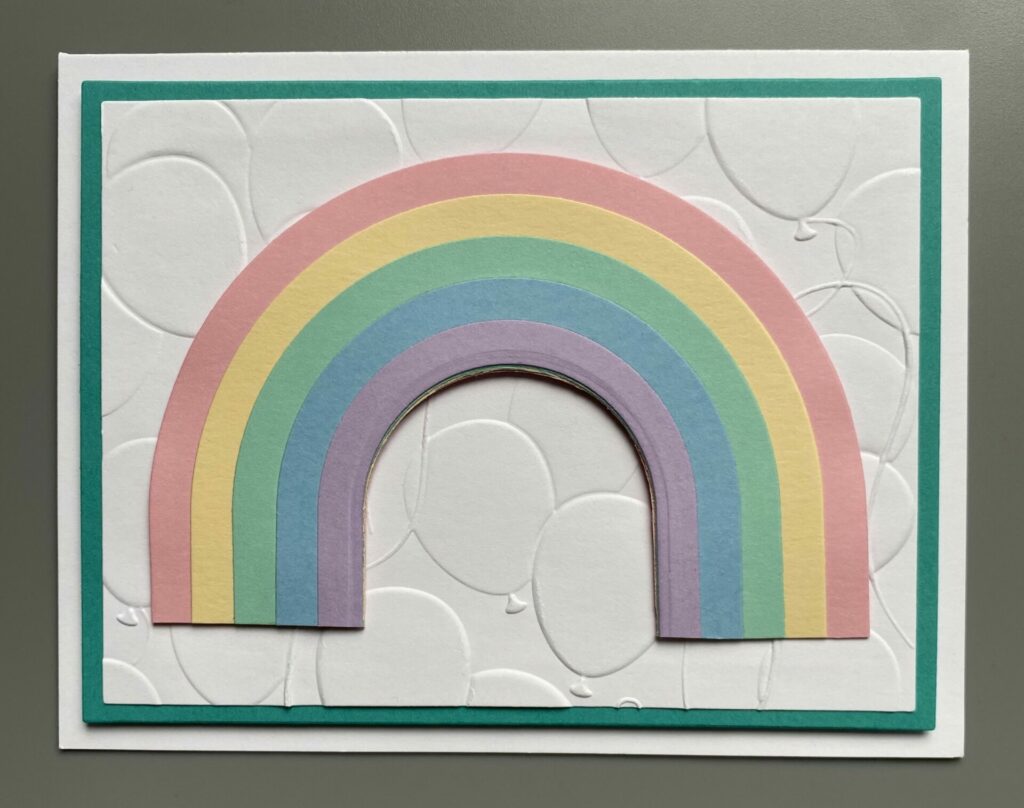
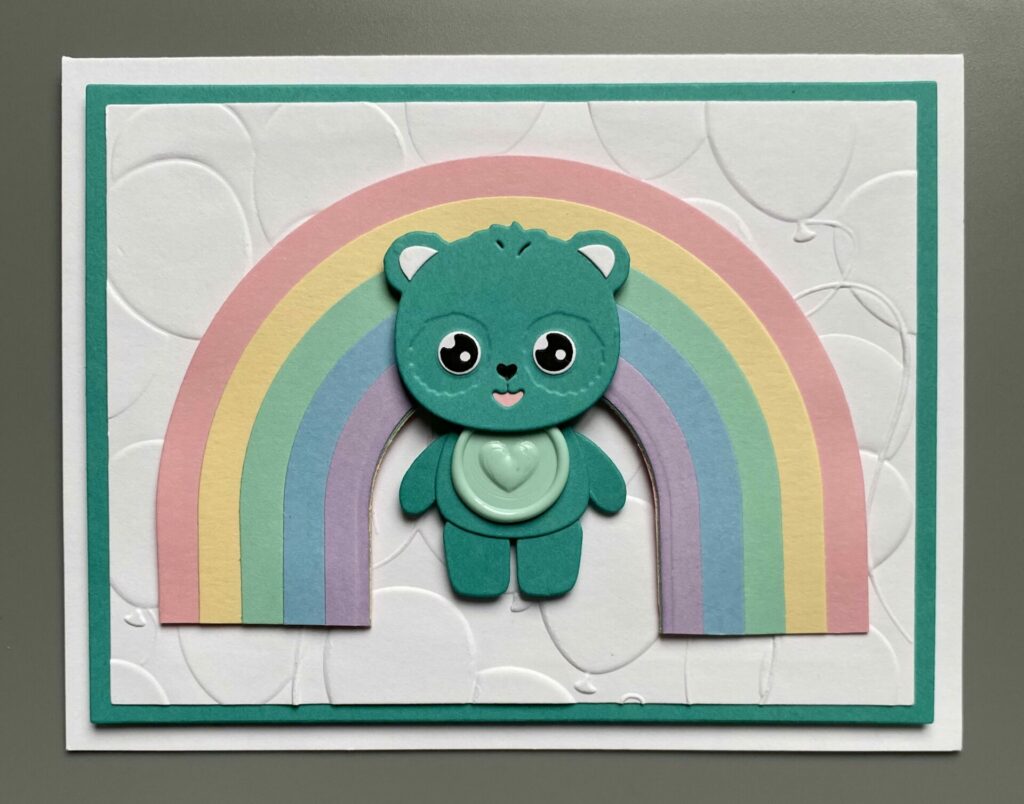
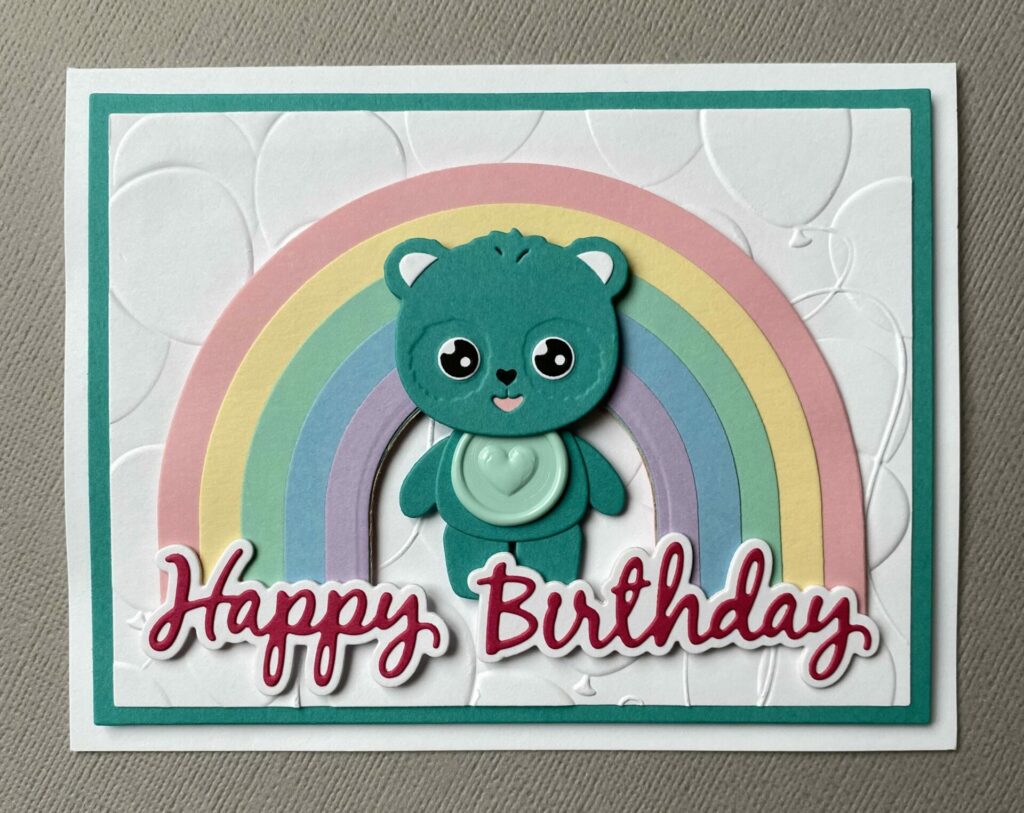
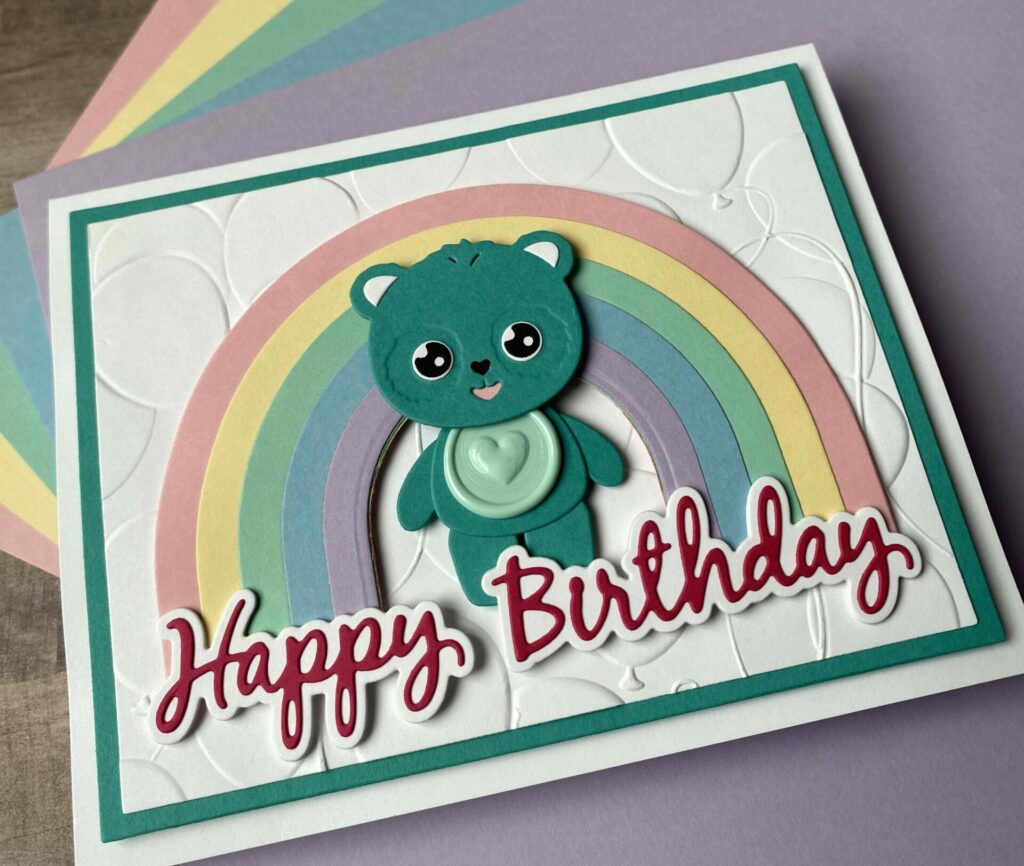
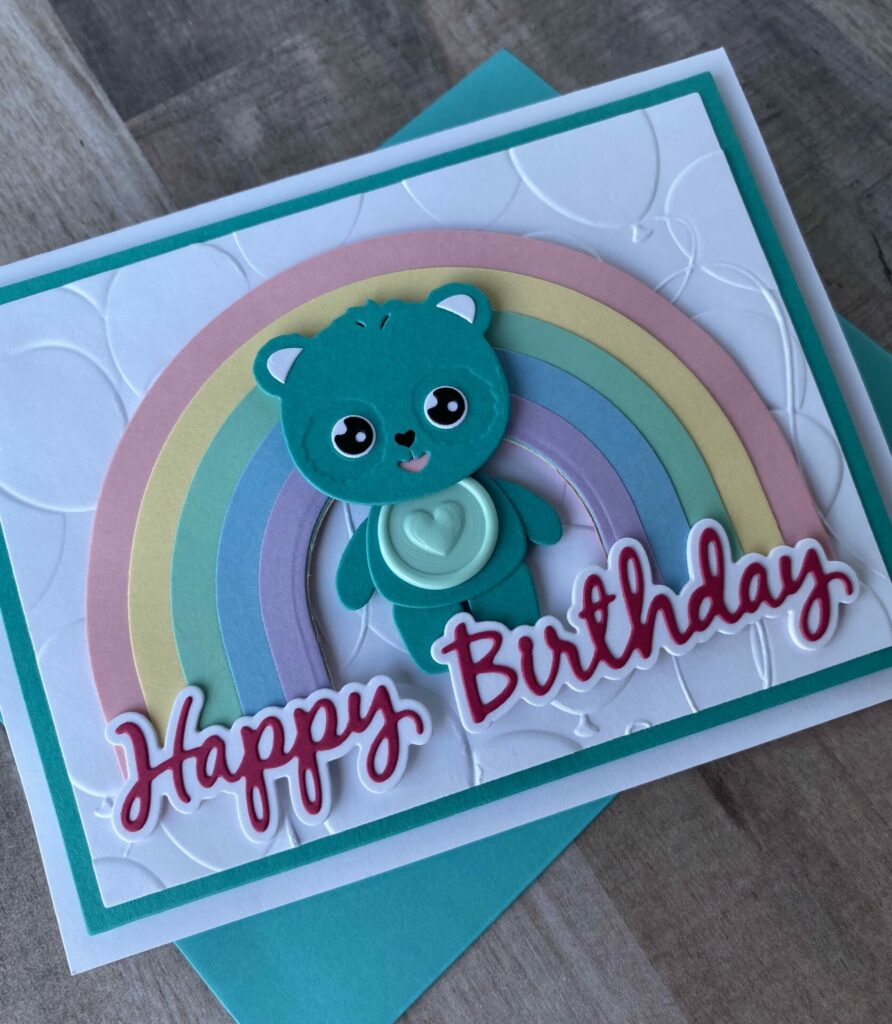
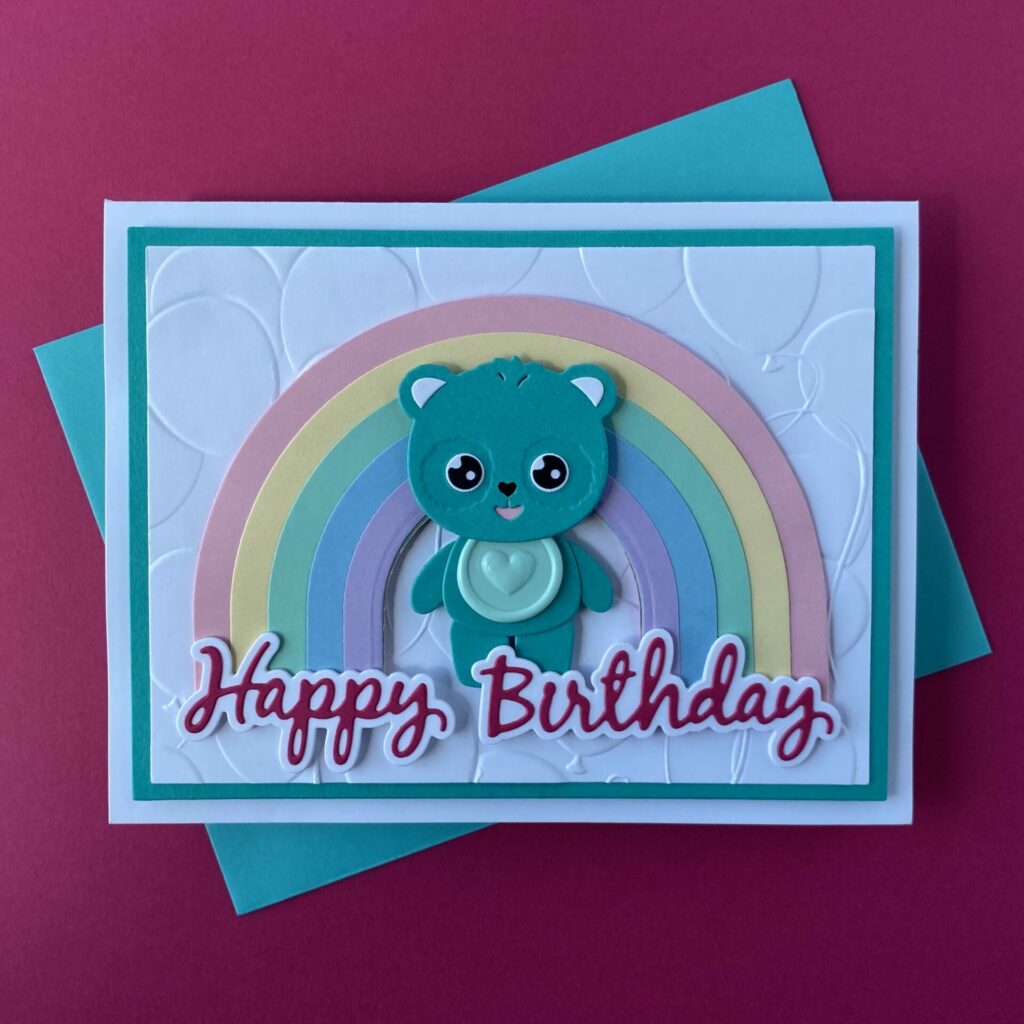
Hello, crafty friends! Today I’m sharing a super beary sweet and cheerful handmade birthday card that’s sure to bring a smile to anyone’s face. Inspired by the nostalgic charm of Care Bears, this card features a lovable teal bear standing proudly in front of a soft pastel rainbow, all set against a balloon-embossed background. And that little mint green heart on its belly? It’s actually a wax seal! I used the Puffy Heart mini 3D wax seal from the Mini 3D Wax Seals Collection by Spellbinders, and I love how it adds an unexpected, glossy pop of texture—like a tiny badge of love and kindness.
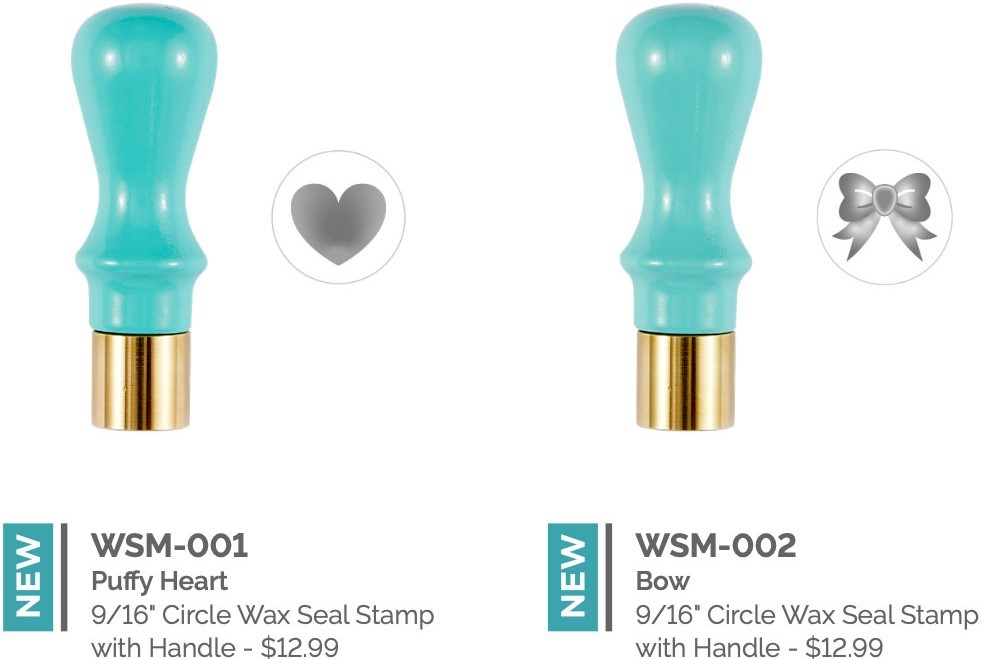
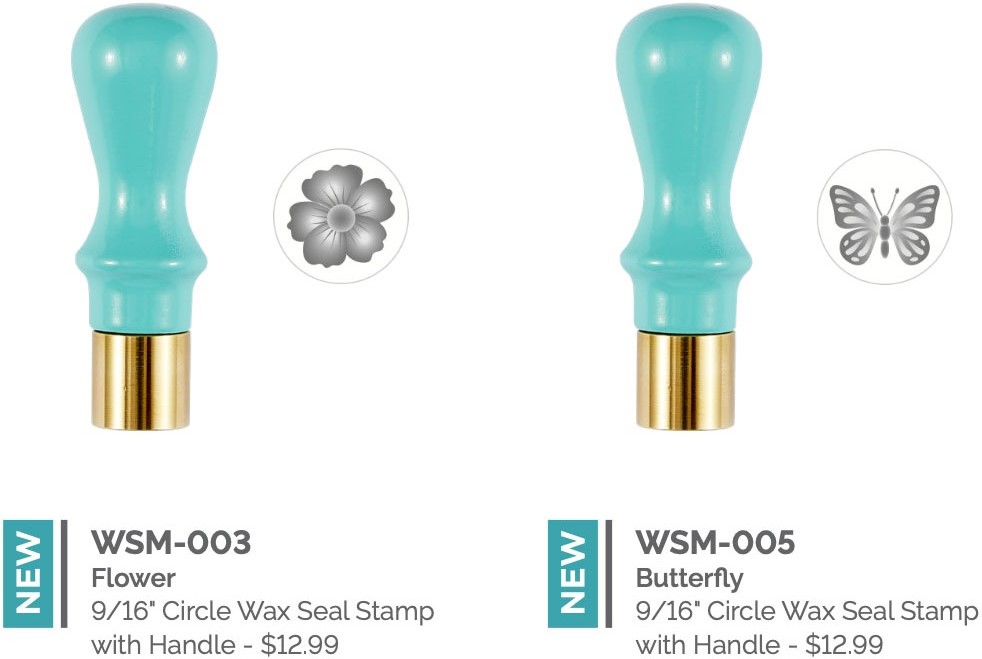
The Mini 3D Wax Seals Collection by Spellbinders offers a delightful range of miniature wax seals, each featuring intricate three-dimensional designs that add a charming touch to any project. These seals, including the Puffy Heart, Bow, Flower, and Butterfly designs, are perfect for embellishing envelopes, cards, and gift packaging. Each seal comes with a sturdy teal wooden handle and a 9/16-inch round brass stamp, ensuring crisp impressions with every use. Pair them with Spellbinders wax beads to create personalized and elegant accents for your creative endeavors.
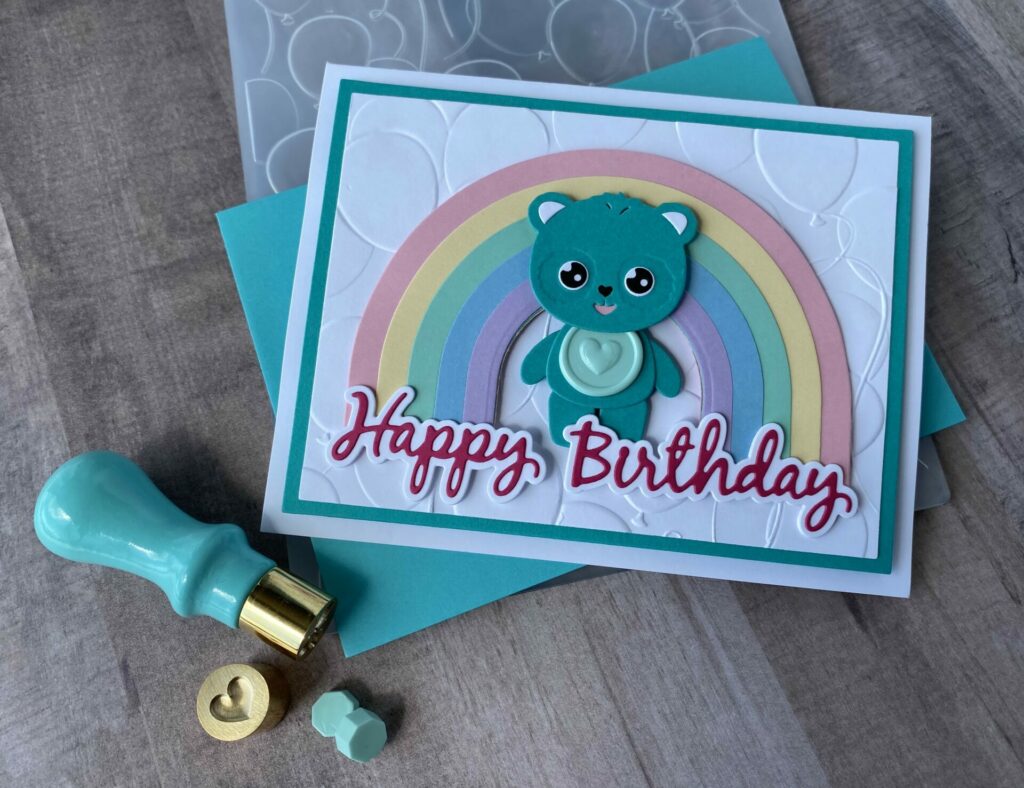
The layered rainbow adds a burst of playful color, while the dimensional “Happy Birthday” sentiment keeps things bold and fun. Whether you’re crafting for kids or kids-at-heart, this card is bursting with joy, color, and a whole lot of heart. Let’s dive into the details of how it all came together!
Link Abbreviations
- SB – Spellbinders*
- Sb.com – Scrapbook.com*
- SSS – Simon Says Stamp
- AMZ – Amazon*
- BA – Blick Art Materials*
Disclosure: I received this product for free to try out and share my honest thoughts with you. This post also includes affiliate links*—if you decide to shop through them, I may earn a small commission (at no extra cost to you). Money earned via affiliate links helps pay the fees to keep this blog up and running. Thanks so much for supporting GroveCrafted and helping me keep the crafty inspiration coming!
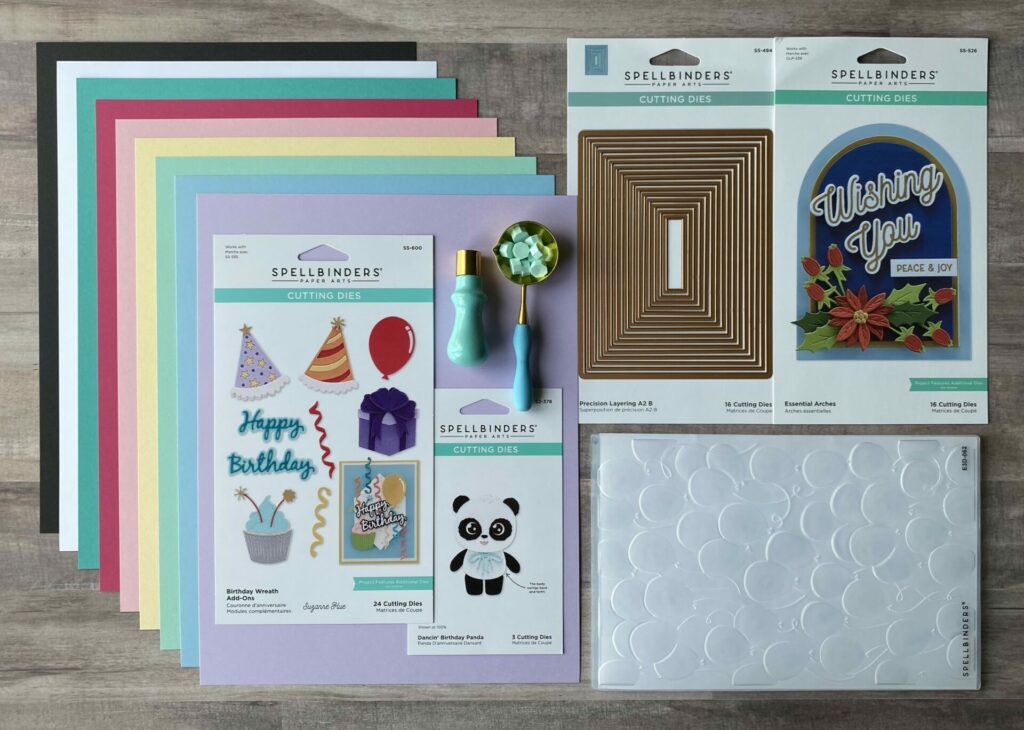
Supplies Used / Substitutions:
- Spellbinders Mini 3D Wax Seal Stamp – Puffy Heart #WSM-001 | SB | Sb.com |
- Spellbinders Wax Beads – Pastel Aqua #WS-040 | SB | AMZ / Any color wax beads
- Spellbinders Cutting Dies – Dancin’ Birthday Panda #S2-378 | SB | Sb.com | AMZ |
- Spellbinders Cutting Dies – Birthday Wreath Add-Ons #S5-600 | SB | Sb.com | AMZ / Any sentiment die
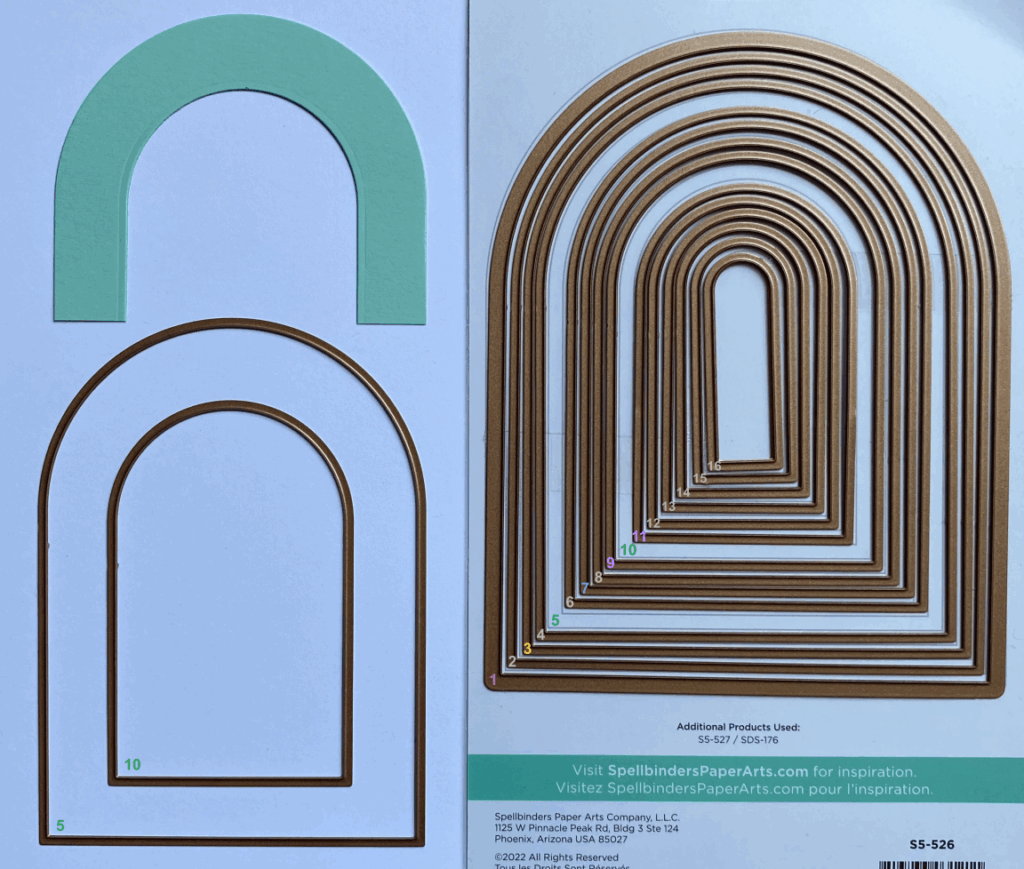
- Spellbinders Cutting Dies – Essential Arches #S5-526 | SB | Sb.com | AMZ / Any rainbow die
- Spellbinders Cutting Dies – Precision Layering A2 B #S5-494 | SB | Sb.com |
- Spellbinders 3D Embossing Folder – Floating Balloons #E3D-062 | SB | Sb.com | AMZ / Any embossing folder
- Spellbinders 80lb Assorted Cardstock – Berry Pink, Light Pink, Yellow, Teal, & Lilac #CS-070 | SB / Any cardstock
- Spellbinder Essentials Cardstock – Raindrop #CS-019 | AMZ / Any light blue cardstock
- Spellbinders ColorWheel Cardstock / Any cardstock
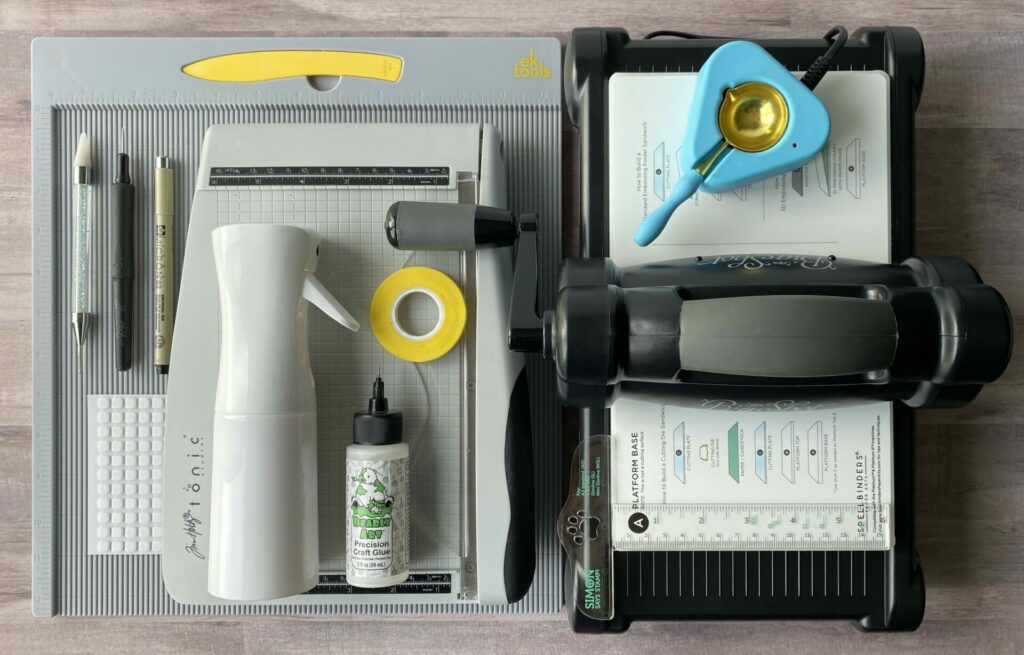
Tools Used / Substitutions:
- Spellbinders Platinum Six | SB | Sb.com / Any die cutting machine
- Spellbinders Wax Seal Starter Kit | SB | Sb.com / Any wax seal warmer
- Tim Holtz Comfort Paper Trimmer | Sb.com | AMZ | SSS / Any paper trimmer
- EK Scoring Board | AMZ | SSS / Any scoring board
- Bearly Art Glue | SB | Sb.com | AMZ / Any liquid adhesive
- Spray Bottle with water | SB | Sb.com | AMZ / Any spray bottle
- Die Pick / Toothpick
- SSS Embellishment Wand | SSS / Reverse Tweezers
- Sakura Micron Pen 03 – Black | BA / Any fine tip marker that doesn’t bleed
- Foam Squares | SSS / Craft foam
- Craft Foam – White | SB / Any craft foam
- Best Ever Craft Tape – 0.25 in | SB | Sb.com / Any low tack tape
- T-Square | SSS |
Making the Card Base
- Start with a sheet of white cardstock and cut it in half using a paper trimmer. You’ll end up with two pieces, each measuring 8½” x 5½”.
- Score one of the pieces at 4¼” along the long side.
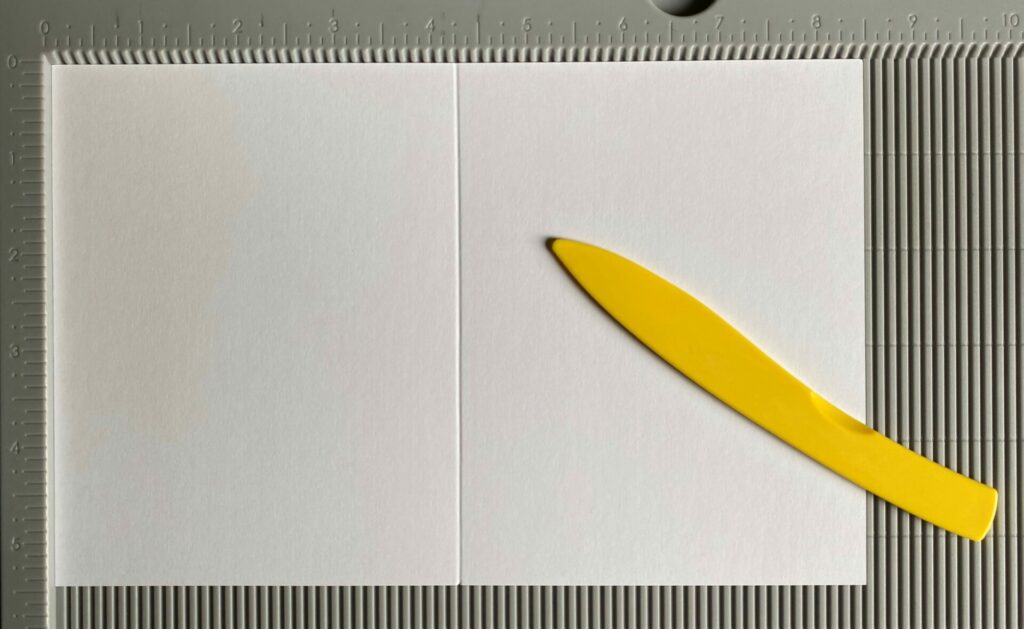
- Fold along the score line and press the crease with a bone folder for a crisp fold.
- Your finished card base will measure 4¼” x 5½” — a standard A2 size.
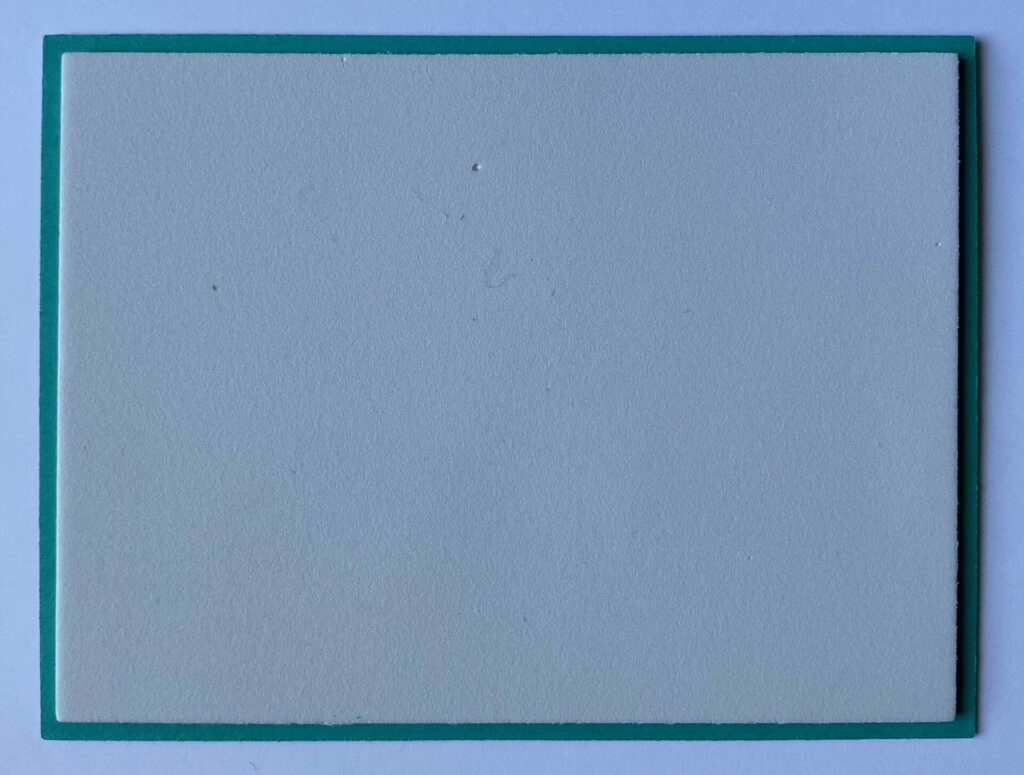
- Next, die cut a panel from teal topaz cardstock using the second largest die from the Precision Layering A2 B die set.

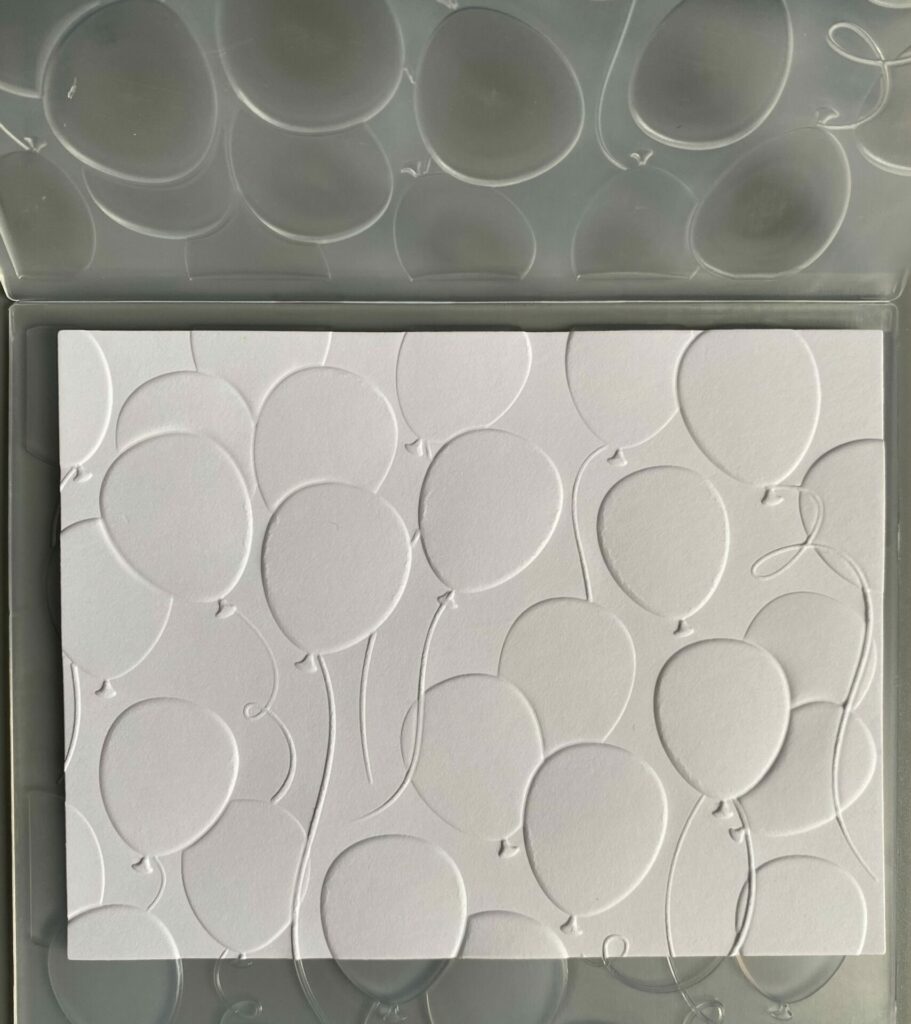
Embossing the Balloons
- Die cut a panel from white cardstock using the third largest die from the Precision Layering A2 B die set.
- Lightly mist both sides of the die-cut panel with water. Place it inside the Floating Balloons 3D embossing folder and run it through your die-cutting machine.

- To prevent warping, place a flat cutting pad on top of the panel while it dries.
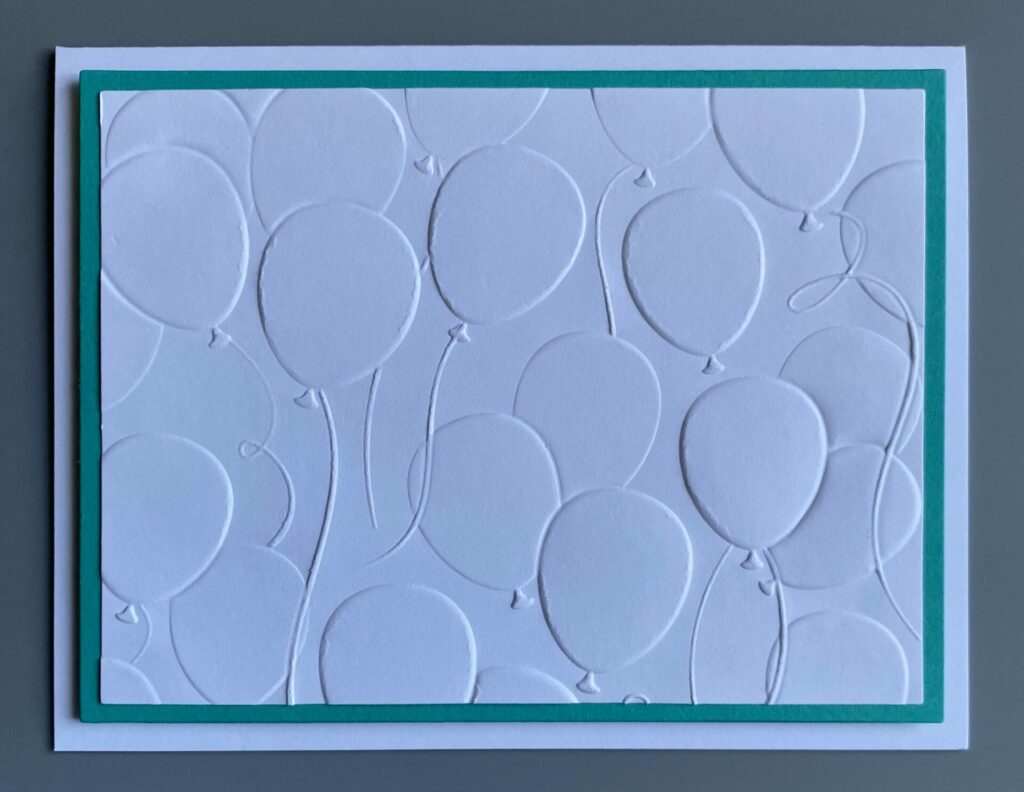
- Once dry, glue the embossed panel to the front of the teal topaz panel and place a heavy object on top to ensure a secure bond.
- Glue a slightly smaller panel of craft foam to the back of the teal panel, or use foam squares instead if you prefer.
- Then, glue it to the center of the white A2 card base.
Cutting & Assembling the Rainbow
Prepare the Cardstock:
Trim each color of cardstock to 3 inches high and slightly wider than the largest arch die for that color.
- Pink Arch: Use light pink cardstock and cut with dies #1 and #10.
- Yellow Arch: Use light yellow cardstock and cut with dies #3 and #10.
- Teal Arch: Use light teal cardstock and cut with dies #5 and #10.
- Blue Arch: Use raindrop cardstock and cut with dies #7 and #10.
- Purple Arch: Use light lilac cardstock and cut with dies #9 and #11.
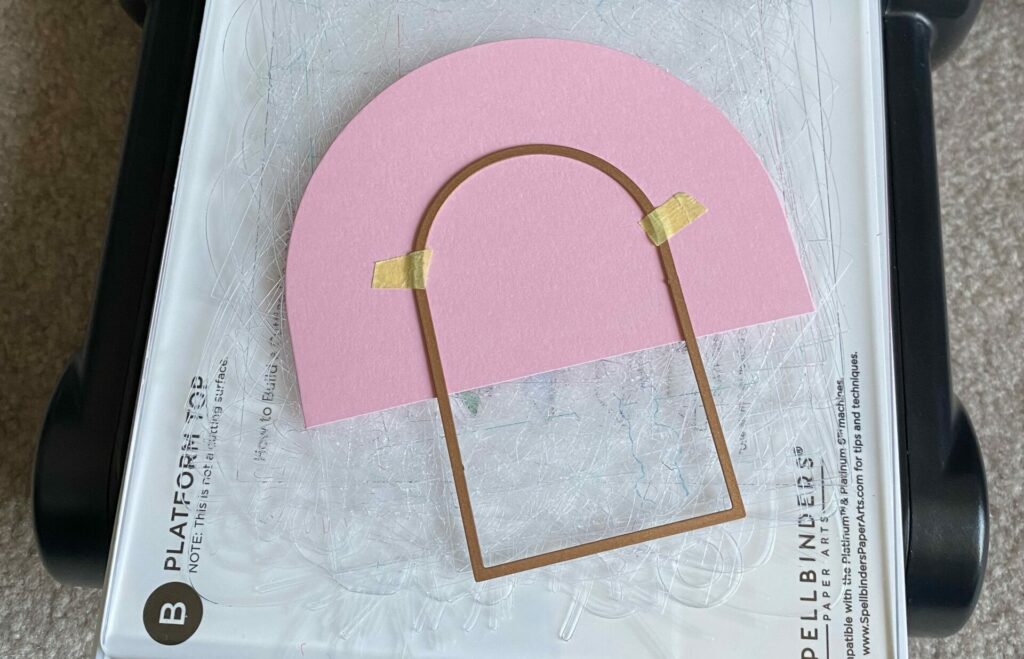
Die Cutting:
- Die cut each color of cardstock using the corresponding larger arch die.
- Center the smaller arch die within the larger die-cut arch and secure with tape, then run it through your die-cutting machine.
- Repeat this process for each color, using the correct die pair for each arch.
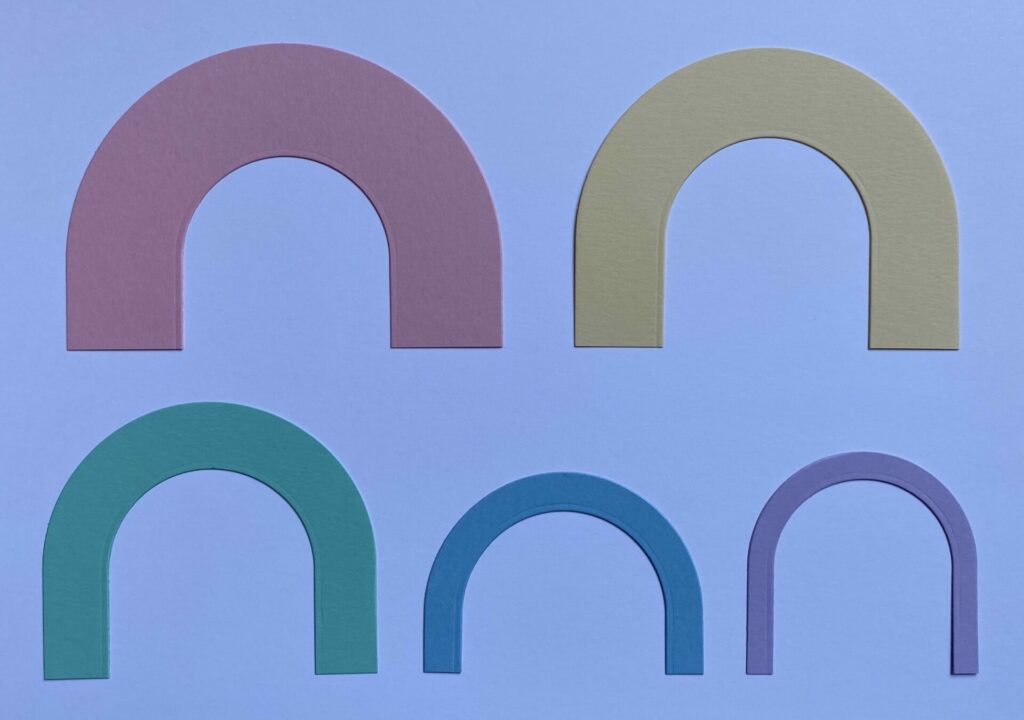
Assembling:
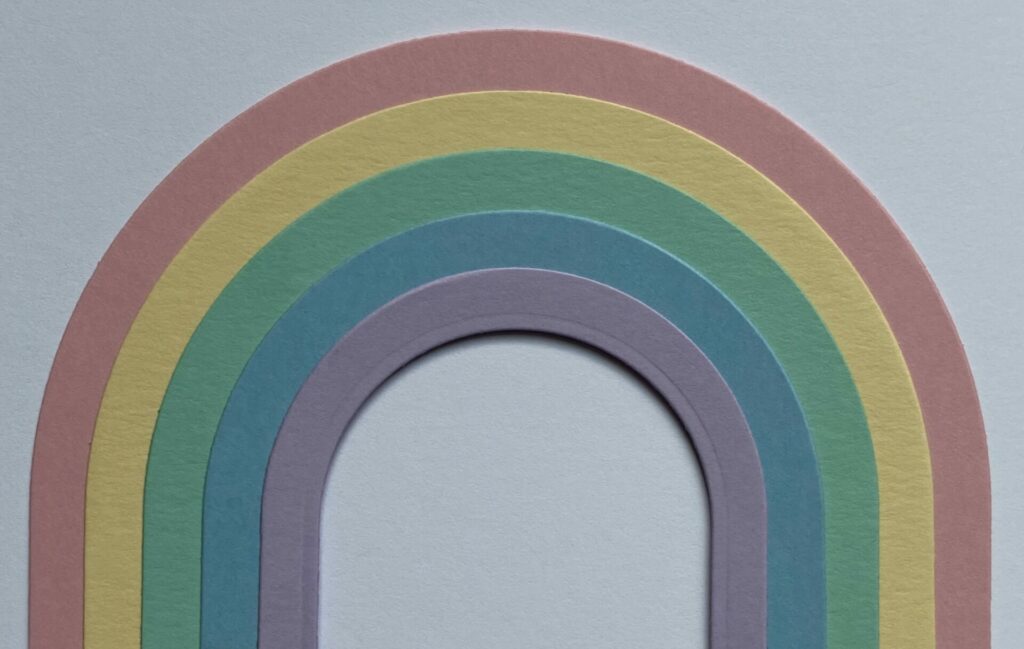
- Layer the arches in rainbow order, leaving about ¼ inch of spacing between each layer.
- Glue the layers together and place something heavy on top while it dries.
- Once dry, trim the rainbow down to 2⅞ inches tall using scissors.
- Add foam squares to the back of the rainbow and adhere it to the front of your card.
Cutting & Assembling the Bear
Die Cutting:
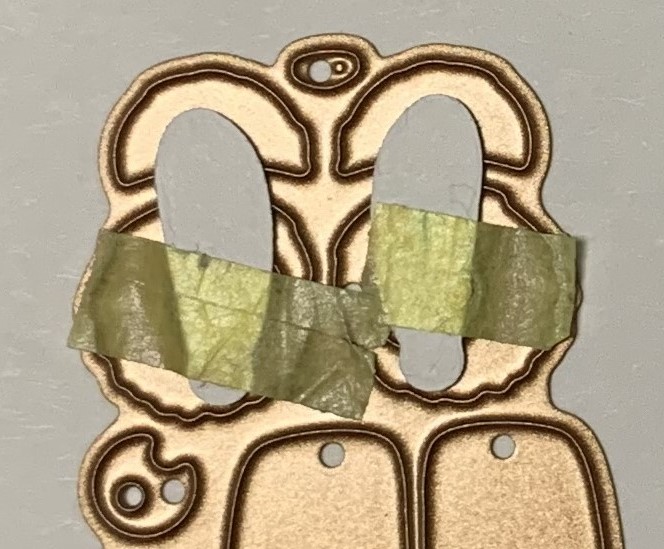
- Cut a set of arms and solid eye circles from white cardstock. (These are the dropout pieces from the panda eyes die cuts.)
- Place the white arm die cuts on the ear portion of the panda die and secure them with tape. (See photo below for reference.)
- Run it through your die-cutting machine.
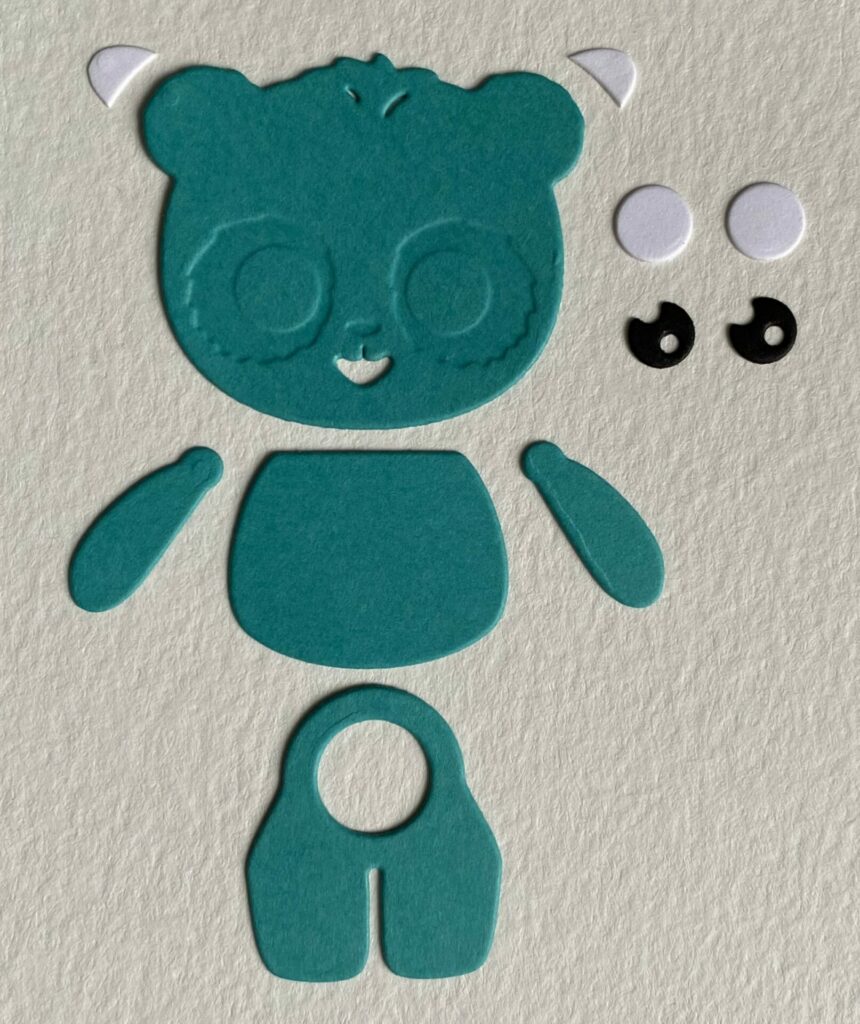
- Cut the eyes from black cardstock.
- Die cut the head, arms, body, and legs from teal topaz cardstock.
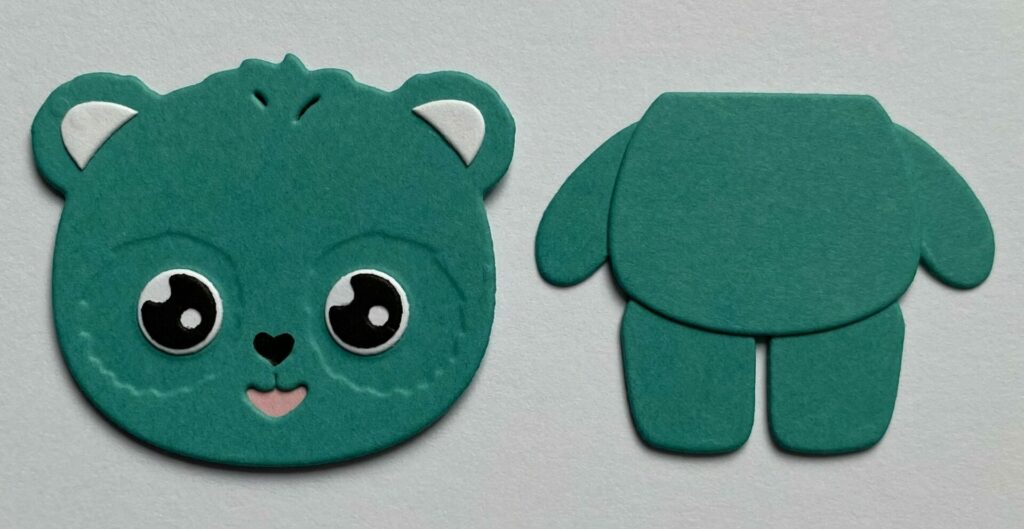
Assembling:
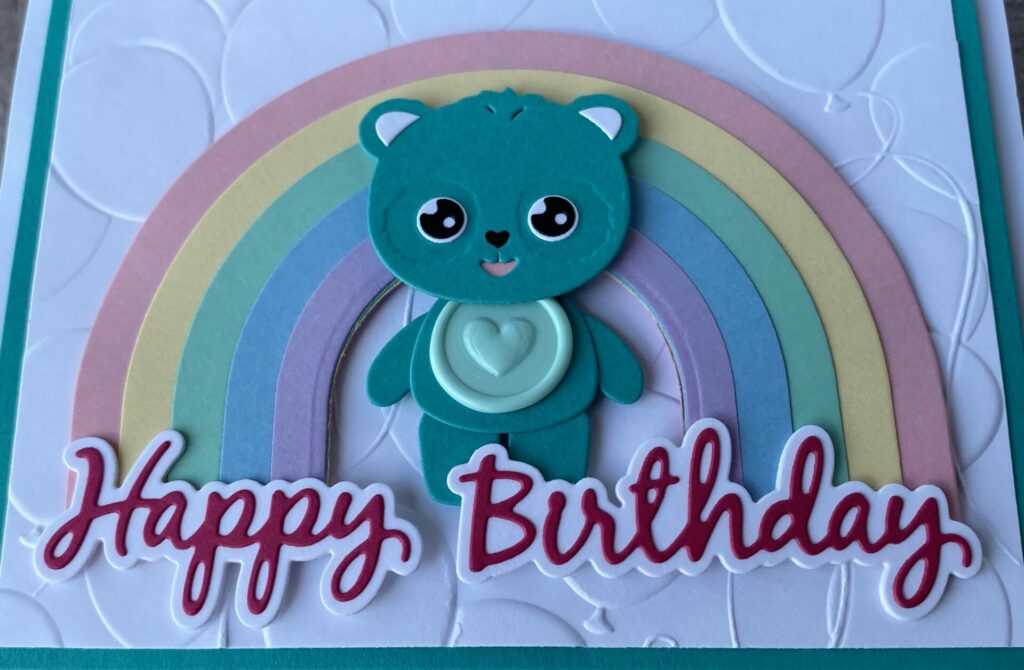
- Use a black Micron pen to draw a small heart-shaped nose on the bear’s face.
- Glue the eyes and ears in place. (An embellishment wand can be helpful for positioning these small pieces.)
- Glue a small piece of light pink cardstock behind the mouth and black cardstock behind the hair slits.
- Finally, glue the arms and legs behind the body.
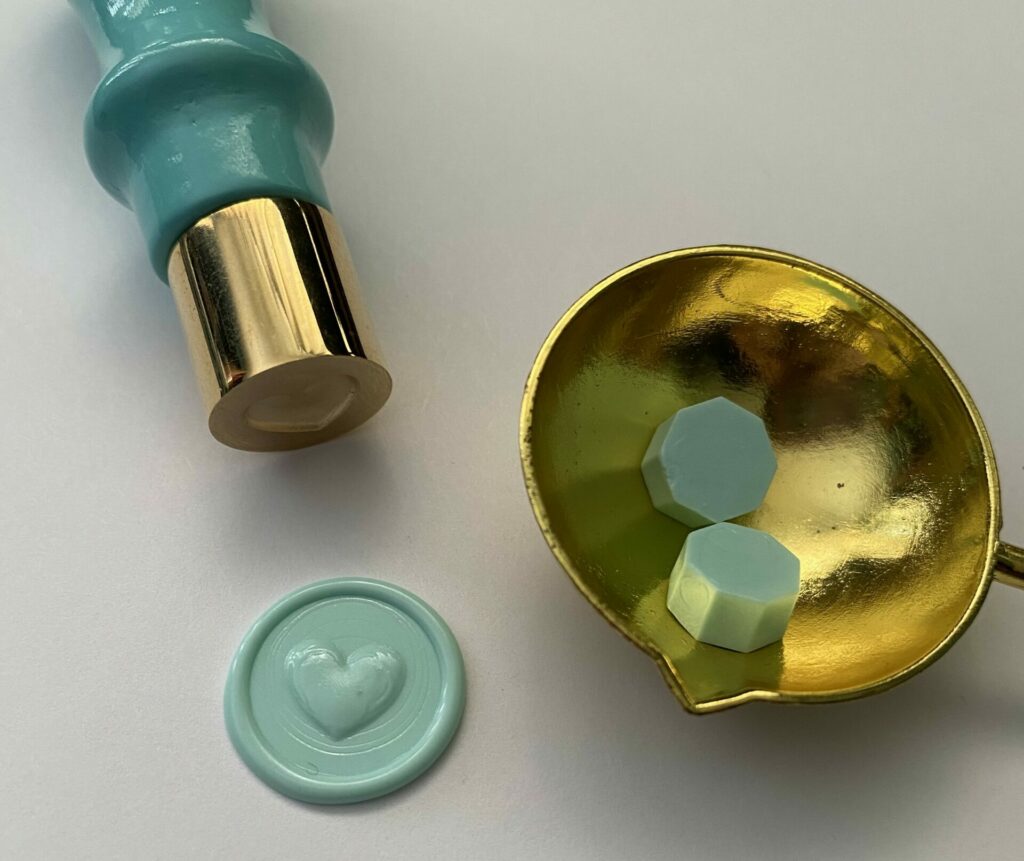
Creating the Wax Seal
- Place two pastel aqua wax beads in a warming spoon and melt them completely.
- Once melted, carefully pour the wax onto a silicone mat.
- Press the puffy heart mini wax seal stamp into the wax while it’s still warm.
- Allow the wax to cool completely before gently removing the stamp.
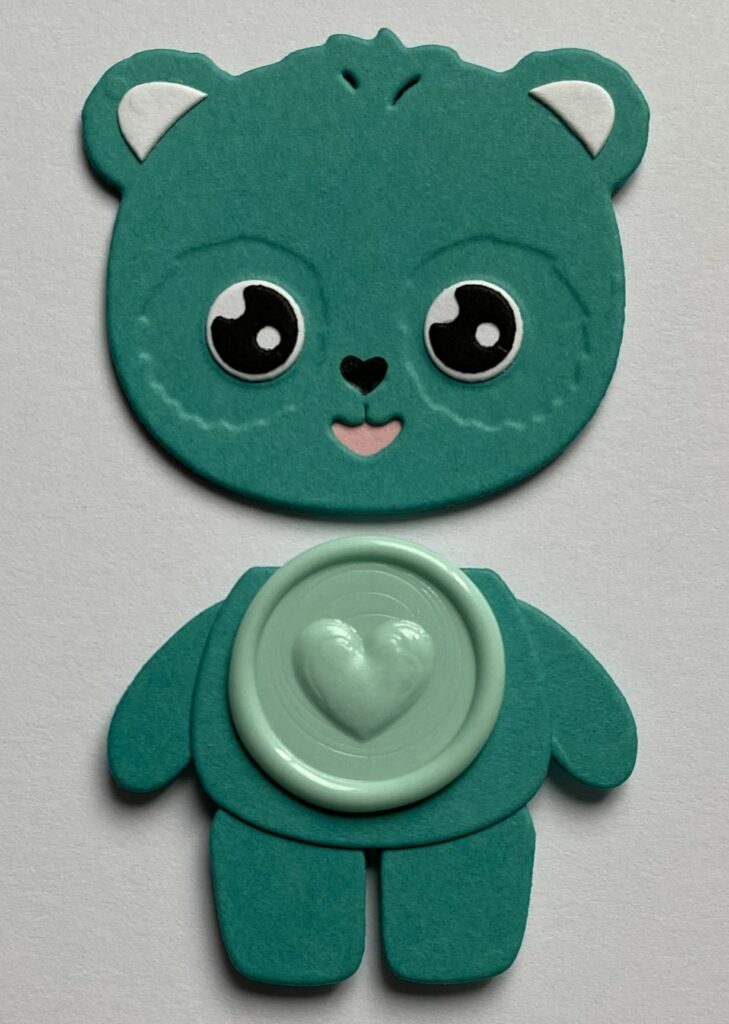
- Use glue to securely attach the wax seal to the center of the bears belly.
Attaching the Bear
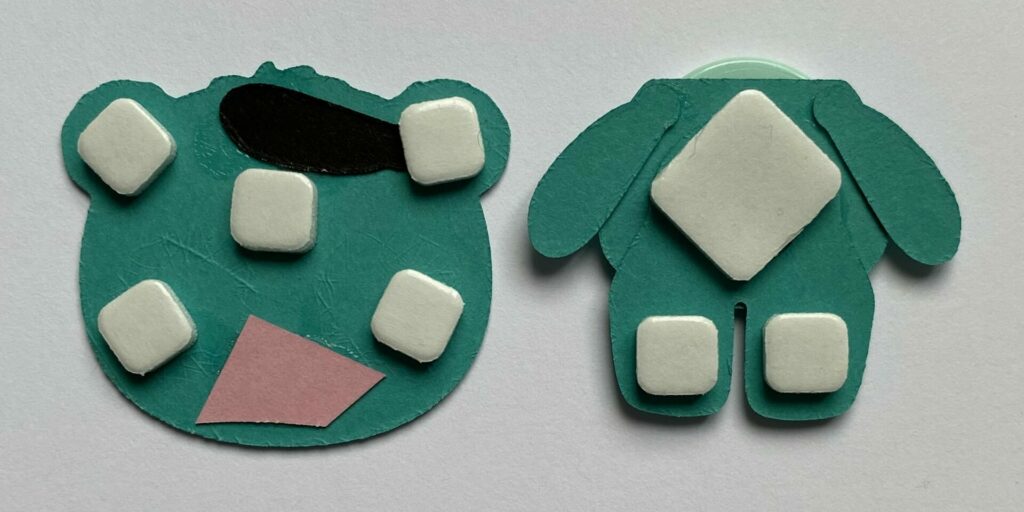
- Add foam squares to the back of the bear’s head and body.
- Center the bear’s body within the rainbow arch and adhere it to the card.
- Attach the head on top of the body, centering it within the rainbow.
Making the Sentiment
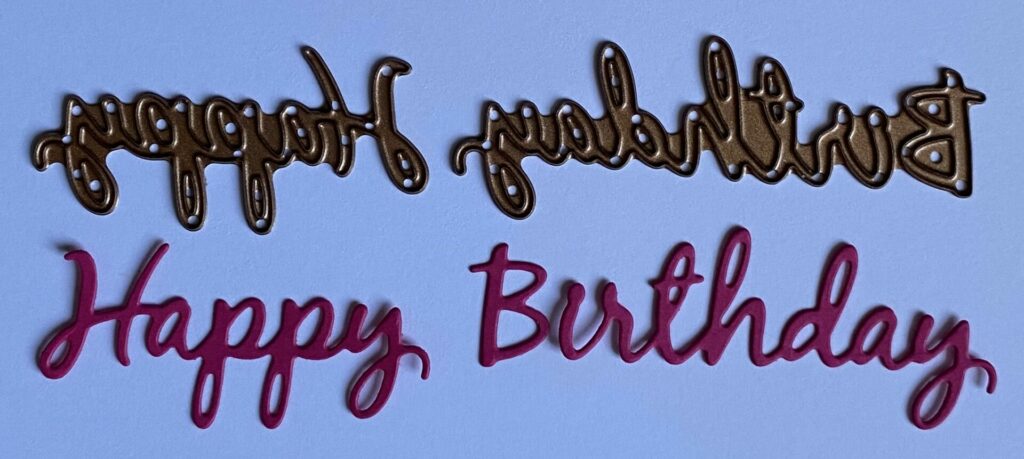
- Die cut the happy birthday base layer from white cardstock three times.
- Cut the happy birthday sentiment from berry pink cardstock.
- Glue the pink sentiment on top of one white base layer.
- Stack and glue the other two white base layers behind it for added dimension.
- Use glue and foam squares to attach the sentiment to the bottom of the rainbow on the card.


Beary Sweet Birthday Card Complete!
And that’s a wrap on the Beary Sweet Birthday Card! I hope you had as much fun following along as I did putting it together. If you try this project (or put your own spin on it), I’d love to see what you create—be sure to tag me (@silversgrove or @grovecrafted) over on Instagram! Thanks so much for stopping by the blog today—I hope this tutorial sparked some inspiration for your next crafty session. Until next time, happy creating!
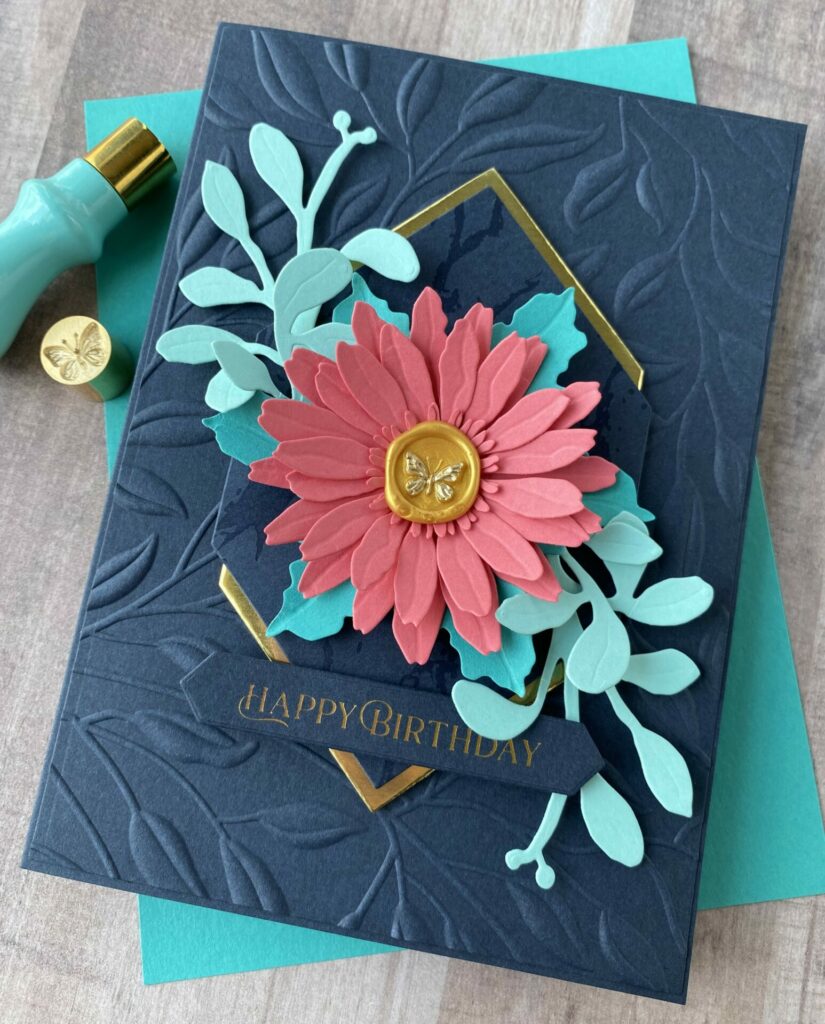
If you loved creating the Beary Sweet Birthday Card, you won’t want to miss the Butterfly Blooms Birthday Card tutorial—featuring a wax seal and layered floral details!