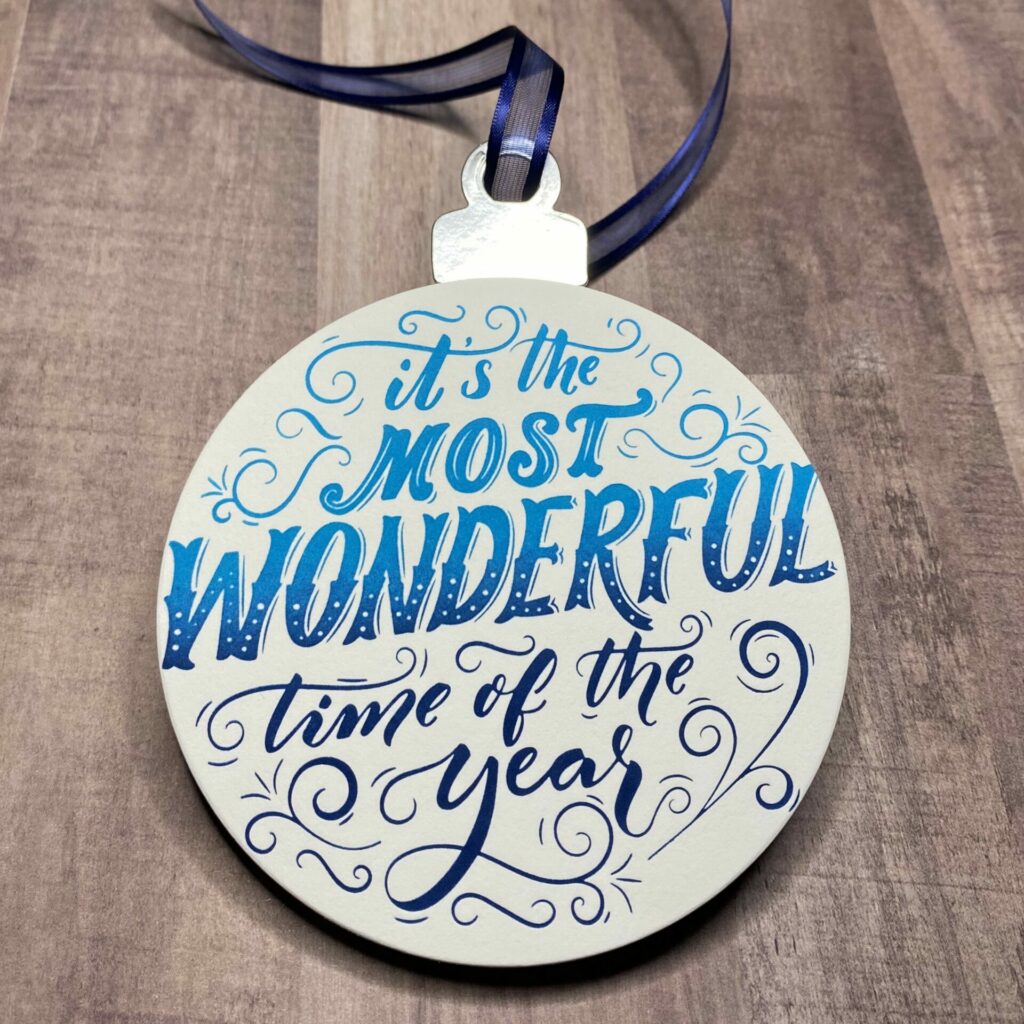
BetterPress Ornament Card
Hello crafty card makers! Continuing with Christmas in July, I have another holiday card tutorial for you! Today I’m sharing how I made this BetterPress ornament shaped card. This tutorial will guide you through the process of making stunning Christmas ornament-shaped cards, perfect for adding to your festive decorations or gifting to loved ones. Using the precision and elegance of the BetterPress Letterpress System, you’ll learn how to craft intricate and professional-looking designs that capture the magic of the holiday season. Whether you’re an experienced crafter or a beginner, this project promises to bring joy and creativity to your Christmas preparations.
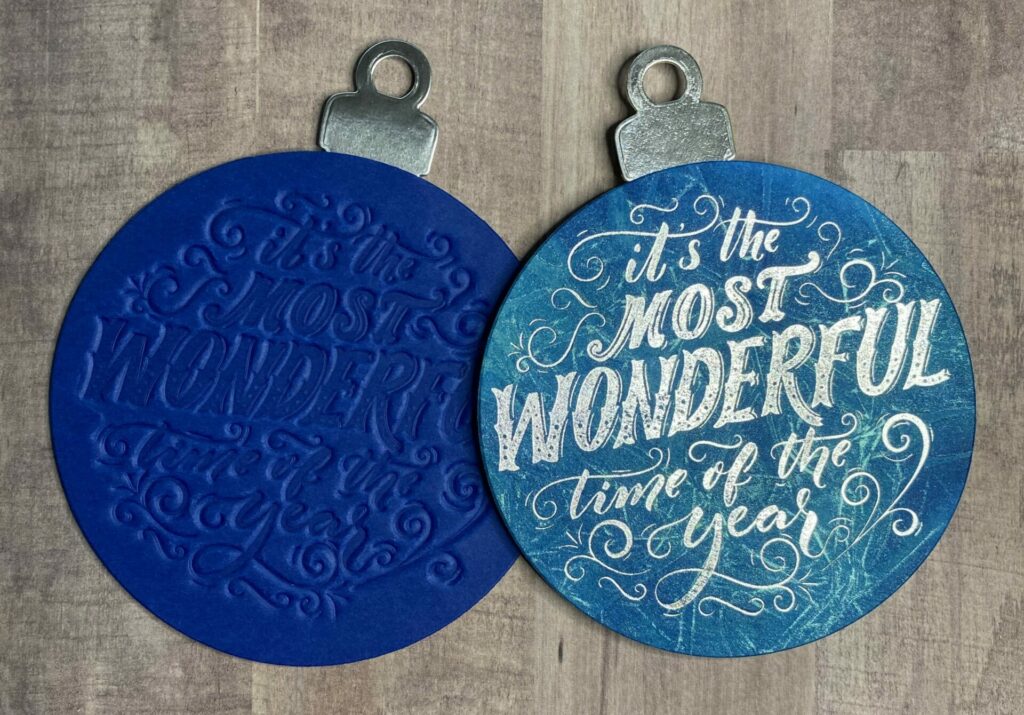
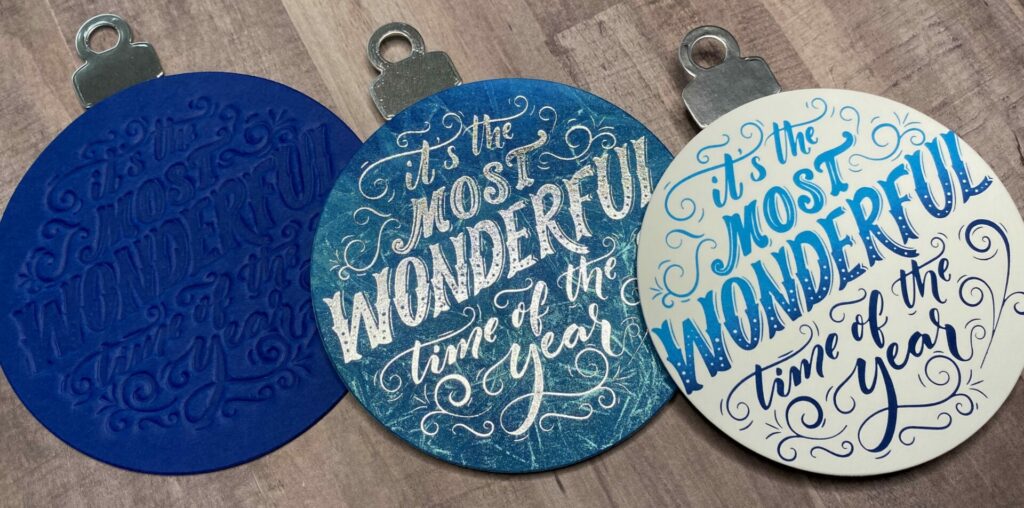
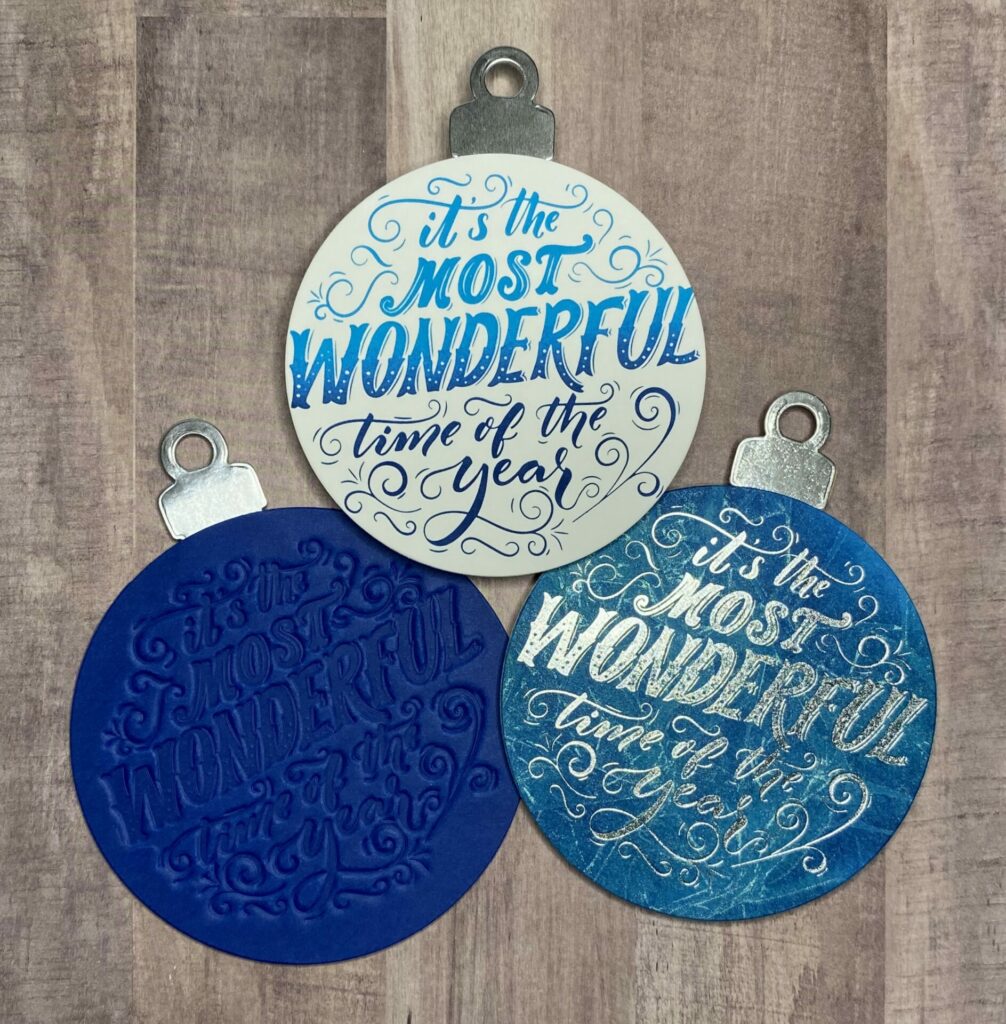
This tutorial demonstrates how to create a card using the BetterPress Letterpress System. Additionally, there are two alternative methods to make this card using different techniques. One option is to use the plate to create an impression, while the other involves foiling it with the Glimmer hot foil system. It is worth noting that BetterPress plates produce beautiful foiling results!
Link Abbreviations
- AMZ – Amazon*
- HA – Hero Arts*
- SB – Spellbinders*
- Sb.com – Scrapbook.com*
- SSS – Simon Says Stamp
Full Disclosure: This post contains affiliate links which are indicated with an (*). If you click on an affiliate link and later make a purchase, I may receive a small commission. Clicking on an affiliate link which earns a commission does NOT result in additional charges to you or cost you anything extra. Money earned via affiliate links helps pay the fees to keep this blog up and running. Thank you so much for shopping through my links to show your support for the brands that we love and the products that I share!
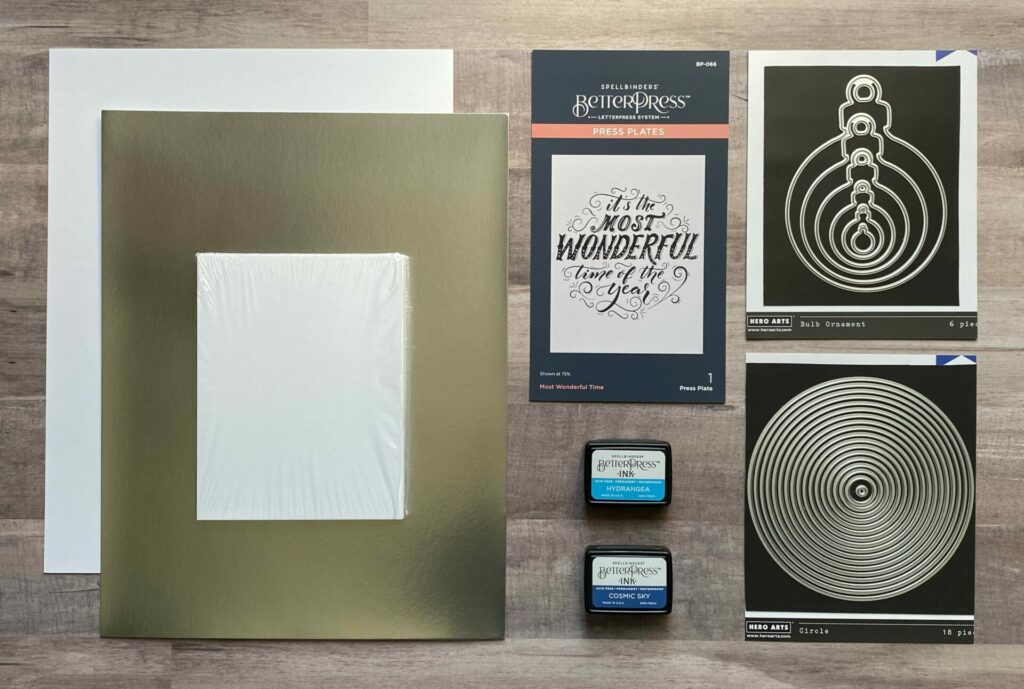
Supplies Used / Substitutions:
- Spellbinders BetterPress Press Plate – Most Wonderful Time #BP-066 | Sb.com | SB | AMZ | SSS / Any sentiment plate or stamp that fits
- Hero Arts Nesting Infinity Dies – Circle #DI199 | HA | SB | AMZ / Any 4 inch circle die
- Hero Arts Infinity Dies – Bulb Ornament #DF072 | HA | Sb.com | AMZ | SSS / Any large ornament die
- Spellbinders BetterPress Cotton Card – Porcelain A2 #BPC-002 | Sb.com | SB | AMZ |
- SSS Metallic Cardstock – Matte Silver #ssp1007 | SSS / Any silver metallic cardstock
- Distress Heavystock – White | Sb.com | AMZ / Any white heavyweight cardstock
- BetterPress Ink – Hydrangea #BPI-012 | Sb.com | SB | AMZ | SSS |
- BetterPress Ink – Cosmic Sky #BPI-003 | Sb.com | SB | AMZ | SSS |
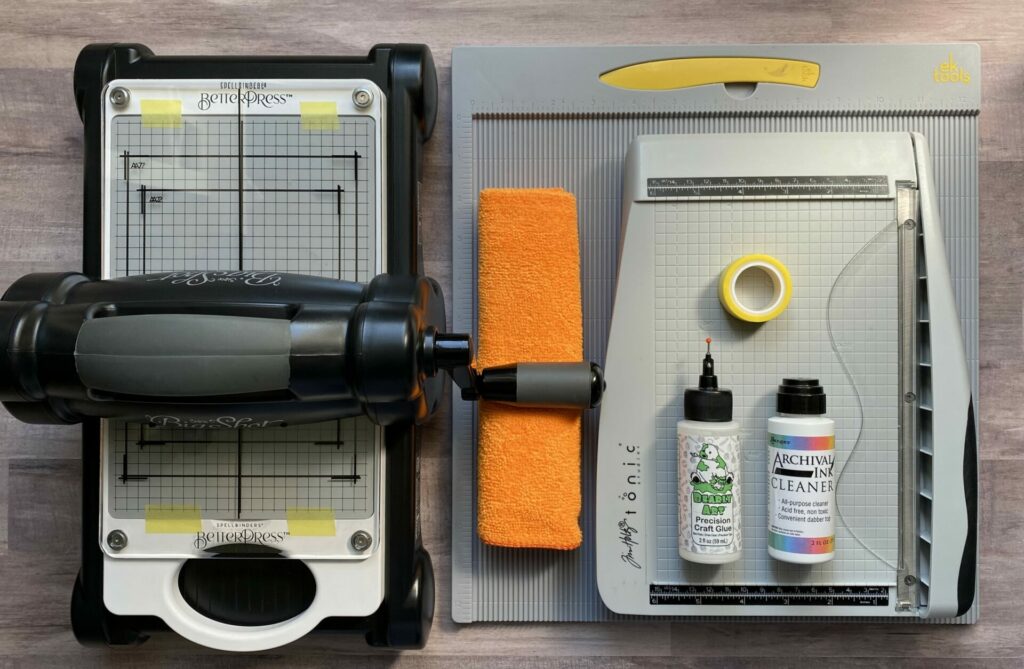
Tools Used / Substitutions:
- Spellbinders BetterPress Letterpress System | Sb.com | SB | AMZ |
- Spellbinders Platinum Six | Sb.com | SB / Any die cutting machine
- Tim Holtz Tonic 8.5in Comfort Paper Trimmer | Sb.com | AMZ | SSS / Any paper trimmer
- EK Scoring Board | AMZ | SSS / Any scoring board
- Bearly Art Glue | Sb.com | SB | AMZ | SSS / Any liquid adhesive
- Best Ever Craft Tape – 5/8 in | Sb.com | SB |
- Microfiber Cloth | SSS / Any old small towel
- Archival Ink Cleaner | Sb.com | SB | SSS |
Making The Card Base
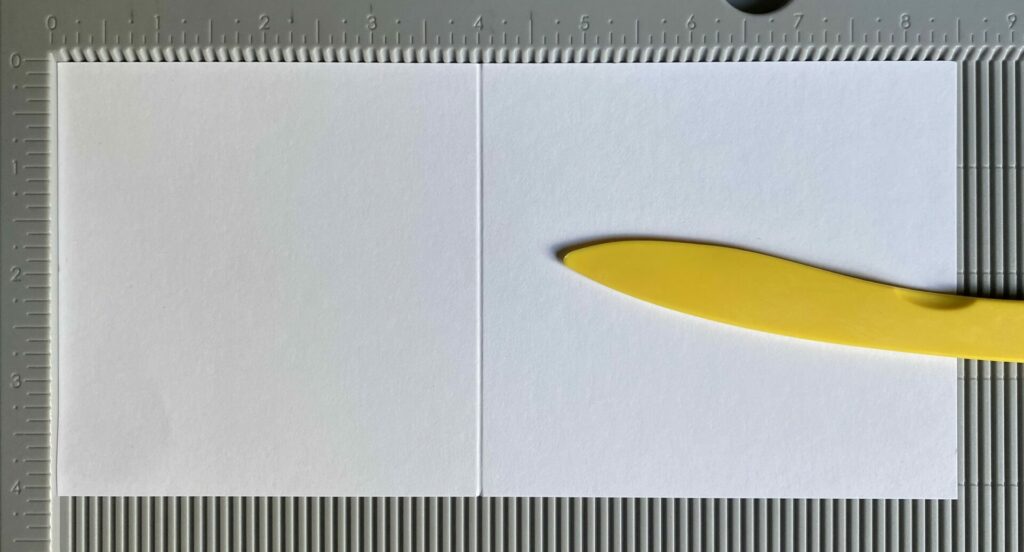
- Cut the white cardstock down to a size of 4¼ x 8½ inches using your paper trimmer.
- Score the cardstock at the 4-inch line and fold it in half.

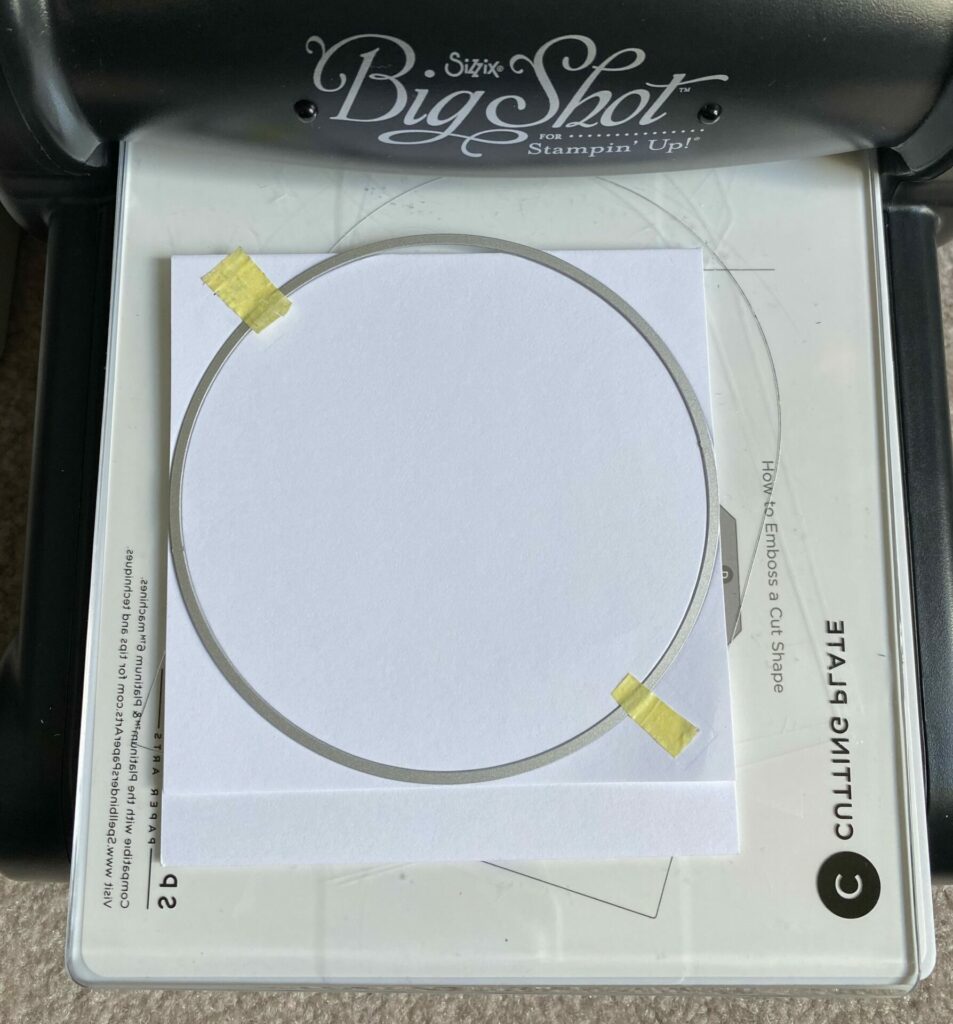
- Place the 4-inch circle die on the card base, ensuring that the fold is at the top and that the circle die slightly extends beyond the edge. This will create the folded hinge of the card base.
- Secure the die with some tape, and run it through your die cutting machine.
Pressing the Sentiment
To start, securely attach the magnetic insert to the chase using best ever craft tape. This will prevent any movement of the magnetic insert, enabling you to repress your design again. Why is this important? It allows you the flexibility to re-ink the BetterPress plate if needed, experiment with color combinations, or achieve a gradient effect.
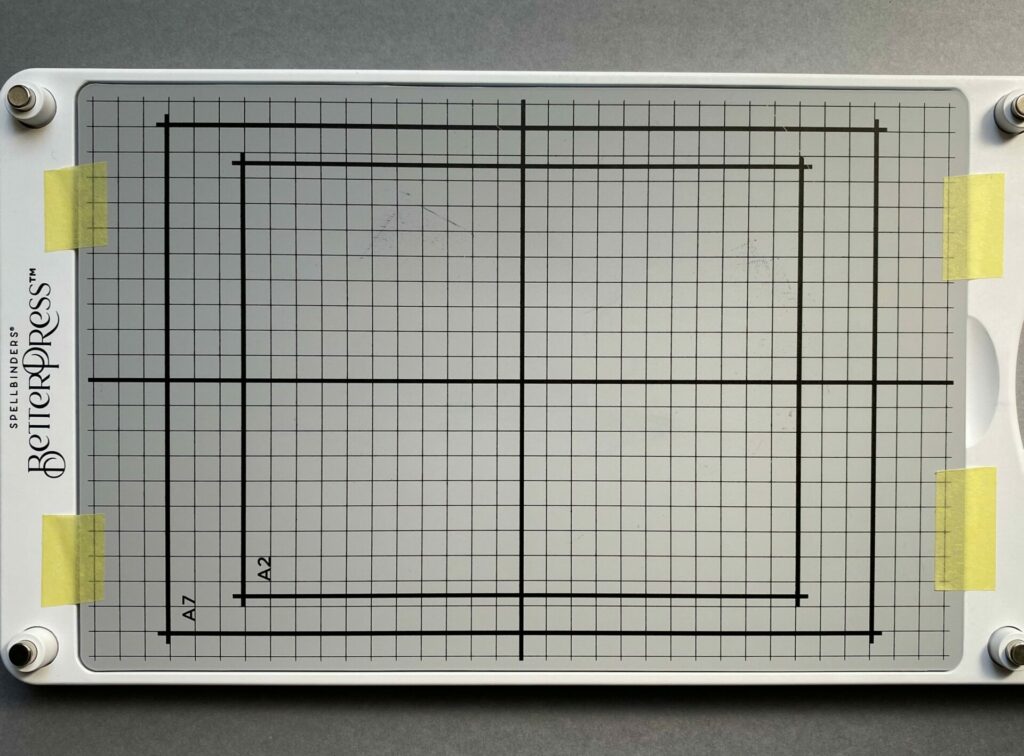
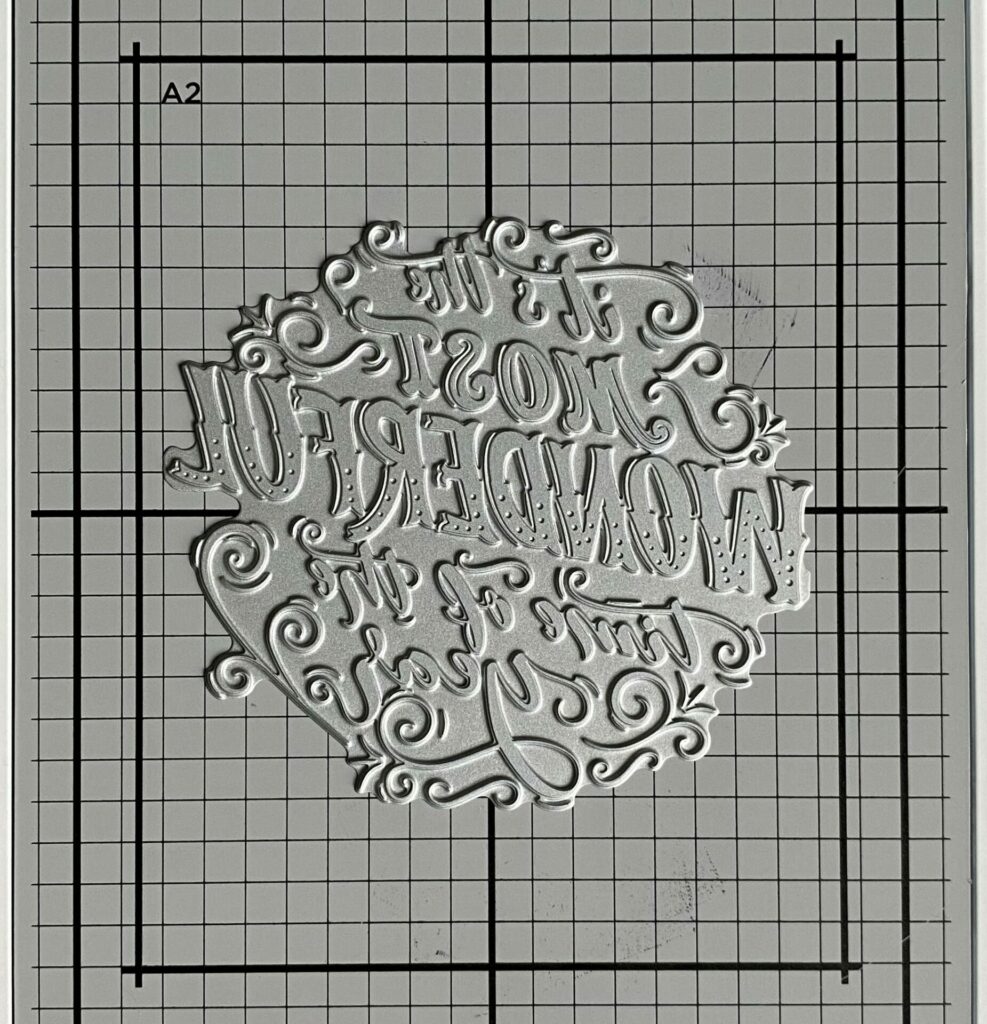
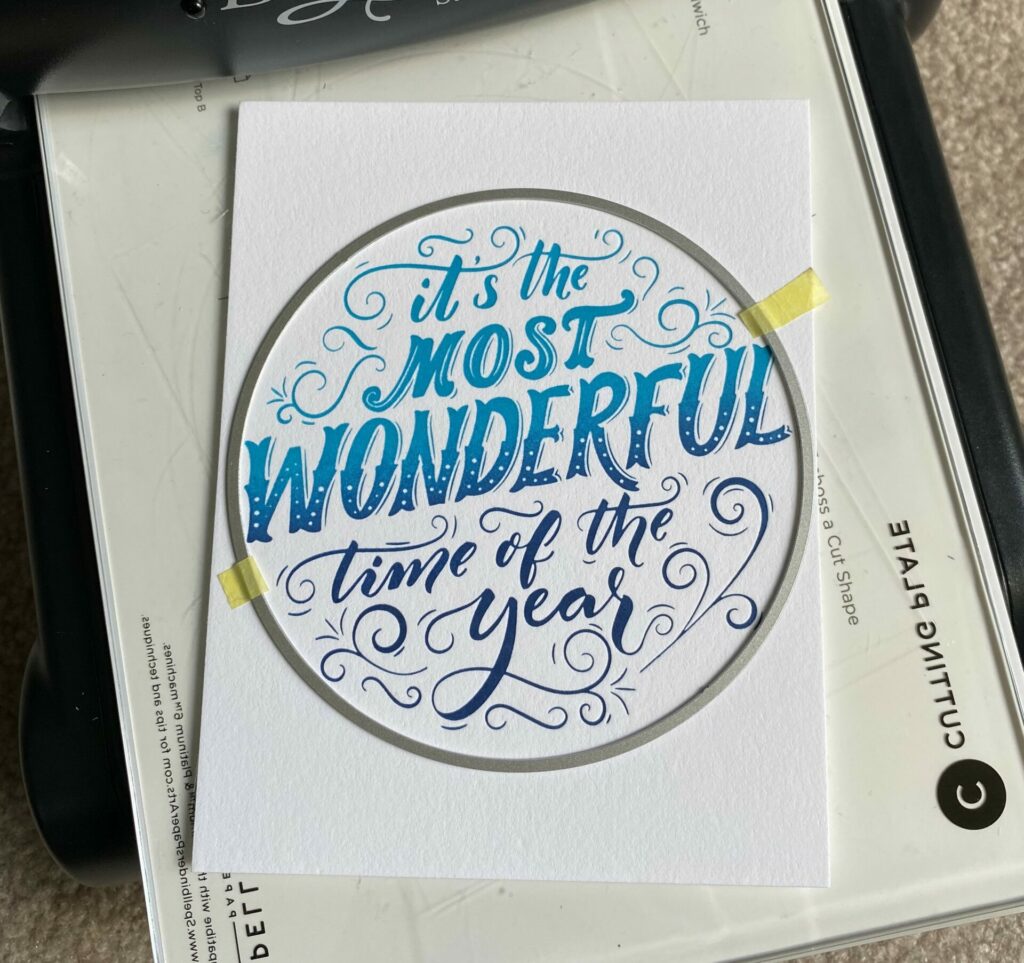
- Position the Most Wonderful Time BetterPress plate in the center of the A2 grid lines on the chase.
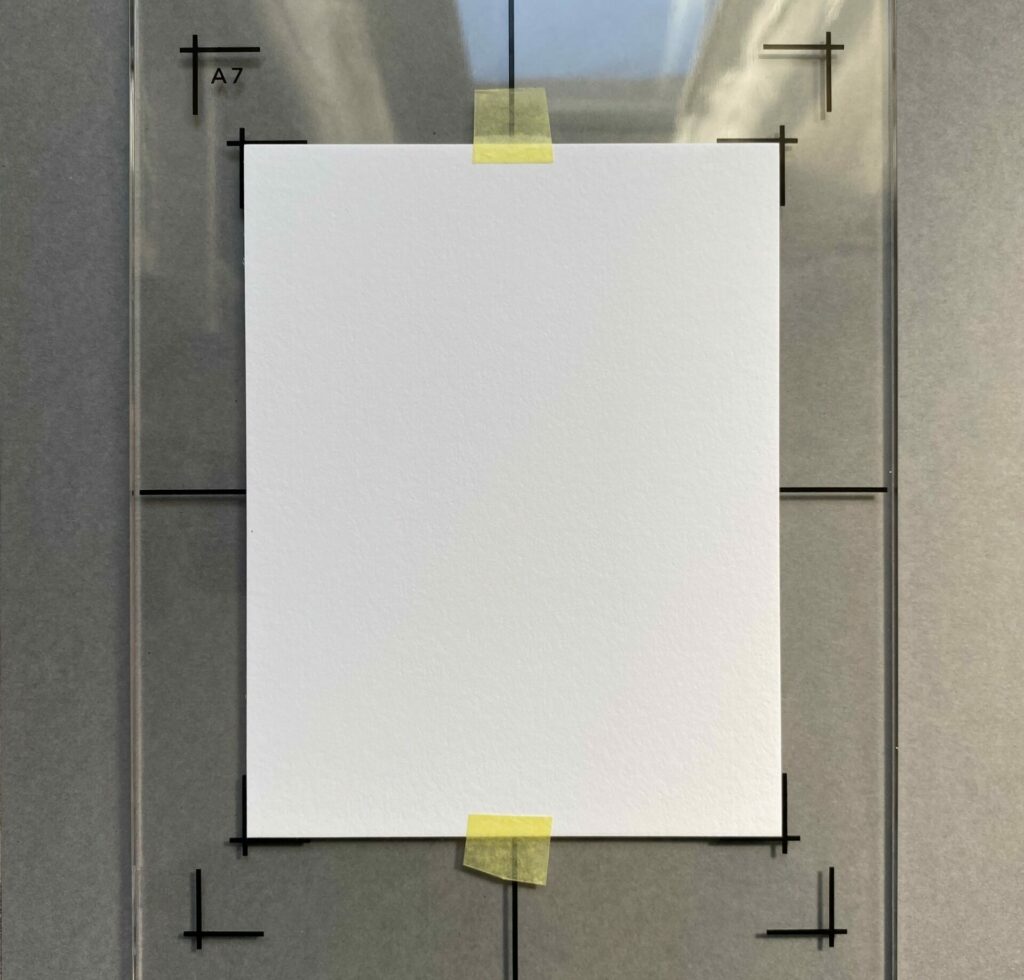
- Attach an A2 cotton card in the color Porcelain to the platen with tape, making sure it is aligned with the A2 guidelines.
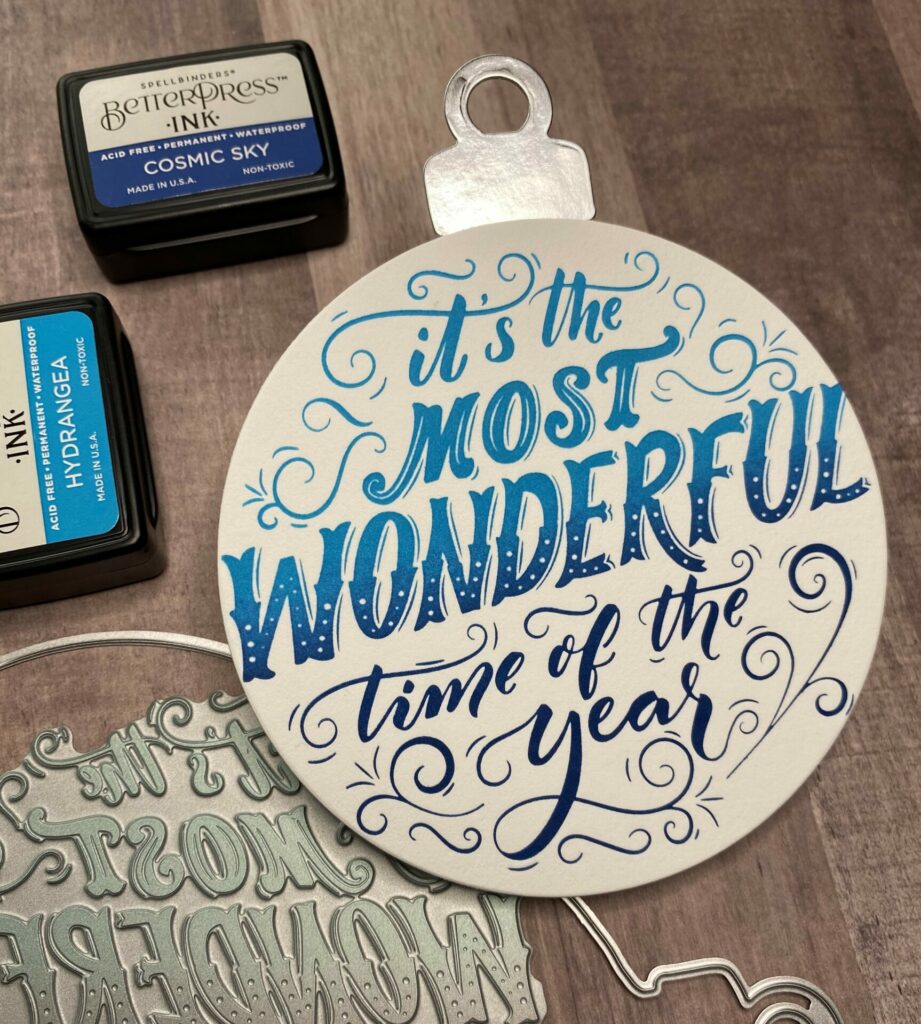
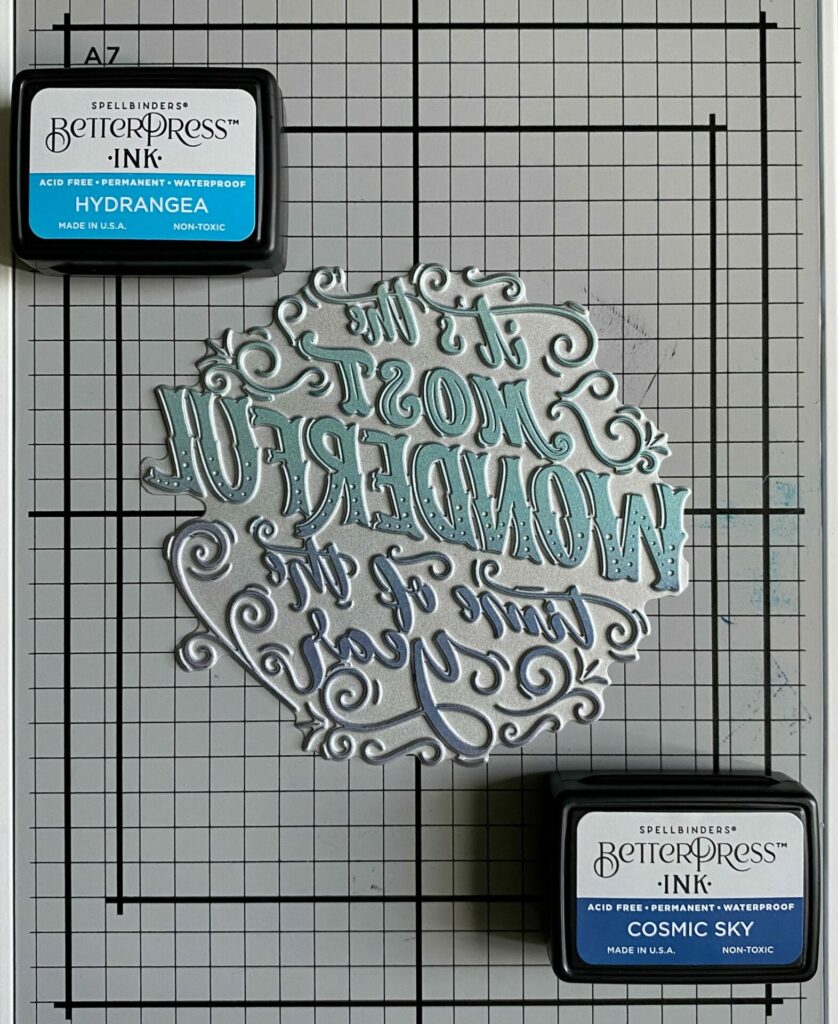
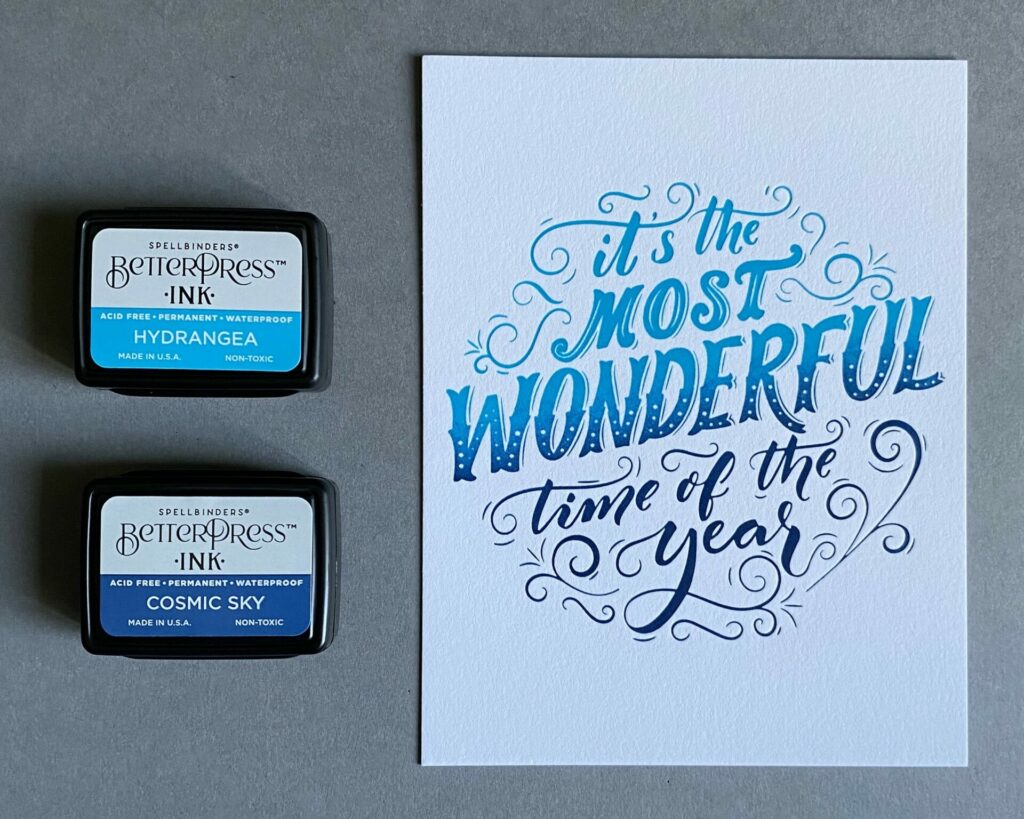
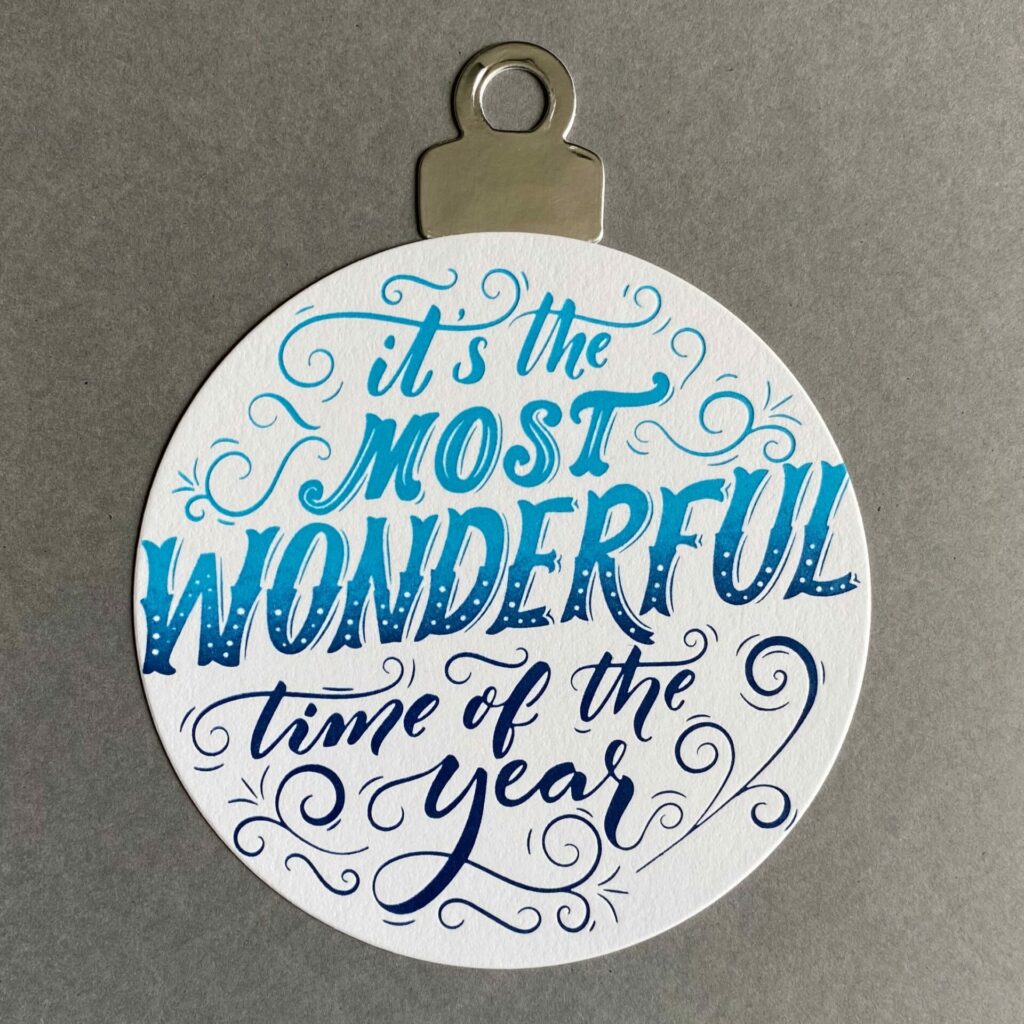
- First, ink “it’s the MOST WONDERFUL” part of the plate with the Hydrangea ink.
- To do this, apply pressure to the ink pad and use a pouncing and twisting motion.
- Next, ink “time of the year”and the bottom half of the word “WONDERFUL” with the Cosmic Sky ink.
- Then, place the platen onto the chase with the paper facing downwards.
- You will hear a clicking sound when the magnets are aligned. DO NOT PRESS DOWN ON IT.
- Place it into your die cutting machine and run it through once.
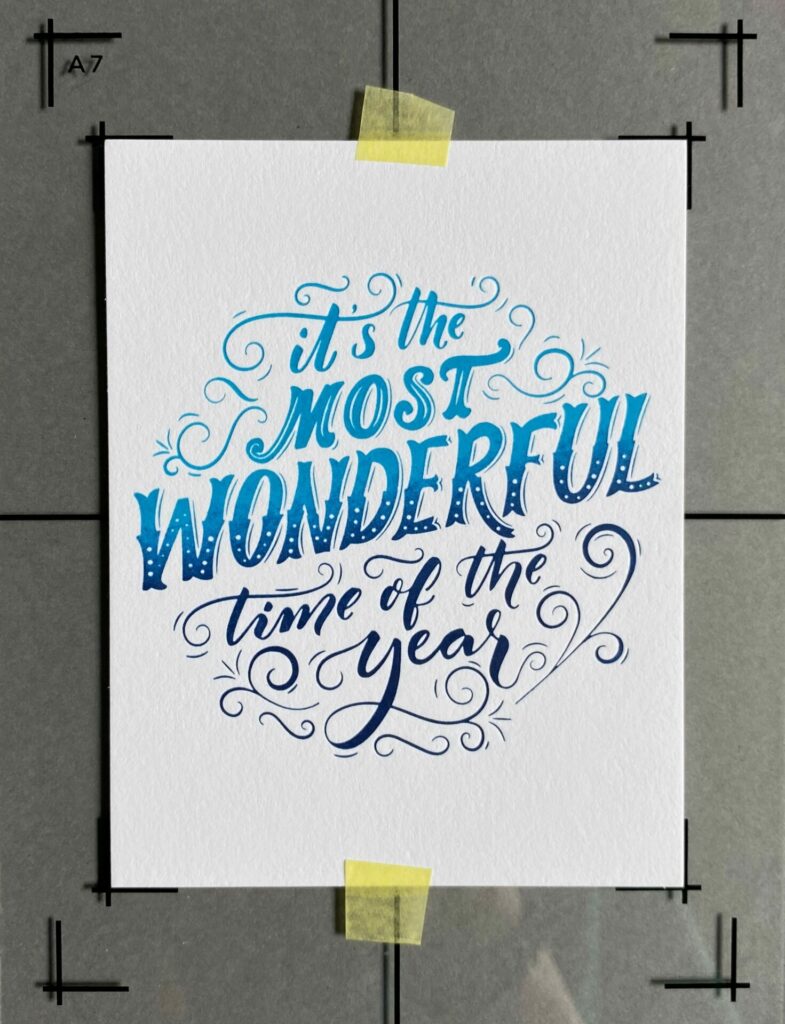
- Remove the platen and inspect it. If there are any uneven areas, reapply ink and press it once more. (DO NOT MOVE THE PLATE if you plan on pressing it multiple times.)
- I pressed mine three times in total.
- Carefully remove the tape from the cardstock.
- When you’re done, clean off any ink from the BetterPress plate and chase with archival ink cleaner.
Making the Ornament
Die Cutting
- Position the 4 inch circle die in the center of the BetterPressed sentiment and secure it with tape.
- Run it through your die cutting machine and pop out the circle die cut.
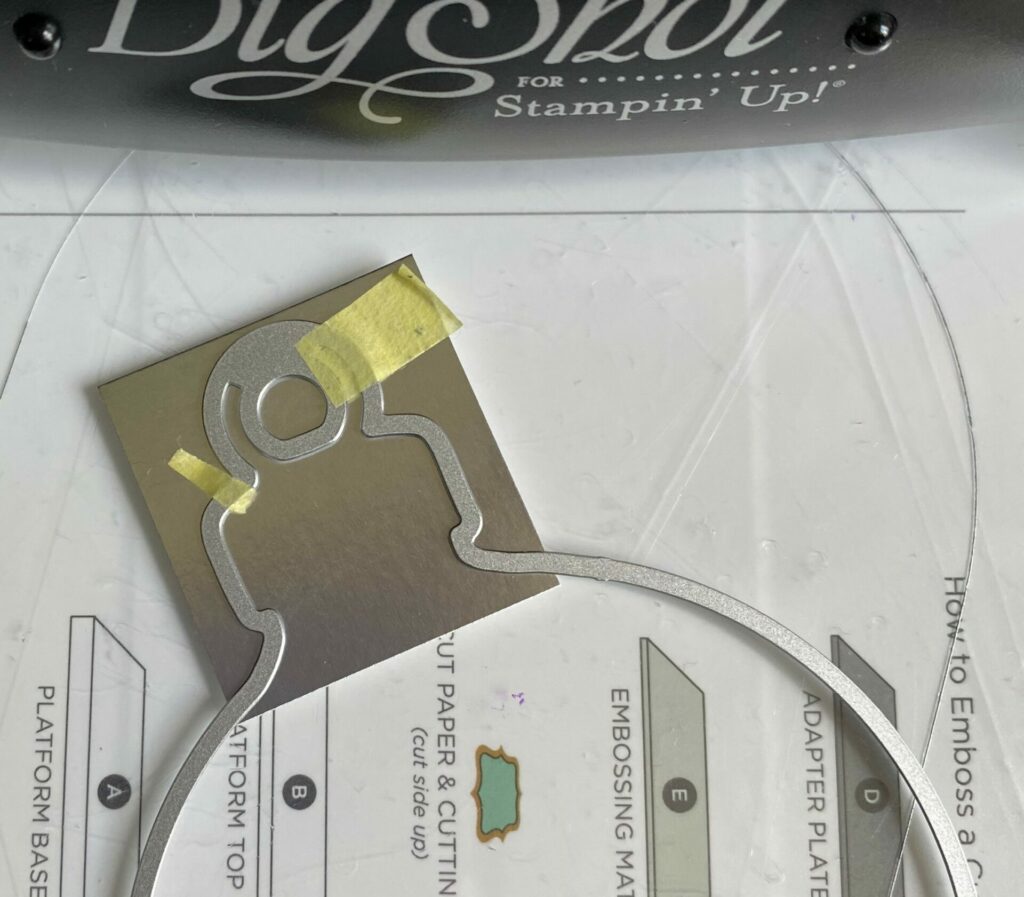
- After that, die cut the top of the ornament from metallic silver cardstock.
- Then, die cut a second ornament topper using white cardstock.
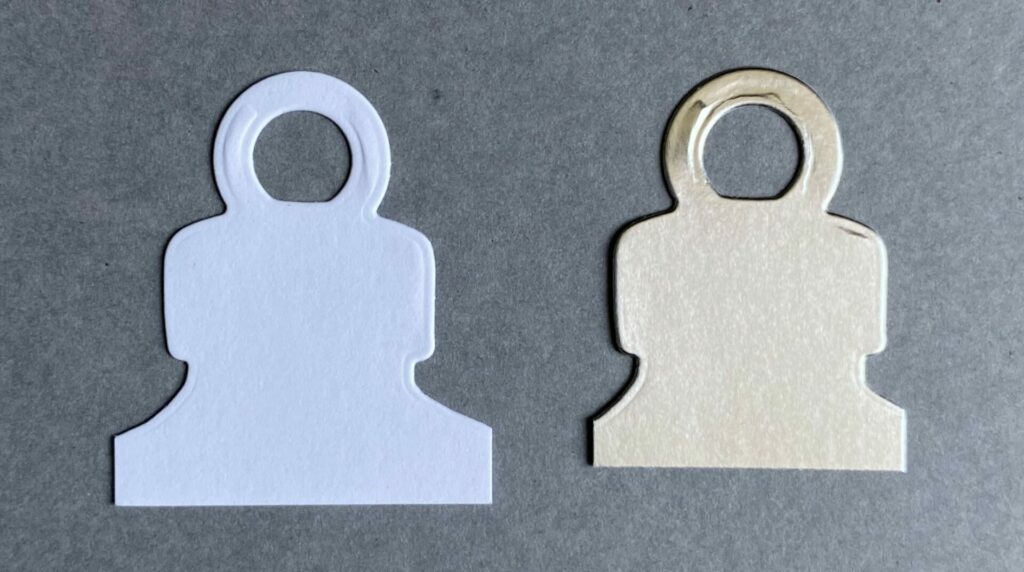
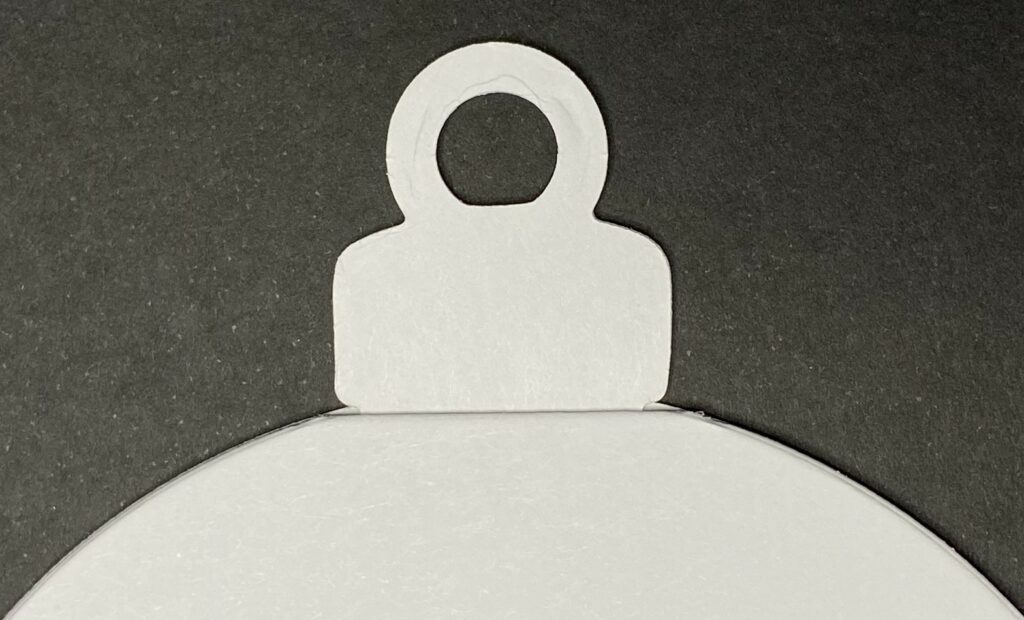
Gluing It Together
- Glue the silver ornament topper die cut on top of the white ornament die cut.
- Set something heavy on top of it while it dries.
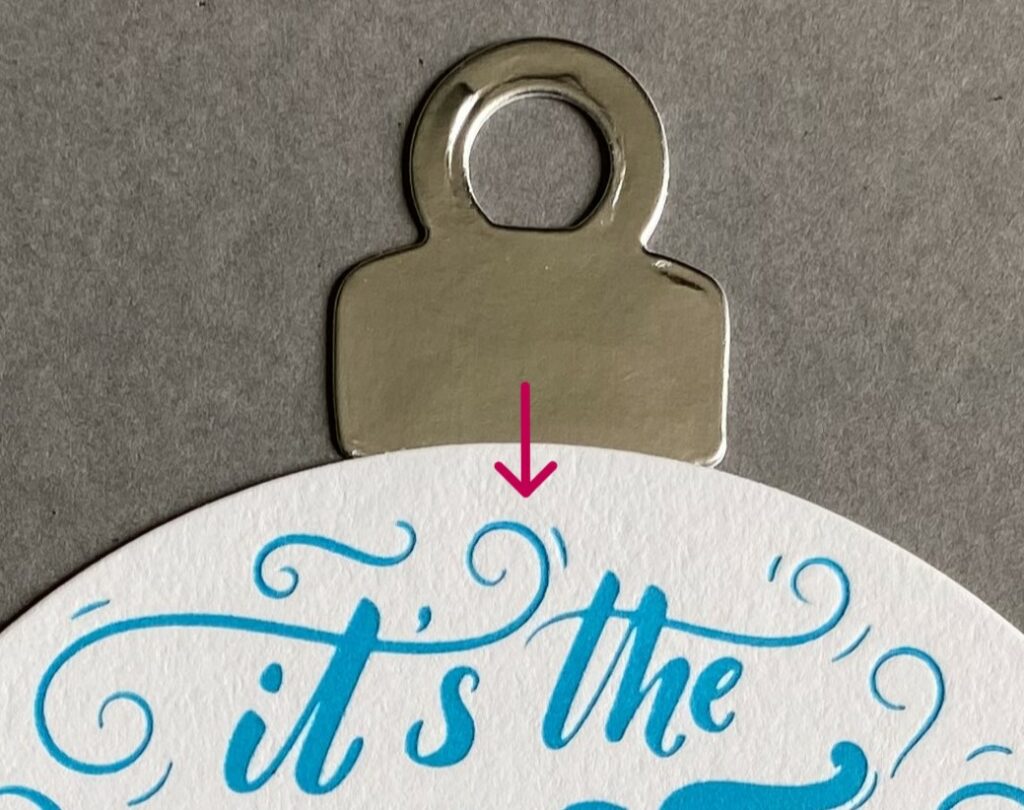
- Then, with the silver side facing up, glue it behind the betterpressed circle.
- I used the word “it’s” fancy swoosh as a guide for the midpoint. See below for reference.
- Lastly, glue the ornament on top of the top folding card base. Center the fold behind the ornament topper.
- Set something heavy on it while it dries.
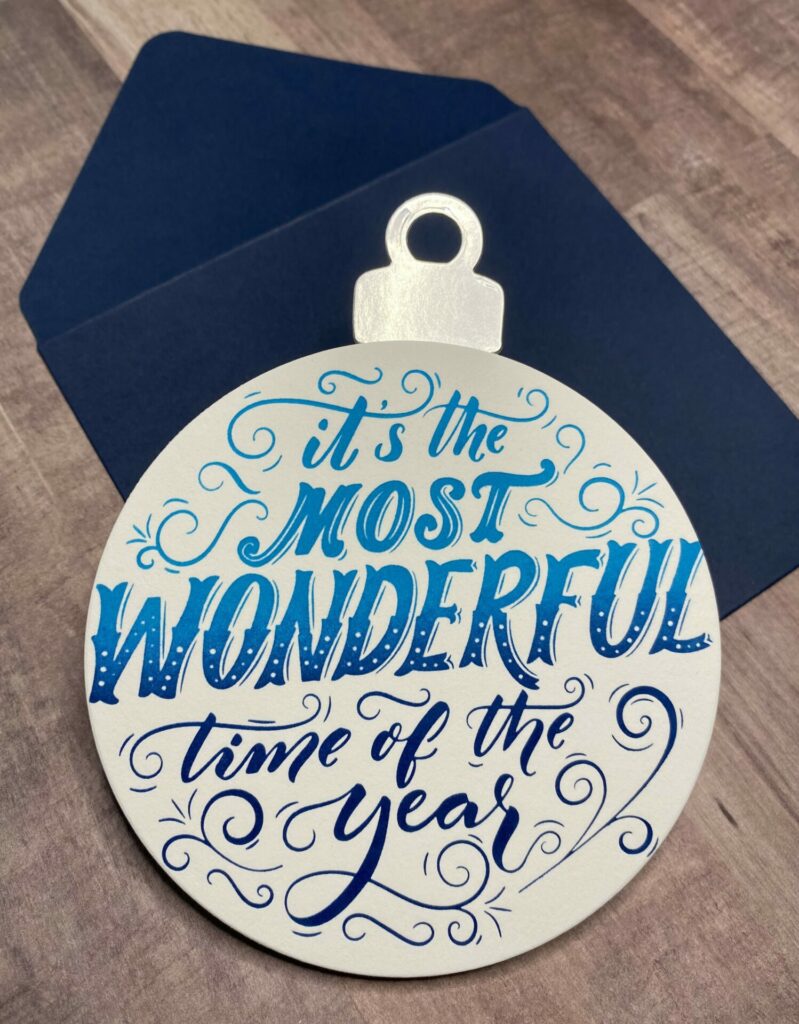
BetterPress Ornament Card Complete!
Hey, congrats! You’ve finished making your BetterPress Ornament Card! I hope you enjoyed this step-by-step guide to creating your own handmade ornament shaped card! Crafting your own cards adds a personal touch that store-bought cards just can’t match. Whether you’re making cards for special occasions or just to brighten someone’s day, the effort and love you put into each one will surely be appreciated.
Don’t forget to share your creations with me on social media and tag me (@silversgrove or @grovecrafted) on Instagram. I’m super excited to see what you’ve come up with! Thanks for checking this out, and I hope it sparked some fresh ideas for your own creations. Until next time, happy crafting!

If you enjoyed making this BetterPress Ornament Card, check out my other Christmas/Holiday Card Tutorials for additional inspiration and ideas.