Dino-Mite Smiles Card
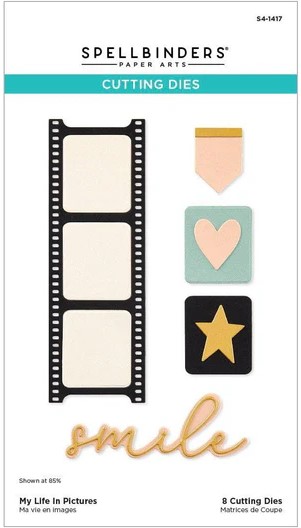
Spellbinders – My Life in Pictures
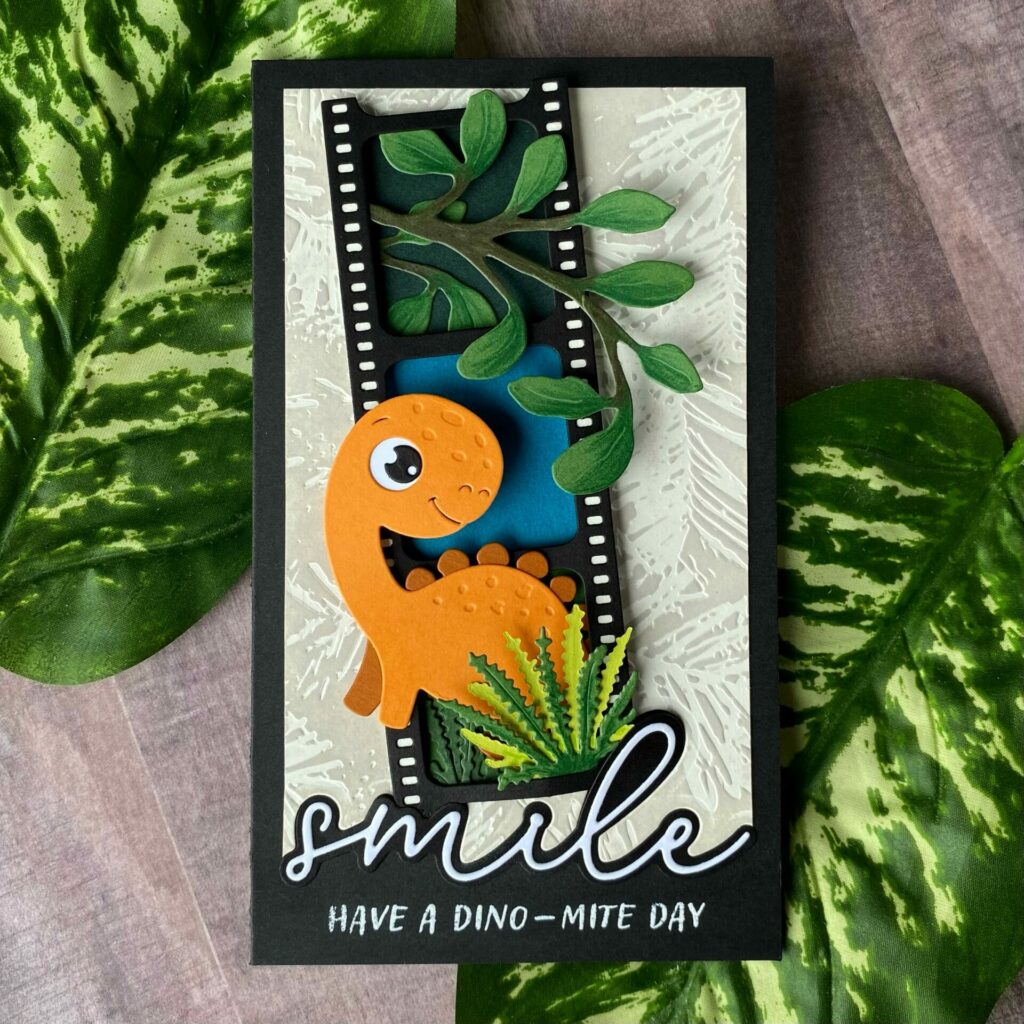
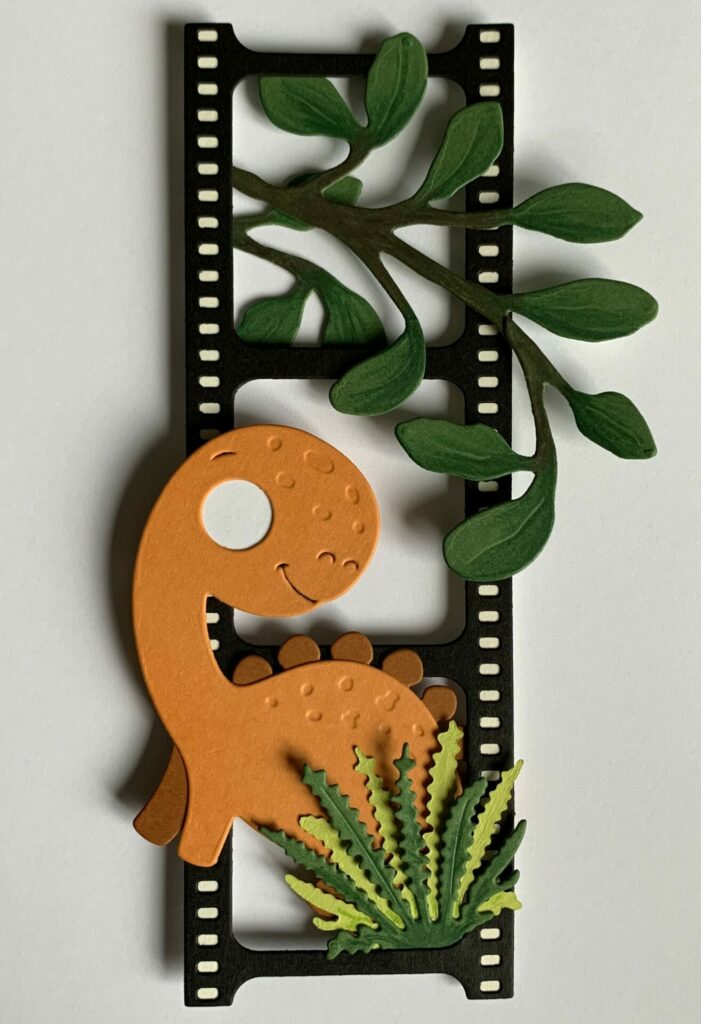
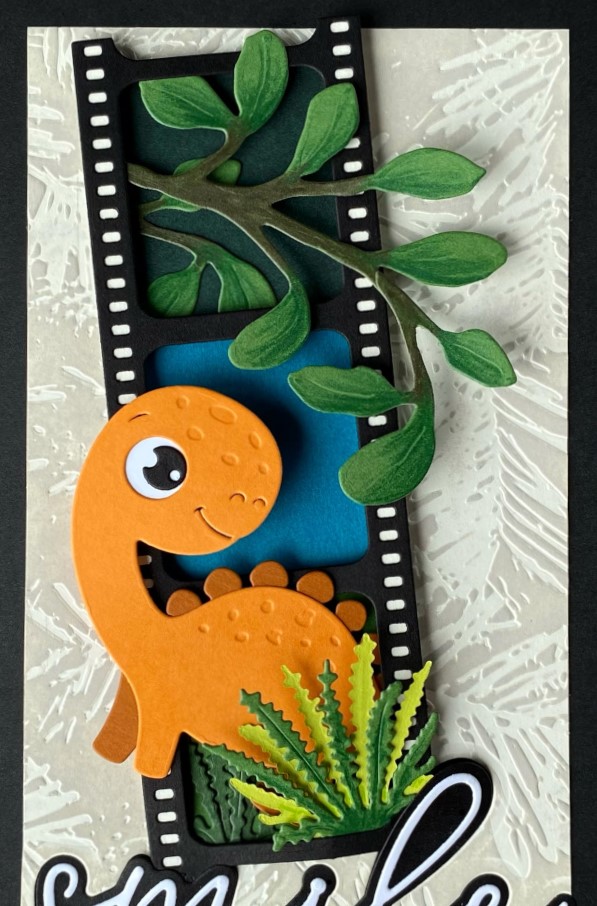
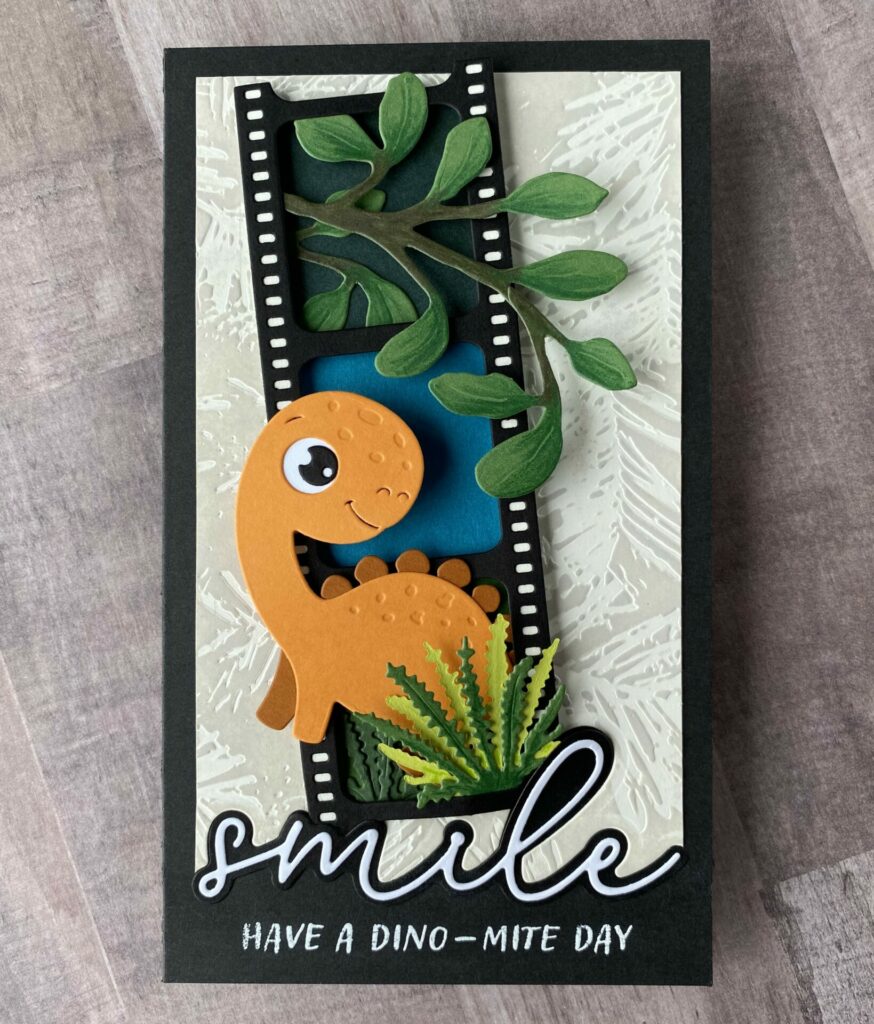
Hello, crafty friends! Today I’m excited to share a playful and prehistoric-inspired card I’ve titled “Dino-Mite Smiles.” This handmade card features the My Life in Pictures etched dies from Rosie’s Studio Golden Afternoon Collection by Spellbinders, a beautifully versatile die set that’s perfect for adding a cinematic flair to your designs. With its vintage filmstrip frame and nostalgic photo elements, this die set is a dream for scrapbookers, card makers, and memory keepers alike.
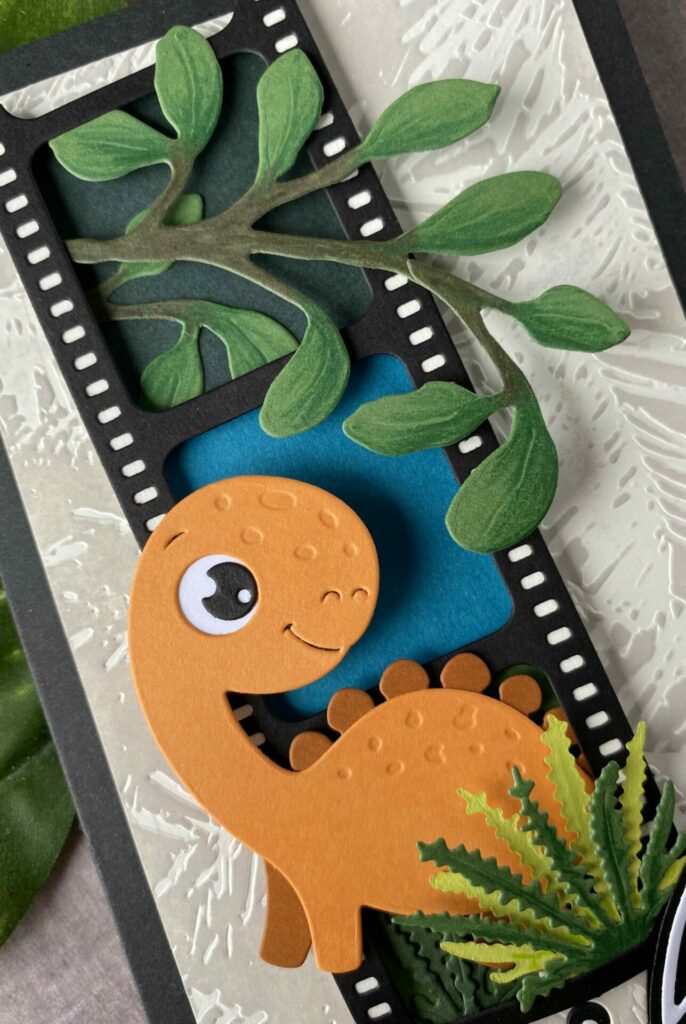
For today’s card, I used the filmstrip die to create a whimsical window into a Jurassic world—complete with a cheerful orange dinosaur, lush layered greenery, and a bold “Smile” sentiment to tie it all together. Whether you’re crafting a scene straight out of a movie or adding storybook charm to your cards, this set brings creativity to life frame by frame.

My Inspiration
When I saw the My Life in Pictures filmstrip die, I immediately thought of how it could frame a scene—almost like a snapshot from a film! Inspired by the cinematic feel of Jurassic Park, I decided to use it as the perfect window into a lush, dinosaur-filled world.
The full list of supplies and tools can be found at the bottom of this post.
Disclosure: I received this product for free to try out and share my honest thoughts with you. This post also includes affiliate links*—if you decide to shop through them, I may earn a small commission (at no extra cost to you). Money earned via affiliate links helps pay the fees to keep this blog up and running. Thanks so much for supporting GroveCrafted and helping me keep the crafty inspiration coming!
Dino-Mite Smiles Card Details
Create the Background
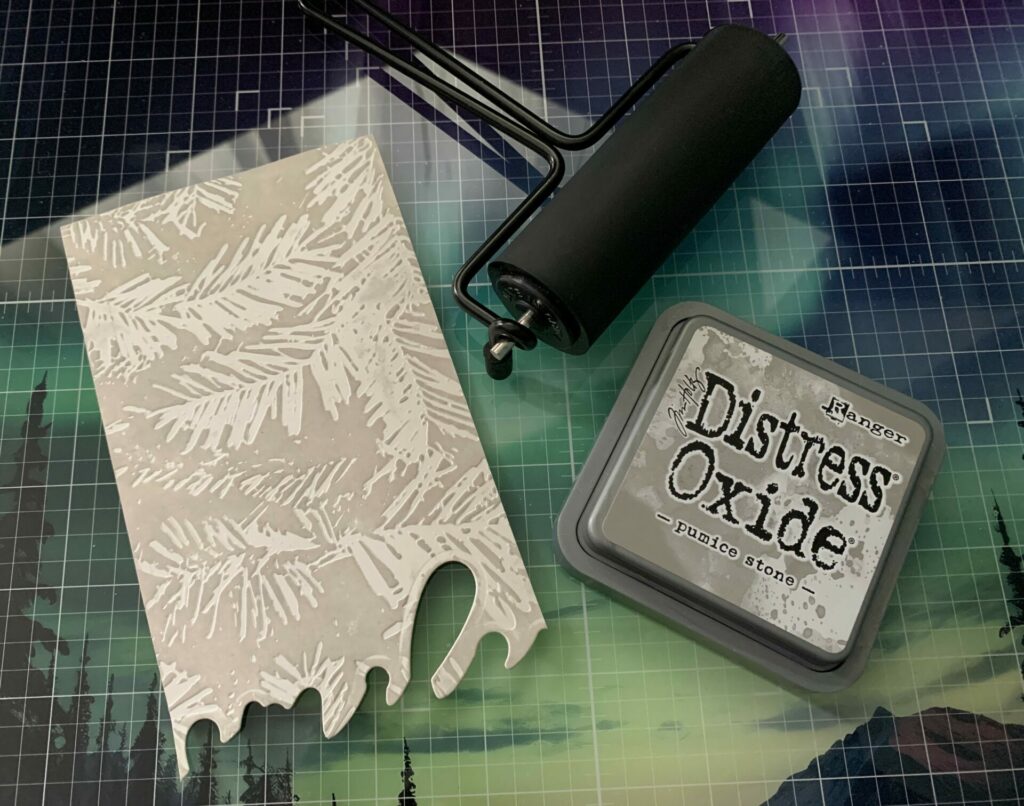
Start by preparing a card base with a textured background. Here, a neutral-colored panel was embossed with a pattern resembling prehistoric foliage, adding depth and interest. Light inking over the raised areas helps enhance the texture and bring out the details.
- Spellbinders Cutting Dies – My Life In Pictures
- ColorWheel Cardstock – Alabaster
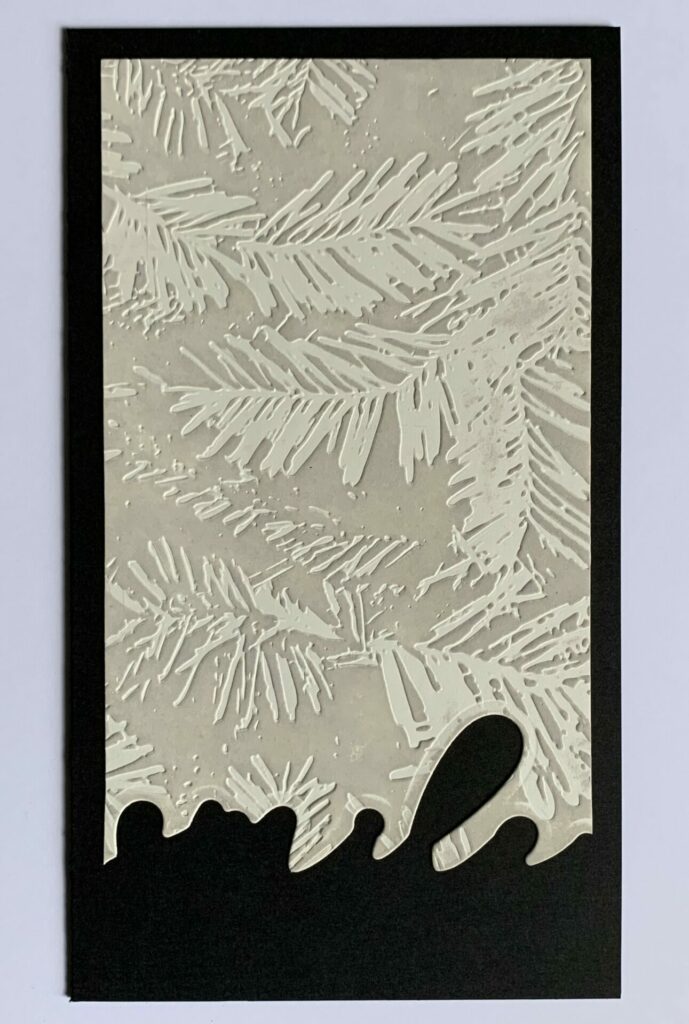
- Trim a piece to 3.5in x 6in, then center the smile shadow die along the bottom edge and die-cut.
- Spellbinders Embossing Folder – In the Pines
- Dry emboss the trimmed die-cut panel.
- Distress Oxide – Pumice Stone
- Apply ink with a brayer on the debossed side.
Making the Card Base
Trim and score a piece of black cardstock to create your card base. The finished size should measure 4″ x 7″.
- ColorWheel Cardstock – Raven
- Make a 4 inch x 7 inch black card base.
- Glue the embossed panel to the front of the card base.
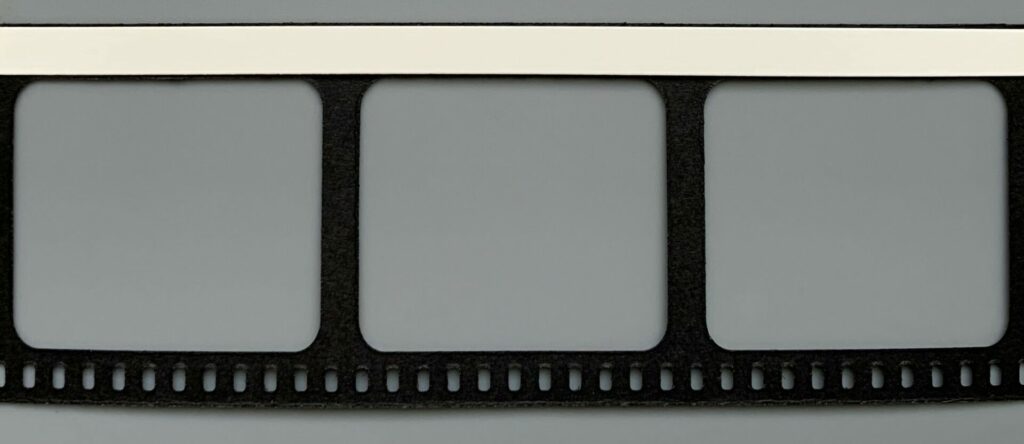
Die-Cut the Filmstrip Frame
Using the My Life in Pictures etched die, cut the filmstrip from black cardstock. This die-cut serves as a fun framing element for your scene.
- Spellbinders Cutting Dies – My Life In Pictures
- Cut the filmstrip from raven black cardstock.
- ColorWheel Cardstock – Raven
- ColorWheel Cardstock – Alabaster
- Cut two thin strips of alabaster cardstock and adhere them to the back of the filmstrip, aligning them behind the holes along the edges.
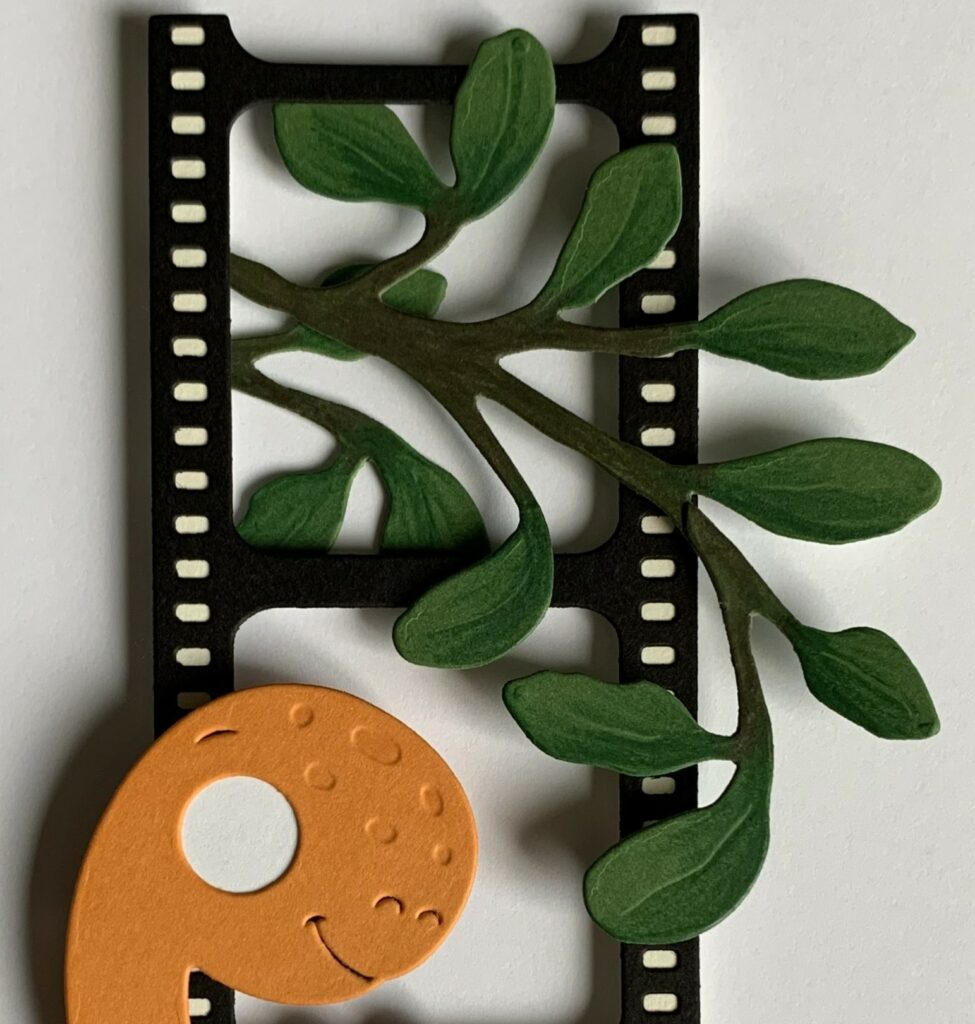
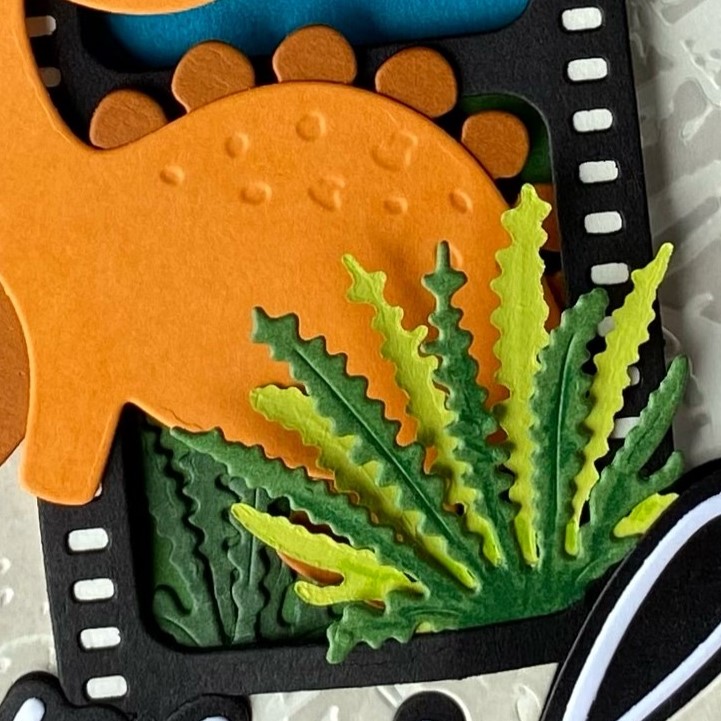
Creating the Foliage
Next, die-cut a variety of jungle leaves and ferns from different shades of green cardstock, then enhance them with shading using colored pencils, inks, or markers.
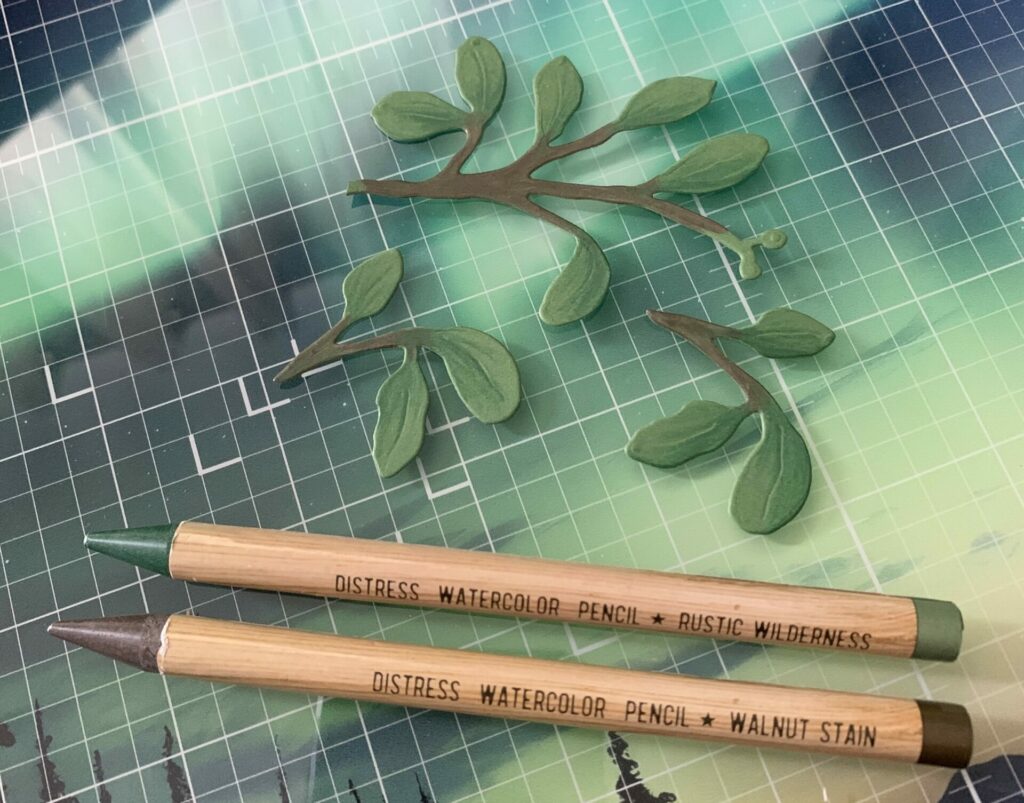
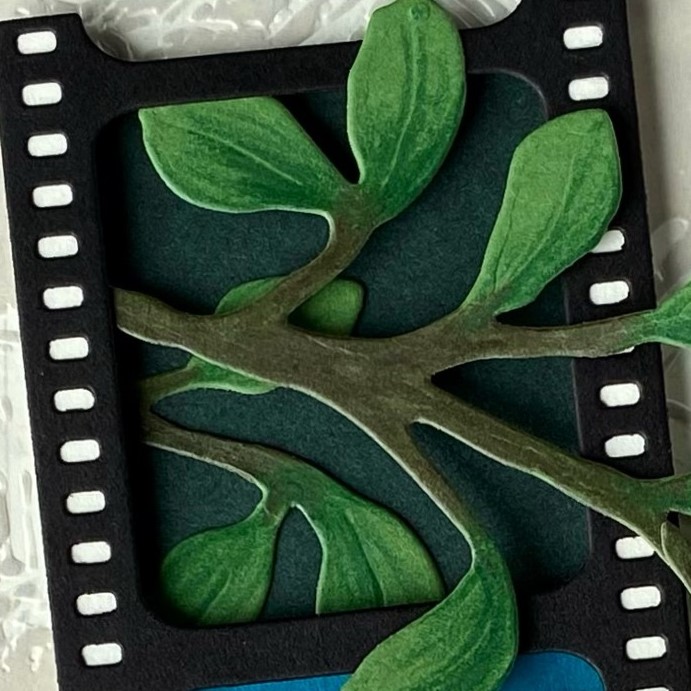
Top Foliage
- Spellbinders Cutting Dies – Winterberry & Mistletoe
- Cut one large and two small mistletoe stems from fern cardstock. Trim off the berries at the end of the large stem.
- ColorWheel Cardstock – Fern
- Distress Watercolor Pencils – Rustic Wilderness
- Add shading to the leaves.
- Distress Watercolor Pencils – Walnut Stain
- Color the stems brown.
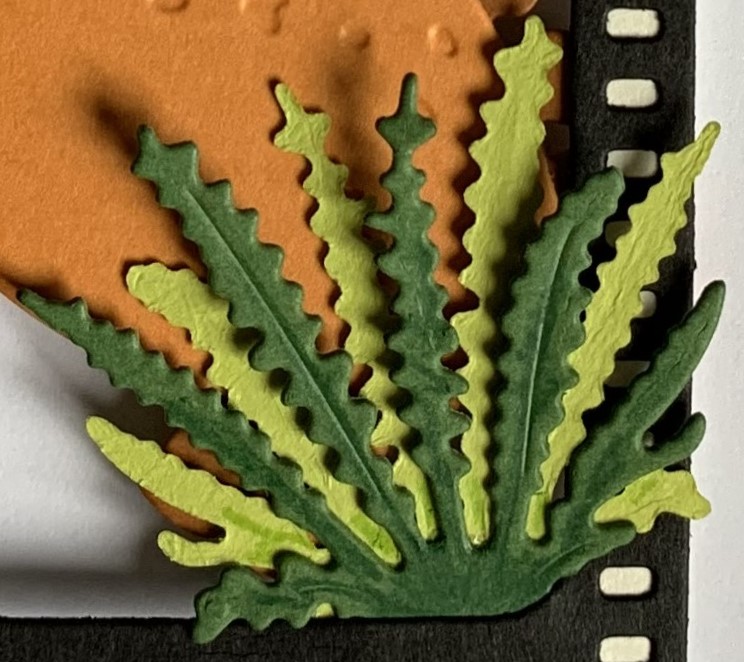
Bottom Foliage
- Spellbinders Cutting Dies – Ferns
- Cut two from fern cardstock and one from peridot cardstock.
- ColorWheel Cardstock – Fern
- Add shading to the leaves. Then, cut on in half vertically and save for later.
- ColorWheel Cardstock – Peridot
- Glue the peridot layer (facing down) behind the uncut fern layer (facing up).
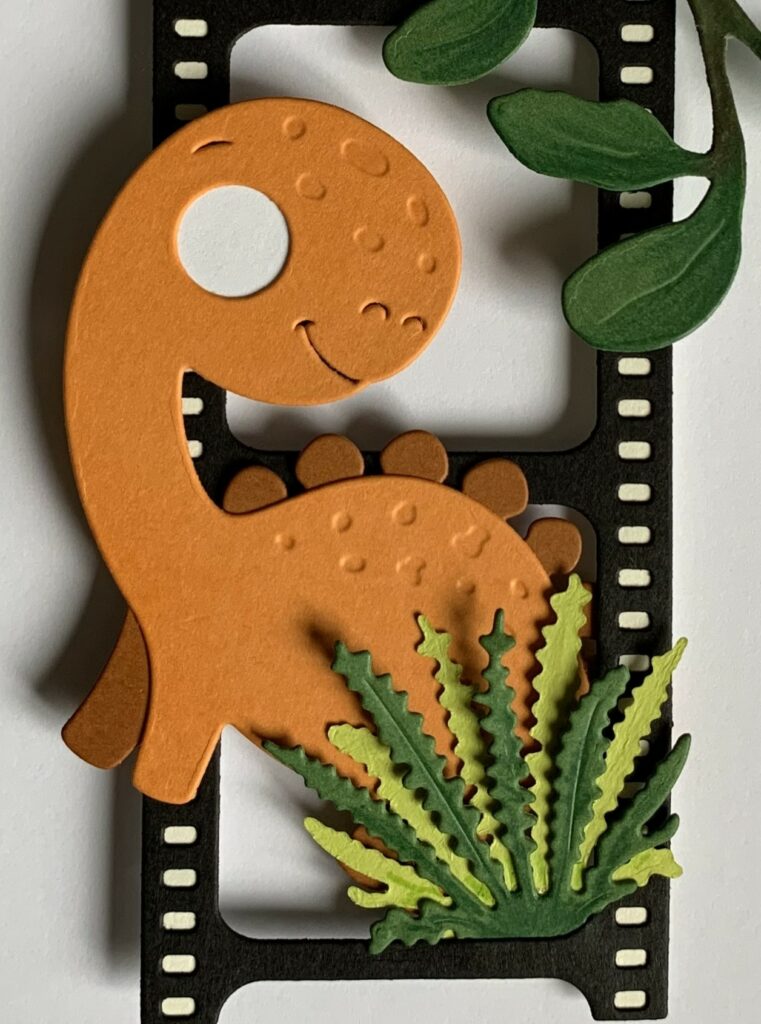
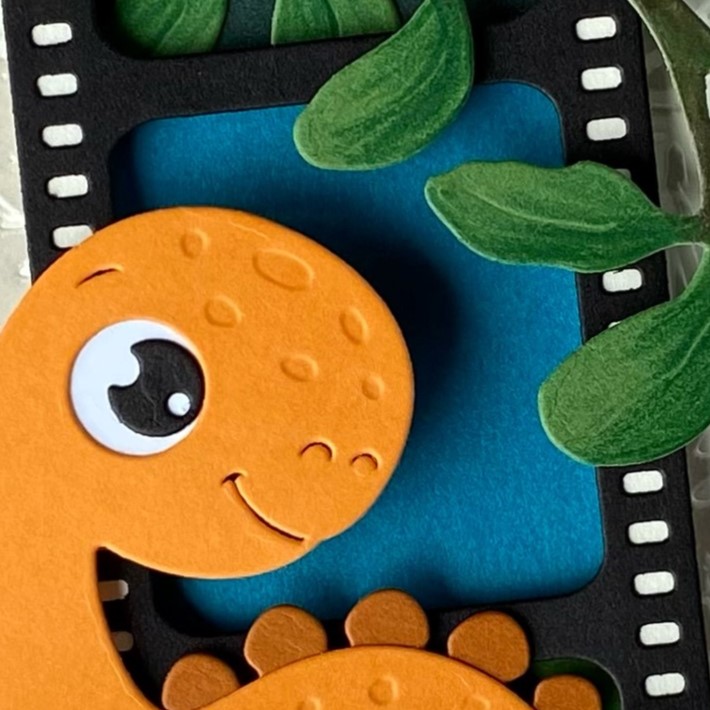
Die-Cut the Dinosaur
The dinosaur itself was cut from bright orange cardstock, with embossed details.
- Spellbinders Cutting Dies – Birthday Dinosaur
- Essentials Cardstock – Persimmon
- Cut the dinosaur body from persimmon cardstock.
- Meadow Collection 80lb. Cardstock – Deep Pumpkin
- Cut the dinosaur back legs and back plate from deep pumpkin cardstock.
- ColorWheel Cardstock – Raven
- Cut the dinosaur eye from black cardstock.
- ColorWheel Cardstock – Classic White
- Cut a small piece of white cardstock and glue it behind the eye hole cut out.
- Glue all elements of the dinosaur together.
- Adhere the eye at the end of the project so you can position it to be looking at the leaf branch.

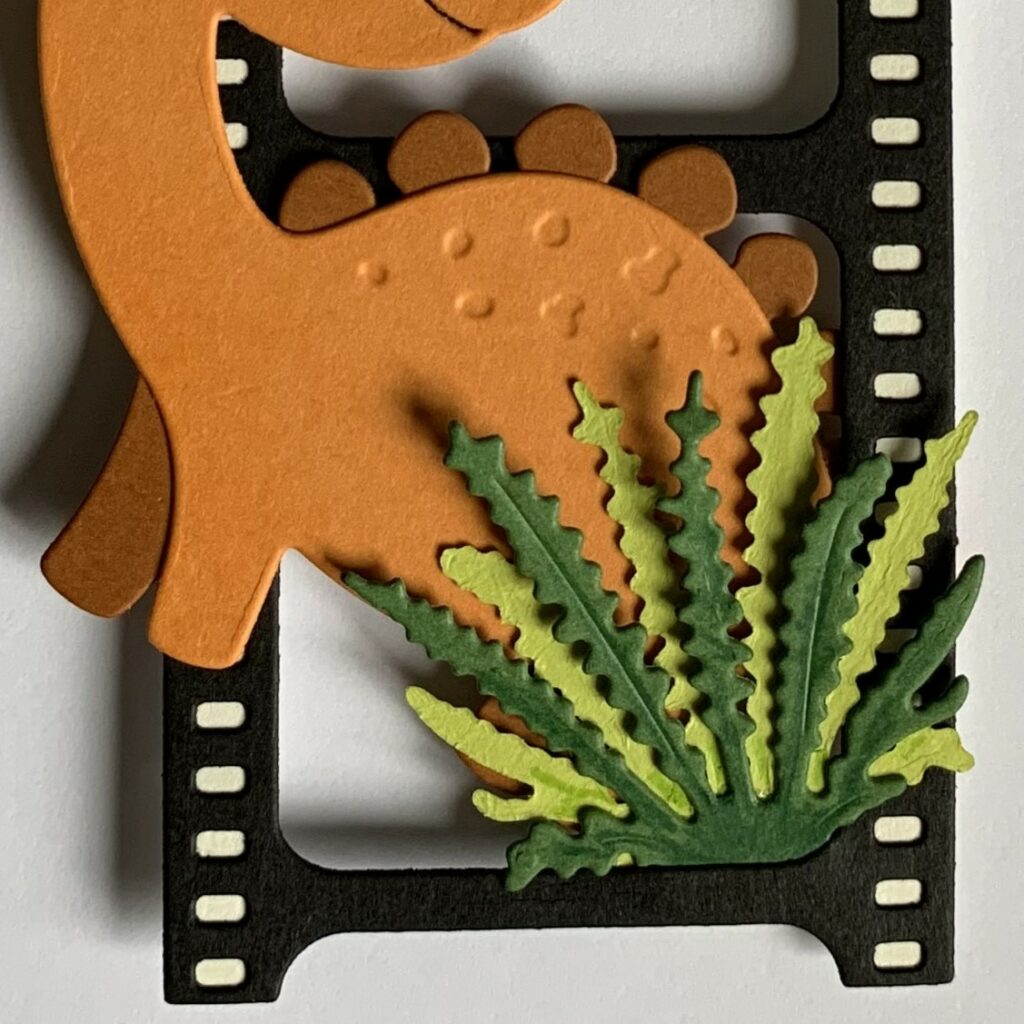
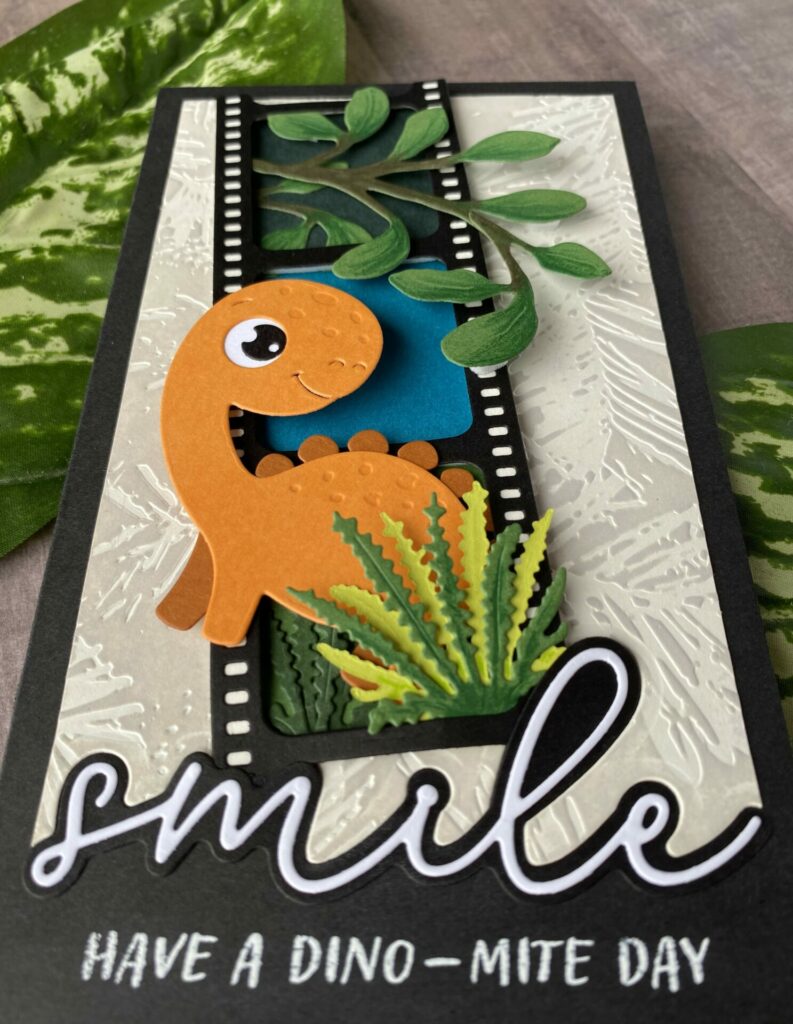
Assemble the Dino Scene
To bring this playful prehistoric scene to life, I positioned the dinosaur so it looks like it’s stepping right out of the filmstrip—just like a moment frozen in a blockbuster adventure. By slightly overlapping the frame, the dinosaur appears to peek out playfully, while layered greenery around the frame adds a lush, jungle-like feel. Let some elements extend beyond the edges for extra depth and visual interest.
Here’s how to assemble the scene:
- Glue the layered fern die-cut to the bottom right corner of the lower filmstrip window.

- Tuck the dinosaur into the bottom left filmstrip window, positioning it behind the fern so its front legs and head rest on top of the frame for added dimension.
- Create a mistletoe cluster by gluing a small mistletoe stem to the end of a larger one. Then tuck this into the top left filmstrip window to balance the design and add texture.
Creating Dimension
Foam strips and squares were used to add extra depth and dimension.
- Foam Squares
- Add foam squares behind the dinosaur head and some leaves.
- Foam Strips
- Add foam strips behind the filmstrip.
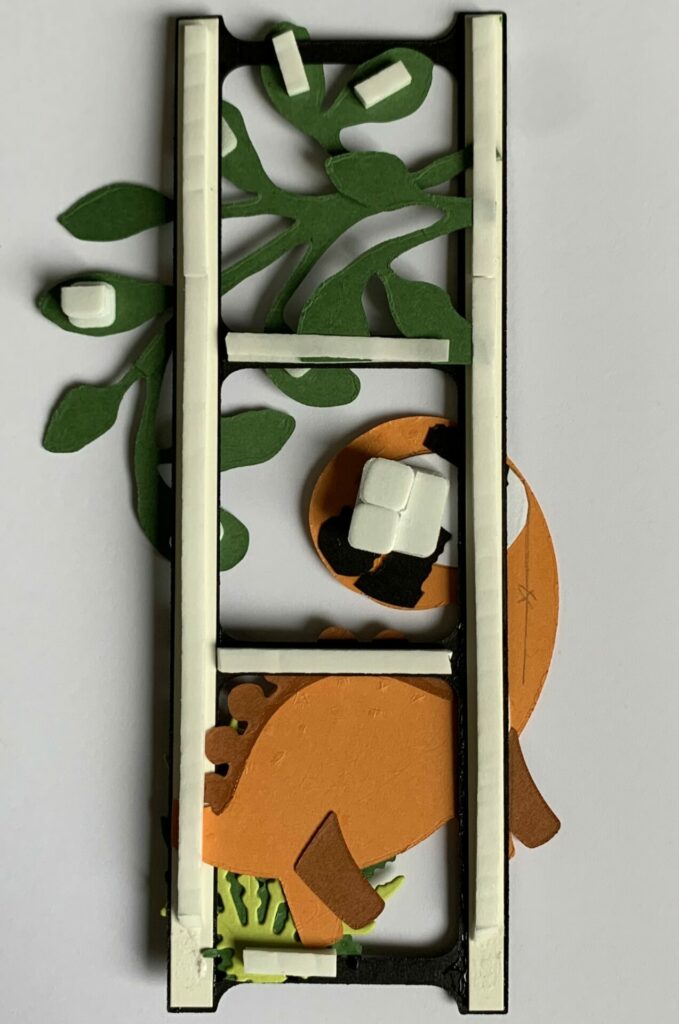
Adhere the remaining small mistletoe stem to the bottom left corner of the upper filmstrip window.
Filmstrip Backgrounds
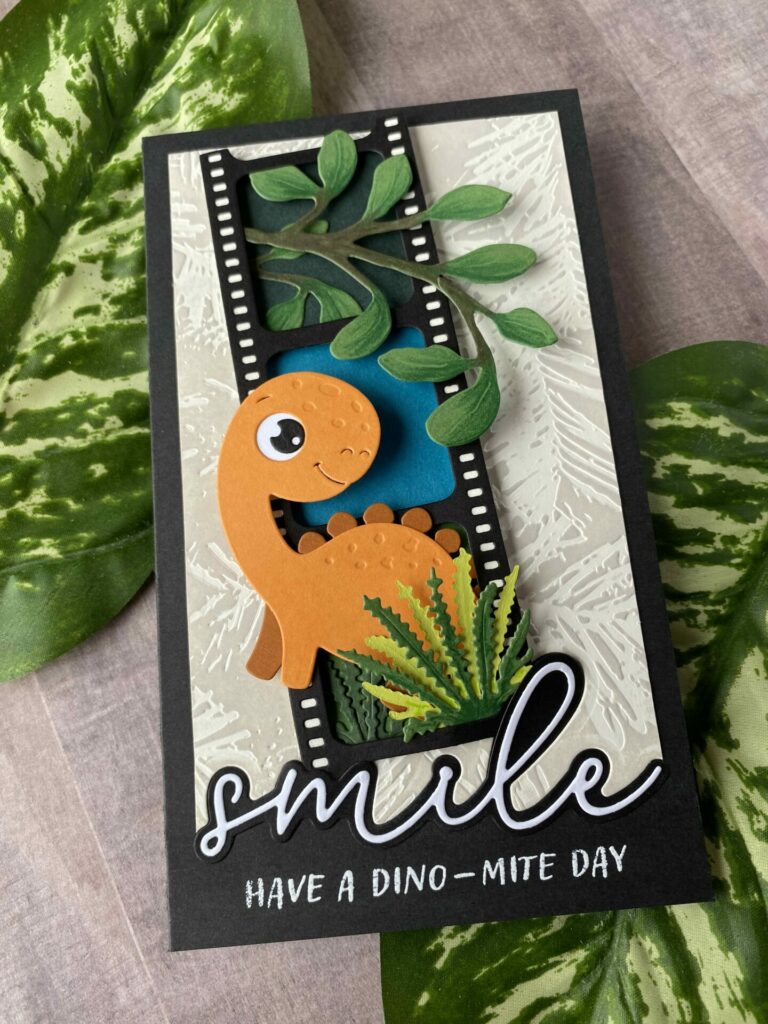
I backed a couple of the windows with rich greens and a teal blue cardstock, mimicking a dramatic sky or deep jungle shadows. This creates the illusion of depth and contrast behind the dinosaur.
- ColorWheel Cardstock – Fern
- Cut a 1 ¾-inch square from fern cardstock and adhere the remaining fern die-cut halves to its bottom left corner. Then, attach the finished square to the bottom filmstrip window.
- Cut a 1 ¾-inch square from fern cardstock and adhere the remaining fern die-cut halves to its bottom left corner. Then, attach the finished square to the bottom filmstrip window.
- Essentials Cardstock – Forest
- Cut a 1 ¾-inch square from forest cardstock, then adhere it to the upper filmstrip window.
- Cut a 1 ¾-inch square from forest cardstock, then adhere it to the upper filmstrip window.
- Meadow Collection 80lb. Cardstock – Dark Teal
- Cut a 1 ¾-inch square from dark teal cardstock, then adhere it to the middle filmstrip window.
- Cut a 1 ¾-inch square from dark teal cardstock, then adhere it to the middle filmstrip window.
Once all the elements are in place, adhere the filmstrip to the card base, using foam adhesive on some pieces to create dimension. The filmstrip and dino pop off the background, giving the card an interactive, storybook feel.
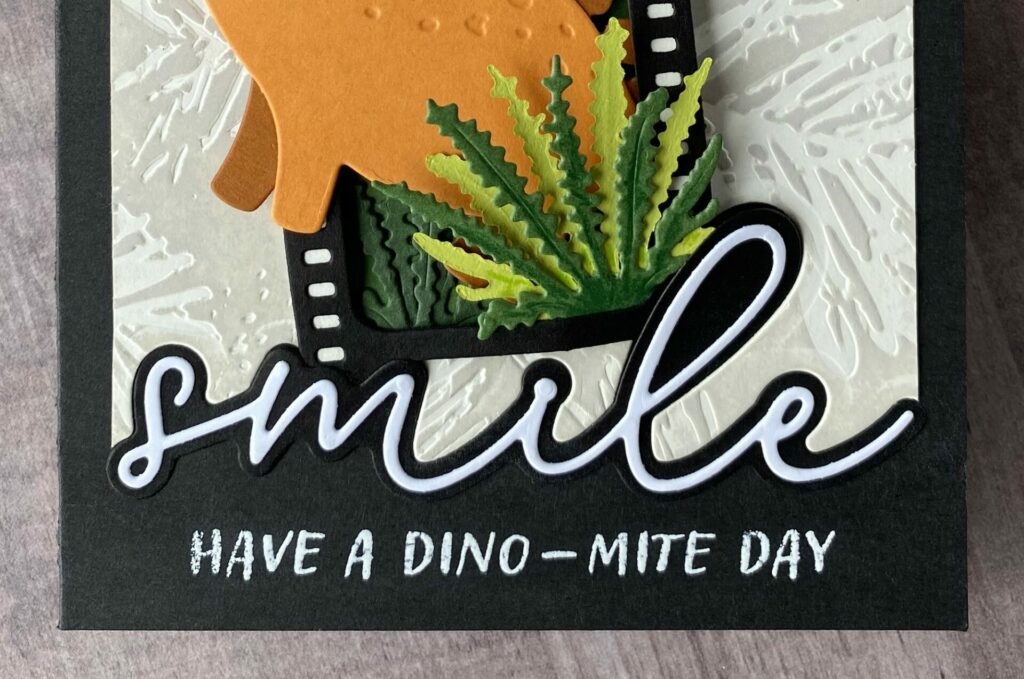
Add the Sentiments
Die-cut the word “Smile” in a stylish script font, layering white cardstock over black for contrast. Below it, stamp and heat emboss the phrase “Have a dino-mite day” in white on the black card base, tying the playful theme together.
- Spellbinders Cutting Dies – My Life In Pictures
- ColorWheel Cardstock – Raven
- Cut the smile shadow layer from black cardstock.
- ColorWheel Cardstock – Classic White
- Die-cut the smile layer from white cardstock and glue it onto the shadow layer. Then, adhere the assembled sentiment to the card front, slightly overlapping the bottom edge of the filmstrip.
- Spellbinders Clear Stamps – Monster Birthday Sentiments
- Stamp and emboss the sentiment with white embossing powder.
Dino-Mite Smiles Card Complete!
Yay—congrats on finishing your Dino-Mite Smiles Card! This project is a great example of how versatile the My Life in Pictures die set can be—taking a vintage camera-themed design and transforming it into a playful, prehistoric scene that’s perfect for a child’s birthday or any dino-loving friend.
I hope you had just as much fun following this tutorial as I did creating it! If you give this card a try, I’d love to see your take—don’t forget to tag me on Instagram. (@silversgrove or @grovecrafted) I’m super excited to see what you’ve come up with!
Thanks so much for stopping by, and I hope this inspired some fresh ideas for your next crafty adventure. Happy creating!
Link Abbreviations
- SB – Spellbinders*
- Sb.com – Scrapbook.com*
- SSS – Simon Says Stamp
- AMZ – Amazon*
Disclosure: I received this product for free to try out and share my honest thoughts with you. This post also includes affiliate links*—if you decide to shop through them, I may earn a small commission (at no extra cost to you). Money earned via affiliate links helps pay the fees to keep this blog up and running. Thanks so much for supporting GroveCrafted and helping me keep the crafty inspiration coming!
Supplies Used
- Spellbinders Cutting Dies – My Life In Pictures #S4-1417 | SB | Sb.com | AMZ |
- Spellbinders Cutting Dies – Birthday Dinosaur #S3-498 | SB | Sb.com | AMZ |
- Spellbinders Cutting Dies – Winterberry & Mistletoe #S4-1113 | SB | SSS | AMZ |
- Spellbinders Embossing Folder – In the Pines #SES-050 | SB | Sb.com | AMZ |
- Spellbinders Clear Stamps – Monster Birthday Sentiments #STP-221 | SB | Sb.com | AMZ |
- Spellbinders Cutting Dies – Ferns #S2-197 | AMZ |
- Distress Oxide – Pumice Stone | SB | Sb.com |
- Distress Watercolor Pencils #Set 3 – Rustic Wilderness | SB | Sb.com |
- Distress Watercolor Pencils #Set 1 – Walnut Stain | SB | Sb.com |
- Embossing Powder – White
- Embossing Ink
Cardstock Colors
- ColorWheel Cardstock – Raven #CS-8-147 | SB | Sb.com |
- ColorWheel Cardstock – Alabaster #CS-8-141 | SB | Sb.com |
- ColorWheel Cardstock – Classic White #CS-8-148 | SB | Sb.com |
- ColorWheel Cardstock – Fern #CS-8-120 | SB | Sb.com |
- ColorWheel Cardstock – Peridot #CS-8-118 | SB | Sb.com |
- Essentials Cardstock – Forest #CS-038 | Sb.com |
- Essentials Cardstock – Persimmon #CS-009 | SB | AMZ |
- Meadow Collection 80lb. Cardstock – Deep Pumpkin & Dark Teal #CS-070 | SB |
Tools & Adhesive Used
- Spellbinders Platinum Six | SB | Sb.com |
- Tim Holtz Paper Trimmer | Sb.com |
- Tim Holtz Brayer | Sb.com |
- Scissors | SB | Sb.com |
- Die Pick
- Embossing Gun
- Bearly Art Glue | SB | Sb.com |
- Best ever Craft Tape | SB | Sb.com |
- Foam Squares | SB | SSS |
- Foam Strips | SSS |
If you had fun making this Dino-Mite Smiles Card, you might also enjoy these other dino-themed creations!
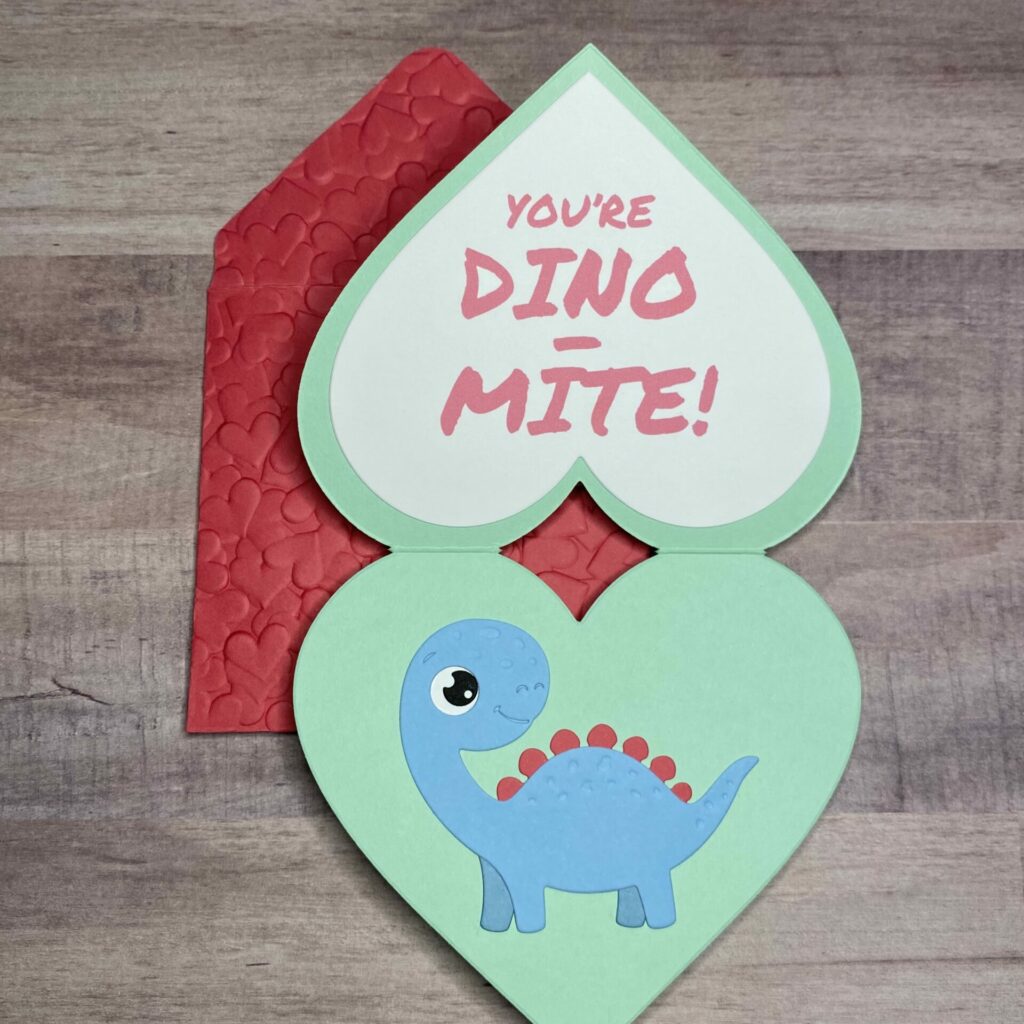
More Punny Valentines