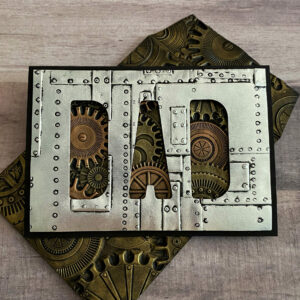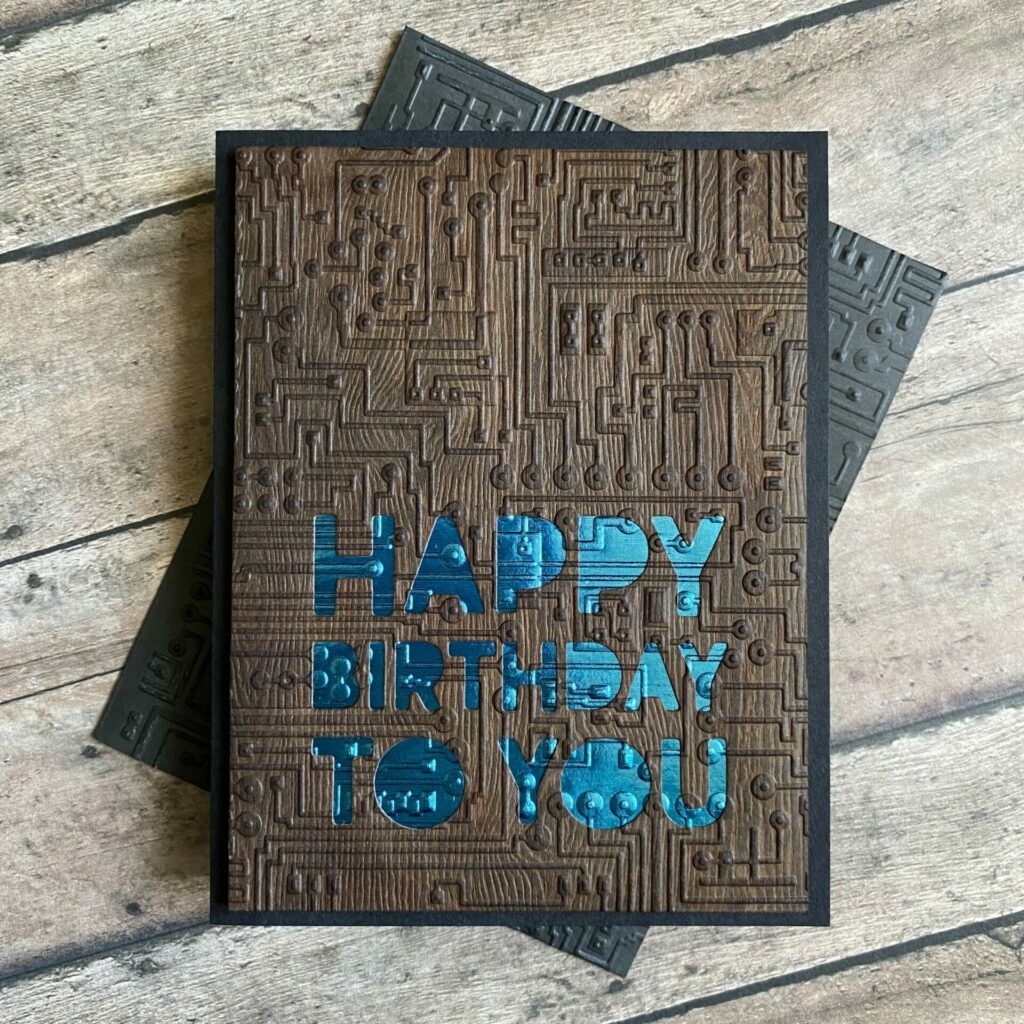
Wooden Circuit Birthday Card
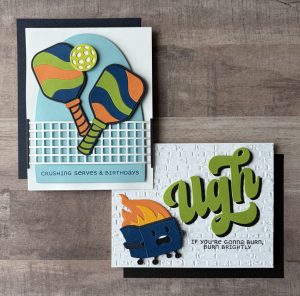
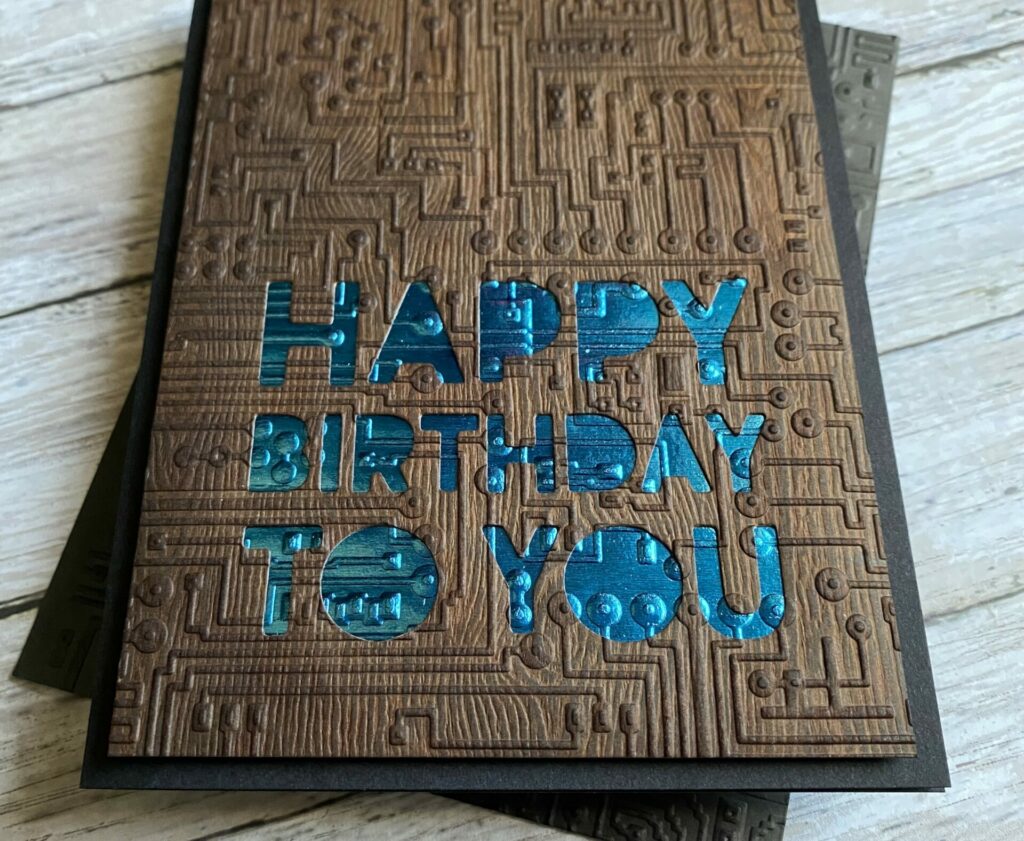
Greetings, creative card makers! Today, I want to share a tutorial on crafting this masculine birthday card. If you’re looking for a unique, tech-inspired way to celebrate a special birthday, this handmade wooden circuit birthday card is the perfect project for you. Combining the natural warmth of wood with a cool, futuristic circuit design, this card brings together traditional craftsmanship with a modern aesthetic.
In this tutorial, I’ll guide you step-by-step on how to create this eye-catching birthday card, from embossing the circuit pattern to adding a striking metallic “Happy Birthday” message. Whether you’re crafting for a tech enthusiast or simply want to try something new, this card is sure to impress!
Link Abbreviations
- AMZ – Amazon*
- SIZ – Sizzix*
- RI – Ranger Ink*
- SB – Spellbinders*
- Sb.com – Scrapbook.com*
- SSS – Simon Says Stamp
Full Disclosure: This post contains affiliate links which are indicated with an (*). If you click on an affiliate link and later make a purchase, I may receive a small commission. Clicking on an affiliate link which earns a commission does NOT result in additional charges to you or cost you anything extra. Money earned via affiliate links helps pay the fees to keep this blog up and running. Thank you so much for shopping through my links to show your support for the brands that we love and the products that I share!
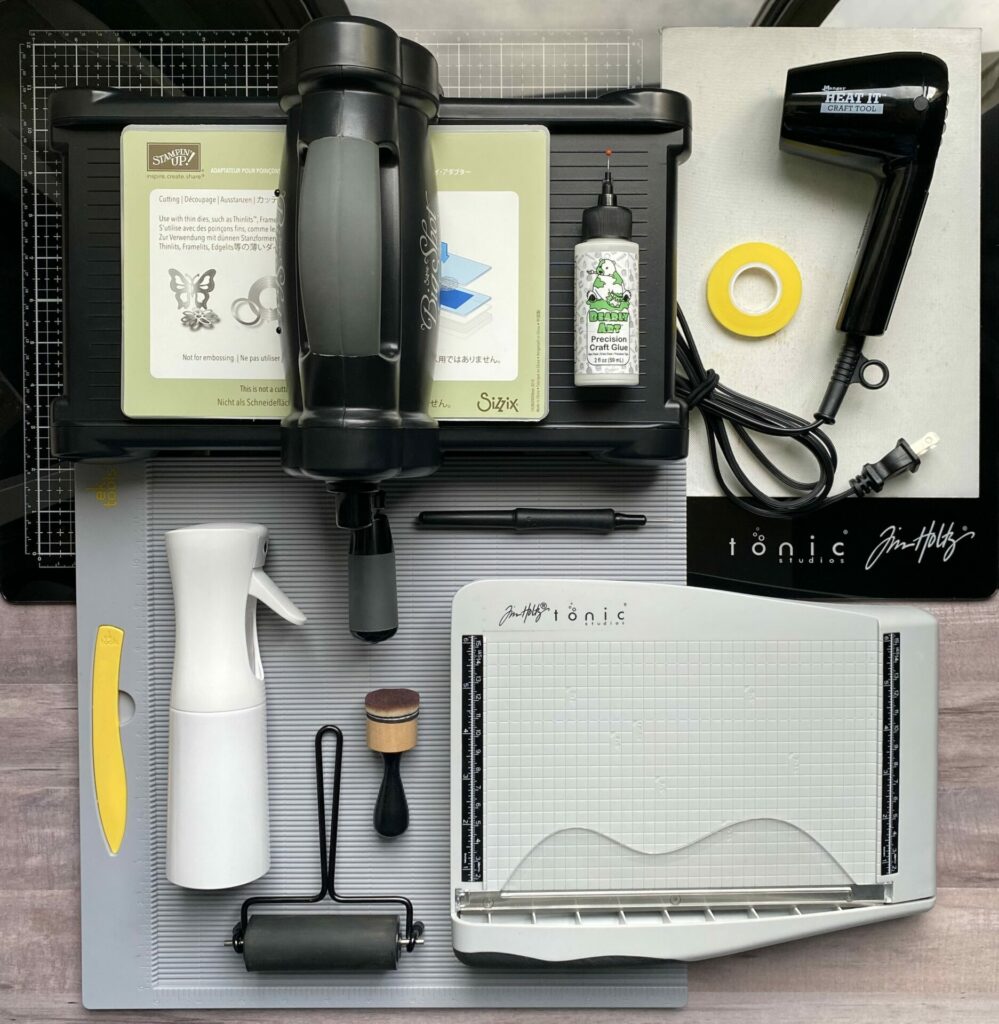
Supplies Used / Substitutions:
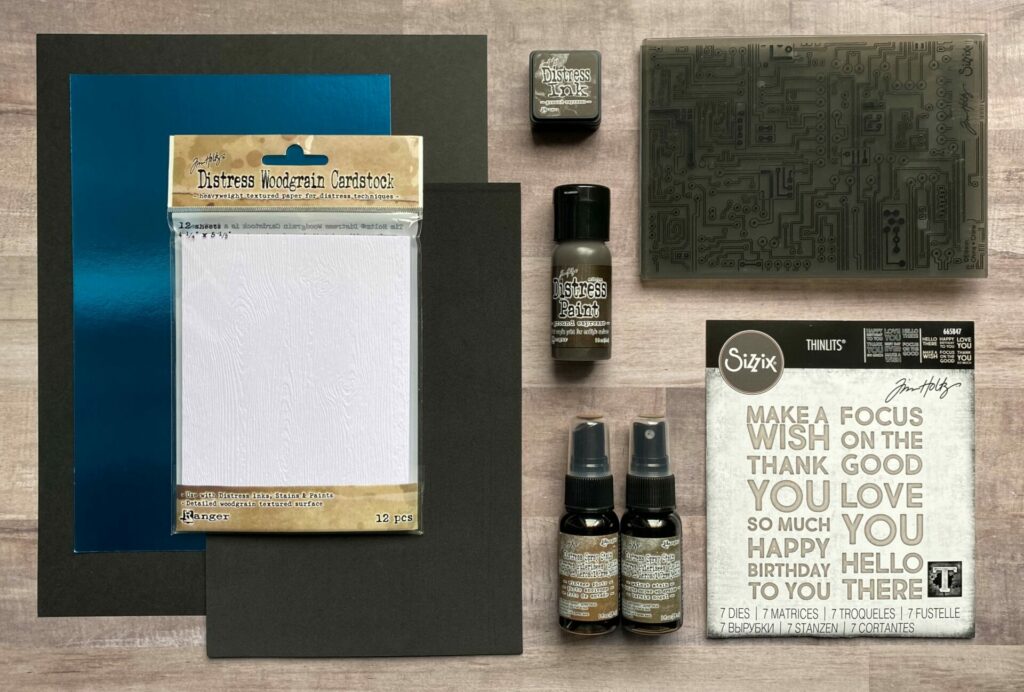
- Sizzix Tim Holtz Thinlits Dies – Bold Text #1 #665847 | Sb.com | SIZ | AMZ | SSS |
- Sizzix Tim Holtz Texture Fades Embossing Folder – Circuit #665372 | Sb.com | SIZ | AMZ | SSS / Any embossing folder
- Tim Holtz Distress Cardstock – Woodgrain | Sb.com | RI | SSS |
- Black Cardstock / Any color cardstock
- Tim Holtz idea-ology Metallic Kraft Stock – Blue | Sb.com | AMZ | SSS / Any metallic cardstock
- Distress Paint – Ground Espresso | RI | SSS |
- Distress Ink – Ground Espresso | Sb.com | RI | SSS / Any dark brown ink
- Distress Spray Stain / Distress Inks
- Craft Foam – Black | HL / Foam squares or optional
Tools Used / Substitutions:
- Sizzix Big Shot | Sb.com | SIZ / Any die cutting machine
- Tim Holtz Glass Media Mat | Sb.com | AMZ | SSS / Non-Stick Craft Sheet
- Tim Holtz Comfort Paper Trimmer | Sb.com | AMZ | RI | SSS / Any paper trimmer
- EK Scoring Board | AMZ | SSS / Any scoring board
- Ranger Heat It Craft Tool – US | Sb.com | RI | SSS / Optional
- Bearly Art Glue | Sb.com | SB | AMZ | SSS / Any liquid adhesive
- Spray Bottle with water | Sb.com | SB / Any spray bottle
- Tim Holtz Medium Distress Brayer – tda75554 | Sb.com | RI | SSS |
- Ranger Mini Ink Blending Tool & Foam – Round | Sb.com | RI | AMZ | SSS |
- Die Pick | Sb.com / Toothpick
- Best Ever Craft Tape – 0.25 in | Sb.com | SB / Any low tack tape
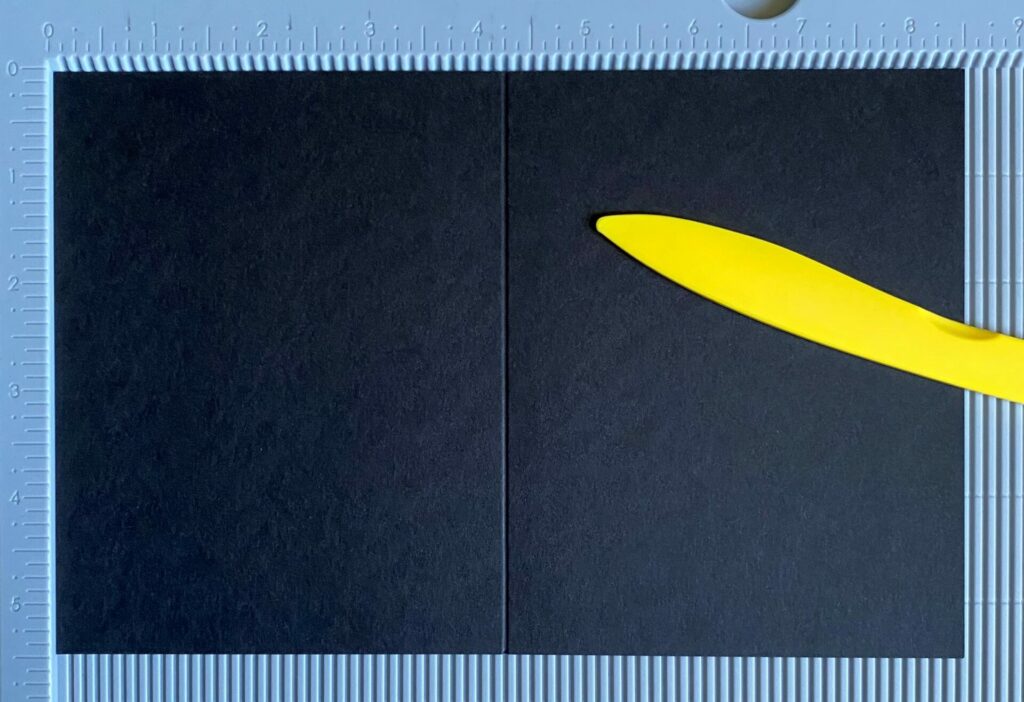
Making the Card Base
- Take a sheet of black cardstock and cut it in half using your paper trimmer. You should now have two pieces of cardstock measuring 8½ x 5½ inches.
- Score the half sheet of cardstock at the 4¼ inch line.
- Fold along the score line and reinforce the fold with a bone folder.
Your card base should now measure 4¼ x 5½ inches, which is a standard A2 card size.
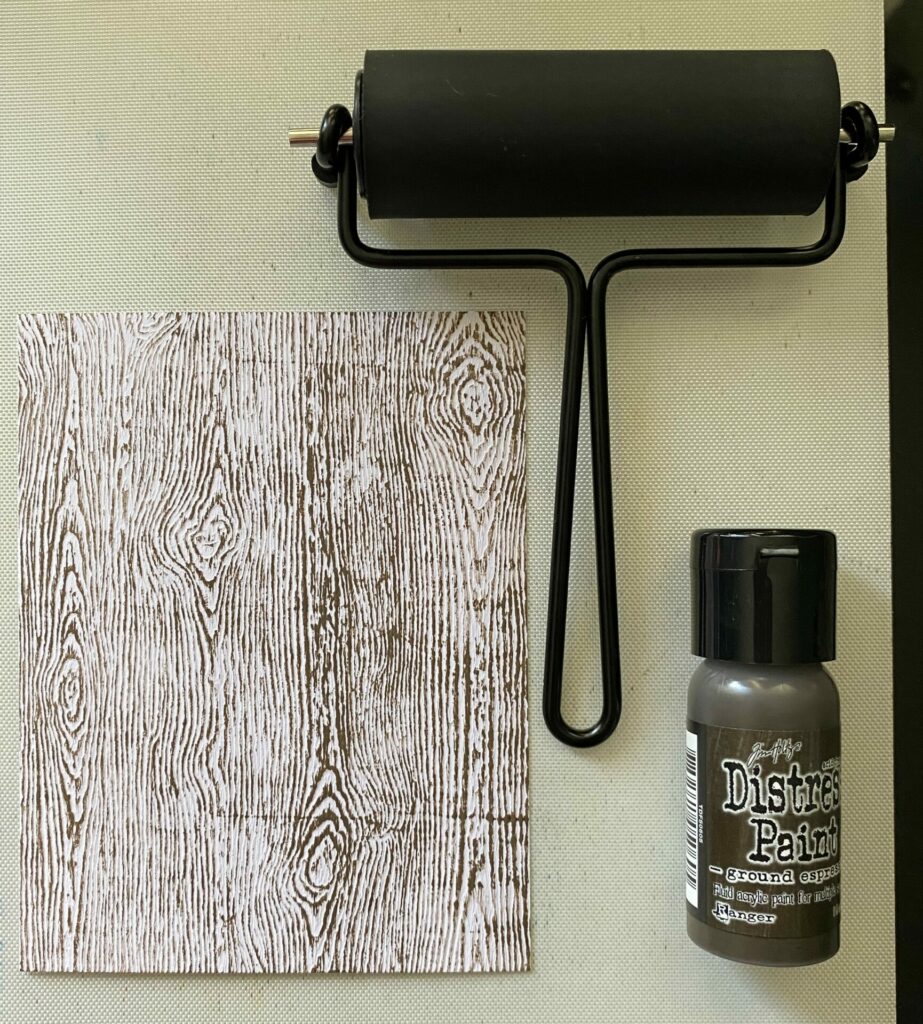
Coloring the Woodgrain
Painting
- Drip some ground espresso distress paint onto your craft mat.
- Use a brayer to pick up the paint by rolling it back and forth. Lift the brayer in between each roll to avoid pushing the paint around.
- Once the brayer is evenly coated, lightly roll it over the woodgrain cardstock.
- Then, allow it to dry.
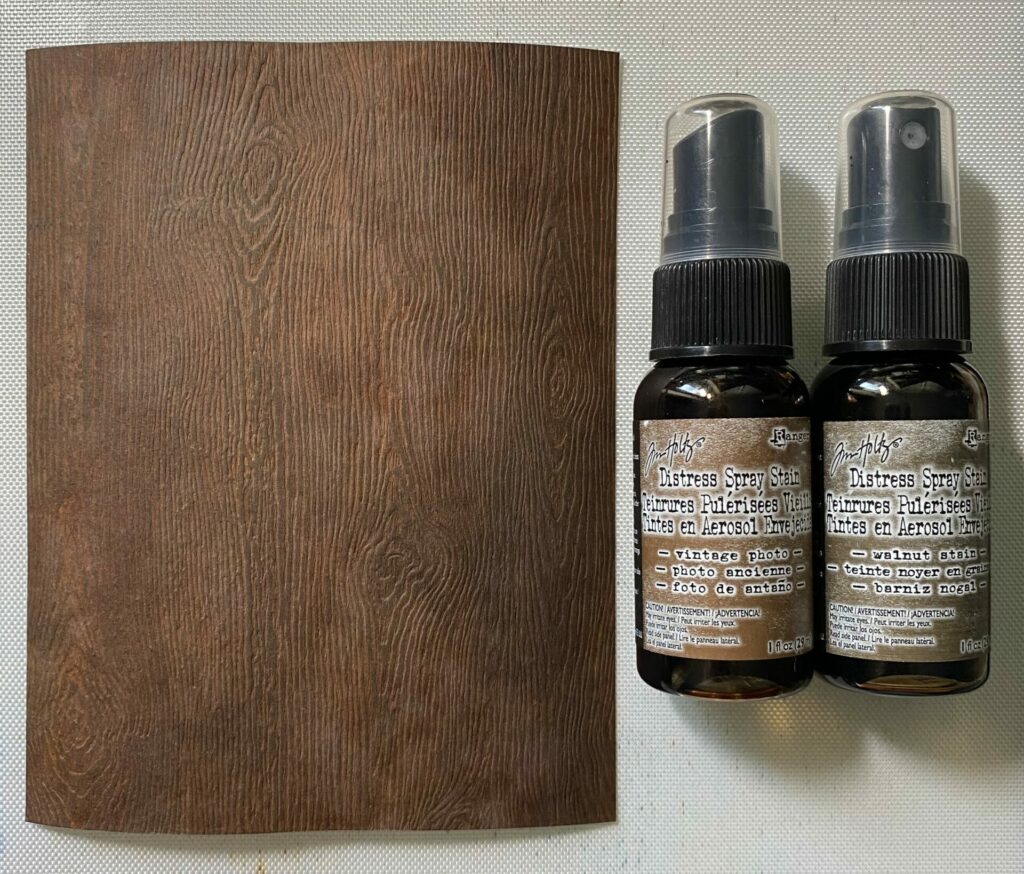
Inking
- Mist the woodgrain cardstock with a little bit of water.
- Next, spray vintage photo and walnut stain distress spray stains onto the cardstock.
- Use a heat tool to dry the cardstock between layers.
- Feel free to add multiple layers of ink to achieve your desired color saturation.
- Finally, ensure that the inked woodgrain panel is completely dry before proceeding.
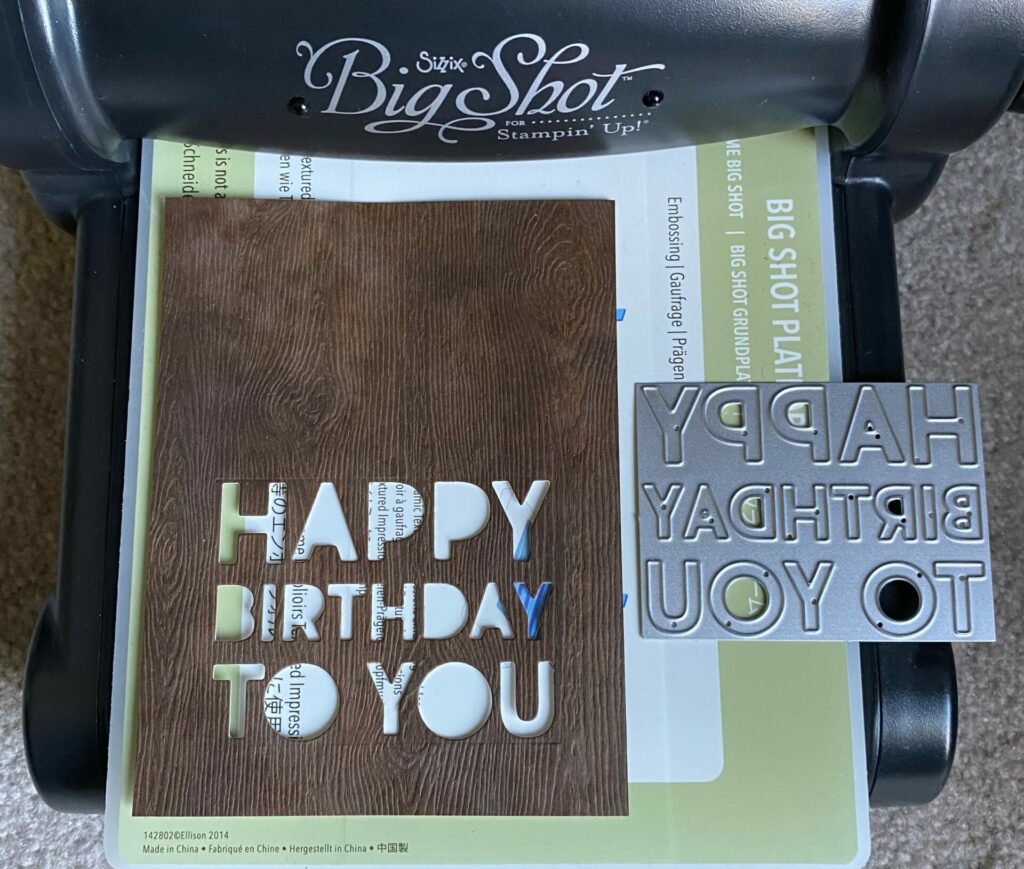
Die Cutting the Sentiment
- Position the birthday sentiment die from the Bold Text #1 set at the bottom of the cardstock, ensuring it is centered with equal spacing on the bottom, right, and left sides.
- Secure it in place with some low tact tape.
- Then, run it through you die cutting machine.
- Remove the die and pop out all the letters.
- Trim an eighth of an inch off from each side. Your woodgrain panel should now measure 4 x 5¼ inches.
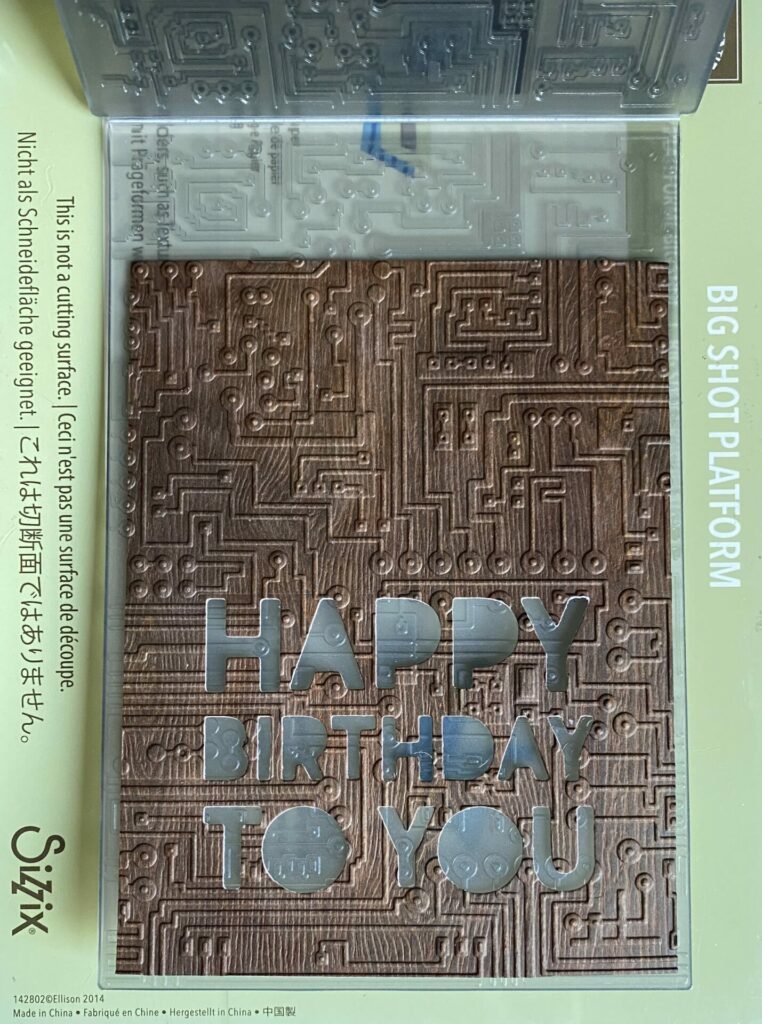
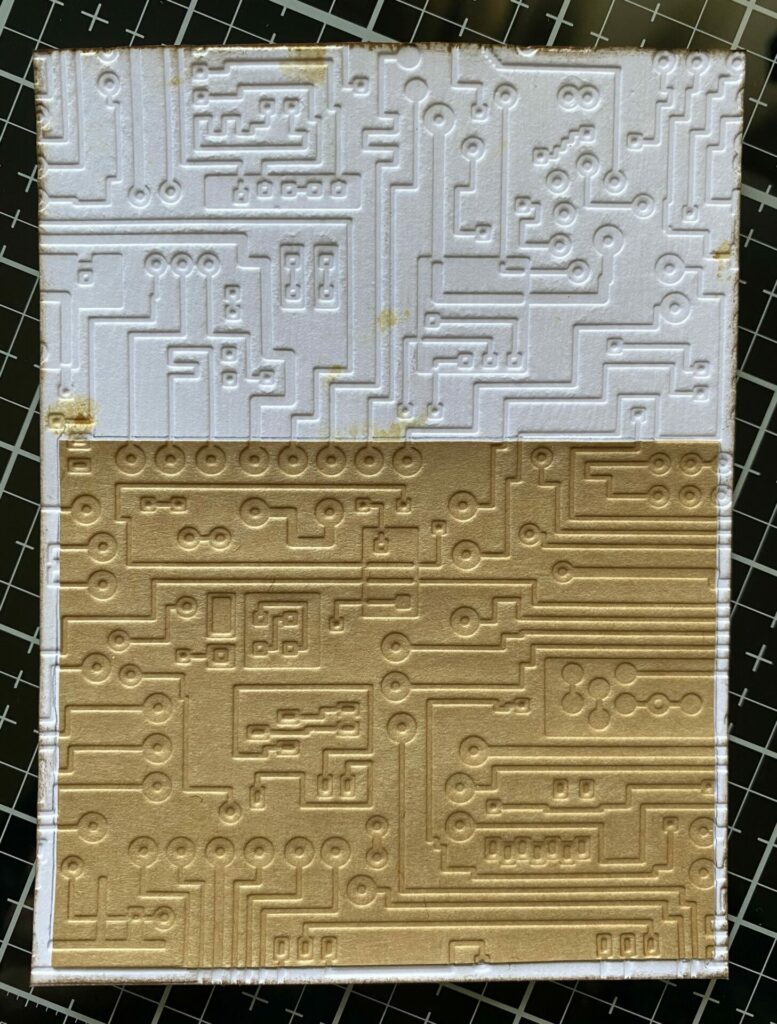
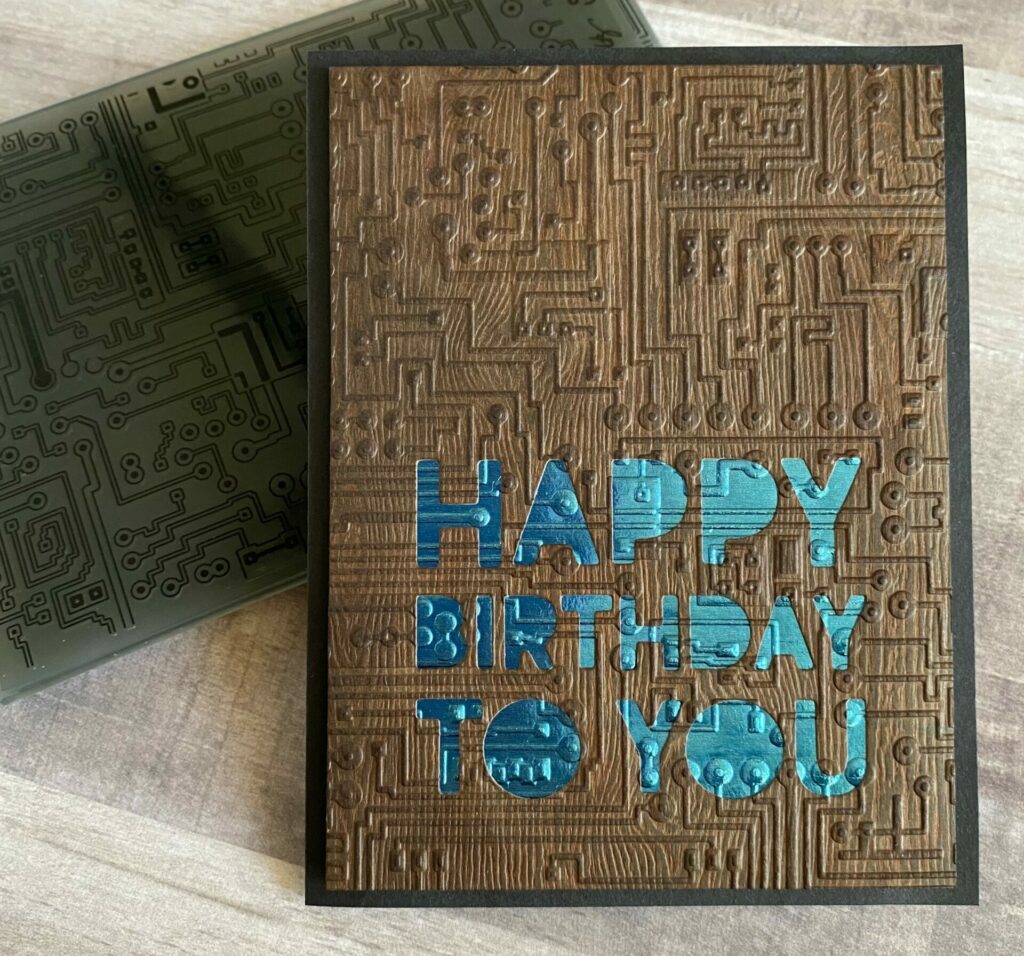
Embossing the Circuit
- Lightly spray only the backside of the woodgrain cardstock with water.
- Place it in the Tim Holtz Circuit 3D embossing folder.
- Then, run it through your die cutting machine.

- Remove the embossed panel from the folder and let it dry under a flat cutting pad.
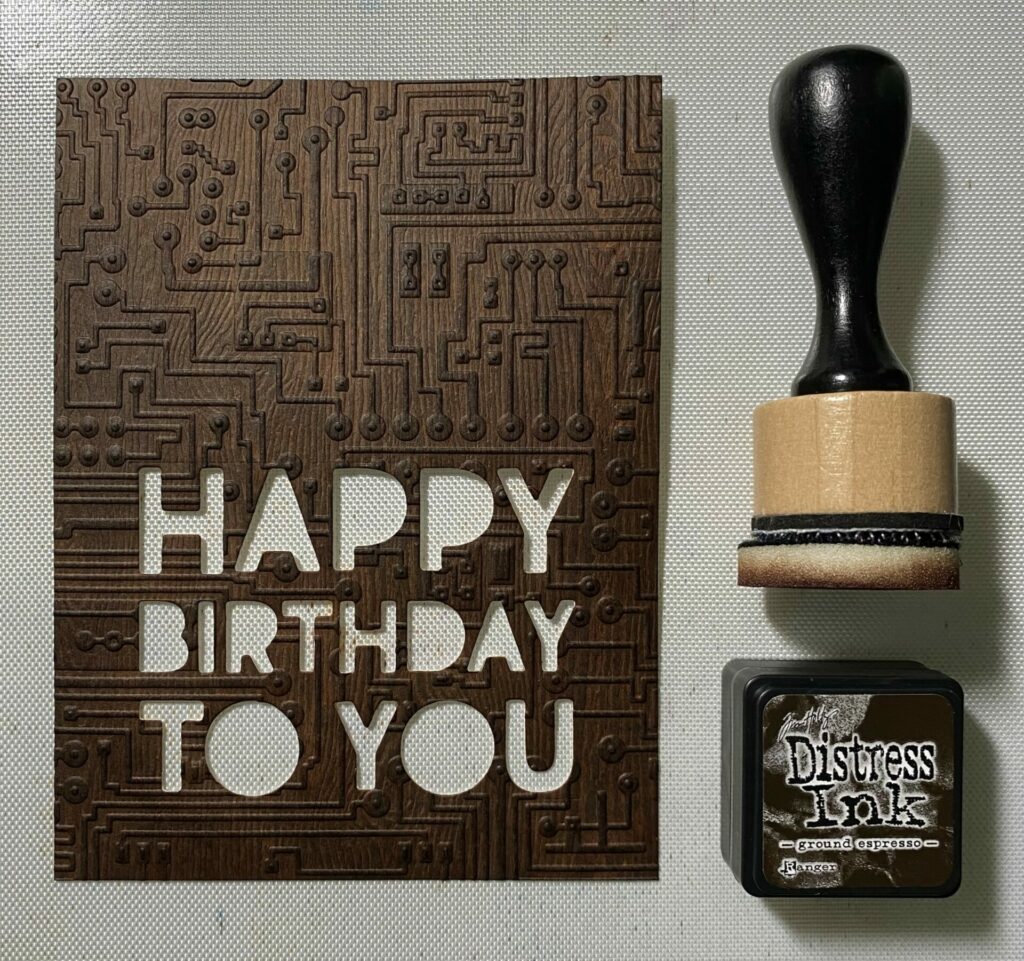
- Use a blending tool and flat foam to add ground espresso distress ink to the raised areas of the embossing. Use a light hand for optimal results.
- Ink the white edges of the paper as well.
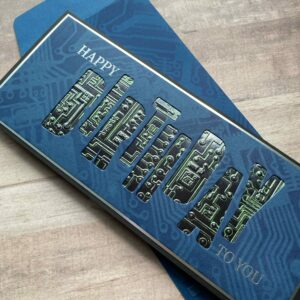
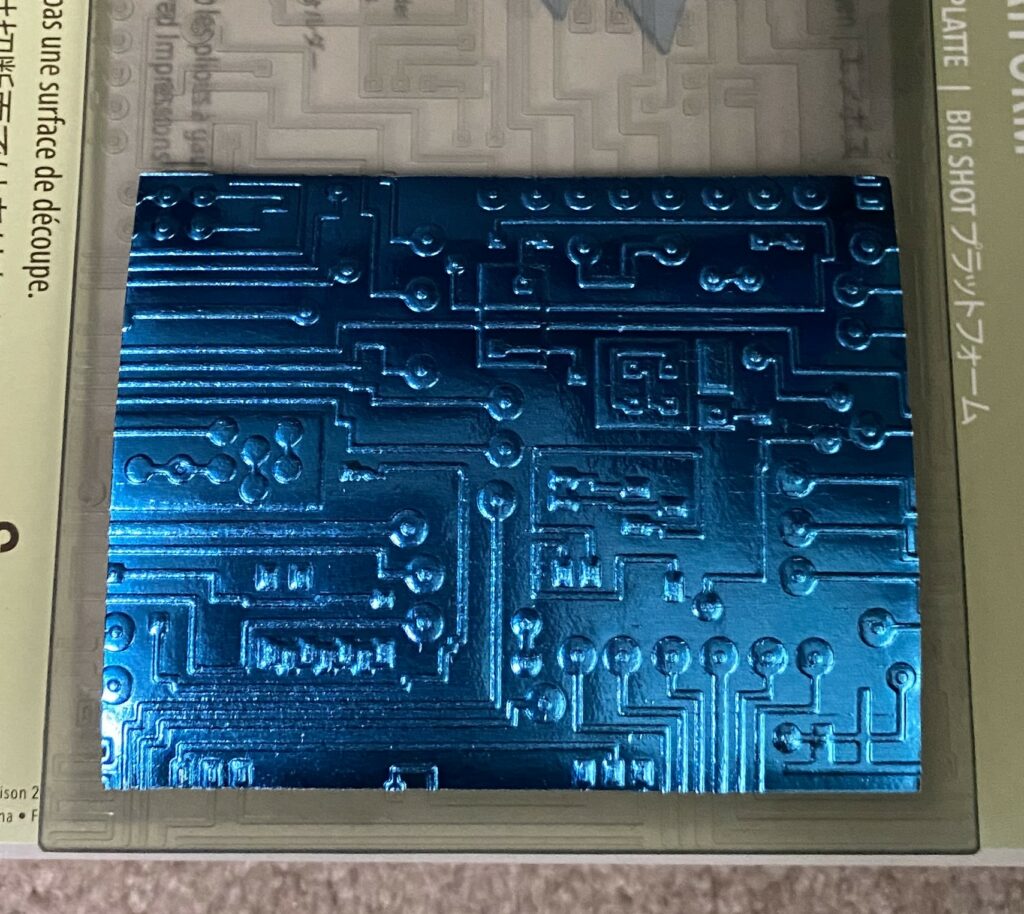
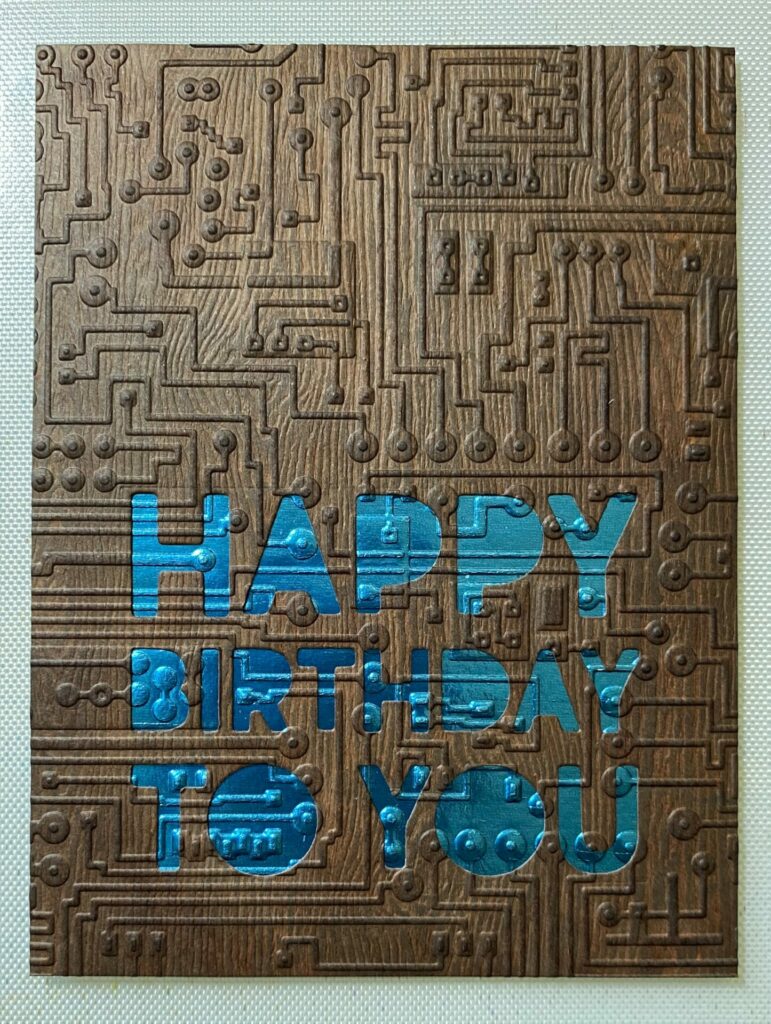
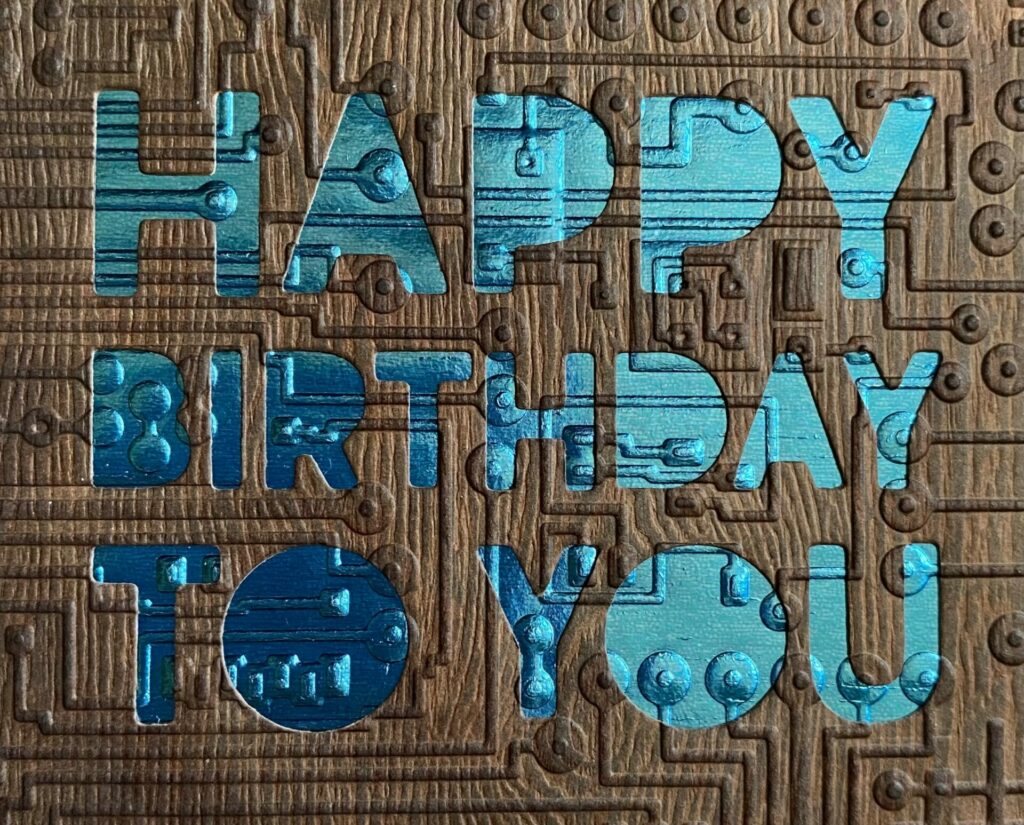
Adding the Metallic
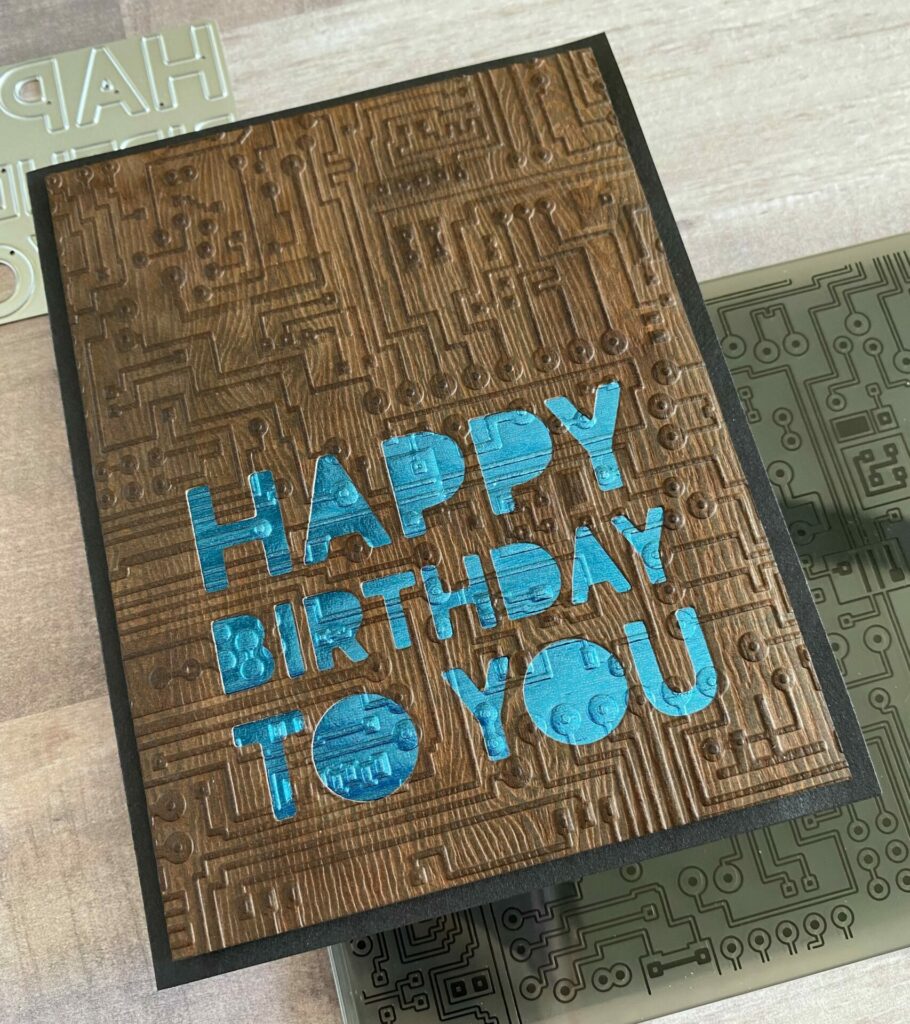
- Cut a piece of blue metallic kraft stock to the size of 3 x 3¾ inches.
- Next, place it in the Circuit 3D embossing folder, ensuring it is aligned with the area where the birthday sentiment was previously embossed on the woodgrain panel.
- This is intended to line up with the embossing and lock in behind the “Happy Birthday To You” sentiment.
- Then, run the folder through your die cutting machine.
- Remove the embossed panel from the folder.
- Finally, align the embossed image and glue it behind the “Happy Birthday To You” sentiment.
- Set something heavy on it while it dries.
Adding the Craft Foam
- Cut the black craft foam to a size of 3¾ x 5 inches.
- Glue the foam to the back of the wooden circuit panel.
- Set something heavy on it while it dries.
- Then, glue the circuit panel to the front of the card base, centering it on all sides.
- Lastly, set something heavy on it while it dries.
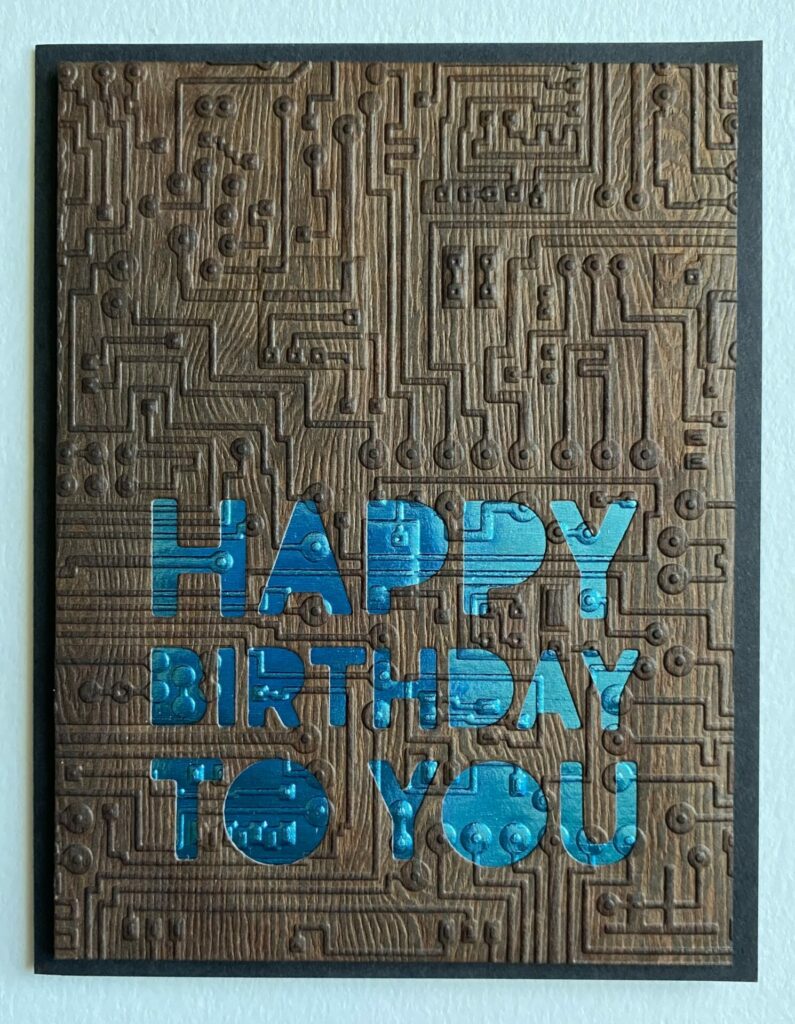
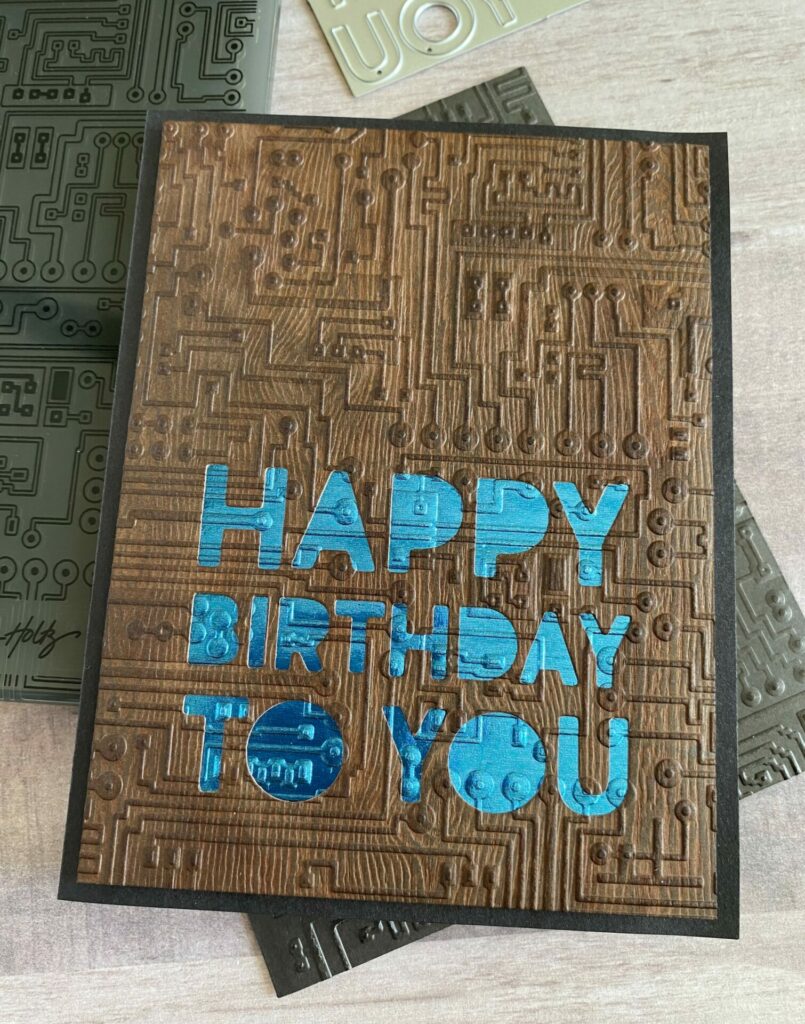
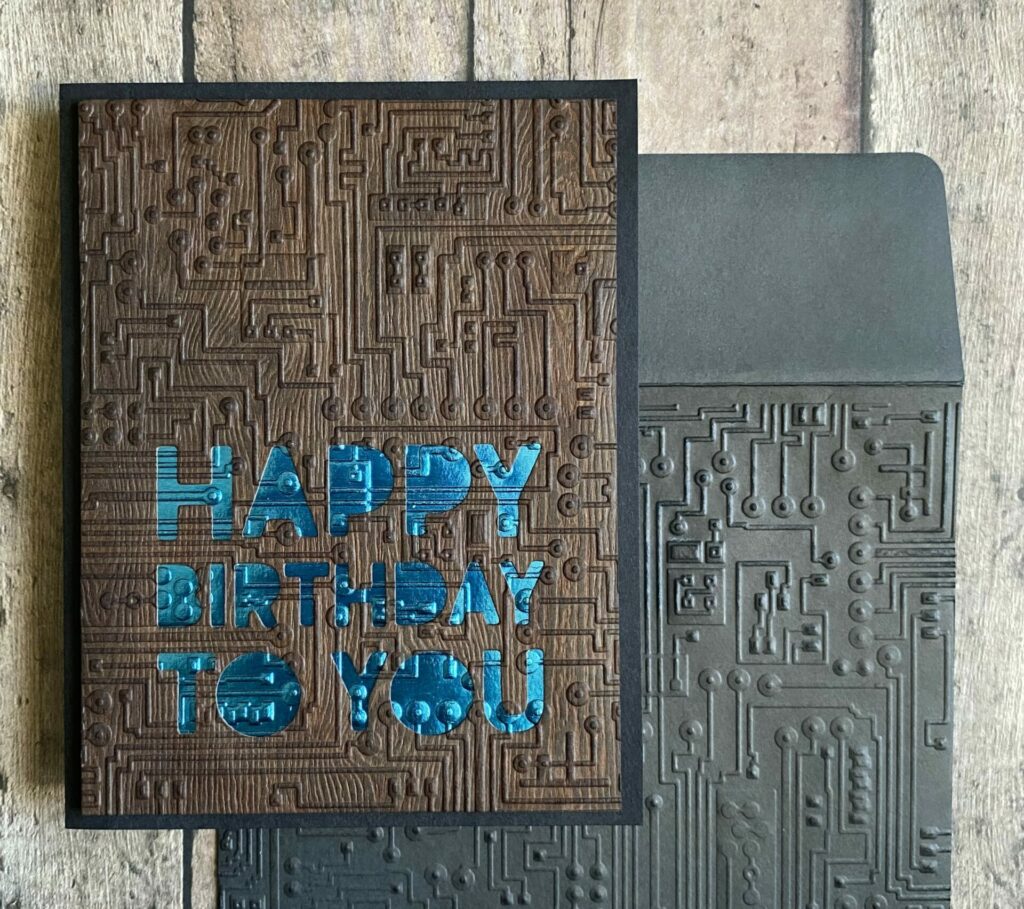
Wooden Circuit Birthday Card Complete!
Hey, congrats! You’ve finished making your wooden circuit birthday card! I really hope you had a blast following this tutorial, just like I did. If you decide to give it a go, don’t forget to tag me (@silversgrove or @grovecrafted) on Instagram. I’m super excited to see what you’ve come up with! Thanks for checking this out, and I hope it sparked some fresh ideas for your own creations. Have a great time crafting!
- Turtle – Sizzix Tim Holtz Thinlits Dies – Under the Sea #2 #665378 | Sb.com | SSS |
- Stamp – Hampton Art Clear Stamps – Made With Love #SC0763 | AMZ |
If you enjoyed making this wooden circuit birthday card, check out my other Masculine Card Tutorials for additional inspiration and ideas.