Layered Butterflies Card
Hello crafty card makers! Today, I am excited to present a tutorial on crafting a layered butterfly card. This versatile card is suitable for a variety of occasions. While I designed mine as a birthday card, it can easily be adapted for thank you notes, greetings, sympathy messages, get well wishes, congratulations, or even Mother’s Day.
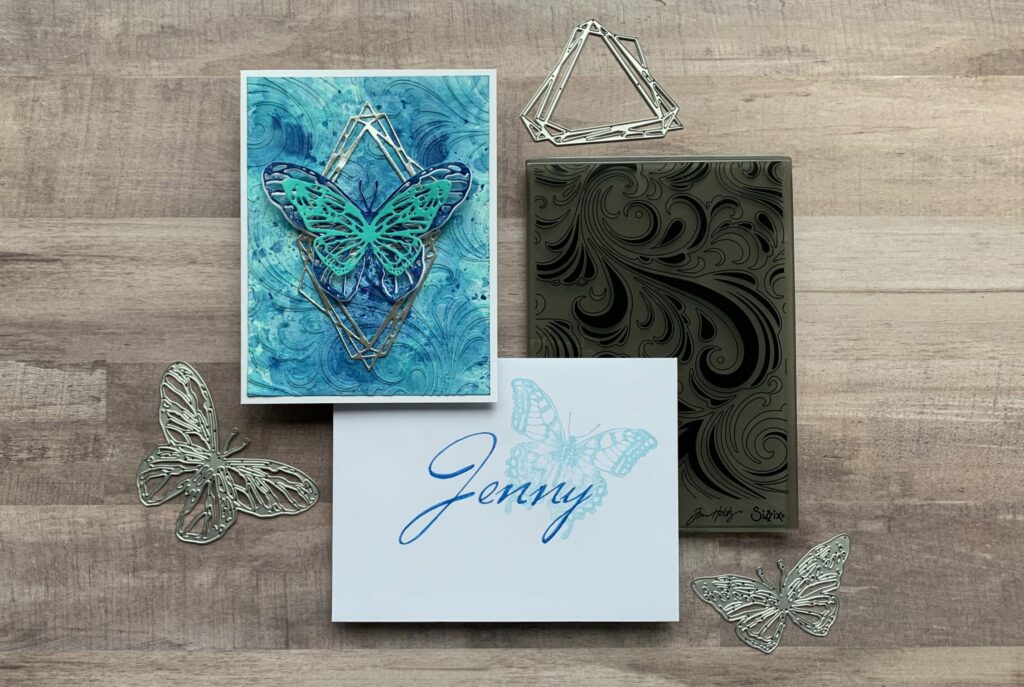
For added personalization, a sentiment can be incorporated on the front. However, I opted to leave it blank, allowing the recipient the option to frame it as a decorative art piece if they choose.
Link Abbreviations
- AMZ – Amazon*
- Sb.com – Scrapbook.com*
- SIZ – Sizzix*
- RI – Ranger Ink*
- BA – Blick Art Materials*
- SSS – Simon Says Stamp
Full Disclosure: This post contains affiliate links which are indicated with an (*). If you click on an affiliate link and later make a purchase, I may receive a small commission. Clicking on an affiliate link which earns a commission does NOT result in additional charges to you or cost you anything extra. Money earned via affiliate links helps pay the fees to keep this blog up and running. Thank you so much for shopping through my links to show your support for the brands that we love and the products that I share!
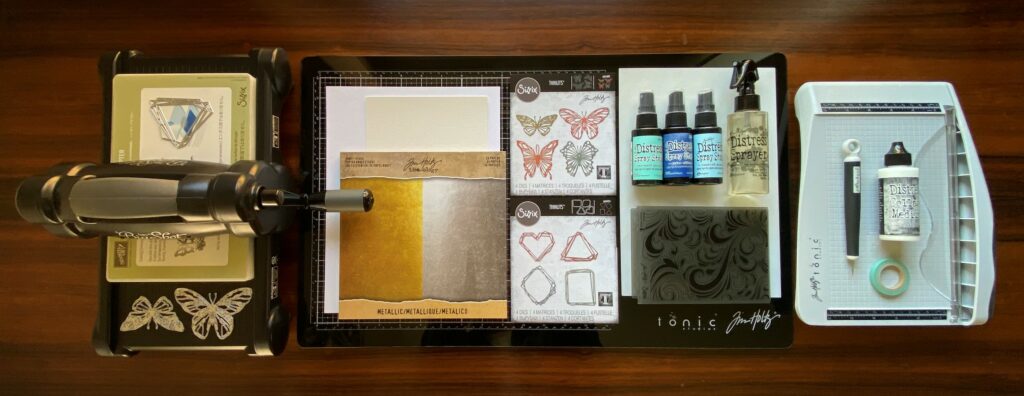
Supplies Used / Substitutions:
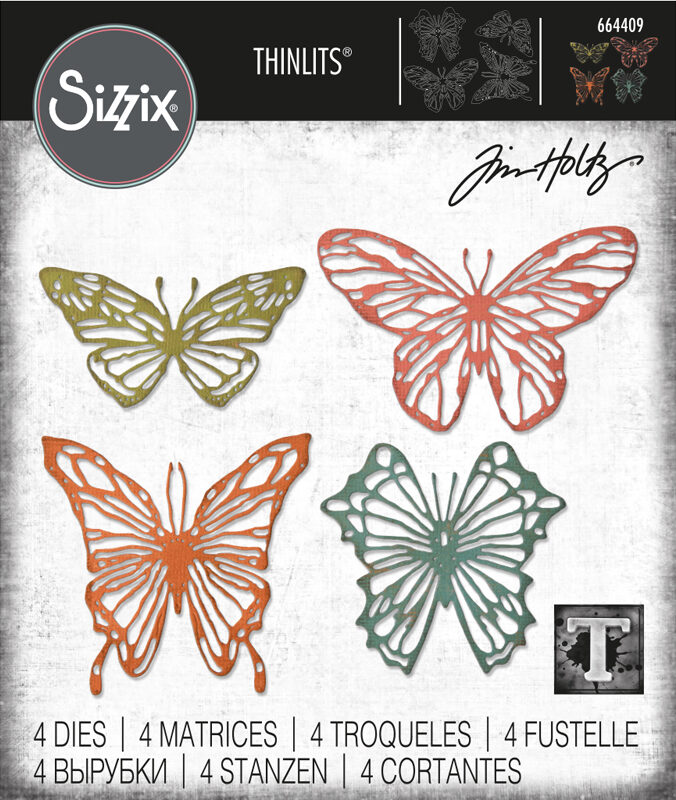
- Tim Holtz Sizzix Thinlits Dies – Scribbly Butterflies #664409 | SIZ | AMZ | SSS / Any butterfly dies (2 different sizes for layering)
- Tim Holtz Sizzix Thinlits Dies – Geo Frames #664414 | Sb.com | SIZ | AMZ | SSS / Any frame die
- Tim Holtz Sizzix 3D Embossing Folder – Swirls #665226 | Sb.com | SIZ | AMZ | SSS / Any embossing folder
- Canson XL 140lb Watercolor Paper – Cold Press | BA | AMZ / Any watercolor paper
- Distress Heavystock – White | Sb.com | RI | AMZ / Any white heavyweight cardstock
- Tim Holtz idea-ology Metallic Kraft Stock – Silver | Sb.com | AMZ | SSS / Any silver metallic cardstock
- Distress Spray Stain / Distress ink pads or stains in any colors
- Sizzix Big Shot | Sb.com | SIZ / Any die cutting machine
- Tim Holtz Glass Media Mat | Sb.com | AMZ / Non-stick craft sheet
- Tim Holtz Tonic Precision Trimmer | Sb.com | RI / Any paper trimmer
- Ranger Heat It Craft Tool – US | Sb.com | RI | SSS / Optional
- Distress Collage Medium – Matte | Sb.com | RI / Any liquid adhesive
- Spray Bottle with water | Sb.com / Any spray bottle with water
- Tim Holtz Retractable Craft Pick | Sb.com | SSS | AMZ / Toothpick
- Washi Tape / Any low tack tape
Making the Card Base
First, I took an 8½” x 11″ piece of white cardstock and cut it in half, giving me two 8½” x 5½”pieces. Then I folded one of them in half, which gave me a standard A-2 card size of 4¼” x 5½”. This is the base of my card, but you can make your card whatever size you want.
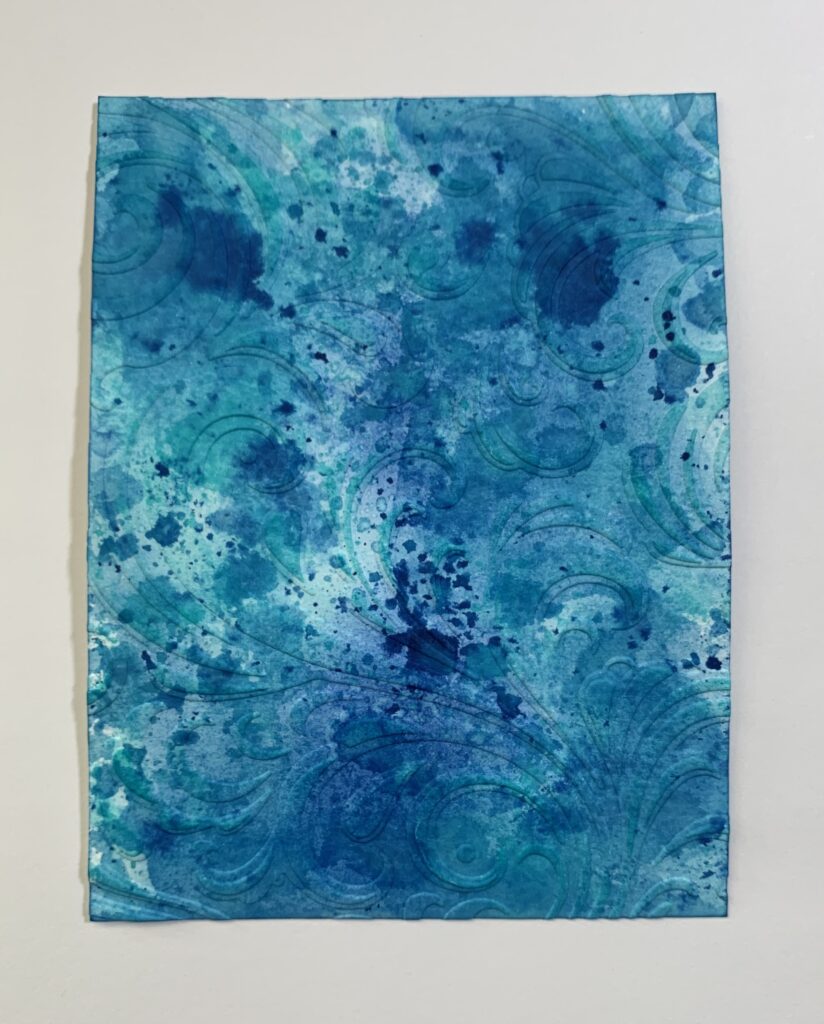
Inking the Background
Next I took the watercolor paper and trimmed it to 4″ x 5¼”. Now it’s time for some inking. I spritzed the watercolor paper with some water and then sprayed it with some Tim Holtz Distress Spray Stains. I used tumbled glass and prize ribbon, but feel free to use whatever colors you want. Then I dried my first layer with a heat tool. You can let it air dry if you don’t have a heat tool.
For the next layer, I sprayed the spray stains on my craft mat and added some spritzes of water too. I made a print for my second layer and dried it. Then I repeated this process until it was the way I wanted. I also dripped and flicked some water on it. Waited a bit, then dabbed it off for that extra distressed effect. You can also do this whole inking process with Ranger Tim Holtz Distress Ink pads if you don’t have the spray stains.
When the inked background was completely dry I spritzed the back of it with water and put it into the Sizzix Swirls 3D embossing folder. The water helps soften the fibers of the paper so it doesn’t crack. Then I ran it through the Sizzix Big Shot three times. Remember, 3D = 3 times (it makes for a deeper and crisper impression.) When it was dry I glued it to the front of my card base with distress collage medium and set something heavy (my big shot platform) on it to dry.
Triangular Diamond
Next I took the triangle die from the Geo Frames Tim Holtz Sizzix thinlits set. I cut it twice from the Tim Holtz idea-ology Metallic Kraft Stock in silver. I used the washi tape to tape the die in place to the paper so it doesn’t shift while going through the big shot.
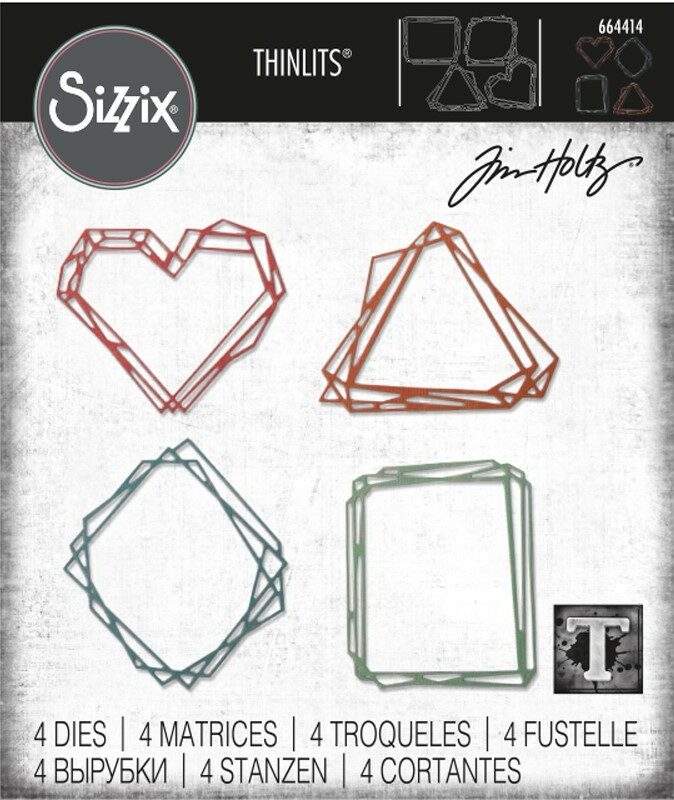
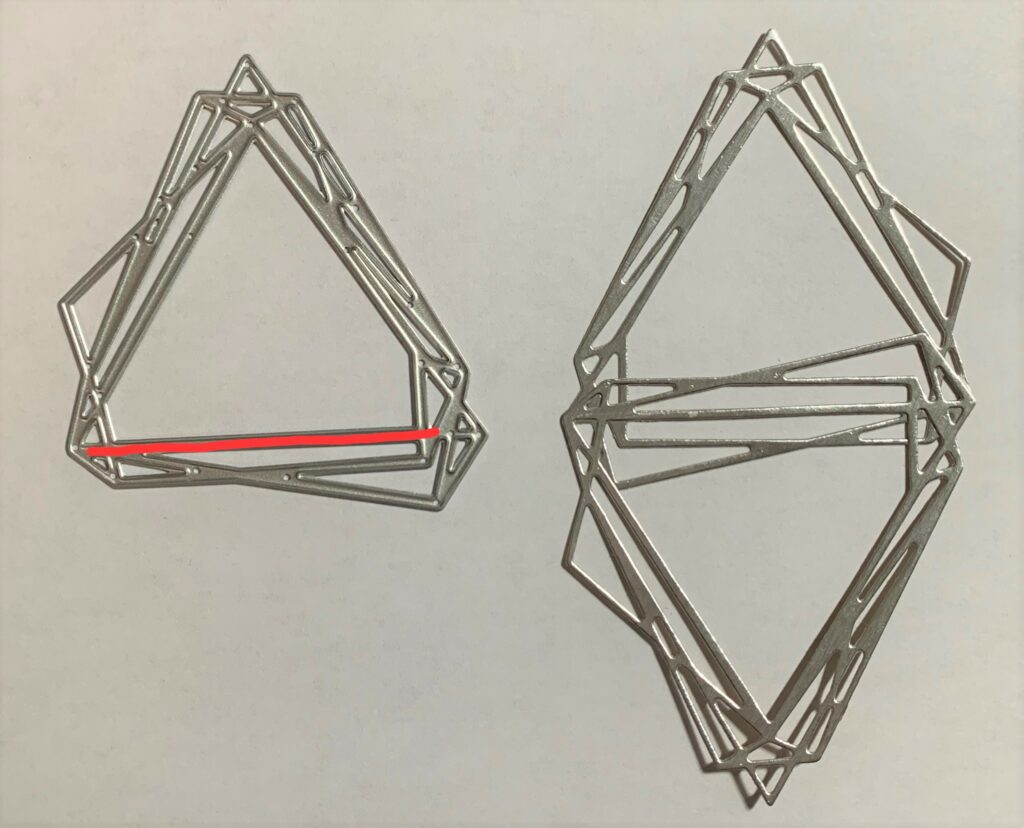
Then I took the two triangles, turned one to point upward and the other to point downward and glued them together along the red line. Next I glued the triangle diamond to the center of the front of the layered butterflies card base.
Creating the Butterflies
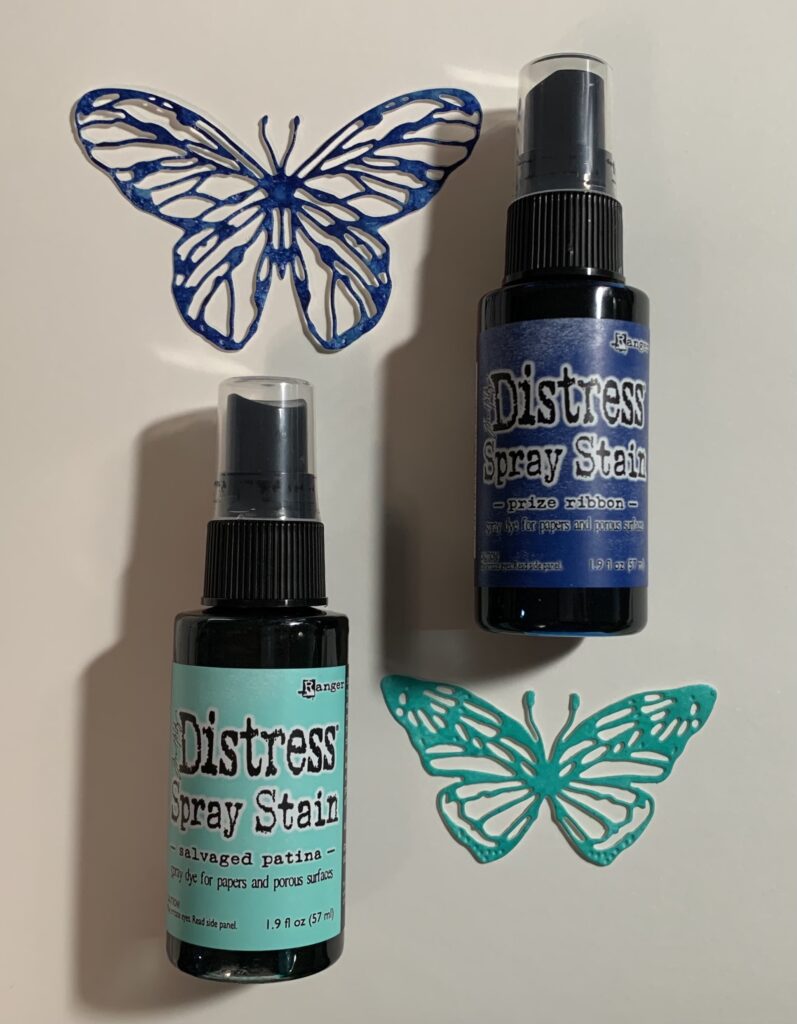
For the butterflies, I used the top two from the Scribbly Butterflies Sizzix die set. I cut two small pieces of watercolor paper for each of the butterflies. Then I misted the paper with some water and sprayed the larger piece with Distress Spray Stain in the shade prize ribbon and the smaller one with salvage patina. I dried them with my Ranger Heat It craft tool. You can let them air dry if you don’t have a heat tool. Then I sprayed some prize ribbon on the craft sheet of my glass media mat and made a print. I dried it and repeated the process until I was happy with it. I did the exact same to the smaller one with the salvaged patina.
When the paper was completely dry I taped the small butterfly to the salvaged patina inked cardstock with washi tape. Then I taped the larger butterfly to the prize ribbon cardstock and ran them through the Big Shot. I poked out all the negative pieces with my craft pick and trimmed off the antennae of the small butterfly. I also cut the bigger butterfly from white cardstock and trimmed off its antennae.
Putting It All Together
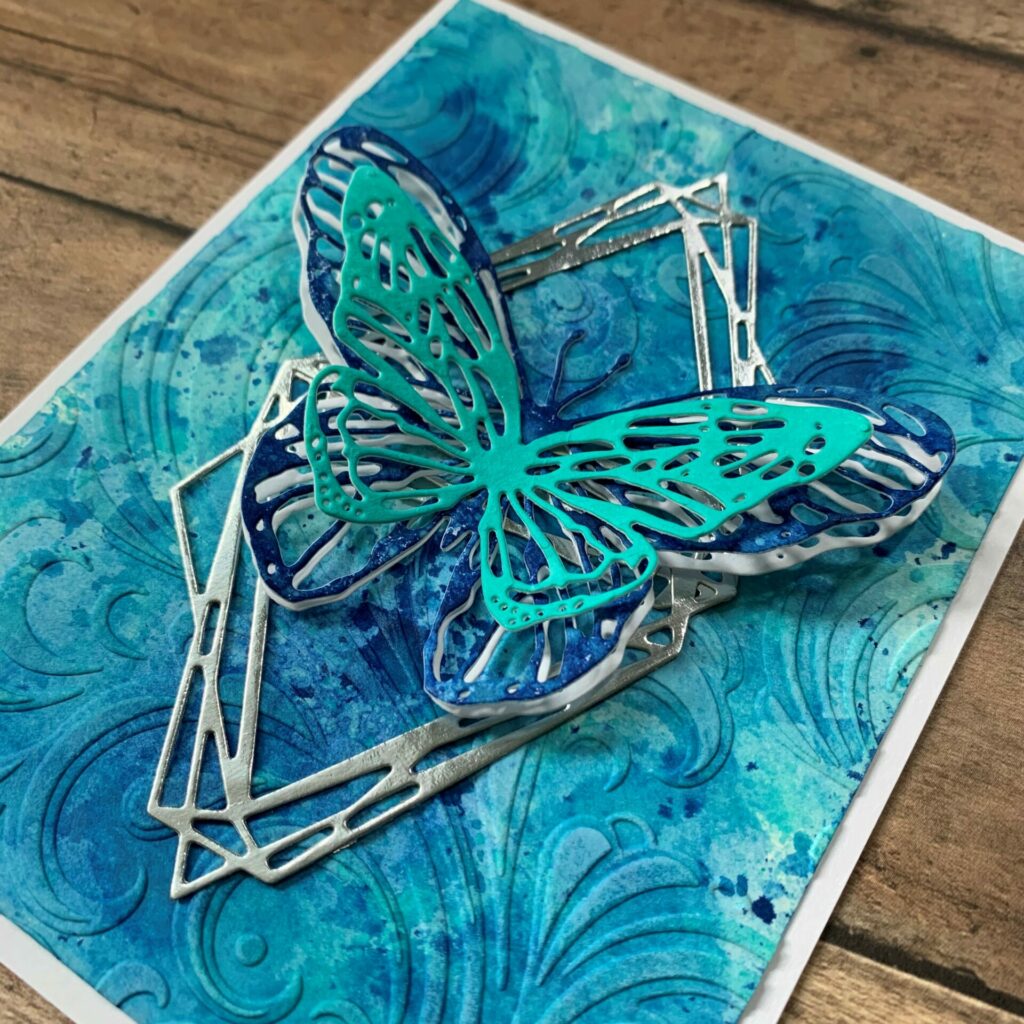
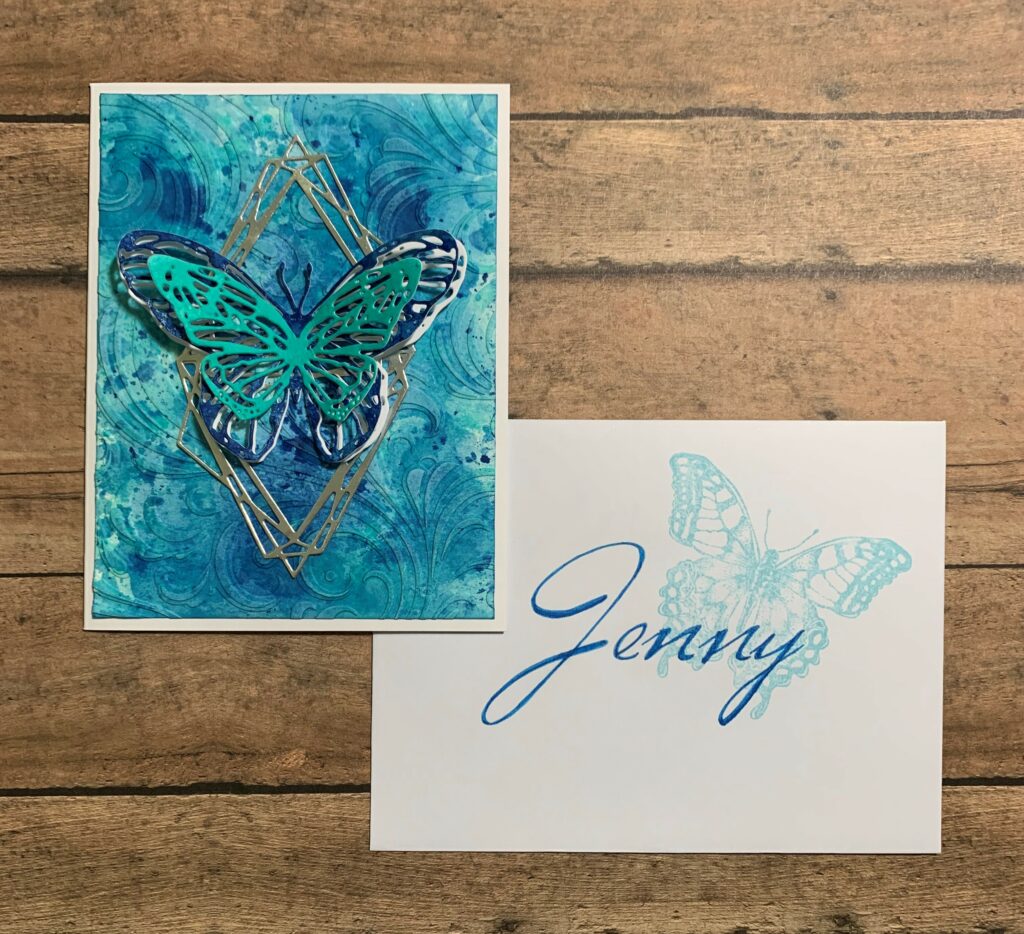
Next I put some collage medium on the back center part of the bigger blue butterfly and glued it on top of the white butterfly. Then I did the same with the small teal butterfly and glued it on top of the bigger blue butterfly. Next I put collage medium on the back side, down the center body of the butterfly, and glued it to the center of the card. Lastly, I bent the wings up for a bit of extra dimension.
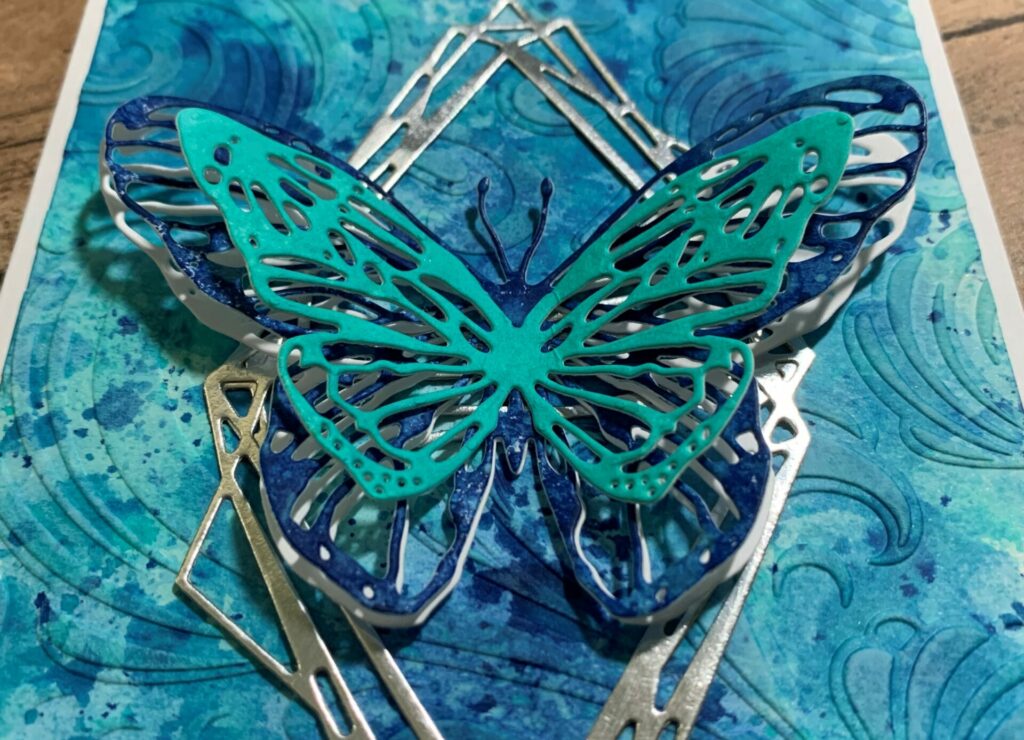
Layered Butterflies Card Complete!
Congratulations your layered butterflies card is now complete! I hope you enjoyed this tutorial and have as much fun making it as I did. If you do make this card use the #grovecrafted on Instagram. I’d love to see it! Thanks for stopping by and I hope you found some new inspiration to create.

The butterfly stamp used on the envelope is from the Tim Holtz Flourish and Latticework set by Stampers Anonymous.
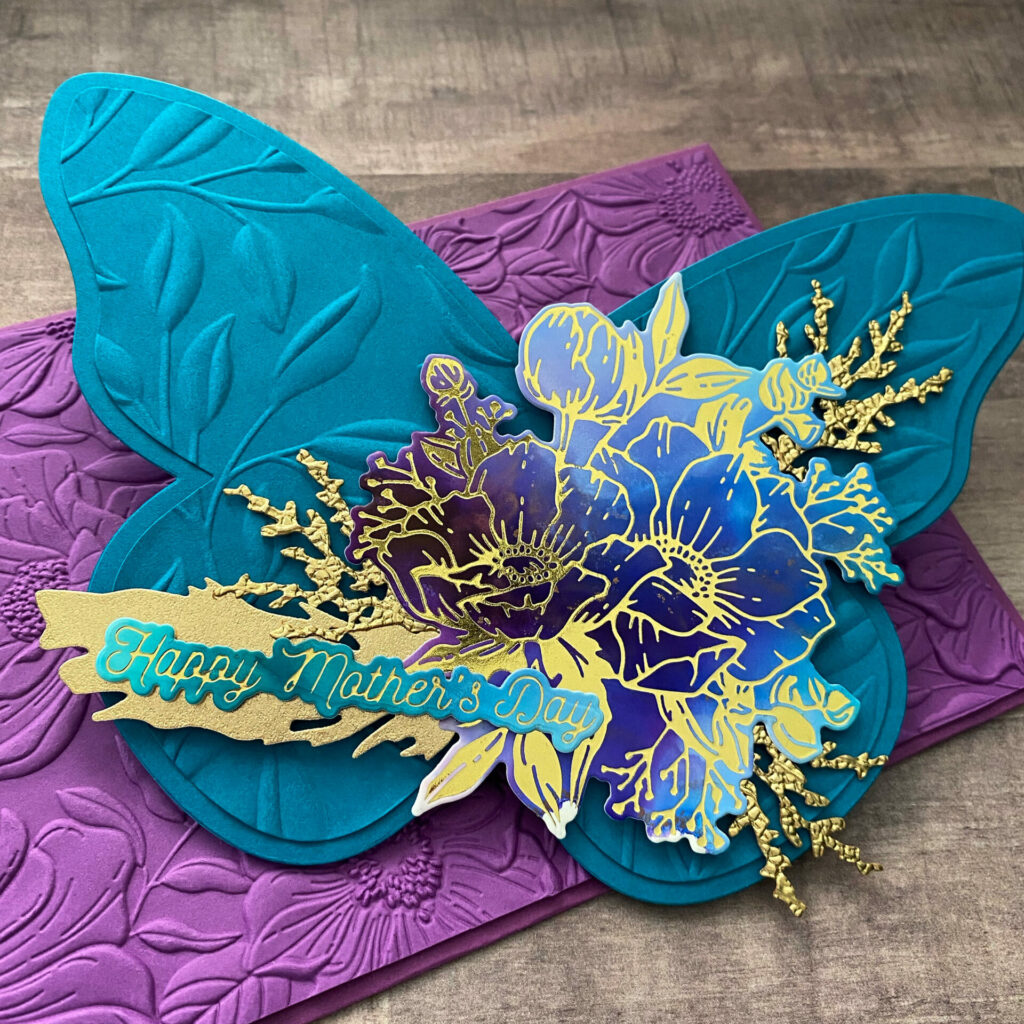
If you enjoyed making this layered butterflies card, check out my Floral Butterfly Shaped Card tutorial for additional inspiration and ideas.