Mini Sweethearts Valentine
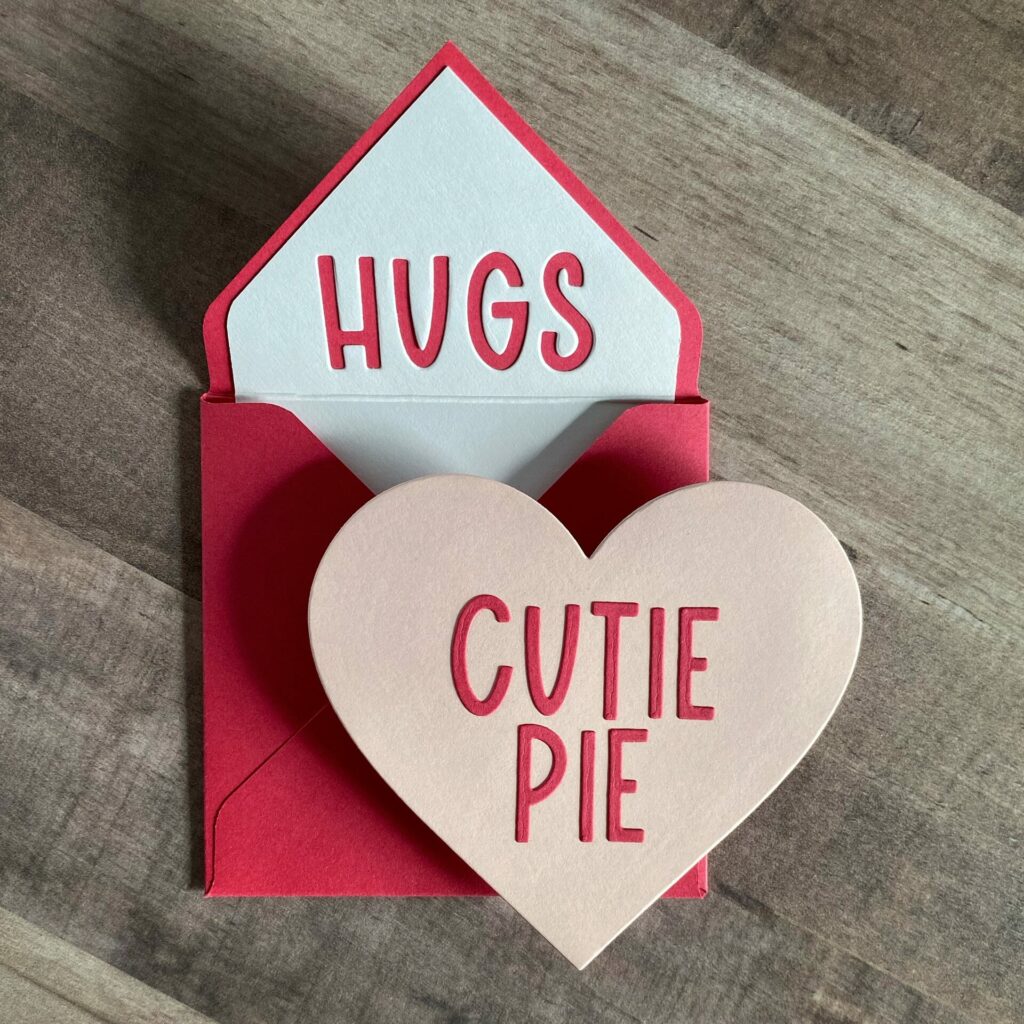
Hey there crafty friends! Valentine’s Day is just around the corner, and I’ve made the cutest mini sweethearts valentine. Remember those little conversation heart candies? They were made by Necco and used to be called Sweethearts. Well, they were my inspiration.
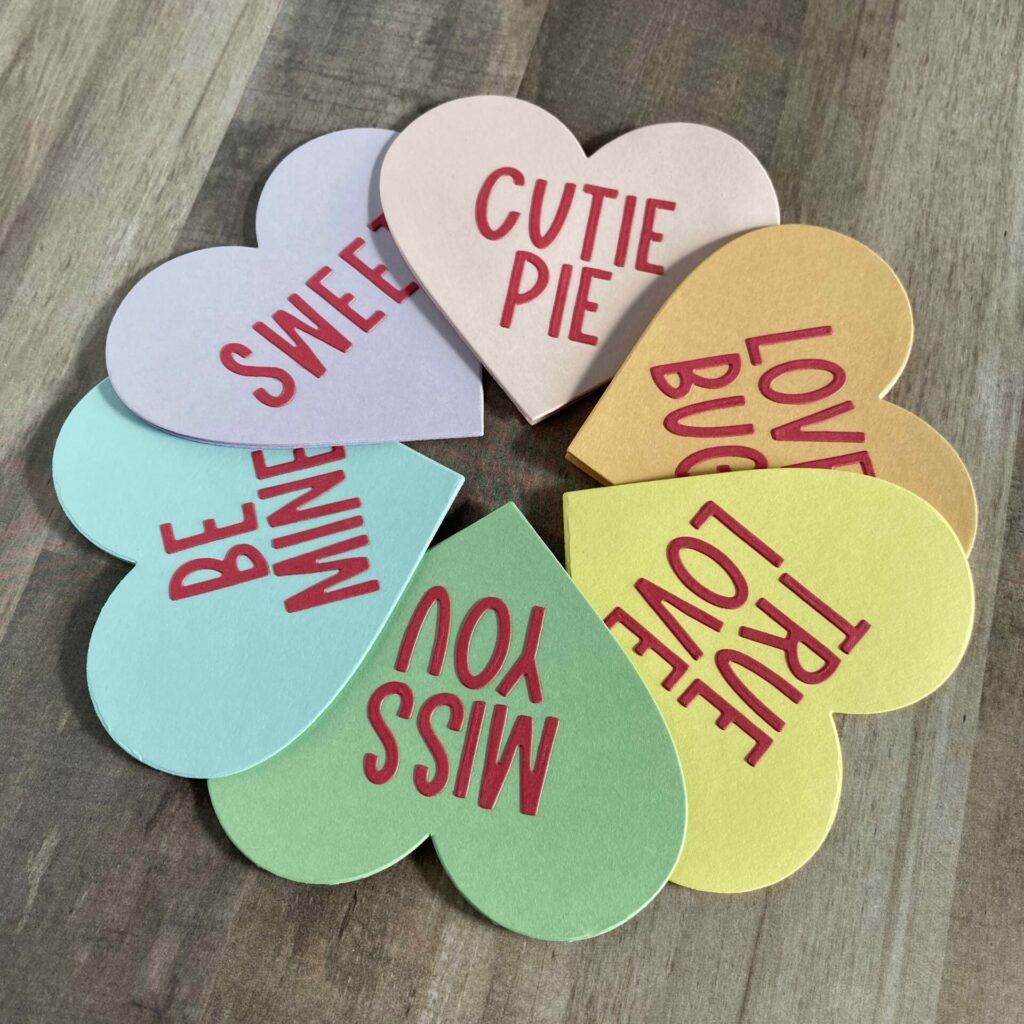
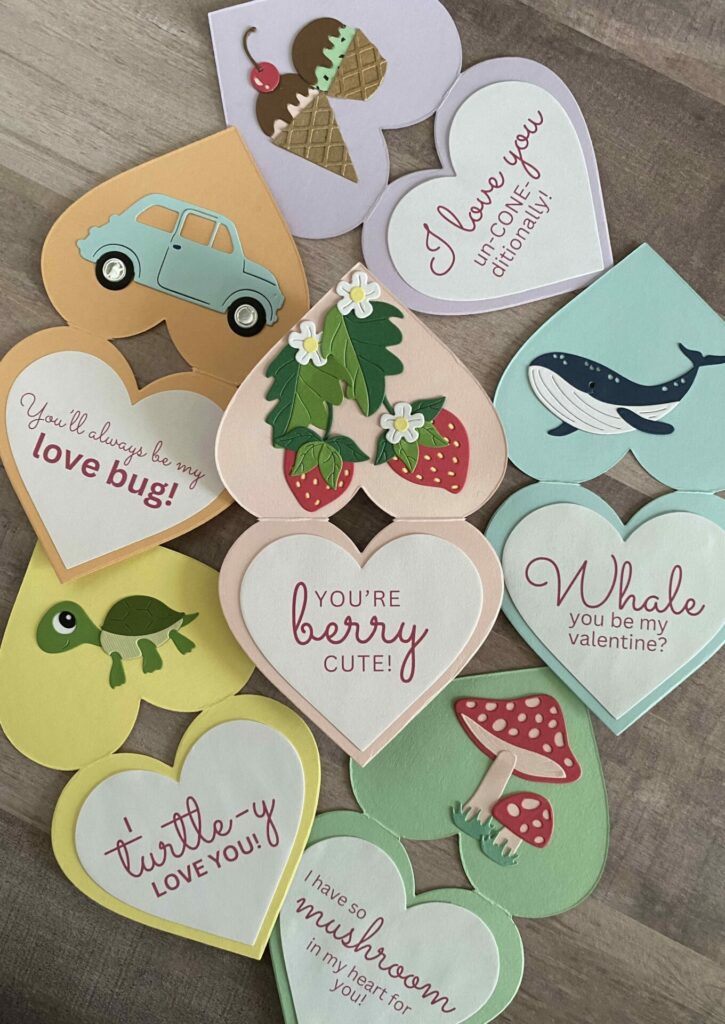
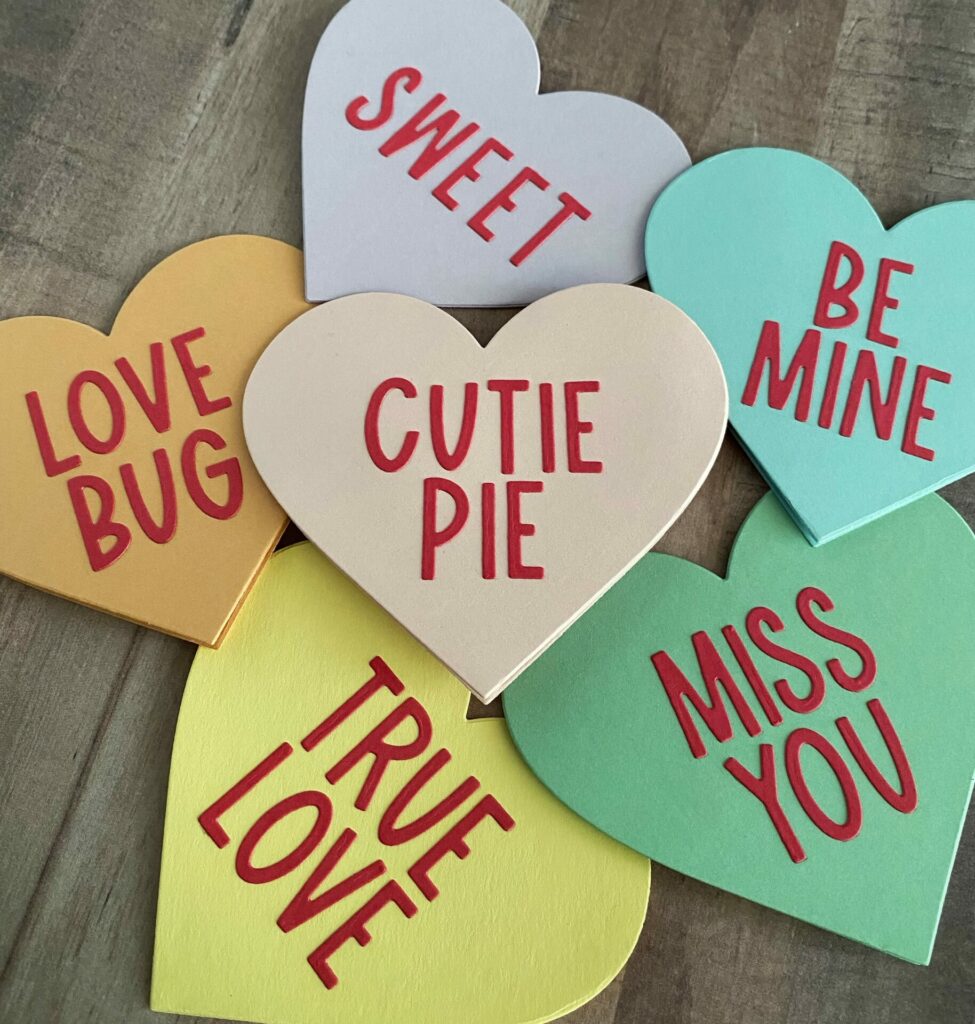
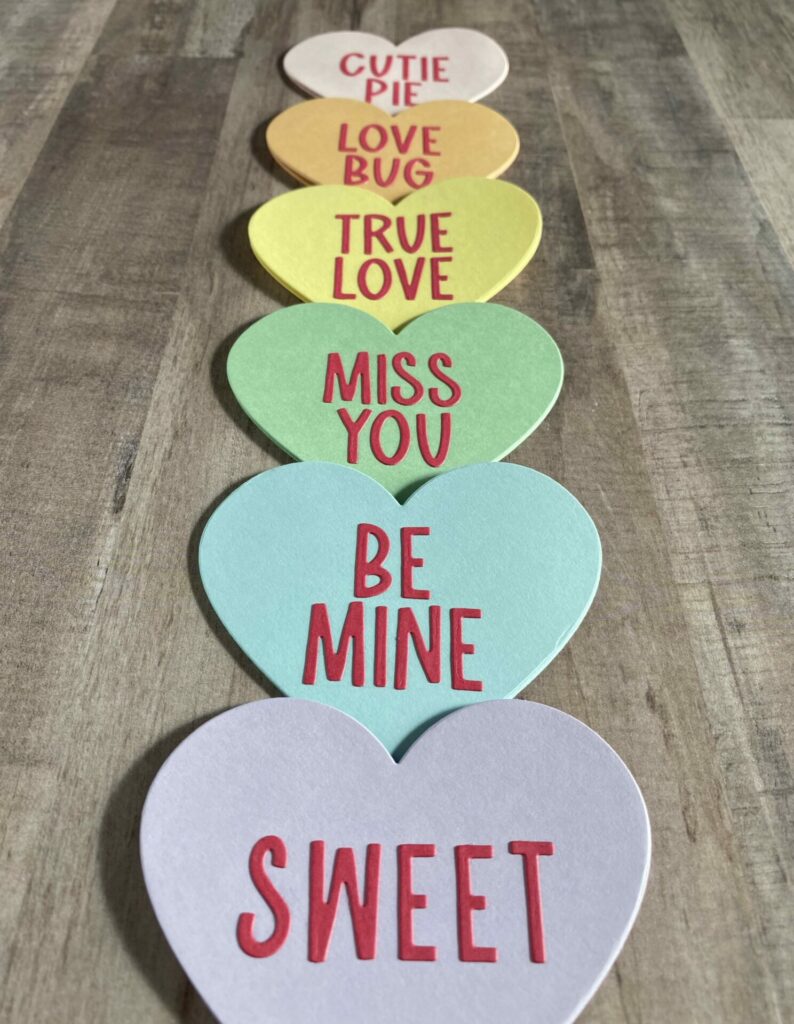
So today, I’ll show you how I made these adorable mini sweethearts valentines. They have a heart-shaped design that brings back all those nostalgic vibes. I made one in every color, but you can choose any color you like. If I recall, these candies used to come in light shades of pink, orange, yellow, green, purple, and white. I don’t recall ever seeing a blue one, but I decided to make one anyway. I had to complete the rainbow!
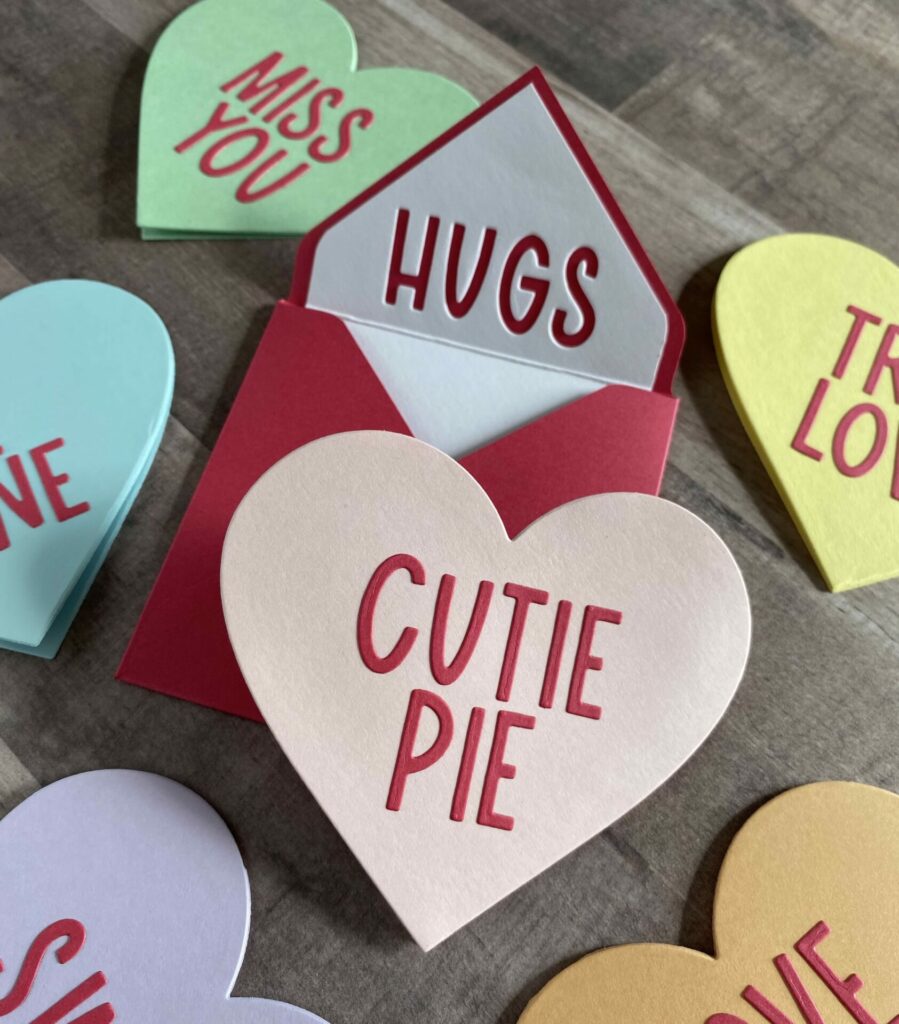
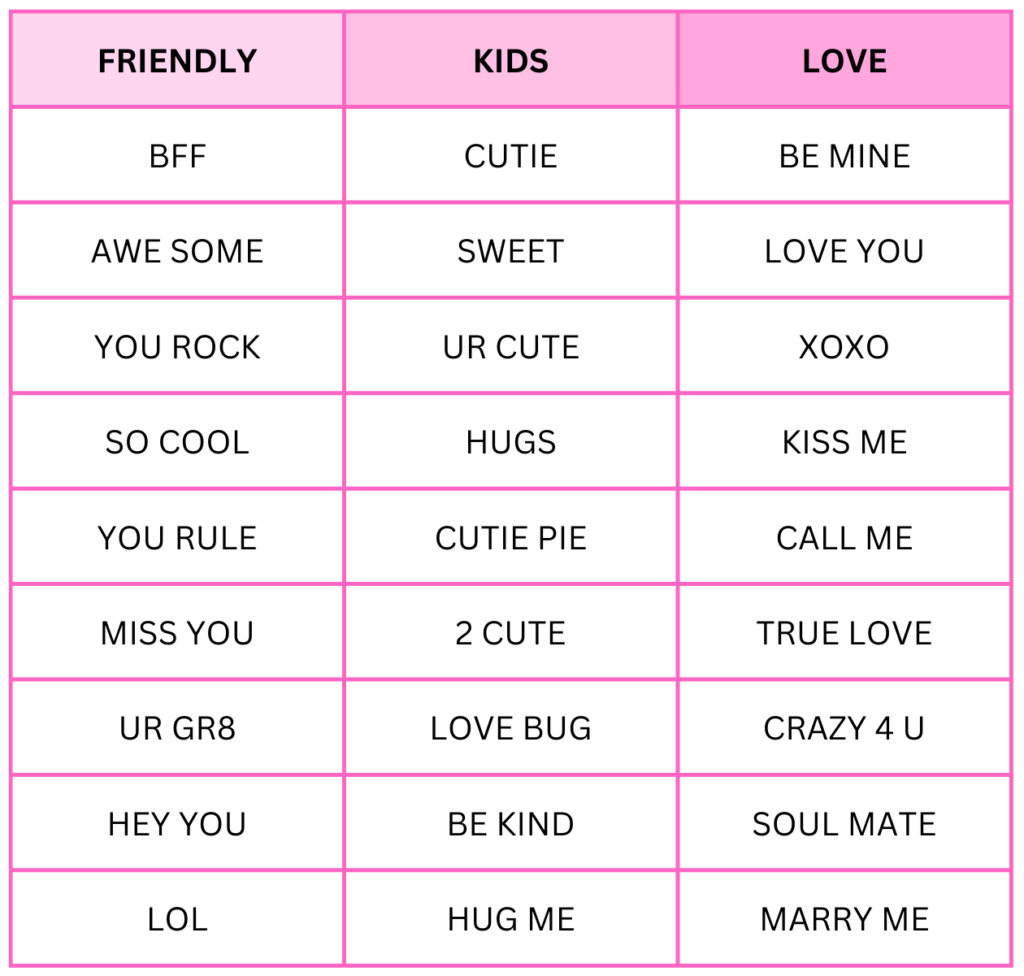
These valentines are fully customizable, and there’s so many sayings to choose from. You can go all lovey-dovey for your significant other with sayings like “TRUE LOVE”, “KISS ME”, and “XOXO”. Or you can go for a fun and flirty vibe with sayings like “CALL ME”, “TXT ME”, and “UR CUTE”. They can also just be friendly with sayings like “YOU ROCK”, “SO COOL”, and “UR GR8”. These mini sweetheart valentines are also perfect for kids too.
Link Abbreviations
- AMZ – Amazon*
- HA – Hero Arts*
- SB – Spellbinders*
- Sb.com – Scrapbook.com*
- SIZ – Sizzix*
- SSS – Simon Says Stamp
Full Disclosure: This post contains affiliate links which are indicated with an (*). If you click on an affiliate link and later make a purchase, I may receive a small commission. Clicking on an affiliate link which earns a commission does NOT result in additional charges to you or cost you anything extra. Money earned via affiliate links helps pay the fees to keep this blog up and running. Thank you so much for shopping through my links to show your support for the brands that we love and the products that I share!
Supplies Used / Substitutions:
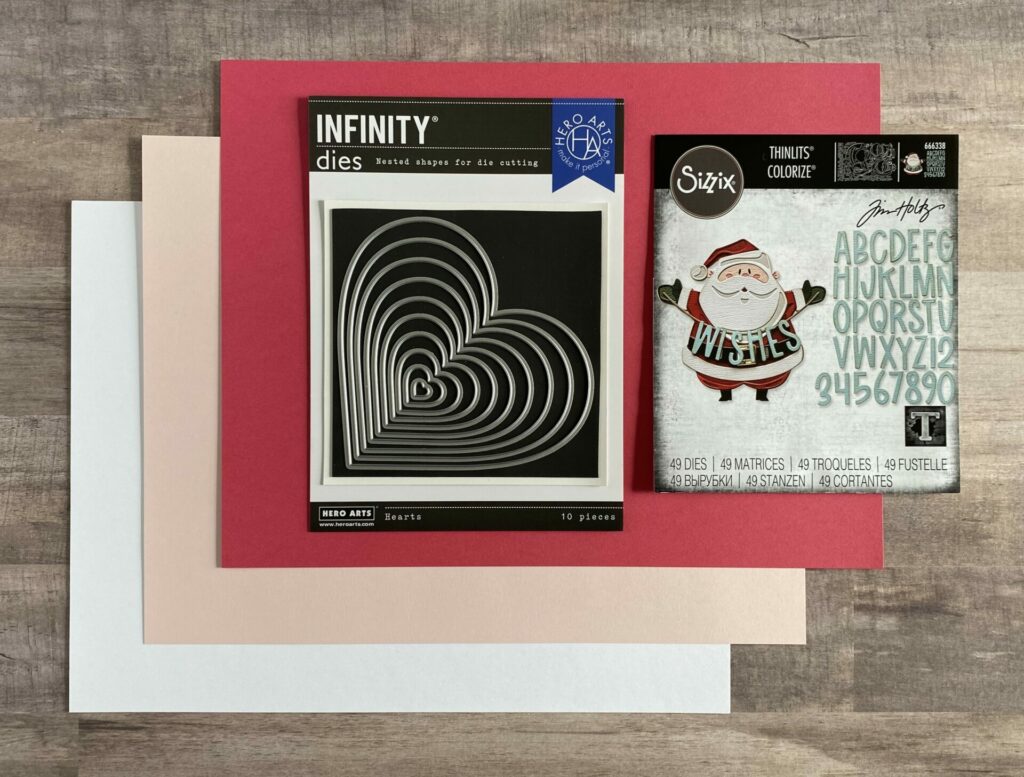
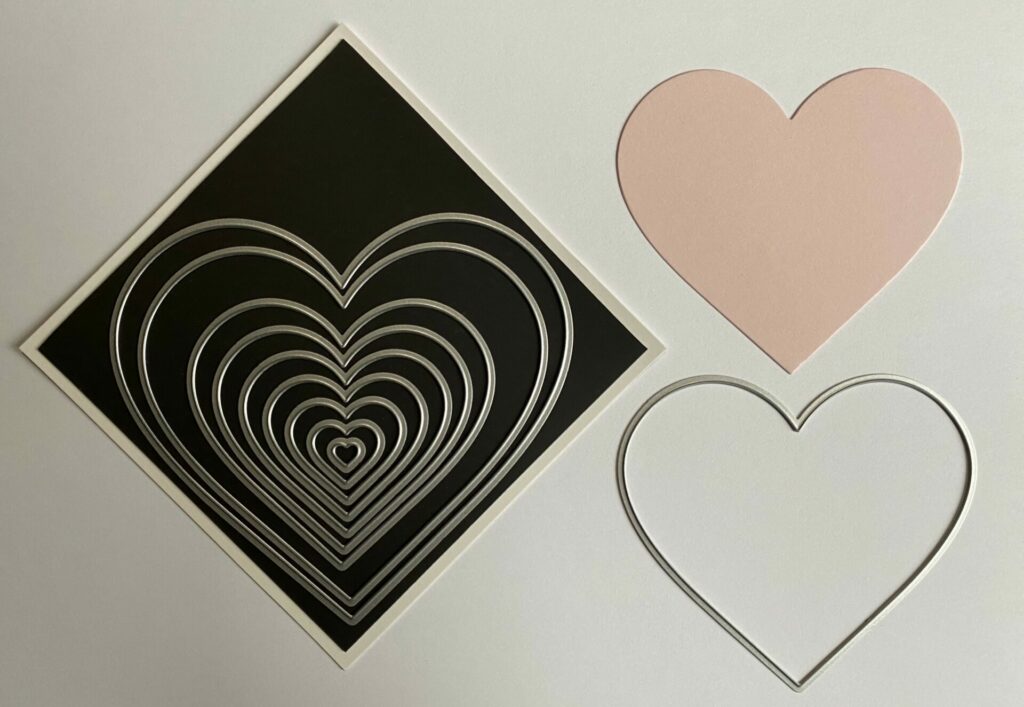
- Hero Arts Nesting Infinity Dies – Hearts #DI334 | Sb.com | HA | AMZ / Any nested heart dies
- Sizzix by Tim Holtz Thinlits Colorize – Santa Greetings #666338 | Sb.com | SIZ / Vault Hippity Hop #666562 | Sb.com / Any sans-serif alphabet dies
- Light Pink Cardstock / Any colors that match the conversation heart candies
- Red Cardstock
- White Cardstock / Optional
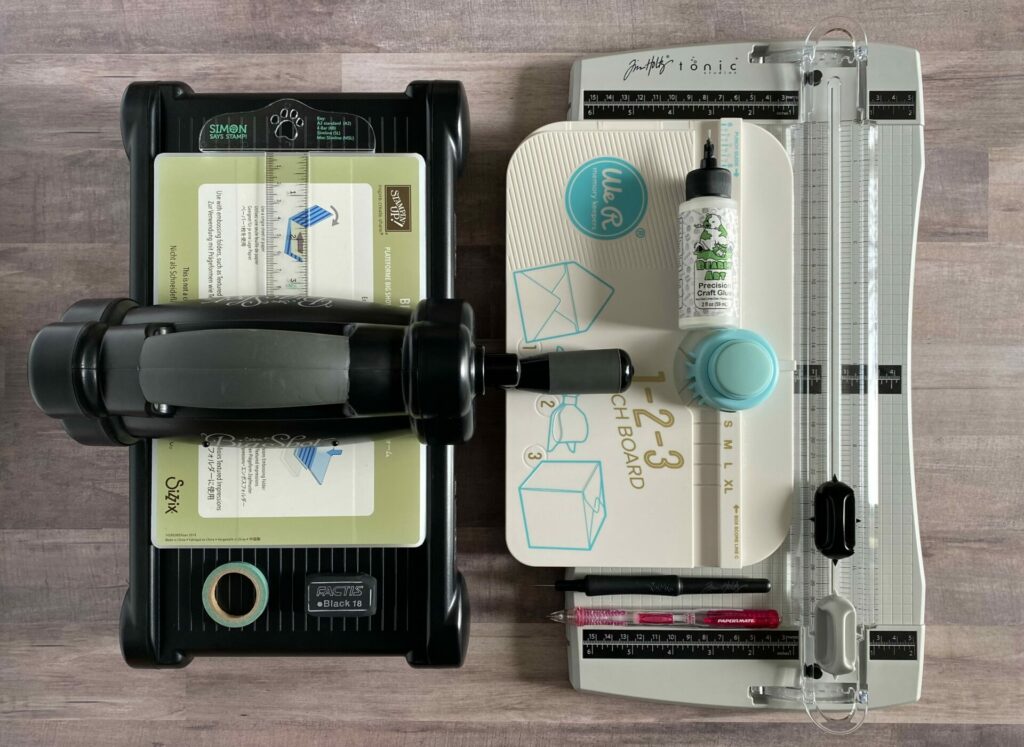
Tools Used / Substitutions:
- Sizzix Big Shot | SIZ / Spellbinders Platinum Six | SB / Any die cutting machine
- Tim Holtz Tonic Precision Trimmer | Sb.com / Any paper trimmer
- Bearly Art Glue | Sb.com | SB | AMZ / Any liquid adhesive
- Die Pick | Sb.com / Toothpick
- Washi Tape / Any low tack tape
- T-Square
- Eraser | AMZ
- Mechanical Pencil | AMZ / Any pencil
- We R Makers 1-2-3 Punch Board | AMZ | SSS | Michaels / Optional
Making The Card Base
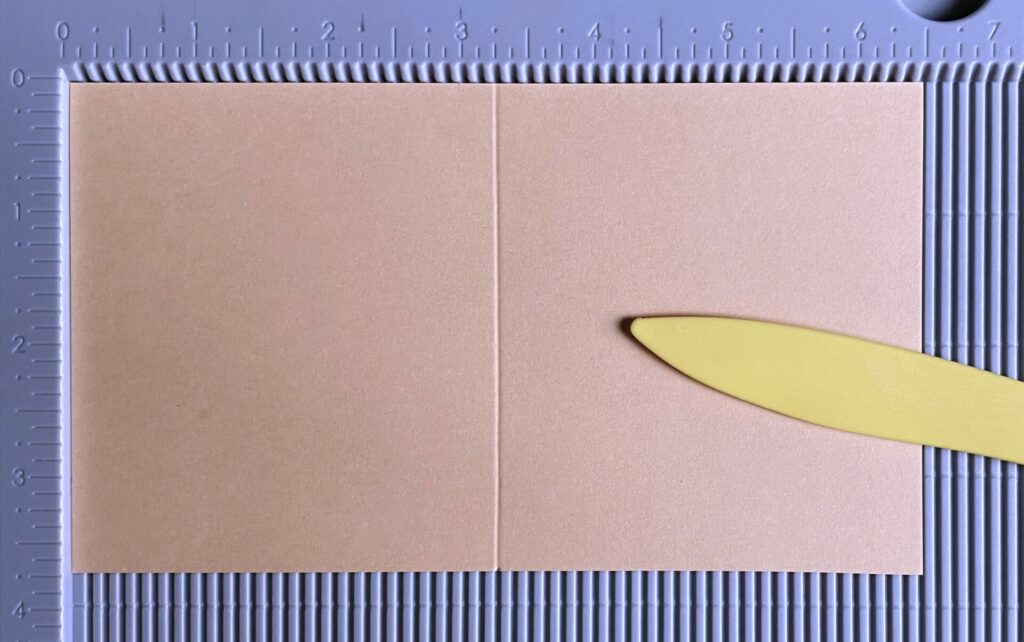
- Cut the light pink cardstock down to a size of 3¾ x 6½ inches with your paper trimmer.
- Score the cardstock strip at the 3¼ inch line and fold it in half.

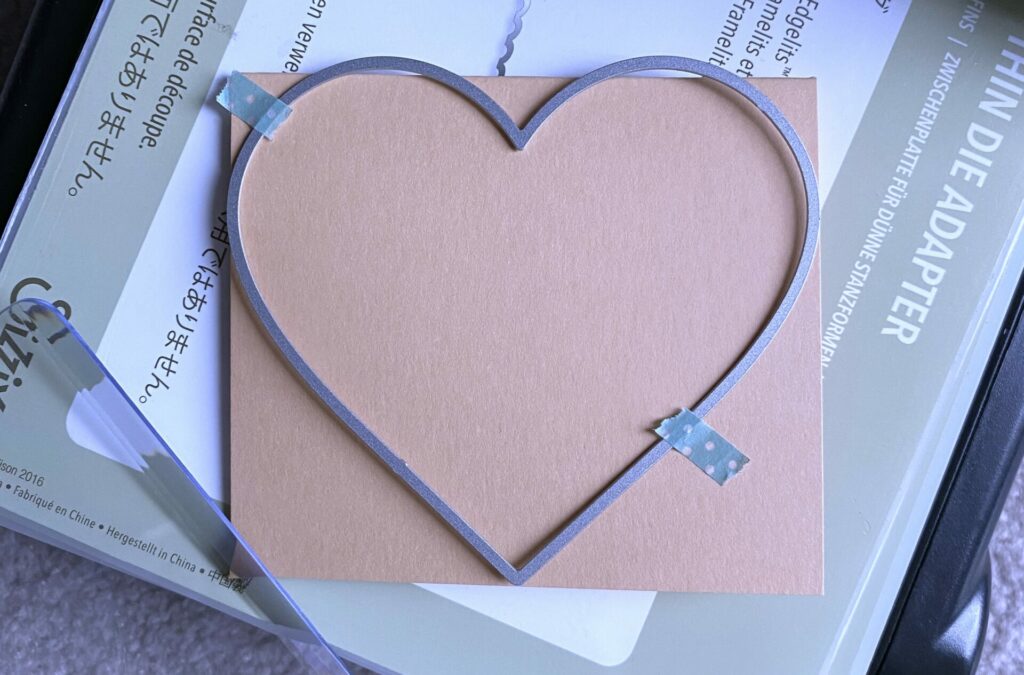
- Take the third largest heart die and position it on the card base as shown below. Make sure the fold is at the top, and that the top of the heart die hangs off the edge a bit. This creates the folded hinge of the card base.
- Secure the die down with some washi tape, and run it through your die cutting machine.
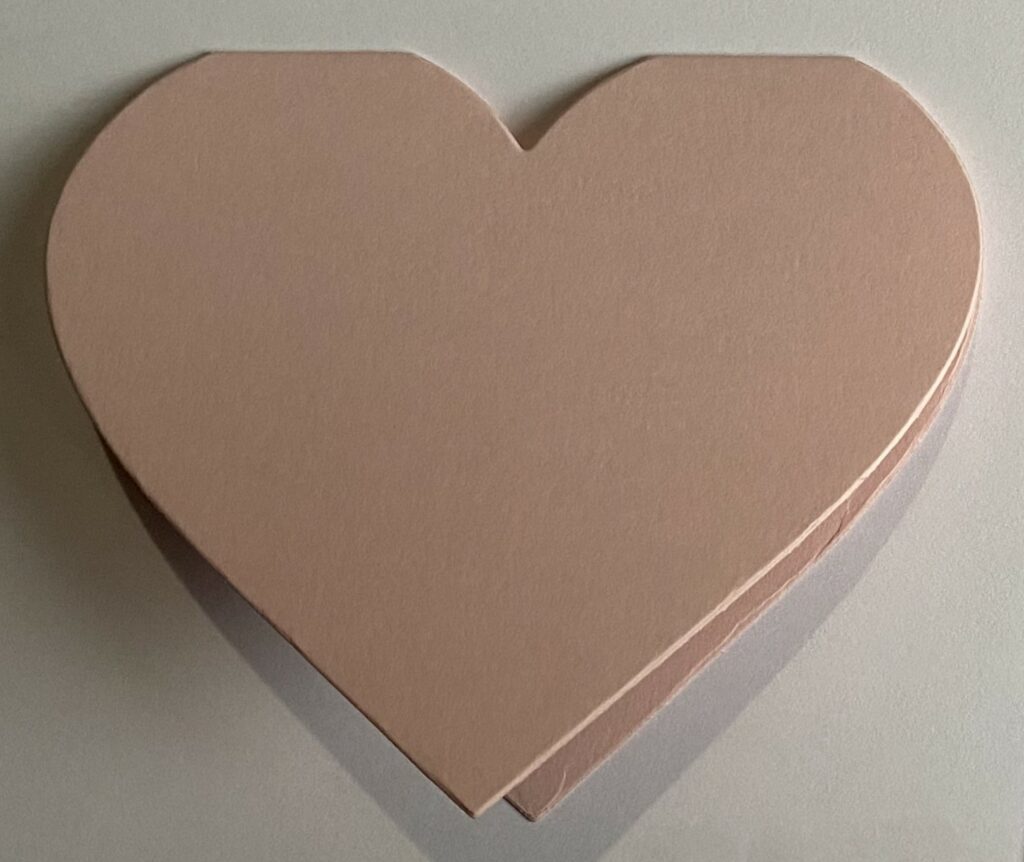
Cutting The Hearts & Letters
Hearts
To die cut the hearts, I used the Nesting Hearts Infinity Dies from Hero Arts, but you can use any brand of nesting heart dies you like. I used the third from the largest heart die.
- Cut the heart from light pink cardstock.
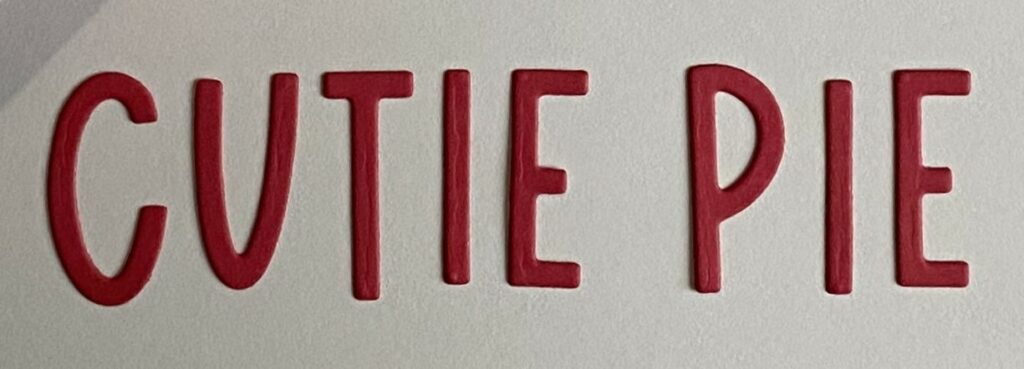
Letters
To die-cut the letters, I used the alphabet from the Santa Greetings thinlits set from Sizzix by Tim Holtz. However, you can use any sans serif alphabet dies you want. If you do, you may have to change the size of the hearts to match the scale of your alphabet.
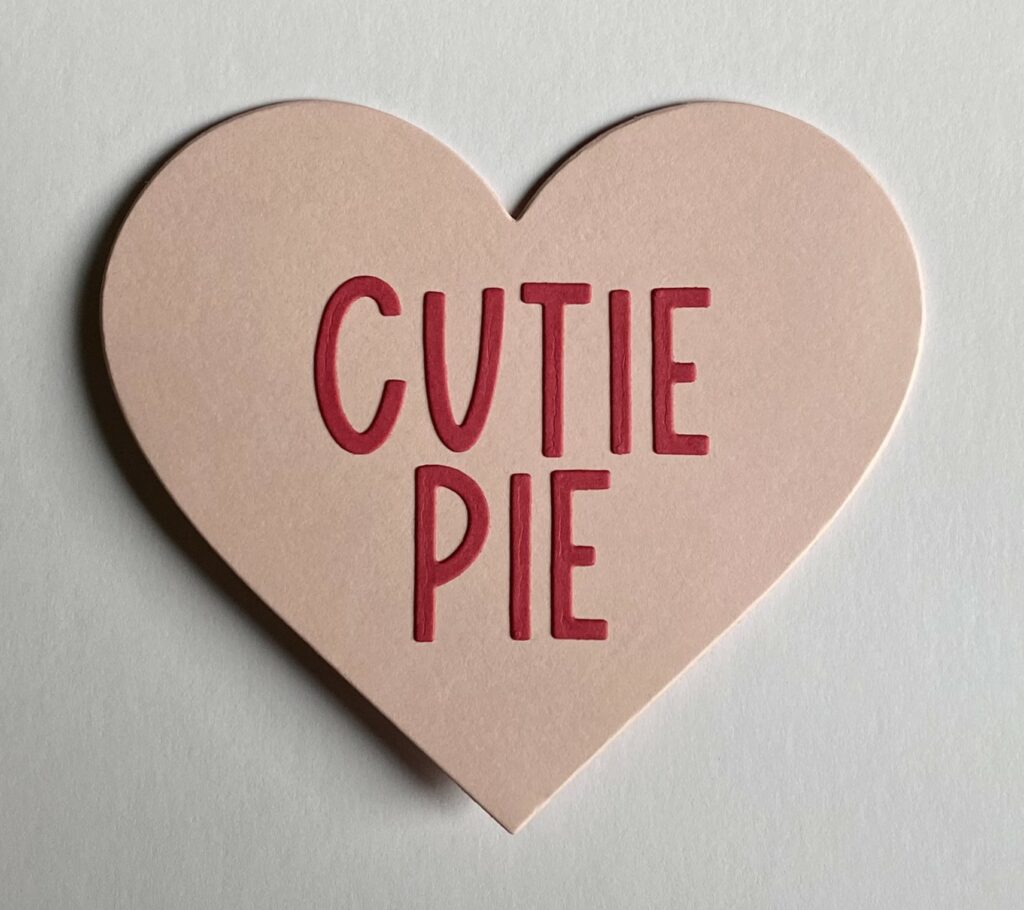
Okay, it’s time to decide what you want your mini sweethearts valentine to say. Personally, I went with “CUTIE PIE”. But, there are plenty more options to choose from. If you need some ideas, take a look at this chart I made. It’s got a few examples that might give you some inspiration.
Once you’ve picked your conversation heart saying, it’s time to start cutting out the letters.
- Gather all the letters you need.
- Adhere the letter dies to the red cardstock with some washi tape.
- Die cut all the letters by running them through your die cutting machine.
- Remove the letters from the dies with a die pick.
Gluing The Letters
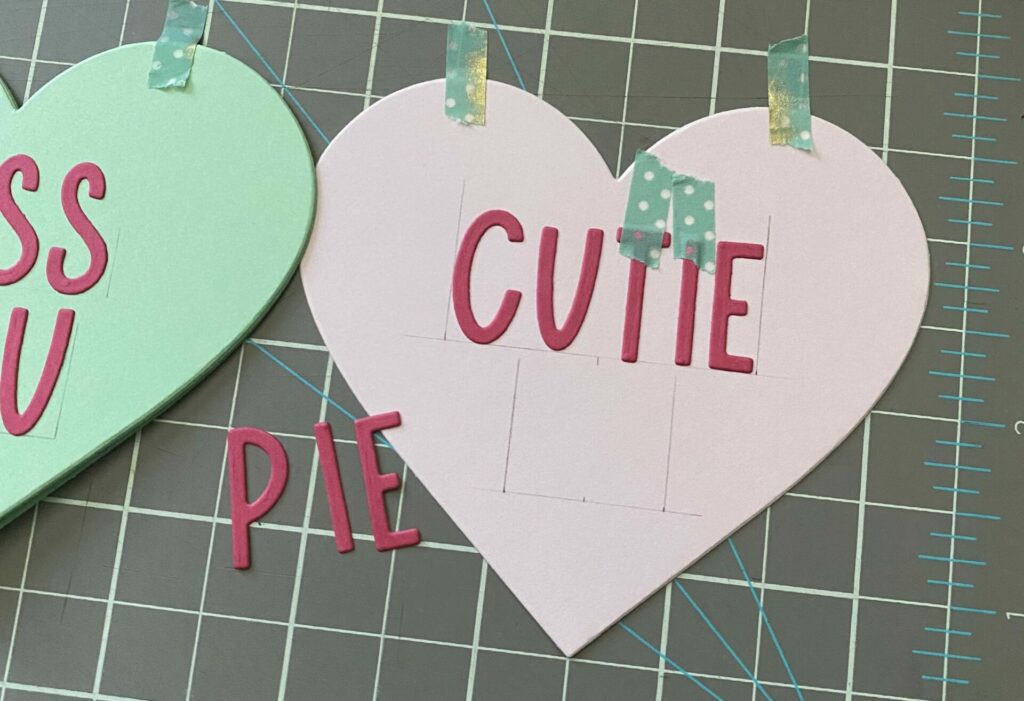
- Position the letters on the heart die cut, (not the card base).
- Try to center the words with in the heart as best you can.
- If you want to be more precise, tape the heart to a cutting mat. The grid lines are your friend.
- Using a t-square lightly draw two horizontal lines with a pencil.
- Measure the width of each word, then draw vertical lines on the heart.
- Make sure to space out each letter evenly.
- Adhere the letters with a piece of washi tape to the top of each letter. This creates a hinge so that the letters stay exactly where you want them to.
- Lift up each letter, put a little glue on the back, and stick it gently onto the heart.
- After all the letters are adhered, glue the heart to the front of the card base. Set something heavy on it while it dries.
- Erase all pencil lines.
Finishing The Card Inside
Yay! You have finished making your mini sweethearts valentine! Now it’s time to work on the inside. You’ve got three choices here:
- Write your own personal message by hand.
- Stamp the inside with any Valentine’s Day sentiment stamp.
- Check out my coordinating blog post, My Punny Valentine.
In this blog post, I’ll show you how I finished up the inside of these mini valentines. And guess what? I’ve got a free PDF download for you with a bunch of super funny puns that will crack kids up. Trust me, they’re gonna adore it!
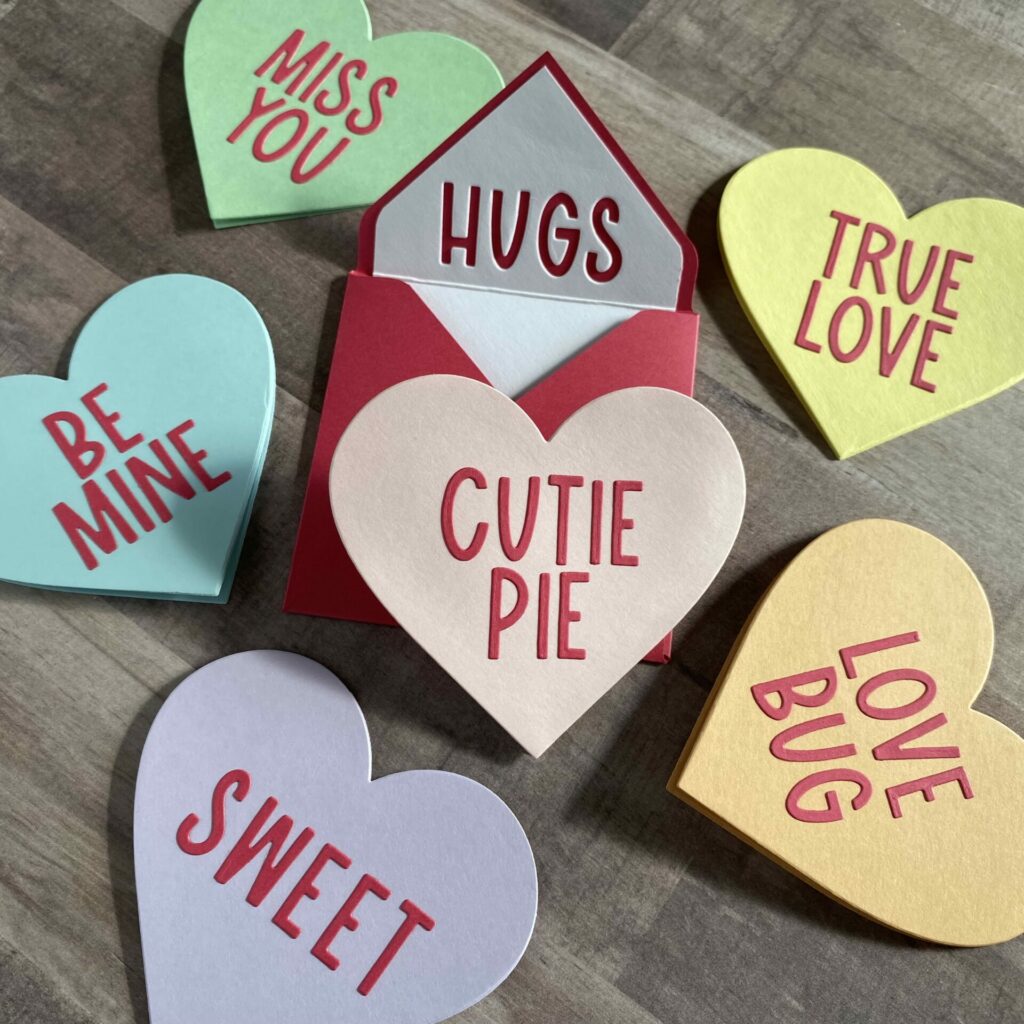
Making The Envelope
To make the envelope I used the 1-2-3 punch board from We R Makers. Your finished envelope should be a 3 3/8 inch square.
- Cut red cardstock down to a 5½ inch square.
- Using the punch board follow the instructions to make a 3 x 3 inch envelope.
- With an x-acto knife & ruler cut a small horizontal slit in the bottom flap. It measures 1½ inches up from the bottom of the envelope when folded.
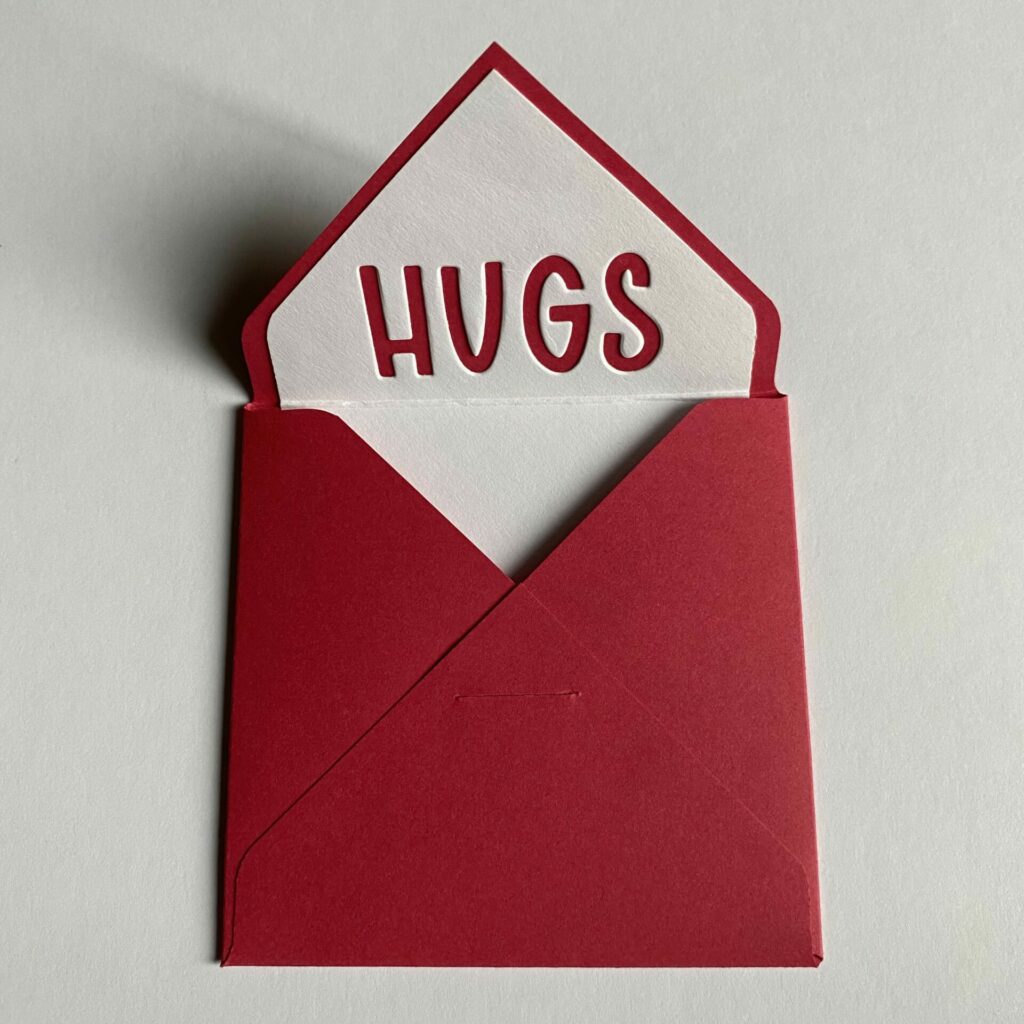
- Make an envelope lining from white cardstock.
- Die cut the word “HUGS” on the top of the envelope lining. Use low tack tape to secure the dies down and prevent shifting. (You can use any word under four letters here. Any longer words don’t fit with in the space using these alphabet dies. Another idea for this space is to use a stamp. However you can also just leave it plain white too.)
- Glue the lining inside the envelope and set something heavy on it while it dries.
- Then glue the side and bottom flaps down.
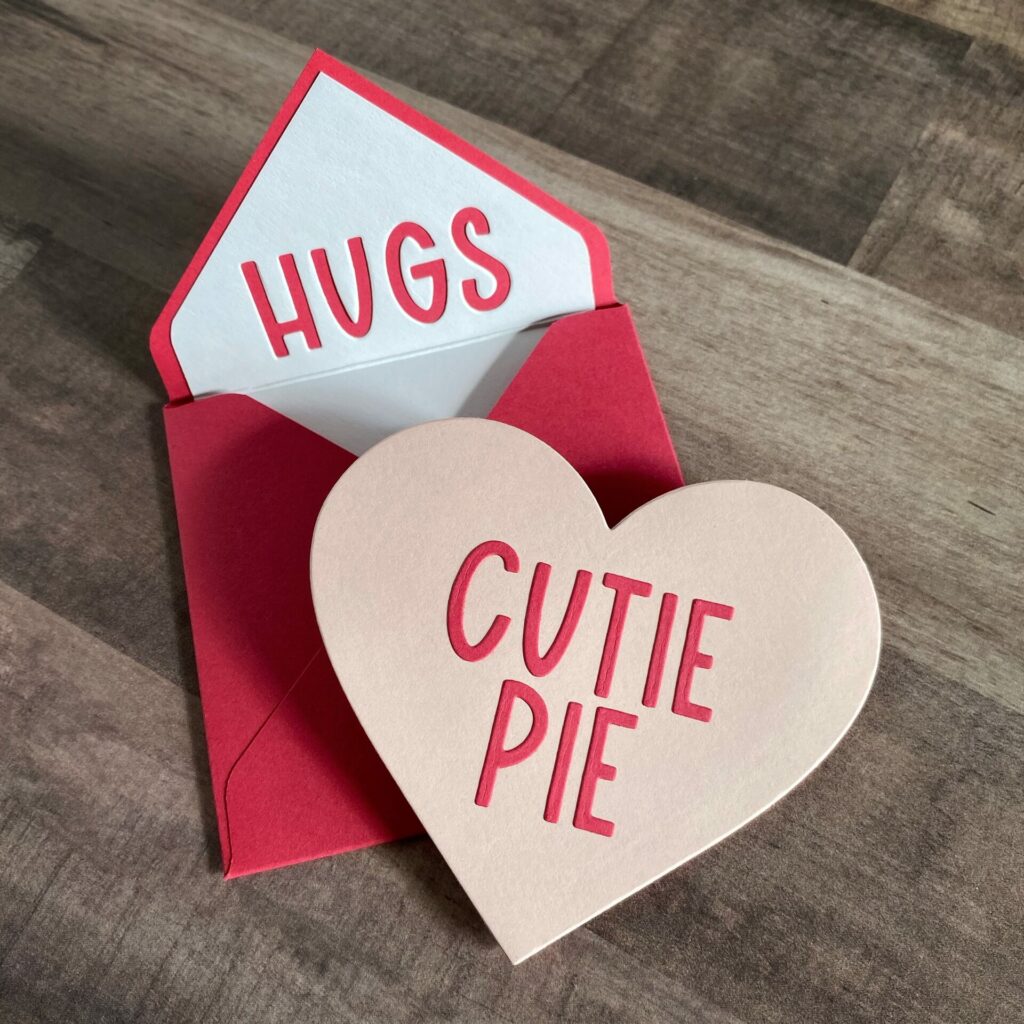
Mini Sweethearts Valentine Complete!
Hey, congrats! You’ve finished making your mini sweethearts valentine! I really hope you had a blast following this tutorial, just like I did. If you decide to give it a go, don’t forget to tag me (@silversgrove or @grovecrafted) on Instagram. I’m super excited to see what you’ve come up with! Thanks for checking this out, and I hope it sparked some fresh ideas for your own creations. Have a great time crafting!
If you had fun creating this adorable mini sweethearts valentine, you should totally take a look at one of my other valentine card tutorials. It’s called Layered Hearts Valentine, and it’s the ideal masculine card for your special someone. It also makes a great anniversary card for your boyfriend/husband.


Please sign me up to your email list because I dig your style!
Thanks Mary! I’m planning to create an email list soon. I’ll keep you posted on when it’s ready and how to join.
I’m excited to share that I’ve finally created an email list! If you’re still interested, you can easily sign up using the form located at the bottom of every page on my blog.