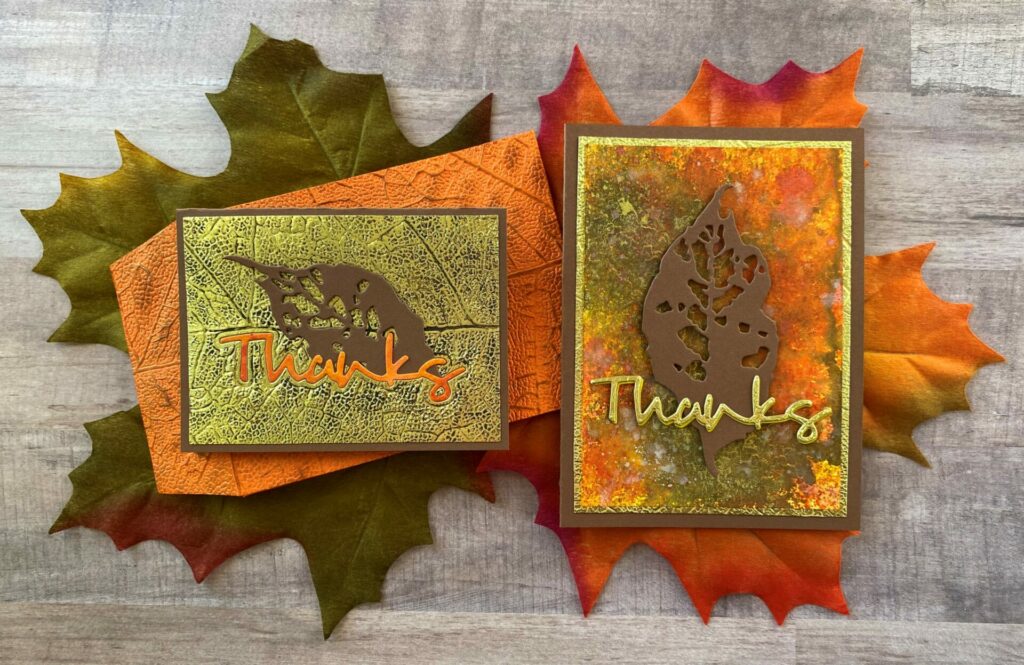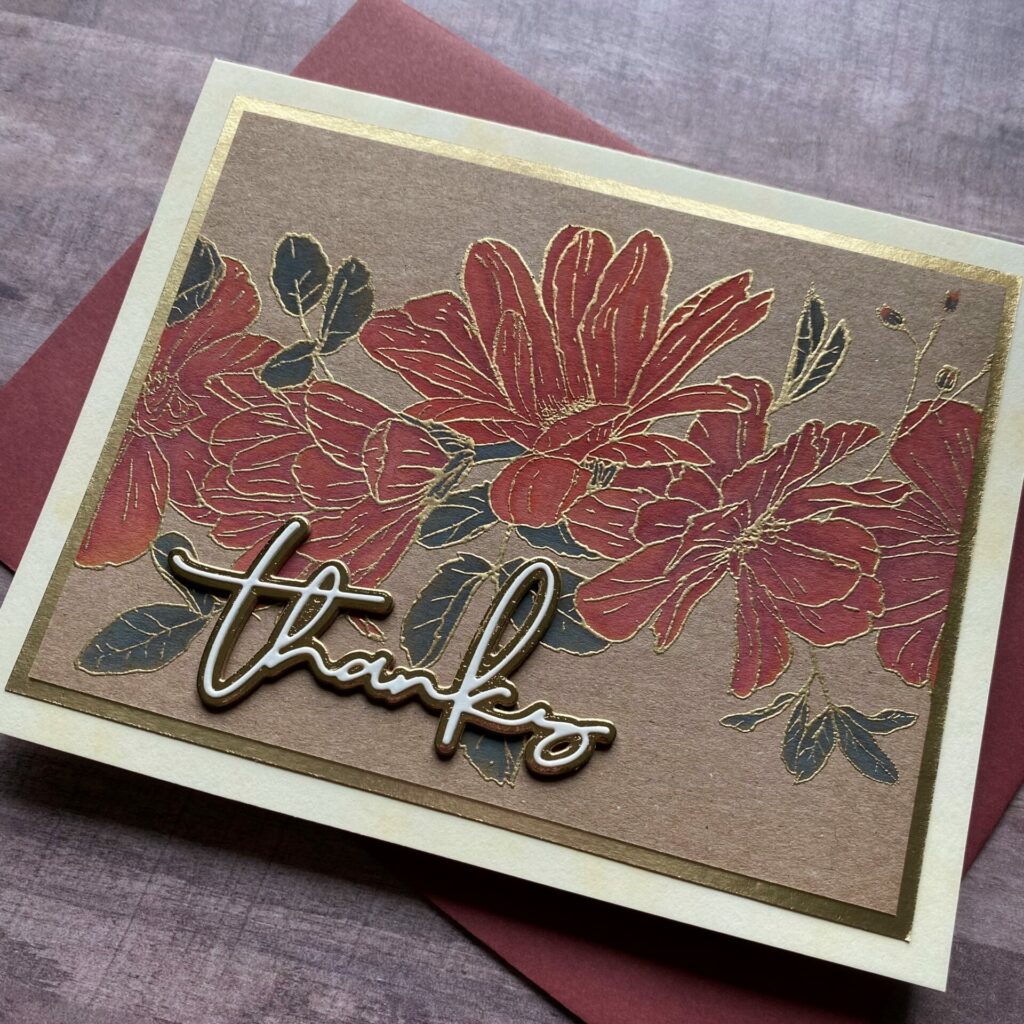
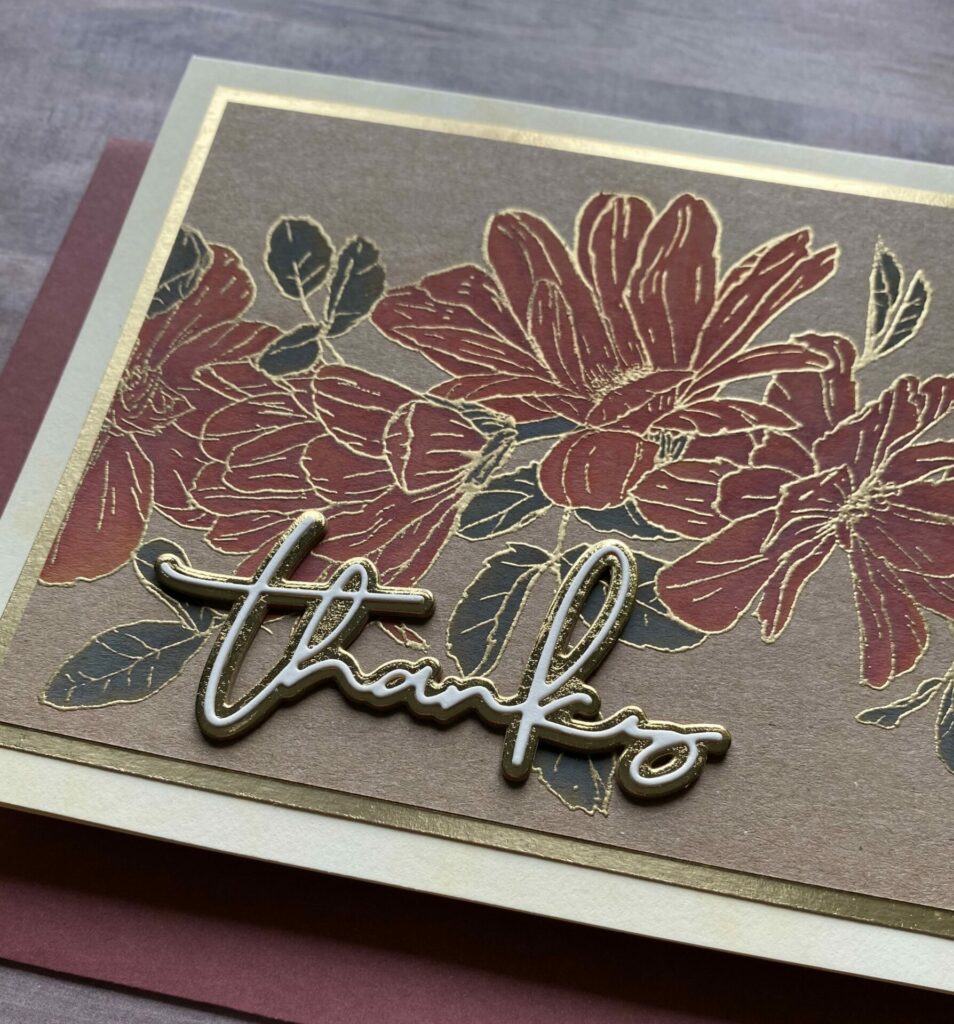
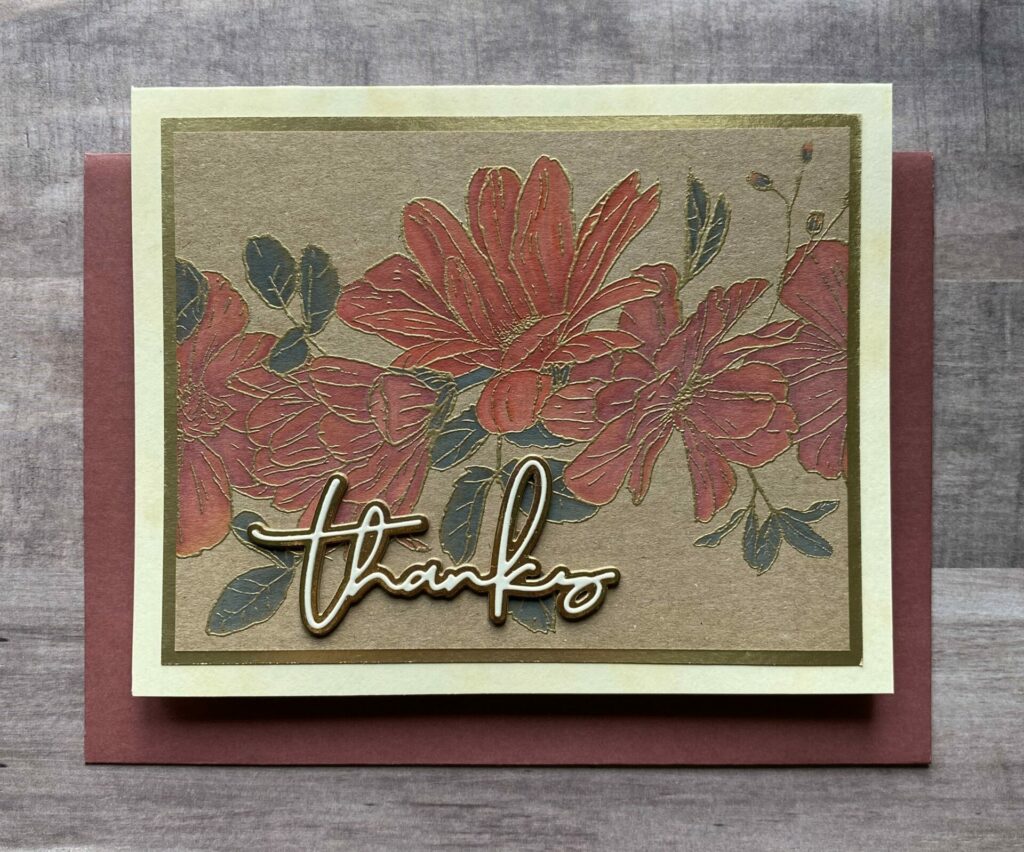
Fall Floral Thanks Card
Hello, crafty card makers! I know I’m a little late, but Happy Fall everyone! Who’s ready for some autumn inspiration? Today, I’m sharing how I made this fall floral thank you card. It features metallic heat embossing and a dreamy oxide water coloring technique. I decided to make mine a thank you card, using a fall color palette. However, you could change the colors, and this card would be perfect for almost any occasion. Also, the sentiment could easily be changed to fit your specific needs. This fall floral thanks card would work great for a birthday, hello, sympathy, wedding, welcome baby girl, and Mother’s Day card as well.
Full Disclosure: This post contains affiliate links, indicated with an (*). If you click on an affiliate link and make a purchase, I may receive a small commission. Clicking on an affiliate link that earns a commission does NOT result in additional charges or extra costs for you. The money earned through affiliate links helps cover the fees to maintain this blog. Thank you for shopping through my links and supporting the brands we love and the products I share!
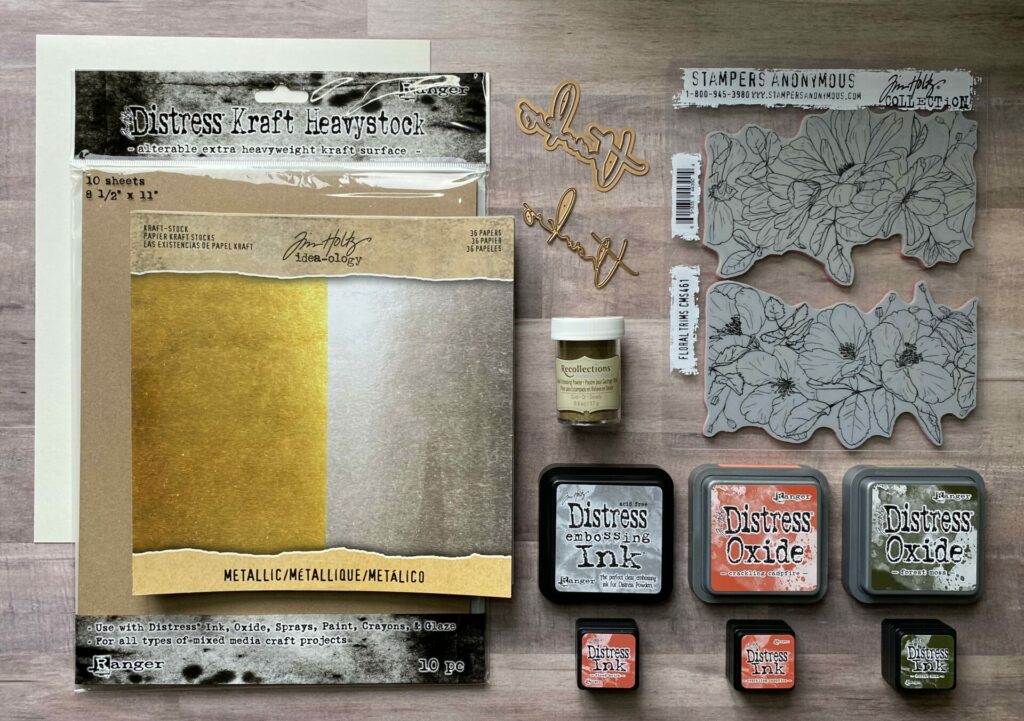
Supplies Used / Substitutions:
- *Stampers Anonymous Tim Holtz Stamp Set – Floral Trims #CMS461
- *Spellbinders Dies – Yana’s Layered Script Sentiments SKU: S5-496 / Any sentiment die
- *Tim Holtz idea-ology Metallic Kraft Stock – Gold / Any metallic cardstock
- *Distress Kraft Heavystock
- Cream Cardstock / Any color cardstock
- *Tim Holtz Distress Oxide – Crackling Campfire & Forest Moss / Any color oxide ink
- *Tim Holtz Distress Ink – Crackling Campfire/Fired Brick & Forest Moss / Any color distress inks that match the oxides
- Fine Detail Embossing Powder – Gold / Any embossing powder
- *Distress Embossing Ink / Any embossing ink
Tools Used / Substitutions:
- *Sizzix Big Shot / *Spellbinders Platinum Six / Any die cutting machine
- *Tim Holtz Tonic Guillotine Comfort Paper Trimmer / Any paper trimmer or x-acto knife & ruler
- Tonic Tim Holtz Stamp Platform / *MISTI stamping tool
- EK Success Scoring Board / *Scor-Buddy or any scoring board
- *Tim Holtz Tonic Studios Glass Media Mat / Non-stick craft sheet or optional
- Embossing Gun
- *Bearly Art Glue / Any liquid adhesive
- *Tim Holtz Sizzix Die Pick / Any die pick or toothpick
- *Sizzix Tim Holtz Reverse Action Tweezers – Shaping Kit Making Tool #665304 / Any reverse action tweezers
- *Anti Static Pouch / Any anti static tool
- Small Round Paint Brush
- Jar of Water
- Paper Towel
- Sheet of Copy Paper

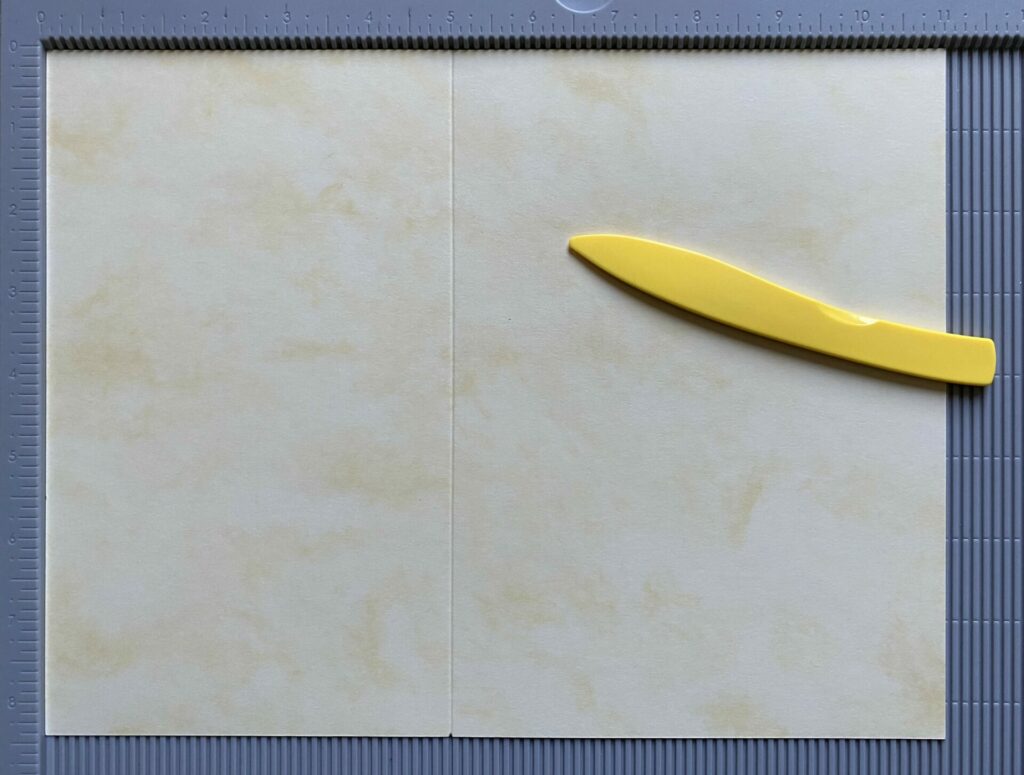
Making The Fall Floral Thanks Card Base
- Take a sheet of cream cardstock and score it at the 5 inch line.
- Fold on the score line and reinforce the fold with a bone folder.
- Cut the folded cardstock down with your paper trimmer to a size of 6¼ x 5 inches.
Your cardstock should be 6¼ x 10 inches and when folded the card base should be 6¼ x 5 inches.
Cutting The Metallic Border
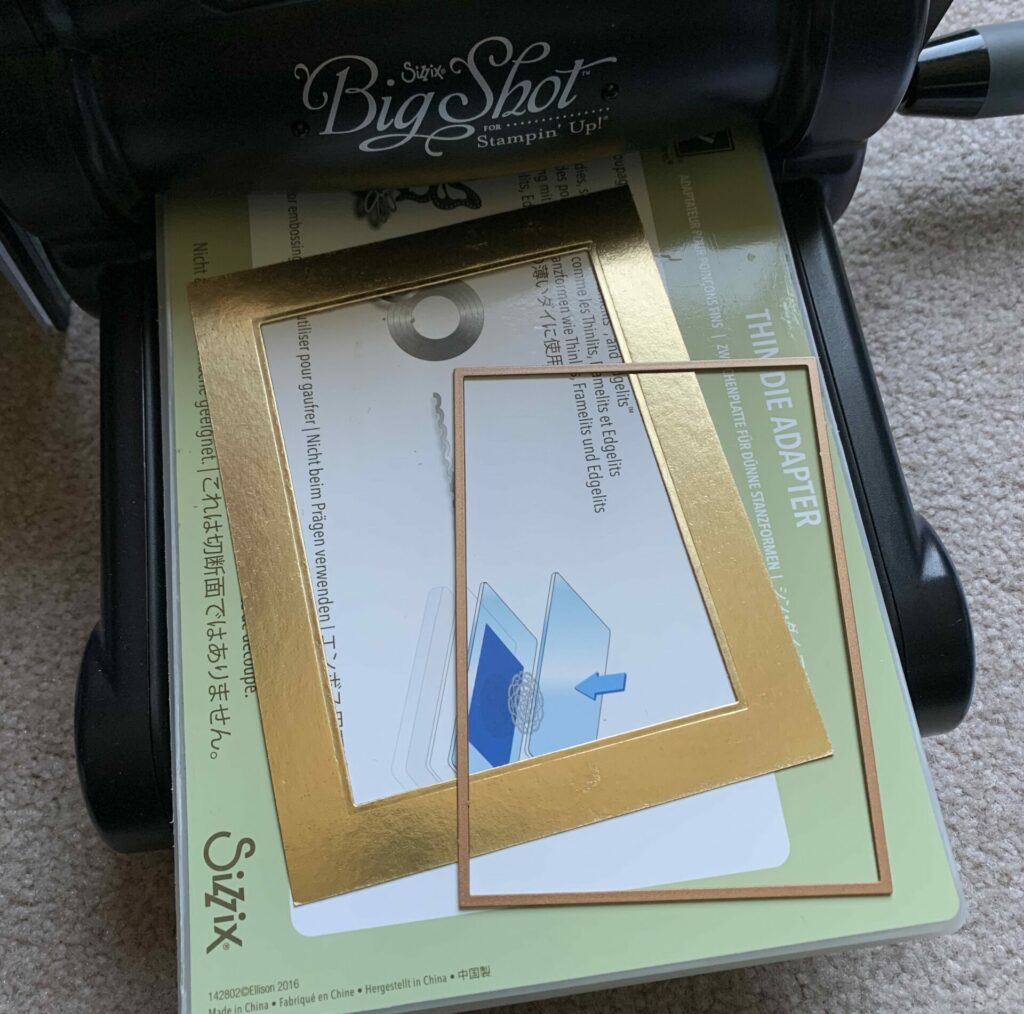
I like to make the most of my specialty papers. When creating a card with a thin border, I don’t want to waste any unseen paper. Therefore, I use a frame die to cut out the middle of the metallic paper and save those pieces for future projects. Make sure to choose a die that provides at least a half-inch border. The border should be thick enough to maintain the original size and shape of the paper. If the border is too thin, the pressure from the die cutting machine can distort the paper, resulting in uneven edges. This is particularly true if your cutting pad is warped.
- Cut the metallic gold kraftstock to a size of 5¾ x 4½ inches.
- Adhere a frame die to the center of the gold cardstock with some washi tape.
- Run it through your die cutting machine.

- Remove the die and pop out the die cut.
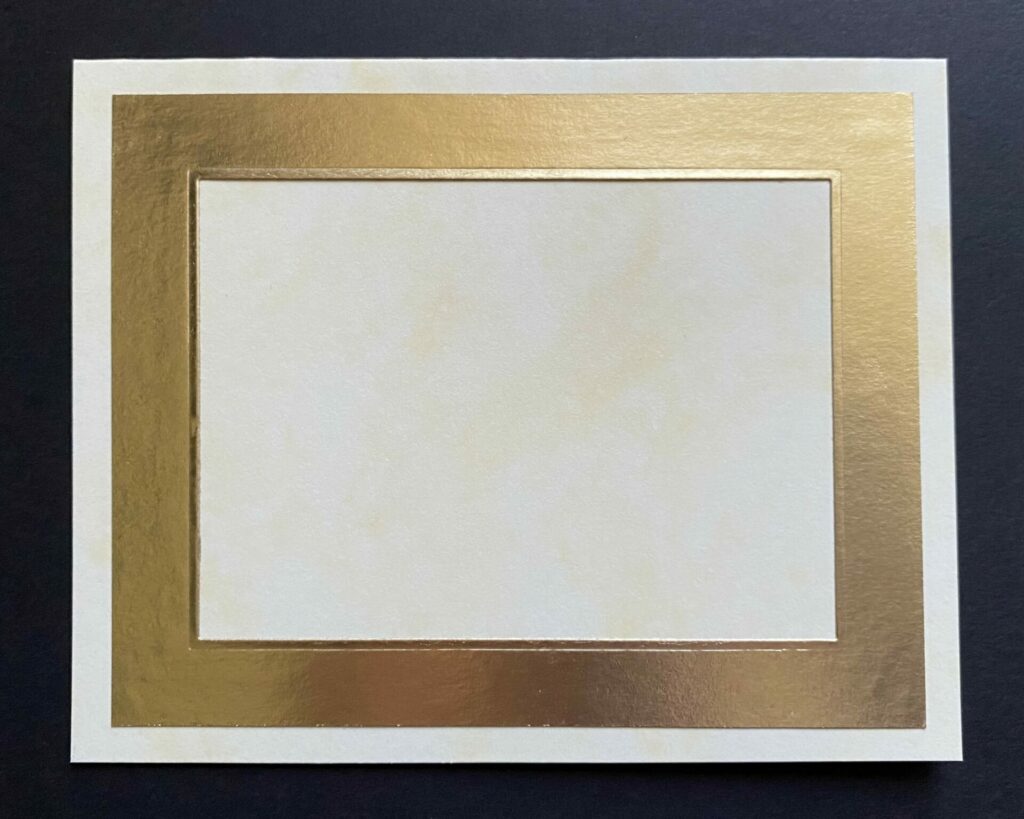
- Next, glue the gold frame onto the front of the card base, ensuring it is centered equally on all sides.
- Set something heavy on it while it dries.
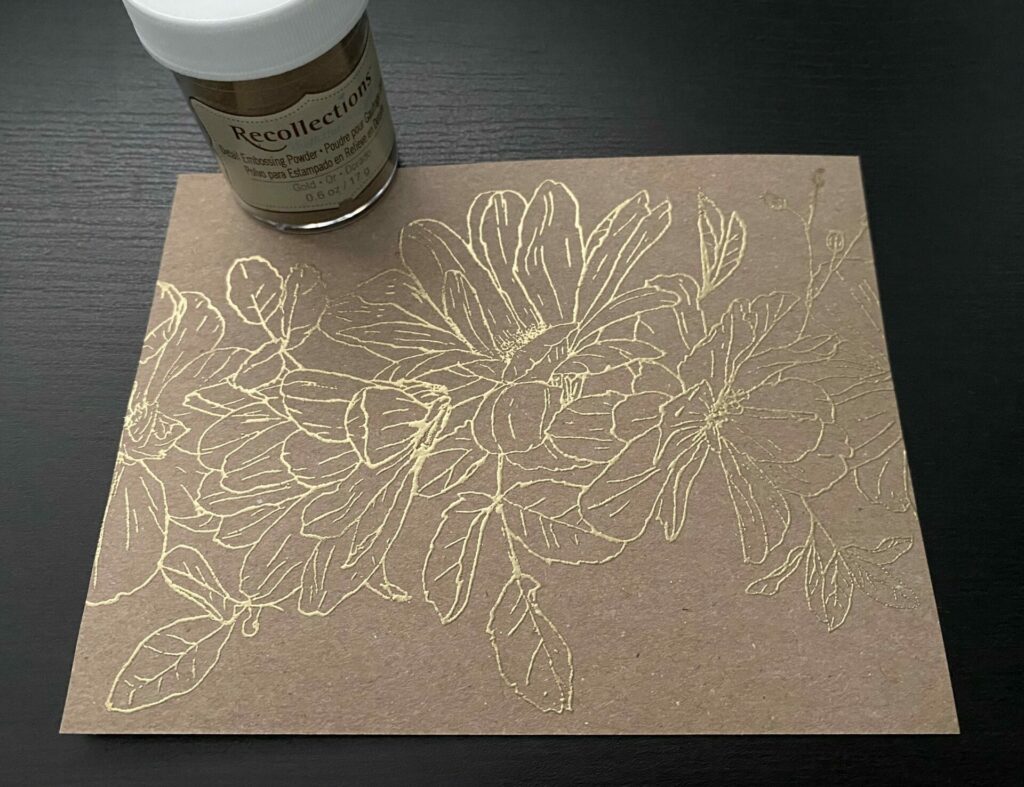
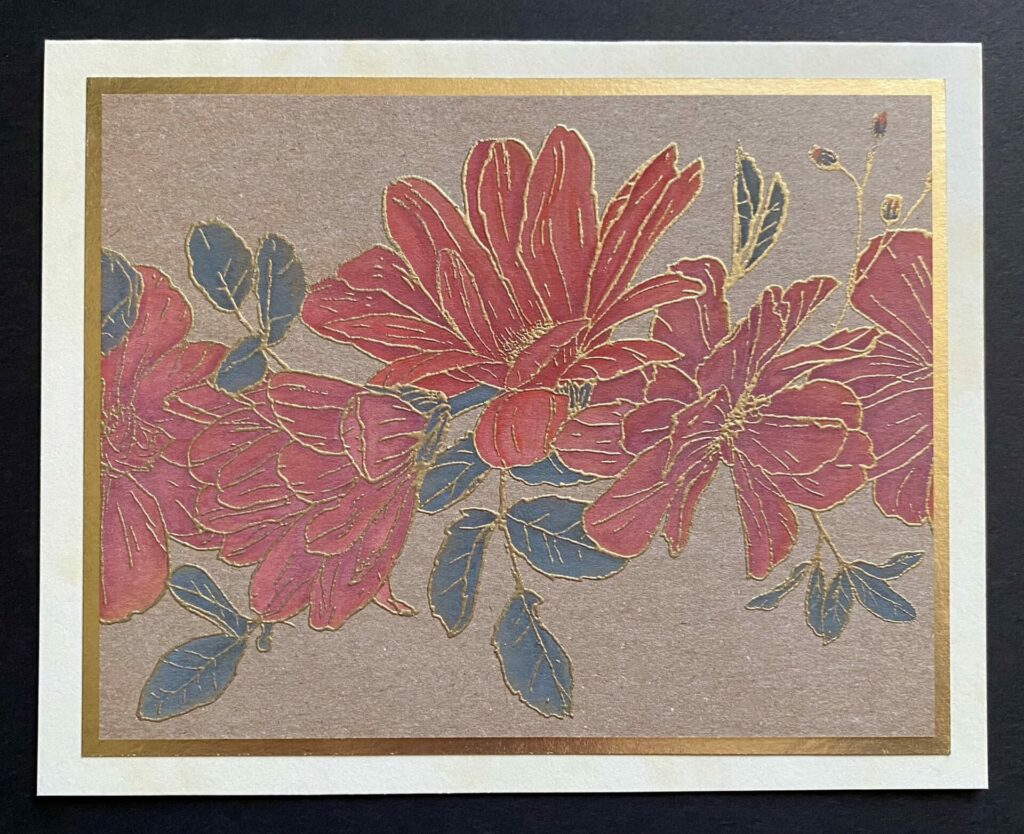
Heat Embossing The Flowers
- Cut a piece of kraft heavystock down to a size of 4¼ x 5½ inches with your paper trimmer.
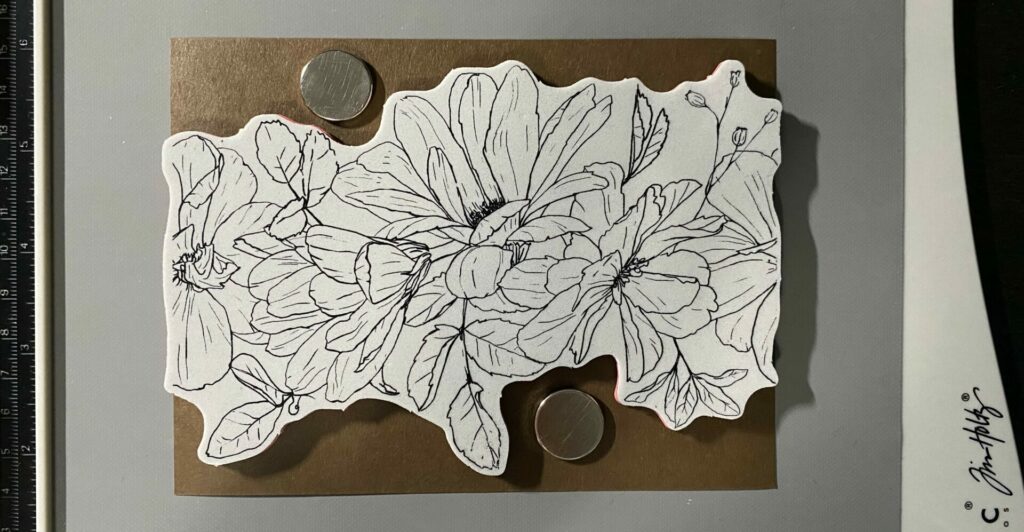
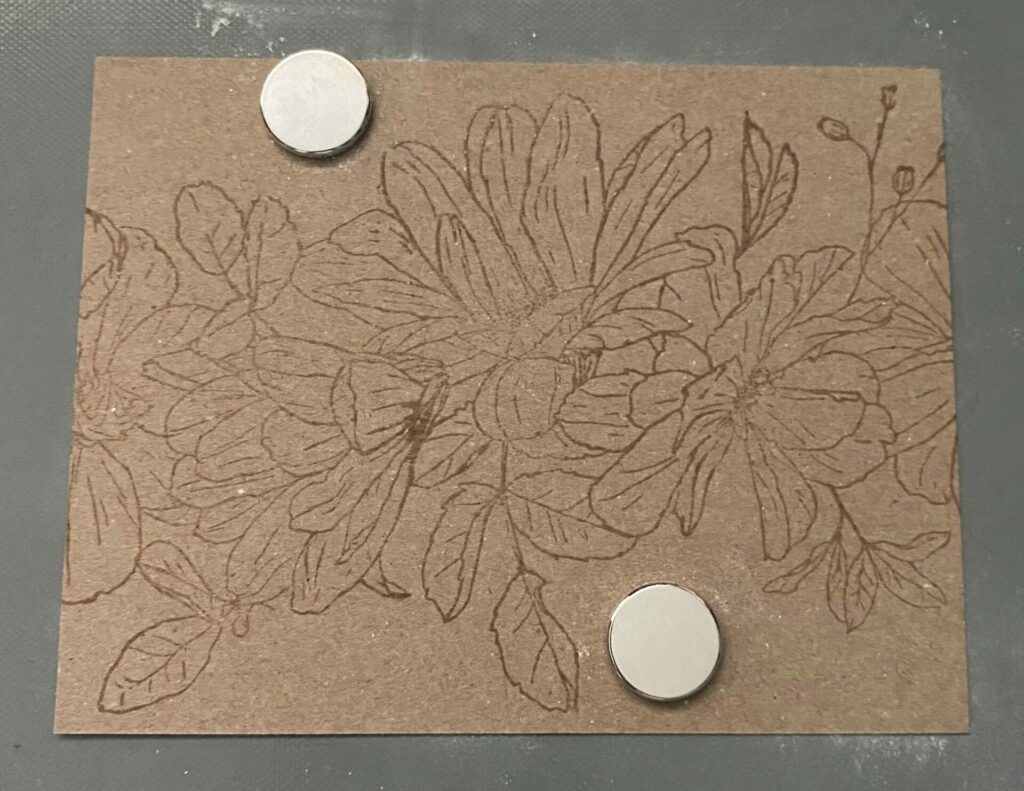
- Position the Floral Trims stamp in the middle of your cardstock and close your stamping tool.
- Rub the anti-static pouch all over the panel.
- Ink the stamp with embossing ink and press the stamping tool firmly onto the paper. Repeat the process if necessary until the image is fully stamped.
- Remove the panel from the stamping tool.
- Sprinkle gold fine detail embossing powder over the stamped flowers and gently tap off any excess powder onto a sheet of copy paper.
- Carefully pour the remaining powder back into the jar.
- Brush away any stray embossing powder particles with a small brush.
- Lastly, heat emboss the powder with an embossing gun.
Pro Tip: Turn on the embossing gun and hold it. Allow it to run for a while to warm up before directing it towards the paper. Make sure to keep the embossing gun in motion to avoid excessive embossing and prevent scorching of the shiny metallic finish.
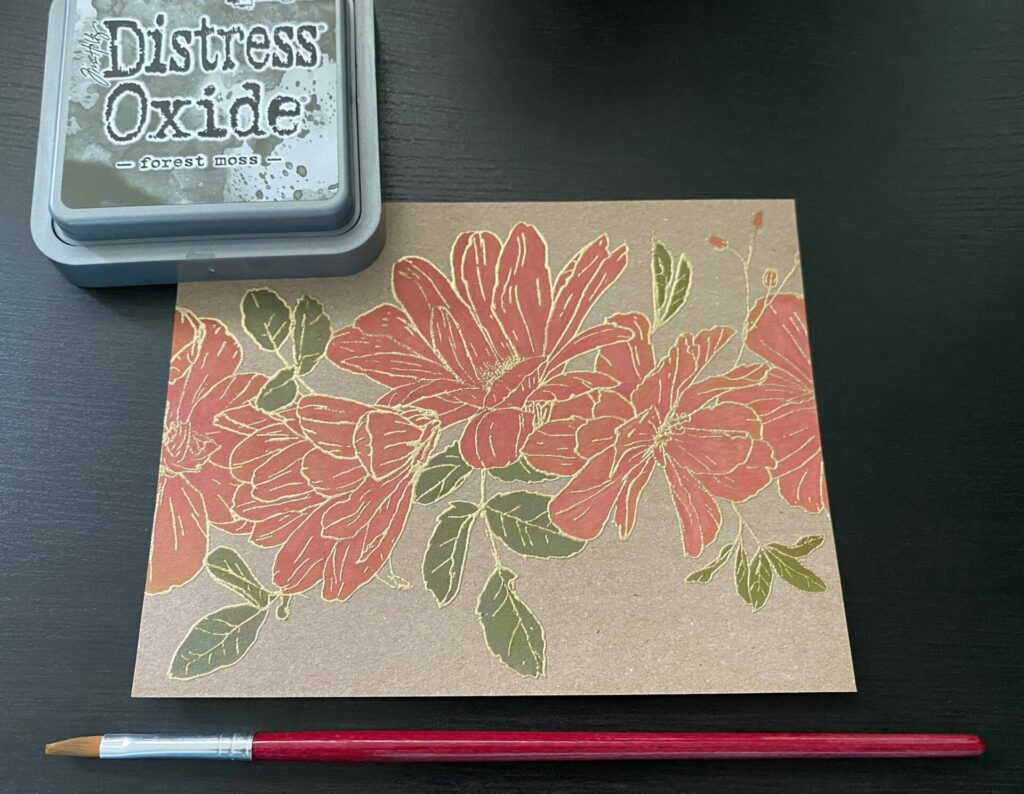
Water Coloring With Oxides
- Press some crackling campfire distress oxide ink onto your craft mat.
- Wet your brush with some water, then fill in all the flowers with the orange oxide ink.
- Clean your brush with water.
- Then, fill in the leaves and stem with forest moss distress oxide ink.
- Clean your brush with water and let it dry.

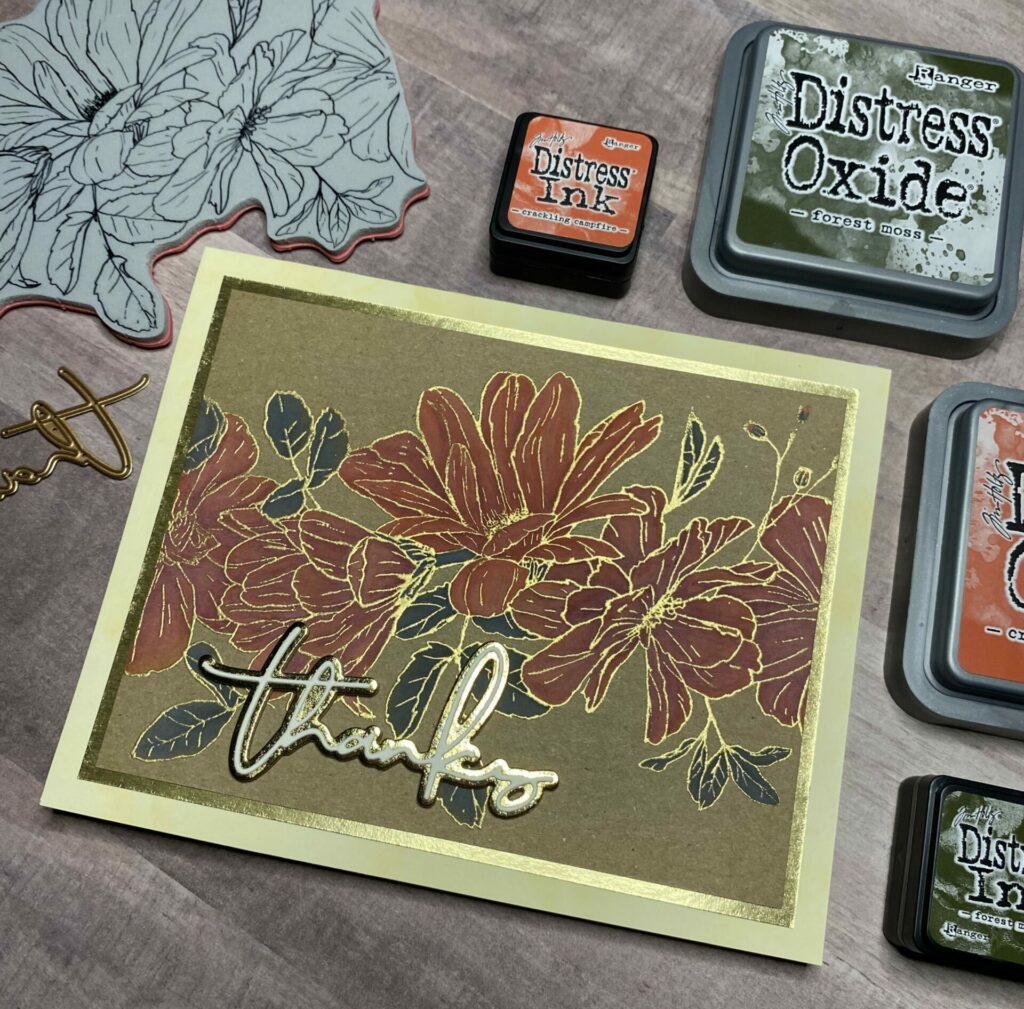
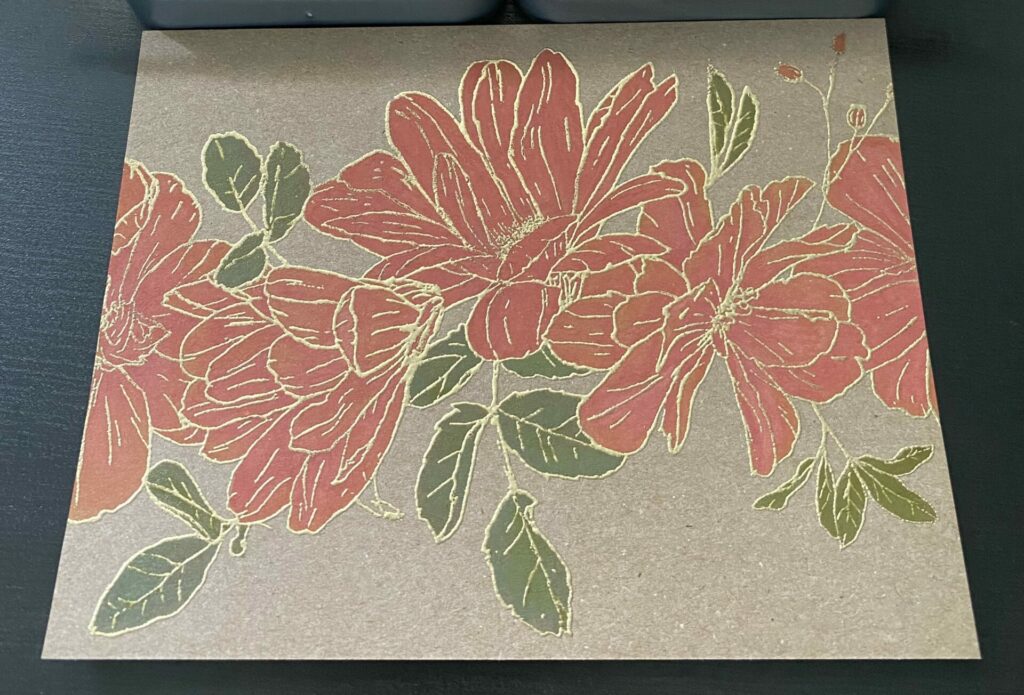
Later, I realized that I had made some mistakes and accidentally colored the stems orange. Luckily, the oxide ink proved to be quite forgiving! Please refer to the photo in the “shading with distress inks” section for a visual reference of the changes.
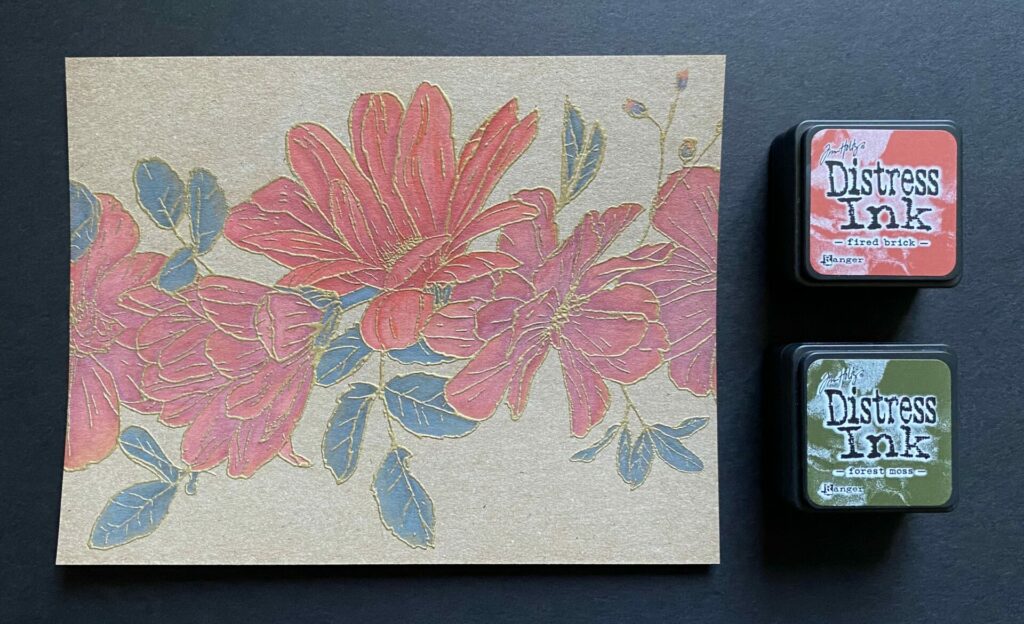
Shading With Distress Inks
You may notice that the middle flower appears brighter than the other flowers. That is because I used crackling campfire distress ink to add shading to it. I started off by adding shading to the middle flower with crackling campfire. Then I took a break, and when I came back, I used fired brick to shade the rest of the flowers. I didn’t realize I had switched colors until I had finished. In the end, it was a happy accident because it shows the difference between the two different colors. The crackling campfire is brighter and more saturated in color, while the fired brick is more muted and a bit dull. If I were to do it again, I would definitely go with crackling campfire.
- Press some crackling campfire distress ink onto your craft mat.
- Wet your liner brush with some water, then paint shadows onto the flower using orange ink. It is recommended to work on one flower at a time.
- Clean your brush with water.
- Next, re-wet each petal of the flower using your brush and some water. This will reactivate the oxide ink, allowing the two inks to blend together smoothly.
- Clean your brush when switching between adding distress ink layers and re-wetting the oxide layers.
- Repeat this process as needed until you achieve the desired level of shadow darkness.
- To add shading to the leaves, repeat the same process using forest moss distress ink.
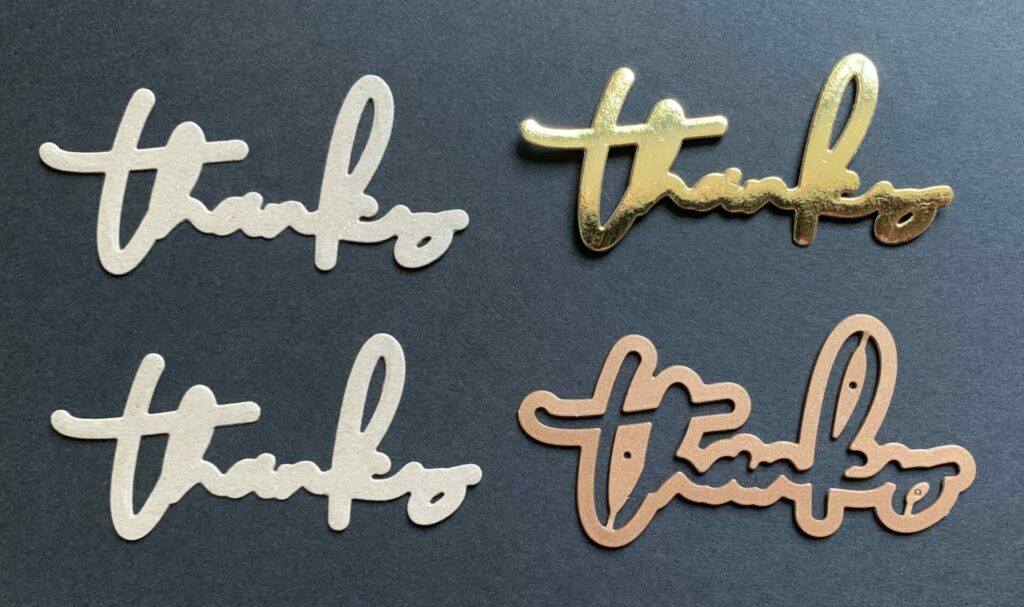
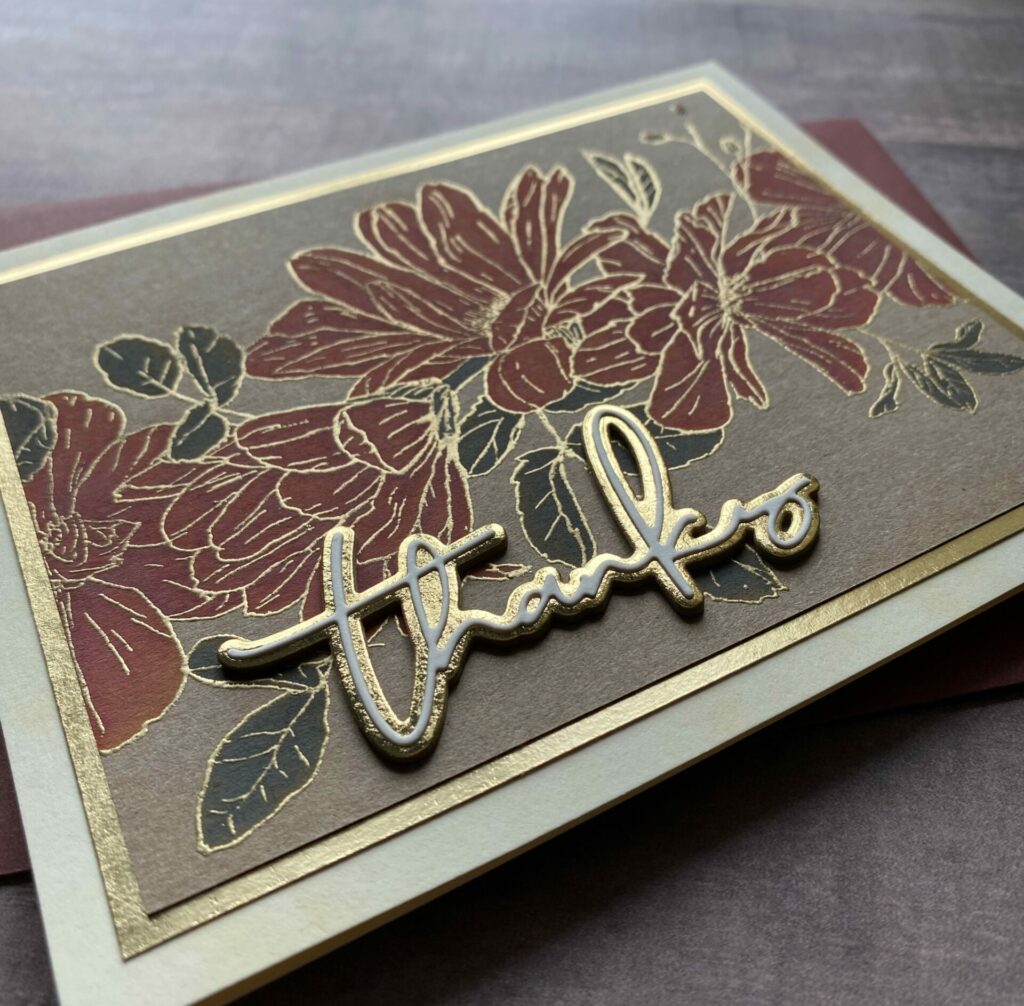
Cutting The Sentiment
- Die cut two thanks outline layers from kraft heavystock.
- Then, die cut the thanks outline from metallic gold kraftstock.
- Glue the two kraft heavystock layers together and set something heavy on it.
- Next, glue the metallic gold layer on top of the kraft heavystock layers.
- Die cut the thanks sentiment from cream cardstock.
- Remove it from the die and pop out all the pieces with a die pick.
- Then, glue it on top of the metallic gold thanks outline layer.
- Set something heavy on it while it dries.


Gluing The Fall Floral Thanks Card Together
- First, apply glue to the floral panel and attach it to the front of the card base. Make sure to center it evenly within the metallic gold frame.
- Set something heavy on it while it dries.
- Then, glue the thanks sentiment to the lower left corner of the card.
- Again, set something heavy on it while it dries.
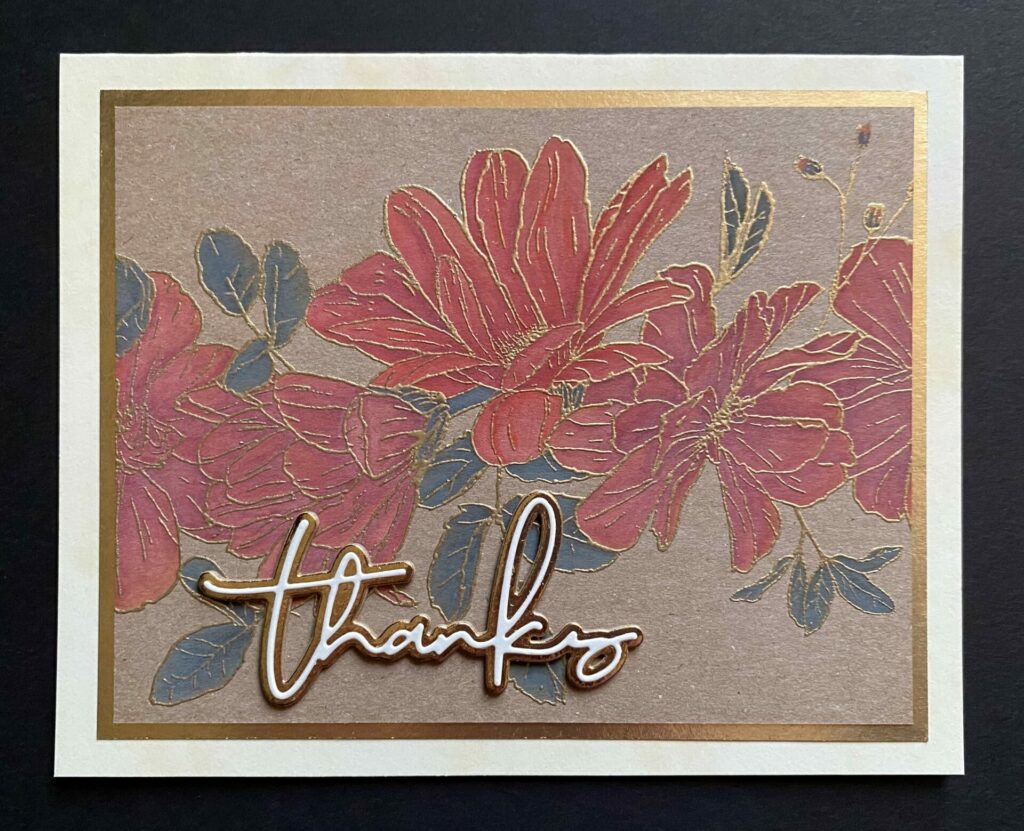
Fall Floral Thanks Card Complete!
Congratulations! You have now completed your fall floral thanks card! I hope you enjoyed this tutorial and have as much fun making it as I did. If you do make this card, please use the #grovecrafted and tag me (@silversgrove or @grovecrafted) on Instagram. I would love to see what you have created! Thank you for stopping by, and I hope you found some new inspiration to create. Happy crafting!
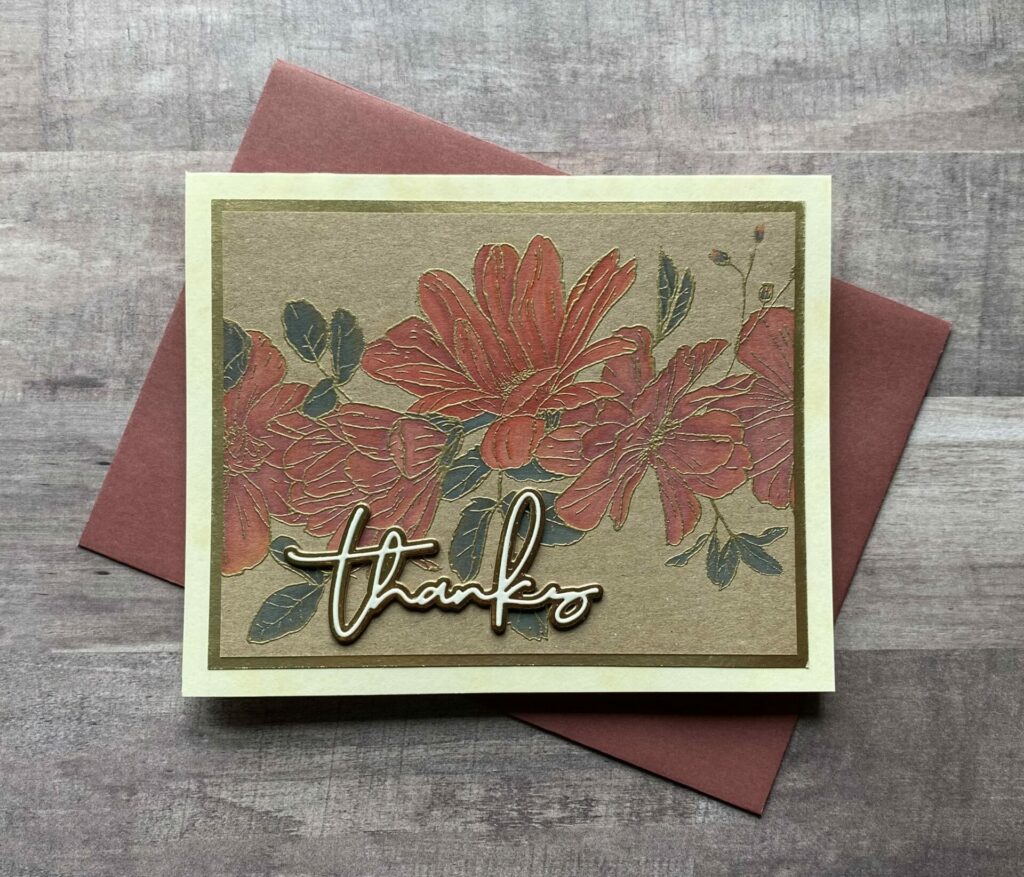
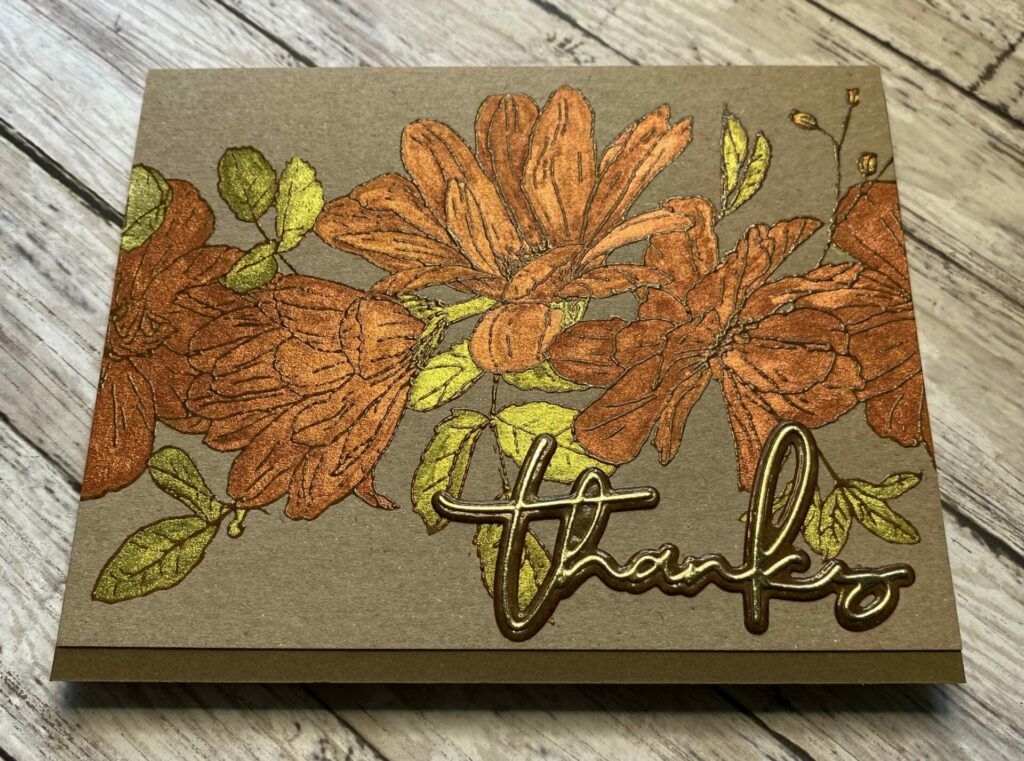
Fall Floral Thanks Card With Mica Stains
I made another version of this card with some minor modifications.
- I used vintage photo embossing glaze instead of gold embossing powder.
- Colored it with mulled cider & holly branch distress mica stains instead of distress oxides & inks.
- Heat embossed the thanks outline die cut with two layers of vintage photo embossing glaze on kraft heavystock.
- Used brown cardstock for the card base cut to A2 size.
- Adhered the sentiment in the bottom right corner.
If you enjoyed making this fall floral thanks card, I have another autumn thank you card tutorial you might want to check out. It’s called the Leaf Thanks Cards.