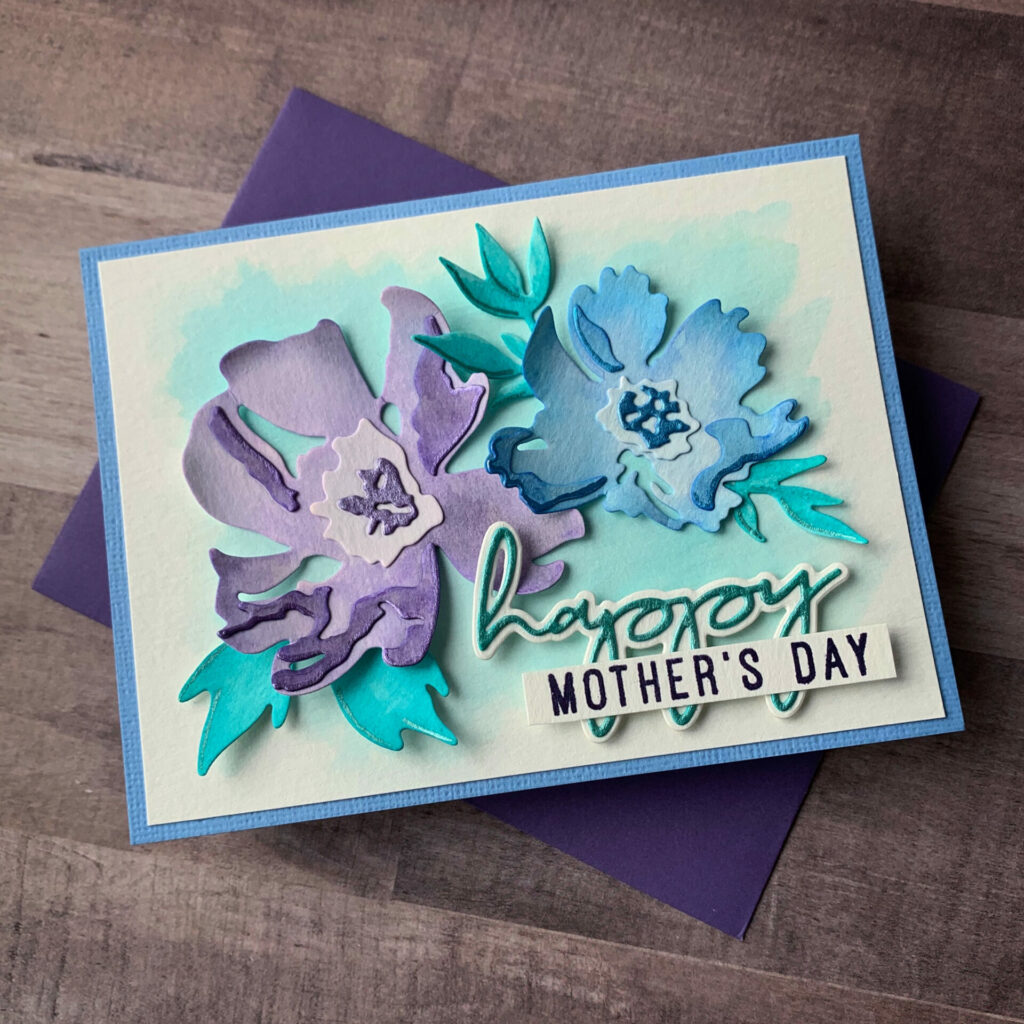
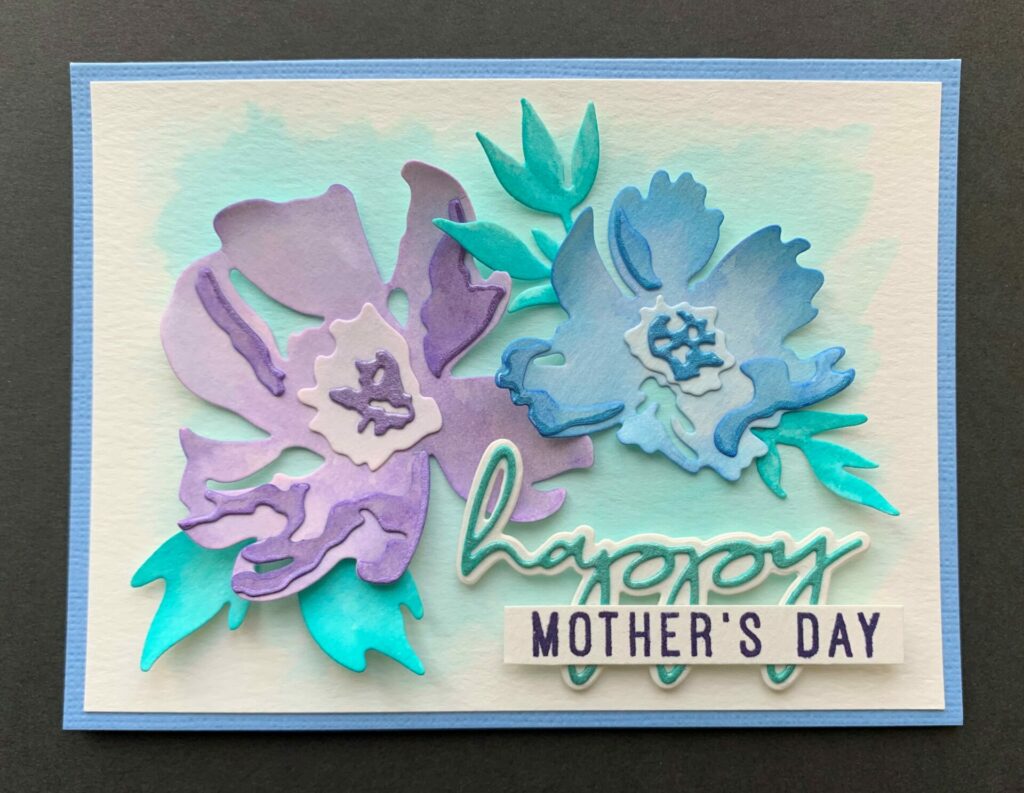
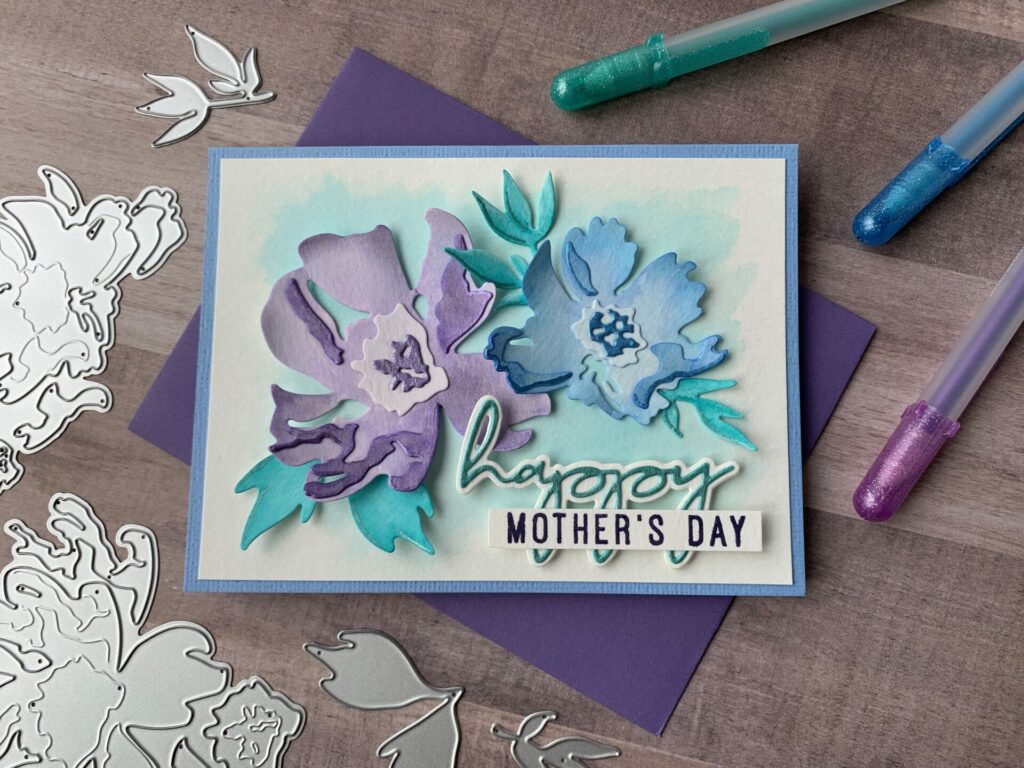
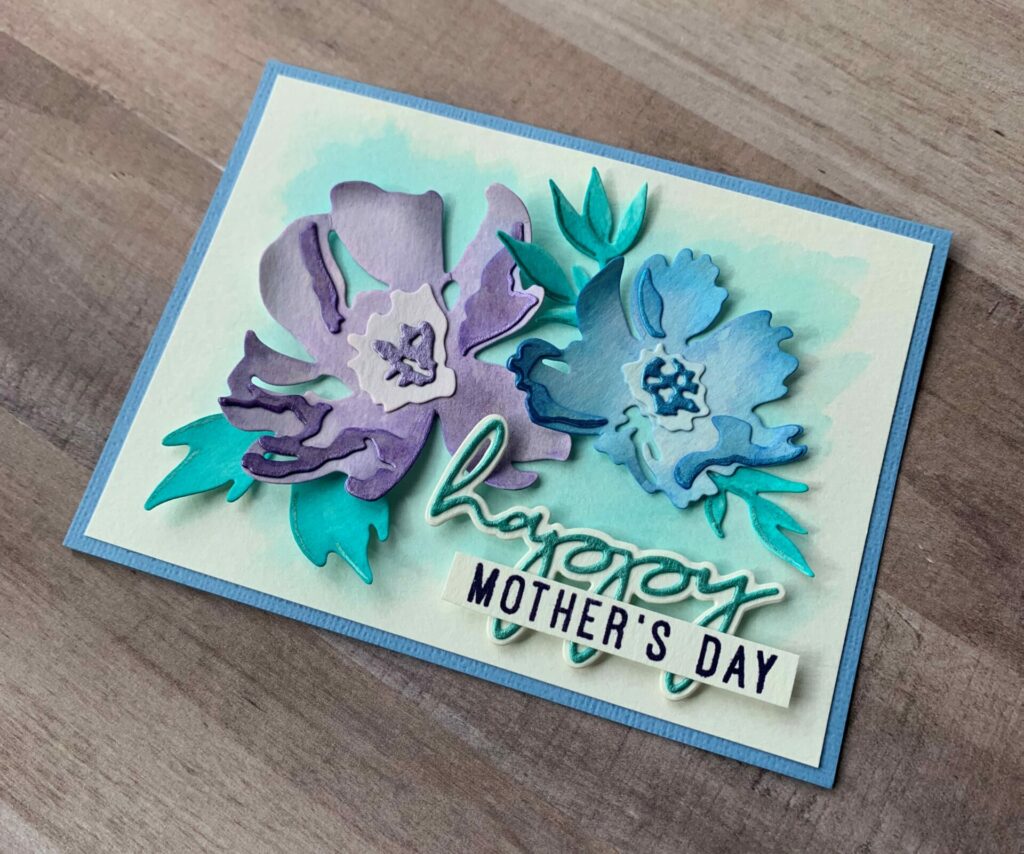
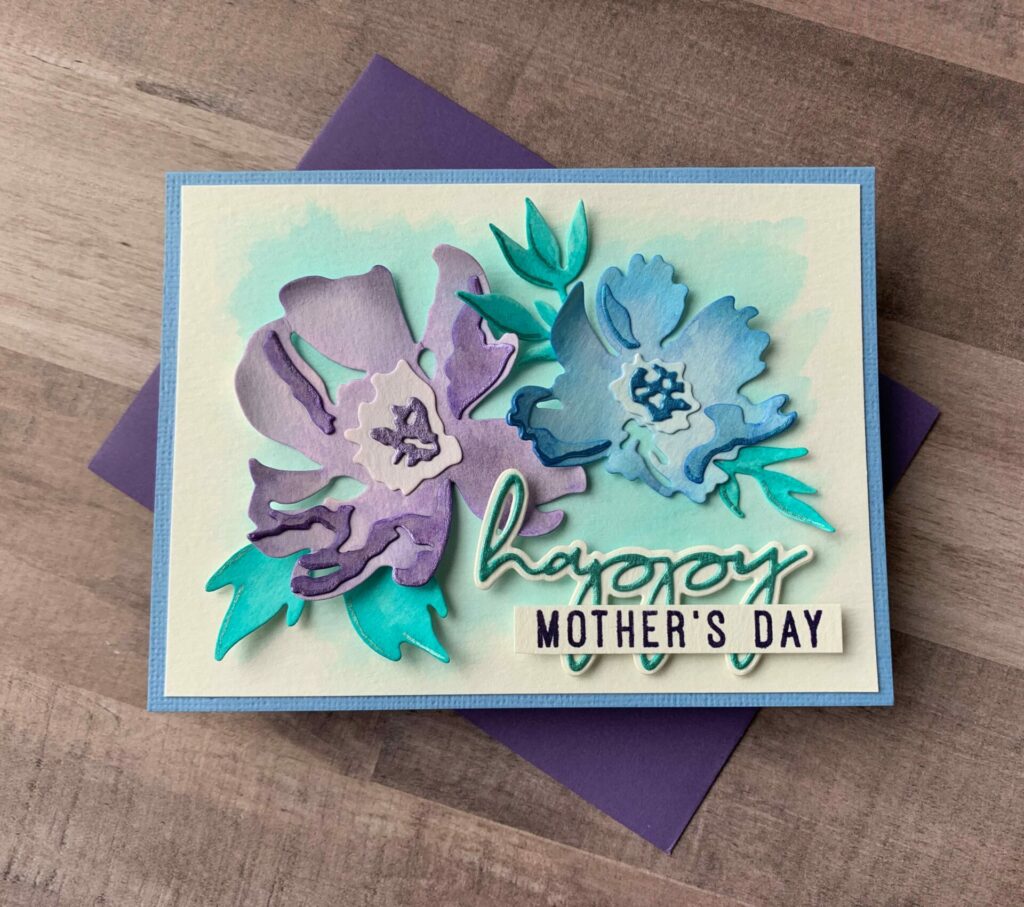
Brushstroke Flower Card
Hello crafty card makers! Today I’m sharing how I made this brushstroke flower card. It features a brushstroke watercolor technique. However, if watercolor isn’t your forte, you could use colored cardstock and/or specialty cardstock instead. For example, glitter, metallic, and holographic cardstock would all look lovely. I made mine for Mother’s Day, but the sentiment could easily be changed to fit your specific need. This brushstroke flower card could also be a birthday, thank you, hello, thinking of you, or a welcome baby girl card.
Full Disclosure: This post contains affiliate links which are indicated with an (*). If you click on an affiliate link and later make a purchase, I may receive a small commission. Clicking on an affiliate link which earns a commission does NOT result in additional charges to you or cost you anything extra. Money earned via affiliate links helps pay the fees to keep this blog up and running. Thank you so much for shopping through my links to show your support for the brands that we love and the products that I share!
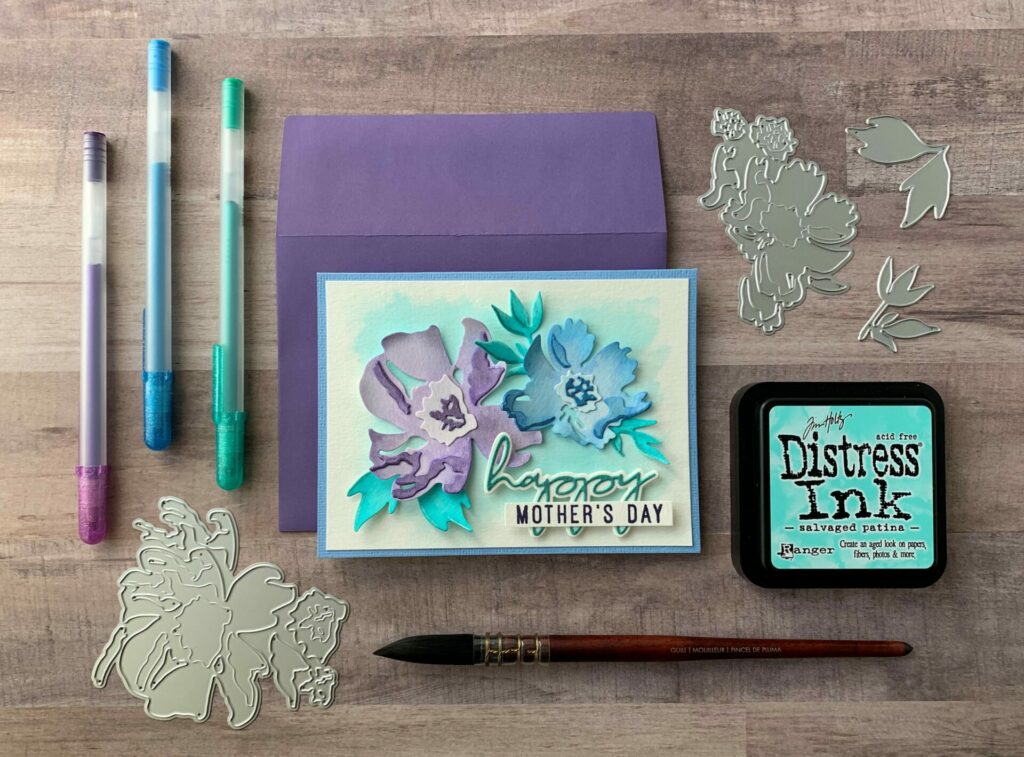
Supplies Used / Substitutions:
- *Sizzix Big Shot / *Spellbinders Platinum / Any die cutting machine
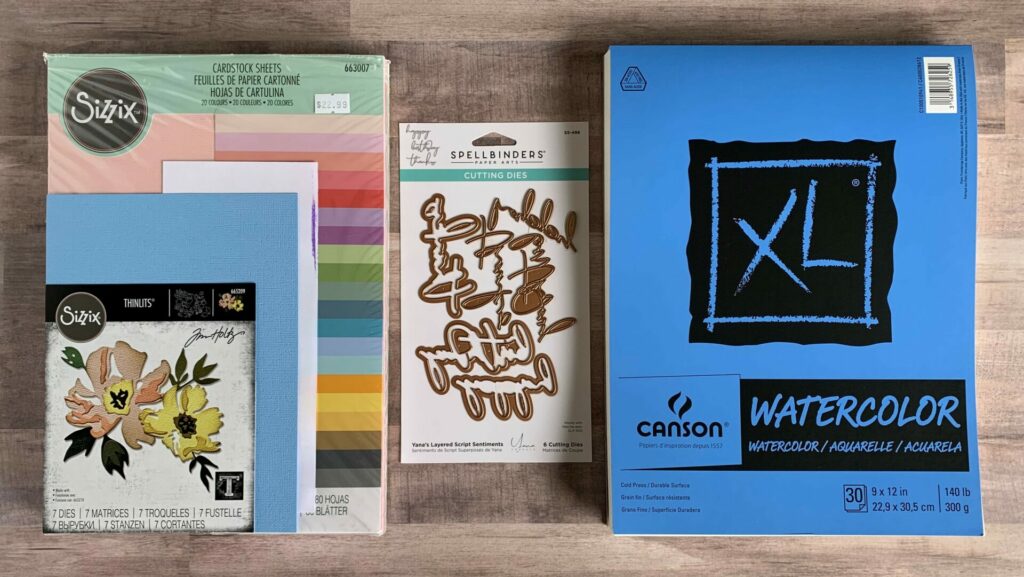
- *Sizzix Tim Holtz Thinlits Dies – Brushstroke Flowers #1 #665209
- *Spellbinders Dies – Yana’s Layered Script Sentiments SKU: S5-496 / Any sentiment die
- Heffy Doodle Special Day Sentiment Duos HFD0138 / Any sentiment stamp
- *Sizzix Surfacez Cardstock – periwinkle shade #663007 / Any color cardstock
- *Canson 140lb Cold Press Watercolor Paper / Any watercolor paper
- *Princeton Neptune Watercolor Brush – Quill #8 / Any watercolor brush
- *Water Brush / Any watercolor brushes
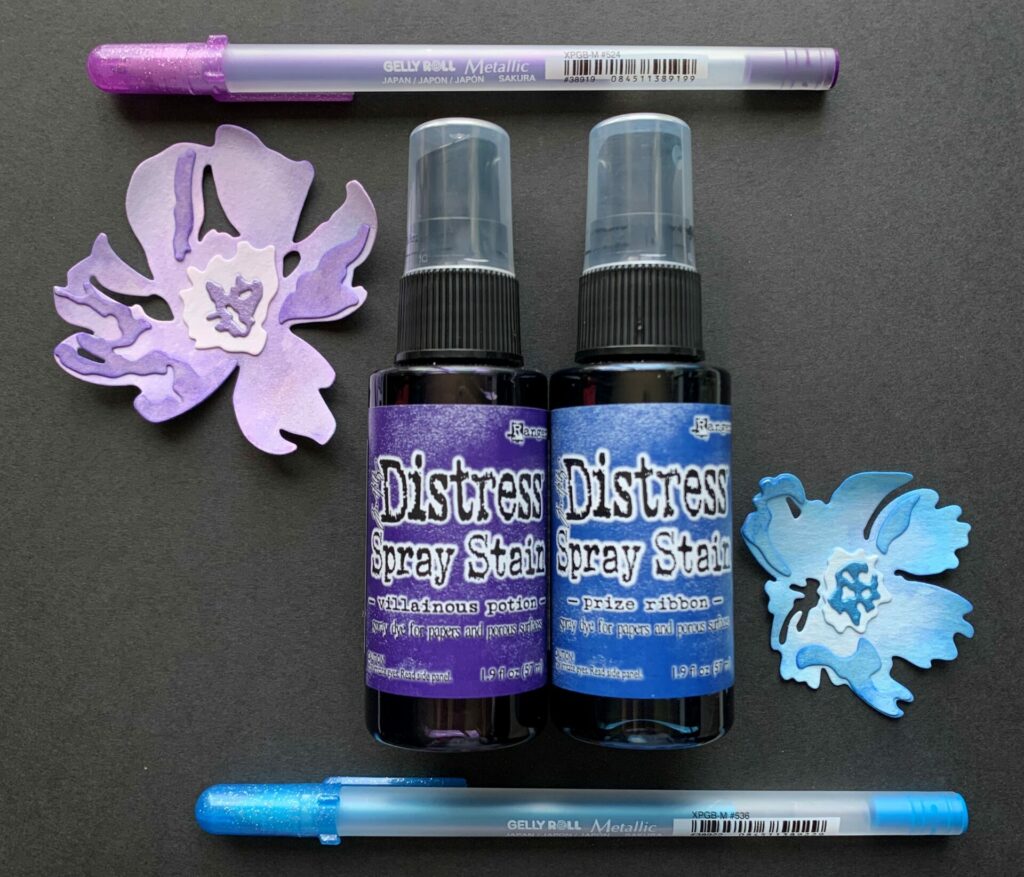
- *Ranger Tim Holtz Distress Ink – Peacock Feathers, Salvaged Patina, Prize Ribbon, & Villainous Potion / Any colors of distress ink/spray or any watercolors
- *Ranger Tim Holtz Distress Archival Ink – Villainous Potion / Any color
- *Sakura Gelly Roll Metallic Pens – Green, Blue, & Purple / *Metallic watercolor or glitter/metallic paper
- *Distress Collage Medium – Matte / *Bearly Art Glue or any liquid adhesive
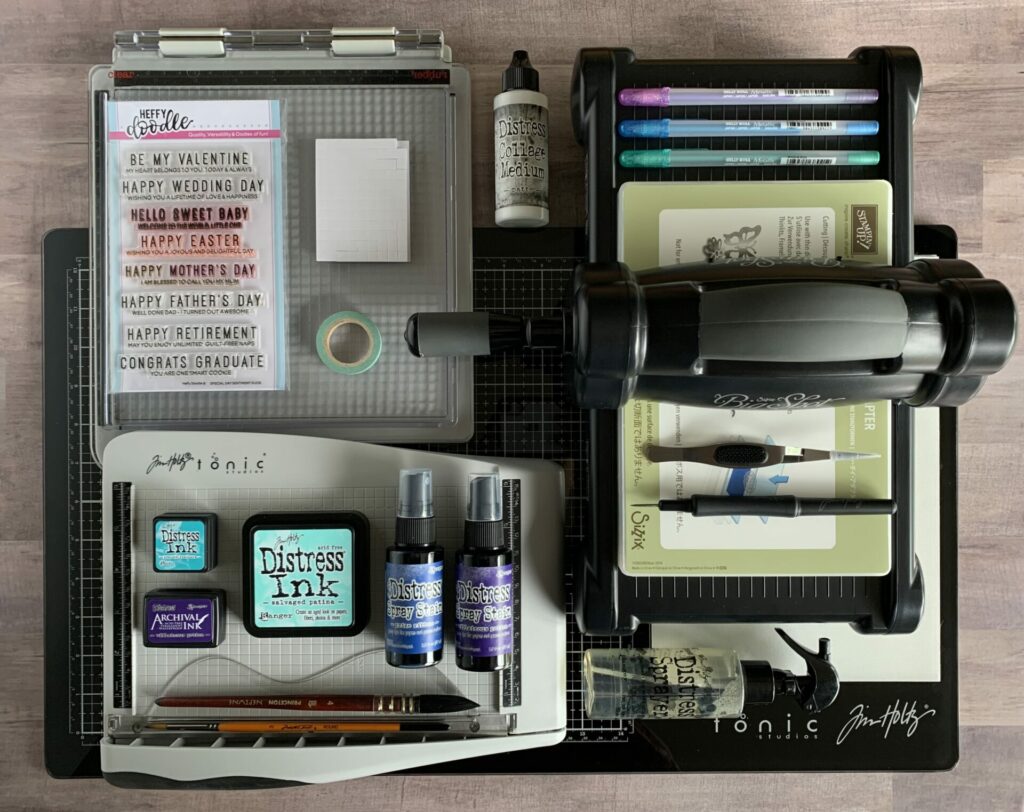
- *Tim Holtz Tonic Studios Glass Media Mat / Non-Stick craft sheet
- *Tim Holtz Tonic Guillotine Comfort Paper Trimmer 160E / Any paper trimmer, scissors, or x-acto knife and ruler
- Tonic Tim Holtz Stamp Platform / *MISTI stamping tool
- *Sizzix Tim Holtz Reverse Action Tweezers – Shaping Kit Making Tool #665304 / Any reverse action tweezers
- *Tim Holtz Distress Sprayer with water / Any spray bottle with water
- *Tim Holtz Tonic Studios Retractable Craft Pick / Toothpick
- Small Foam Adhesive Squares / Optional
- Washi Tape / *Low tact tape
- Scrap Piece of Paper / Post-it note
Making The Card Base
First, I took a sheet of the periwinkle cardstock from the Sizzix Surfacez pack. Then, I cut the paper down to a size of 8¼” x 5½”. I did this using the Tim Holtz Tonic Studios paper trimmer. Next I scored it at 4-1/8″ and folded it in half. If you’re using different cardstock, you can make it a standard A2 card size. Or you can make it whatever size you want. This is the base of the brushstroke flower card.
Trimming The Watercolor Paper
Next, I took a sheet of watercolor paper and trimmed it down to 5¼” x 3-7/8″. This will be water colored later, and is the background of the brushstroke flower card. Mine is a bit of an odd size because the Sizzix cardstock is only 8¼” wide, not 8½” like standard cardstock. If you are making your card a different size, just trim the watercolor paper to be a fourth of an inch smaller than your card base. This will give you an eighth of an inch border around your card front.
Then, I used the rest of the watercolor paper for die cutting the flowers, leaves and sentiment. I like to trim my paper to be a little bigger than the dies, and die cut them one at a time. But you can arrange them on the paper and die cut them all at once. Just make sure you leave some space between the dies and don’t overlap them (it will ruin the dies.) Also, secure the dies down with washi tape so they don’t shift.
Time To Die Cut
After trimming the watercolor paper down to size, it was time to die cut. For this, I used the Sizzix Big Shot machine. To cut the flowers I used the Sizzix Brushstroke Flowers #1 set by Tim Holtz. I die cut the big flower, the little flower, and three of the leaf clusters.
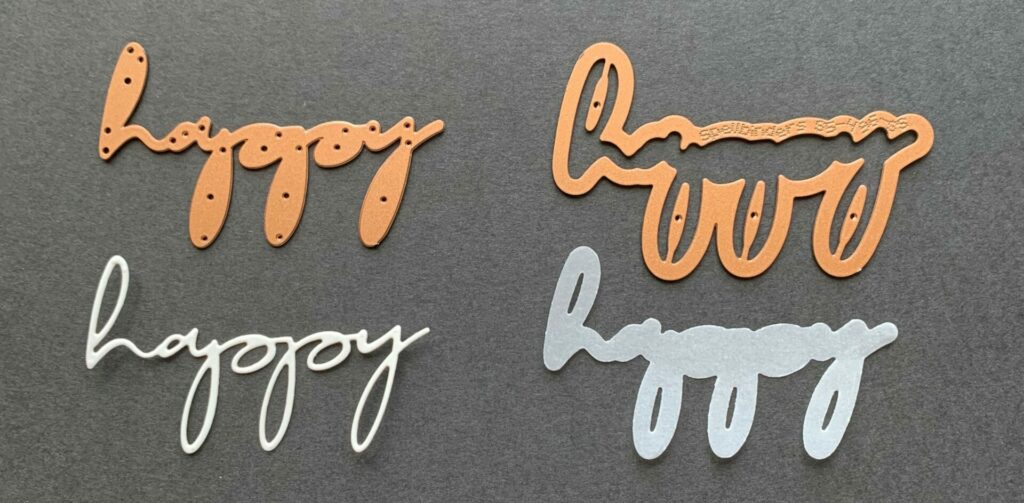
For the sentiment I used the Yana’s Layered Script Sentiments set by Spellbinders. I die cut the word “happy” and the happy outline from the watercolor paper. Then, I weeded out the excess pieces of paper and removed them from the dies. I did this using the Tim Holtz Tonic Studios retractable craft pick.
Water Coloring The Background
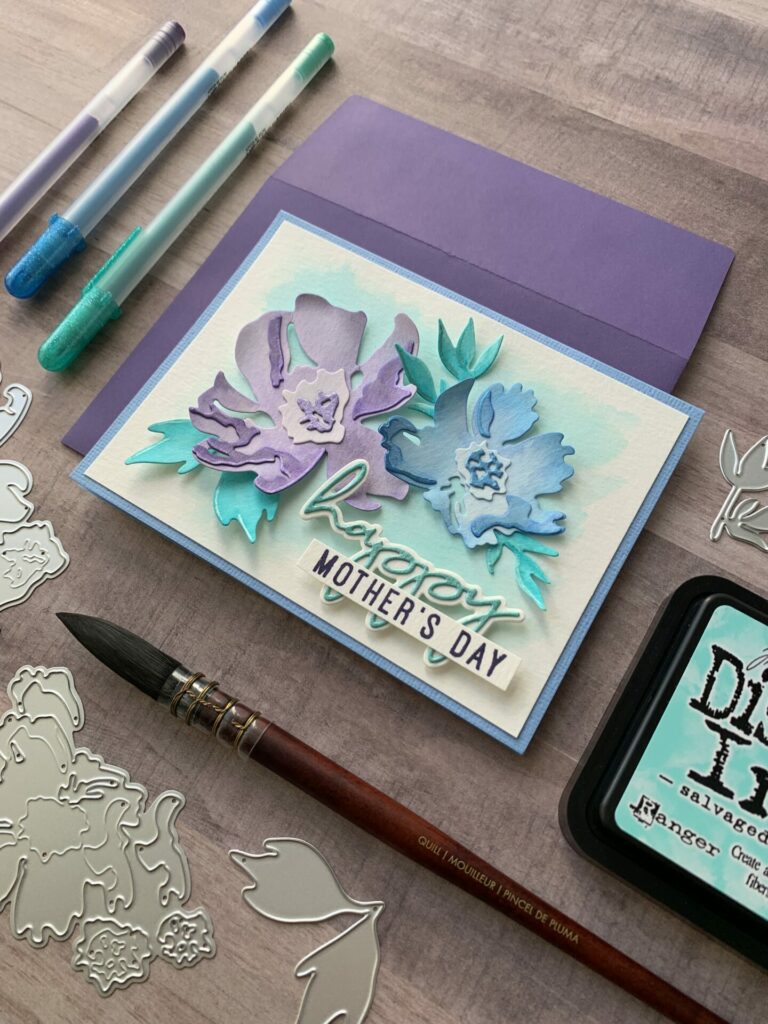
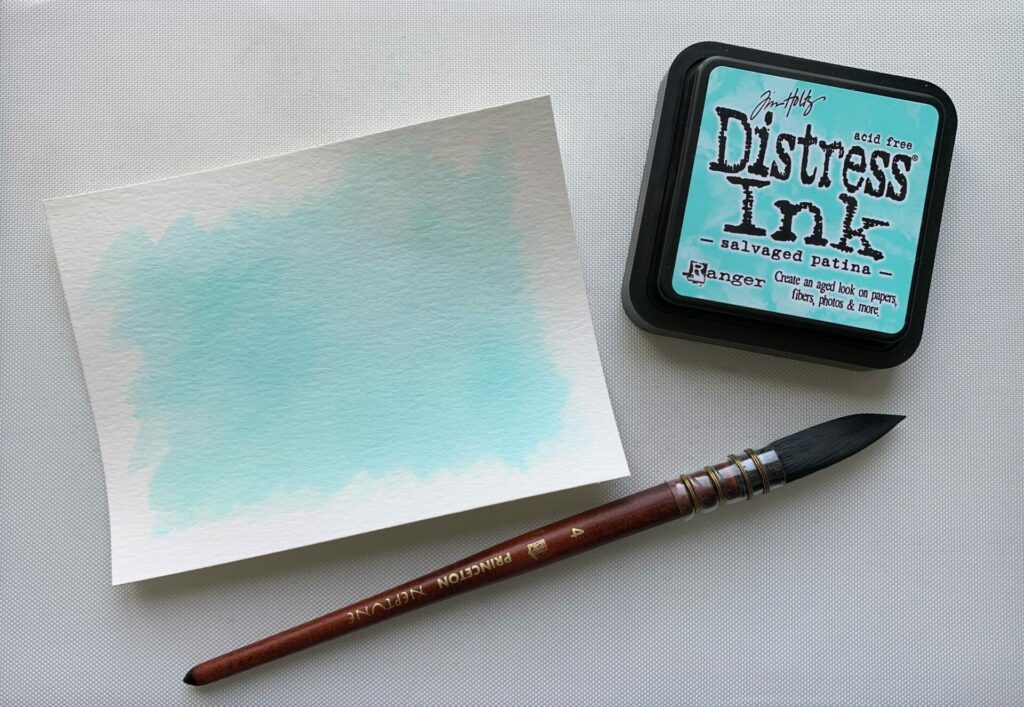
Next, it was time to watercolor the background of the brushstroke flower card. For this step you will need distress ink in the color of your choosing (I used Salvaged Patina, absolutely love this color) or watercolors. You will also need the watercolor panel we trimmed to size earlier, a watercolor brush, a small jar of water, and a paper towel. For this process I worked on the Tim Holtz Tonic Studios glass media mat, but if you don’t have that you can work on a non-stick craft sheet.
First, I smooshed the ink pad onto the craft sheet of my media mat. Then, I dipped my brush into the water jar and painted the paper with the water. I only painted the water in the areas I wanted the color to be. I wanted mine to have a white border so I left the edges dry. Next, I picked up some ink with my brush and added it to the wet areas. You can add as much or as little color as you like. And as long as you keep it wet while you are working it will blend together nicely.
When I was done I cleaned my brush in the water jar, dried it with the paper towel, and wiped up any excess ink on my mat. Then, I left the panel background to air dry. When it was dry I used collage medium and glued it to the front of the card base.
Water Coloring The Flowers
Next, I water colored the flowers. For this you will need your flower die cut pieces, distress inks/watercolors, watercolor brush, spray bottle with water, and glass media mat/non-stick craft sheet. I used Tim Holtz distress ink in the shade Villainous Potion for the larger flower and prize ribbon for the smaller flower. You don’t have to use these exact colors, you can use whatever colors you want. Also, you are not just limited to one color per flower. If you are feeling adventurous, you could try using multiple colors on the same flower. I will definitely be trying that next time.
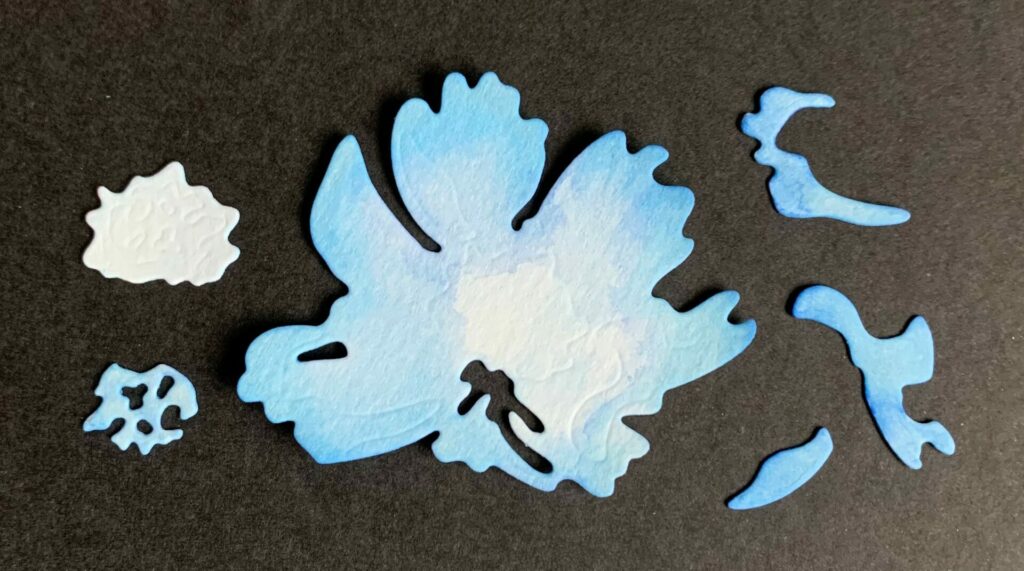
First, I took the spray bottle and misted the small flower die cut pieces with water. Then, I dipped my brush in to the blue ink on my craft sheet and added the color to each of the pieces. That was it for the bottom layer piece of the center of the flower (top left pictured below). It looks white in the photo, but it’s a light blue in real life. For the four remaining smaller pieces I added two more coats of ink (making it three coats total). Then, for the main flower piece, I misted it with water and added another layer of blue ink. I concentrated the blue ink around the edges and blended it out into the center with water. Thus creating a gradient effect with the darkest blue being on the edges of the flower, and blending inward to a lighter blue.
For the larger flower I did it exactly the same as I did the smaller blue flower. Except I used Tim Holtz distress ink in the shade Villainous Potion (purple shade) for this one. When I was done I set the flower pieces aside to air dry.
Water Coloring The Leaves
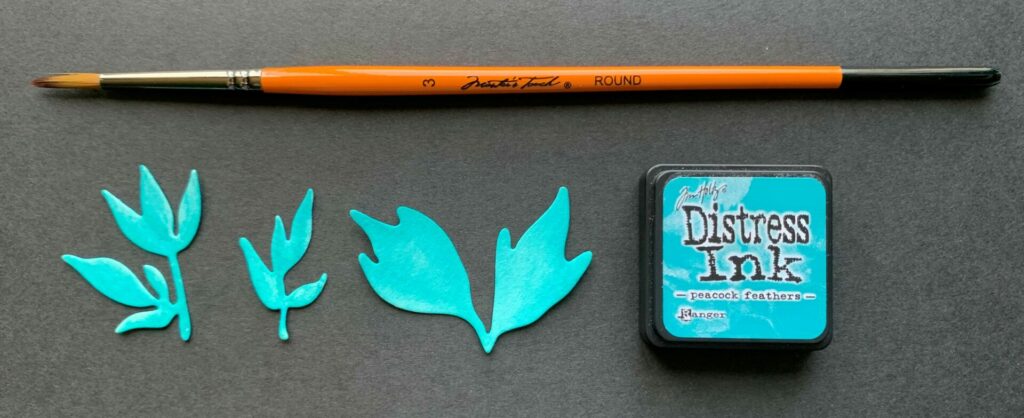
To watercolor the leaves, I basically followed the same process I used for the flowers. First, I smooshed Tim Holtz distress ink in the shade Peacock Feathers onto the craft sheet. I wet my brush with water and then picked up some ink with it. Then, I painted the leaves. I did three layers on mine. But you can do as many layers as you need to achieve the saturation of color you desire. Just make sure you let it dry between layers. Then, I set the leaf pieces aside to air dry.
Adding The Metallic Gel Pen
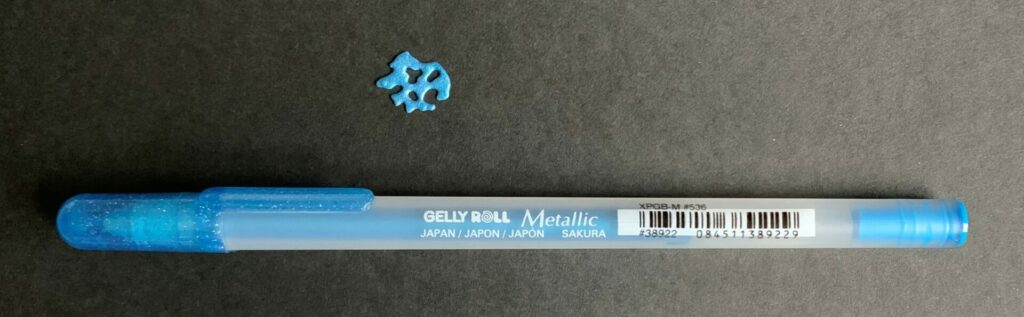
Next, I took the center die cut of each flower and added metallic gel pen to them. For this I used the blue and purple Sakura Gelly Roll Metallic Pens. If you don’t have these pens you can use any metallic pens, paints, embossing powders, or waxes. Or you could also die cut these pieces from metallic, glitter, or holographic cardstock if you wish.
For this I took my scratch piece of paper, put the die cuts on top of it, and simply colored them in with the gel pen. I used the blue gel pen to the color the center for the blue flower and the purple gel pen for the purple flower center.
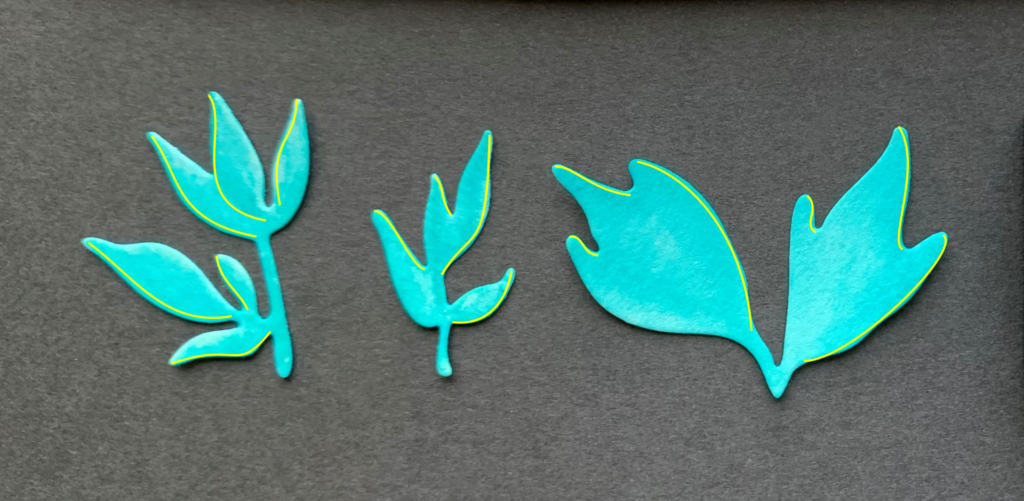
Then, I also added metallic lines to the leaves. I used a teal Sakura Gelly Roll Metallic Pen for this. I drew lines where the yellow lines are indicated in the image below.
Gluing The Flowers Together
Next, I glued the flower pieces together. For this my glue of choice is distress collage medium, it dries matte and shrinks when it dries. I love these flowers because they are super easy to glue together. You may have noticed when you cut these that there are debossed lines on the die cuts. These are there so you know exactly where the layering pieces go. It’s kinda like paint by numbers (who doesn’t love a good paint by numbers), except you’re layering instead of painting, and there’s no numbers. You could think of it like a mini puzzle you get to color and glue together. I, for one, love puzzles.
To glue these together, I started with the center pieces. First I used my reverse action tweezers to hold the metallic center die cut and applied collage medium on the back of it. Then, I lined it up with the debossed lines on the light purple center piece and used my tweezers to hold them together while the glue dried. Next, I lined that piece up with the debossed lines and glued it to the center of the flower. Then, I did the same with the three darker layering pieces. I held the die cuts with the tweezers, put glue on the back, lined it up with the debossed lines, and used the tweezers to hold it together while it dried.
Adding Some Dimension
After the glue had dried on the flowers, it was time to add some dimension. To do this I dipped my finger in some water and rubbed it onto the paper on the back of the flower. This softens the paper fibers and makes it more pliable. Also, try to avoid getting water on the front of the flowers. Seeing as distress ink is water reactive this could remove some of the ink and ruin the watercolor blending work that was done earlier. Then, I used a gel pen to curve up the edges of the flower petals. You do this by pressing the paper up against and around the gel pen. Also you can turn the pen in different directions depending on which way you want the petals to curl and bend.
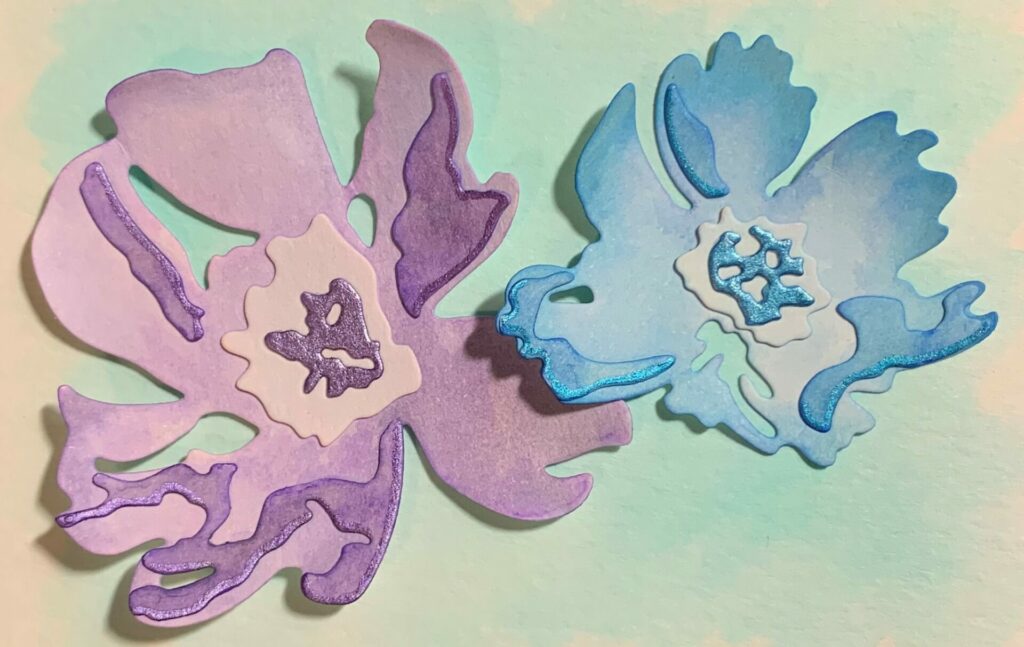
Next, I added some extra metallic details to the flowers. With the purple and blue gel pens I traces the bottom edges of the darker layering pieces of the flowers. See image above for reference.
Coloring The Sentiment With Gel Pen
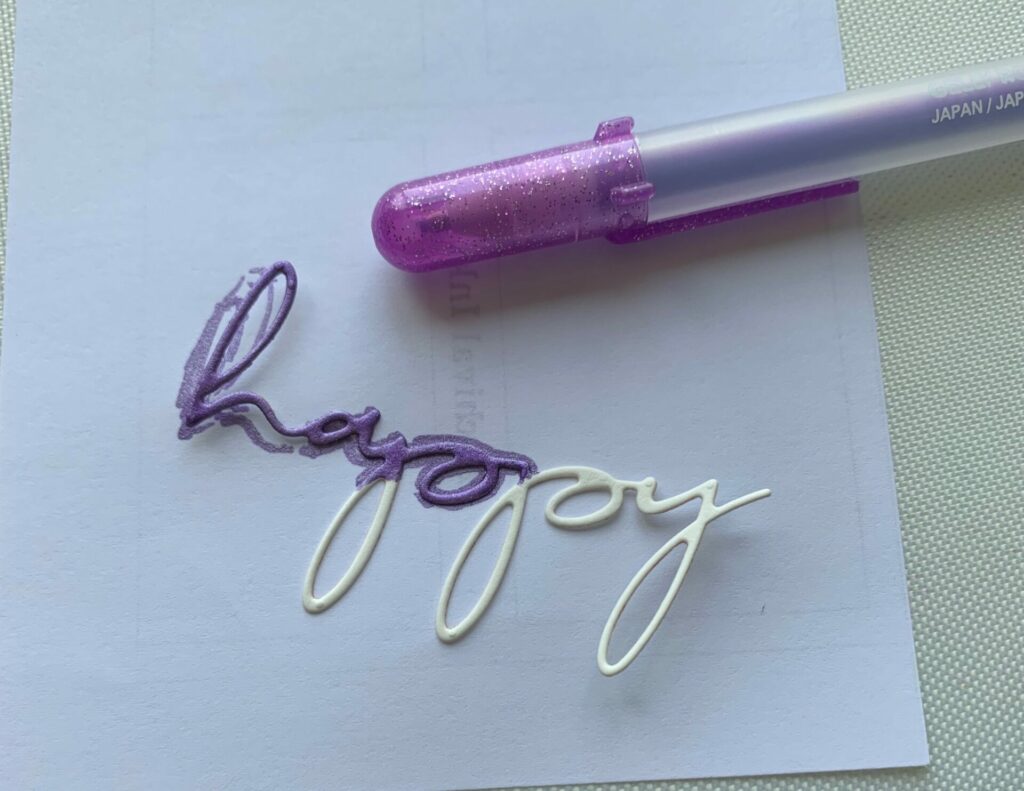
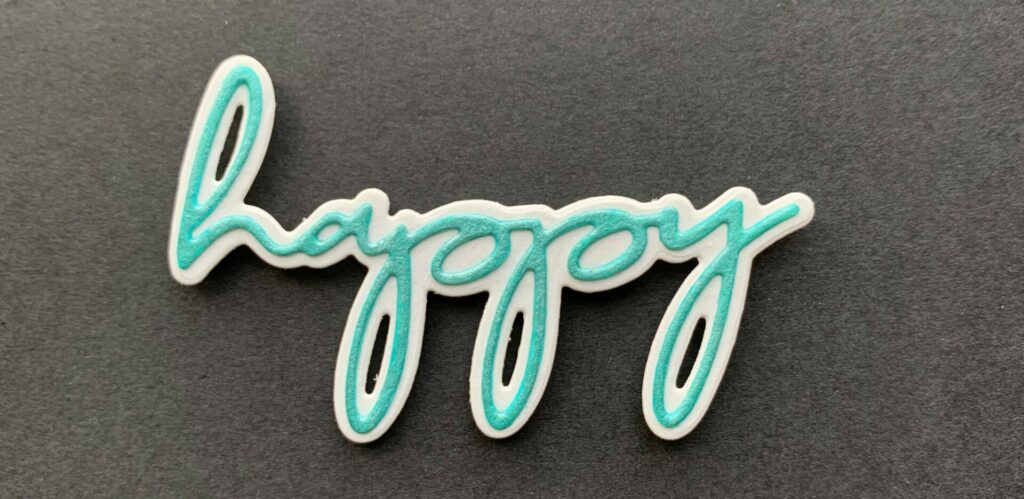
Then, I used teal metallic gel pen and colored the happy sentiment with it on the scrap piece of paper. Color the whole sentiment with the gel pen and let it dry for awhile. (The photo below shows me using a different color because I had originally planed on using purple. After seeing it on the card I thought it blended in to much with the purple flower and it didn’t pop like I wanted it to. So I changed my mind and made another one. This time I used teal and it looked much better.)
Next, I glued the “happy” sentiment and its outline together. To do this, I held the “happy” die cut with tweezers, put glue on the back, centered it within the “happy” outline, and used the tweezers and my fingers to hold it together. I held the “h” and “y” down long enough with my fingers so that it was tacked down in place. After that, I set it down flay to dry and put something heavy on it.
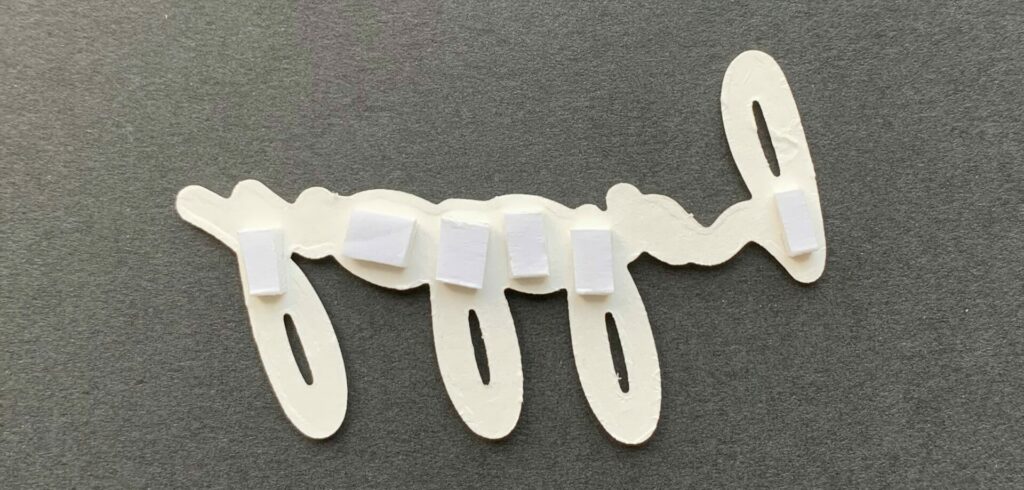
Then, I added some foam squares to the back of the “happy” sentiment to create more dimension on the card. You can use scissors to cut them down to size if needed.
Making The Mother’s Day Sentiment
Next, I made the Mother’s Day sentiment strip. For this I used the Heffy Doodle Special Day Sentiment Duos stamp set, archival ink in Villainous Potion, a stamp platform, watercolor paper three inches wide, and a scrap piece of paper with a straight edge. If you don’t have a Mother’s Day stamp or the desired sentiment for the card your making, you could make your own on the computer. Just make the text no larger than a fourth of an inch tall.
First, I places the watercolor paper in to the corner of the stamp platform and secured it down with the magnets. Next, I used the Mother’s Day stamp from the Heffy Doodle set, placed it where I wanted it to go on the paper, and closed the platform to adhere the stamp to it.
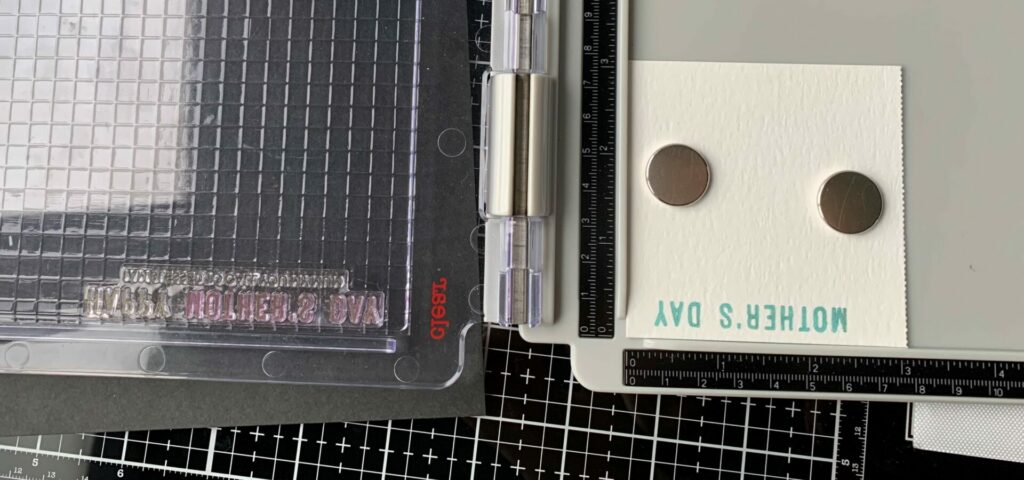
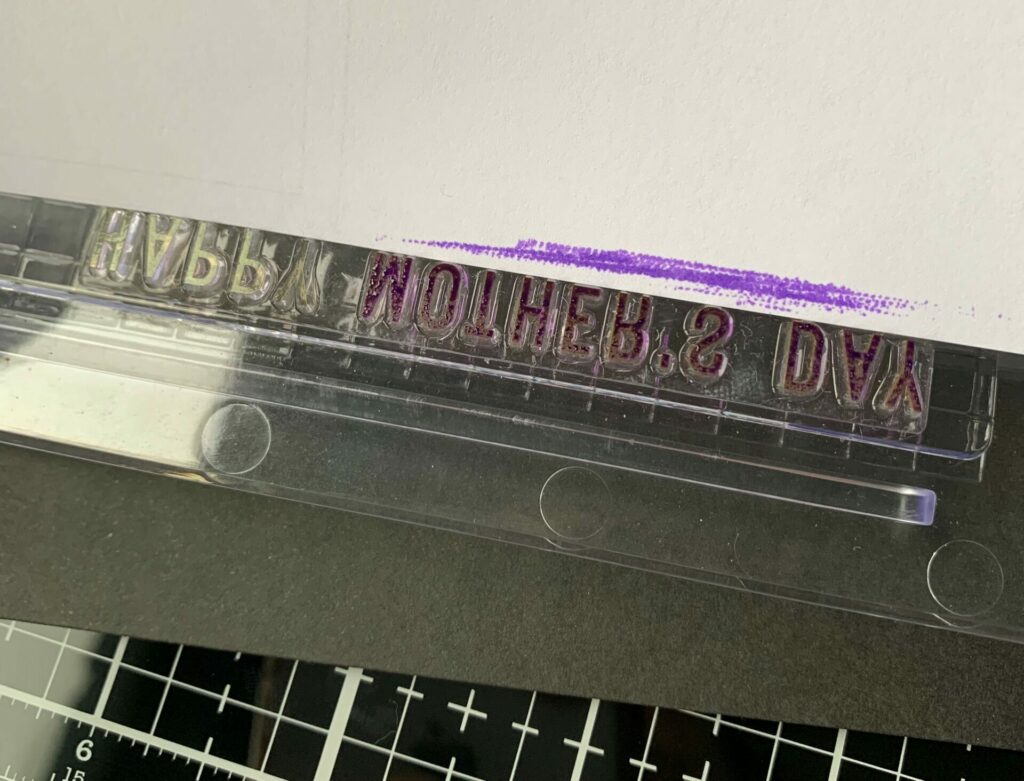
I only wanted the “Mother’s Day” part of the stamp, so I used a scrap piece of paper to mask off the rest of the stamp while inking. You can also use a post-it or tape for this if you wish. Then, I used archival ink in the shade Villainous Potion to ink up my stamp, closed the lid and applied some pressure. I had to do this a few times in order to completely fill in the letters.
Lastly, I trimmed the sentiment down with my paper trimmer. If you don’t have a paper trimmer use an x-acto knife and ruler. This will give you a straighter edge than scissors.
Putting It All Together
Yay, we’re almost done making the brushstroke flower card! Now all we have to do is glue it all together. Firstly, I glued the purple and blue flowers to the card base. I only put the collage medium on the back center of the flowers (see photo below for placement). Secondly, I removed the backing of the foam squares and adhered the “happy” sentiment to the card base. Next, I glued the leaves into place under the flowers. I used the tweezers for this to hold the leaves in place while the glue set. Lastly, I glued the Mother’s Day strip to the “happy” sentiment. I put the glue on the bottom part of the letters “p'” and “y”. See below for placement. Also, make sure it’s straight on the card.
Brushstroke Flower Card Complete!
Congratulations! You have now completed your brushstroke flower card! I hope you enjoyed this tutorial and have as much fun making it as I did. If you do make this card, please use the #grovecrafted and tag me on Instagram. I’d love to see what you’ve created! Thanks for stopping by and I hope you found some new inspiration to create.
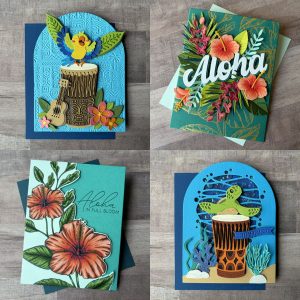
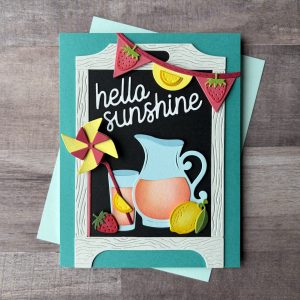
If you enjoyed making this brushstroke flower card, you might want to check out my Layered Butterflies Card tutorial.