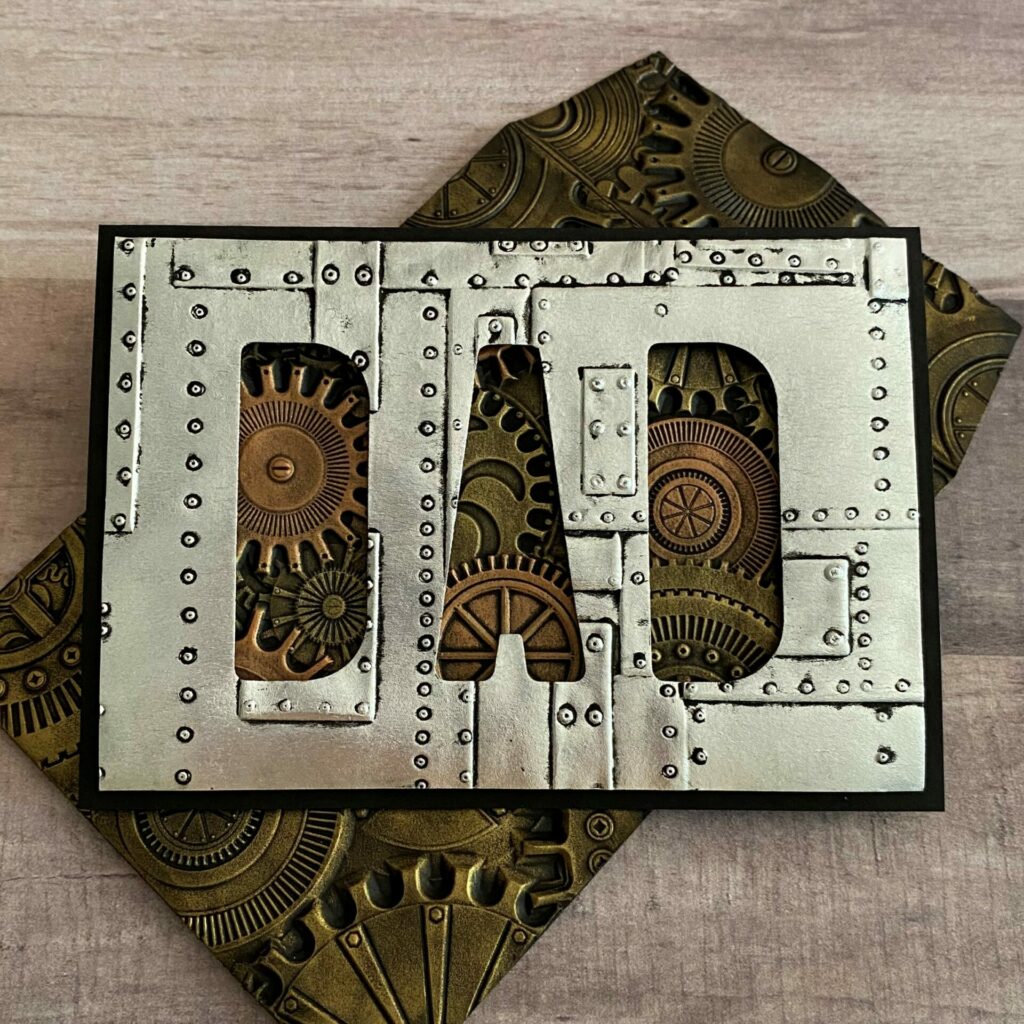
Gears Dad Card
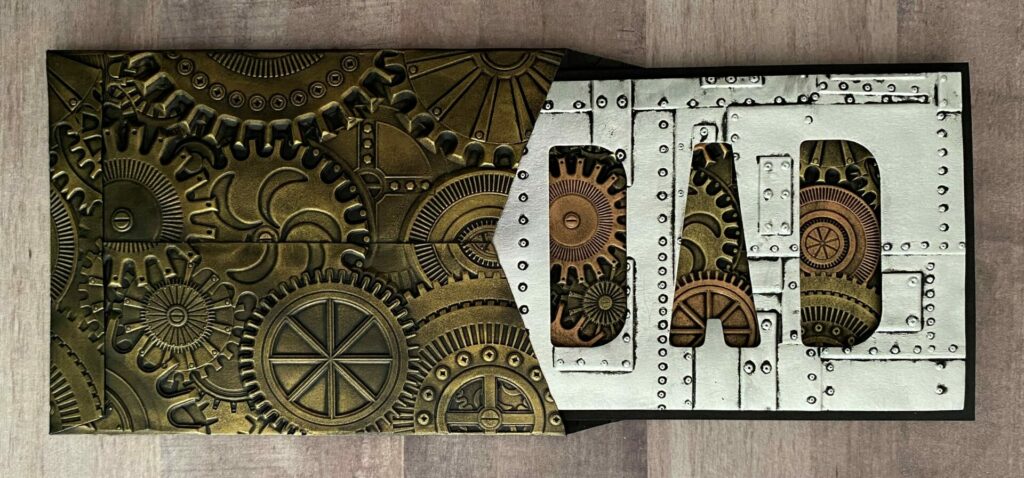
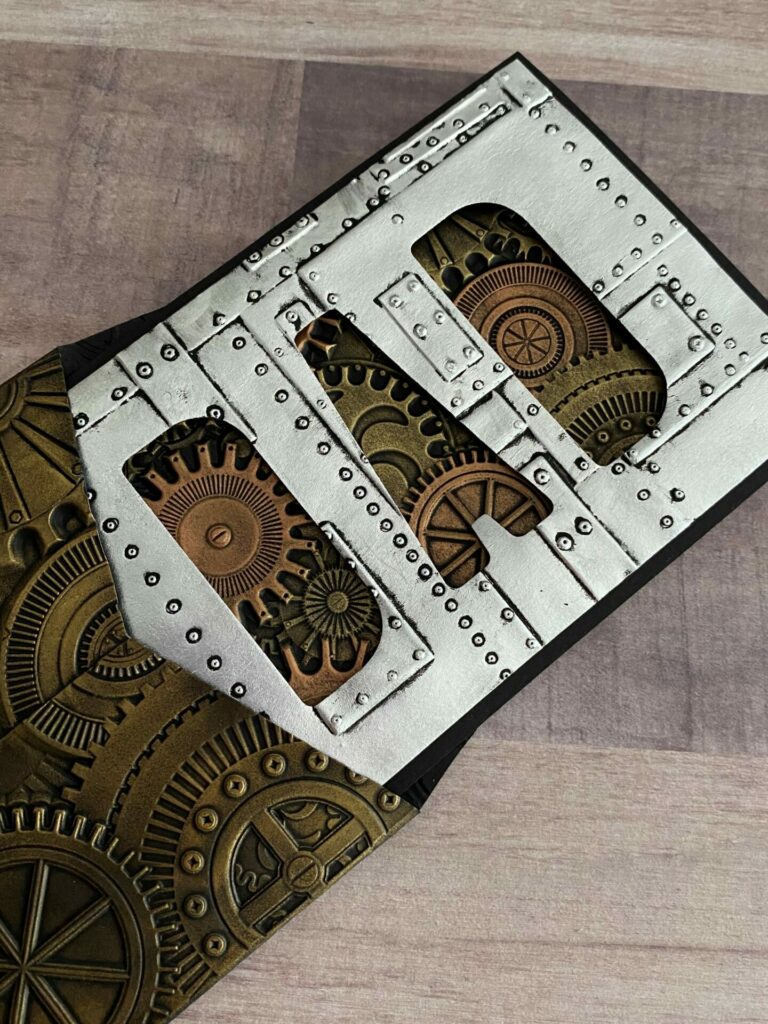
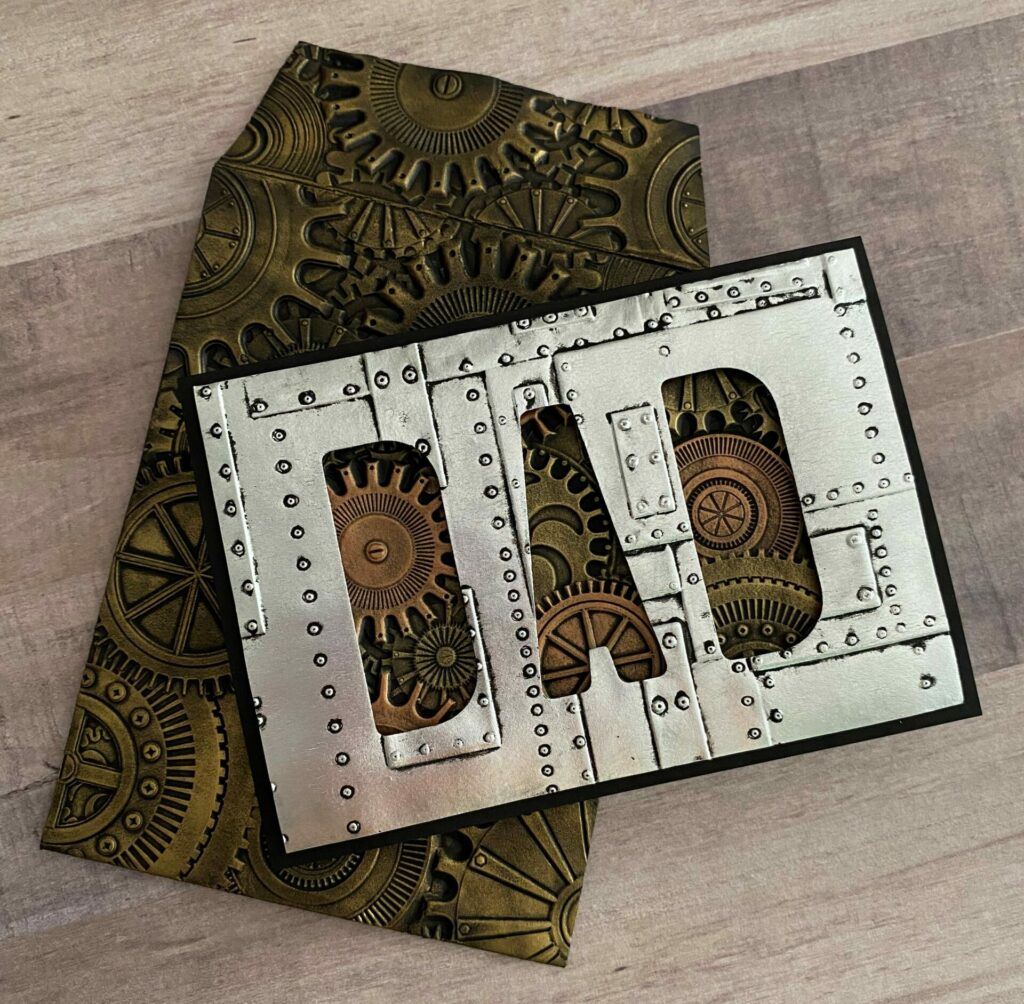
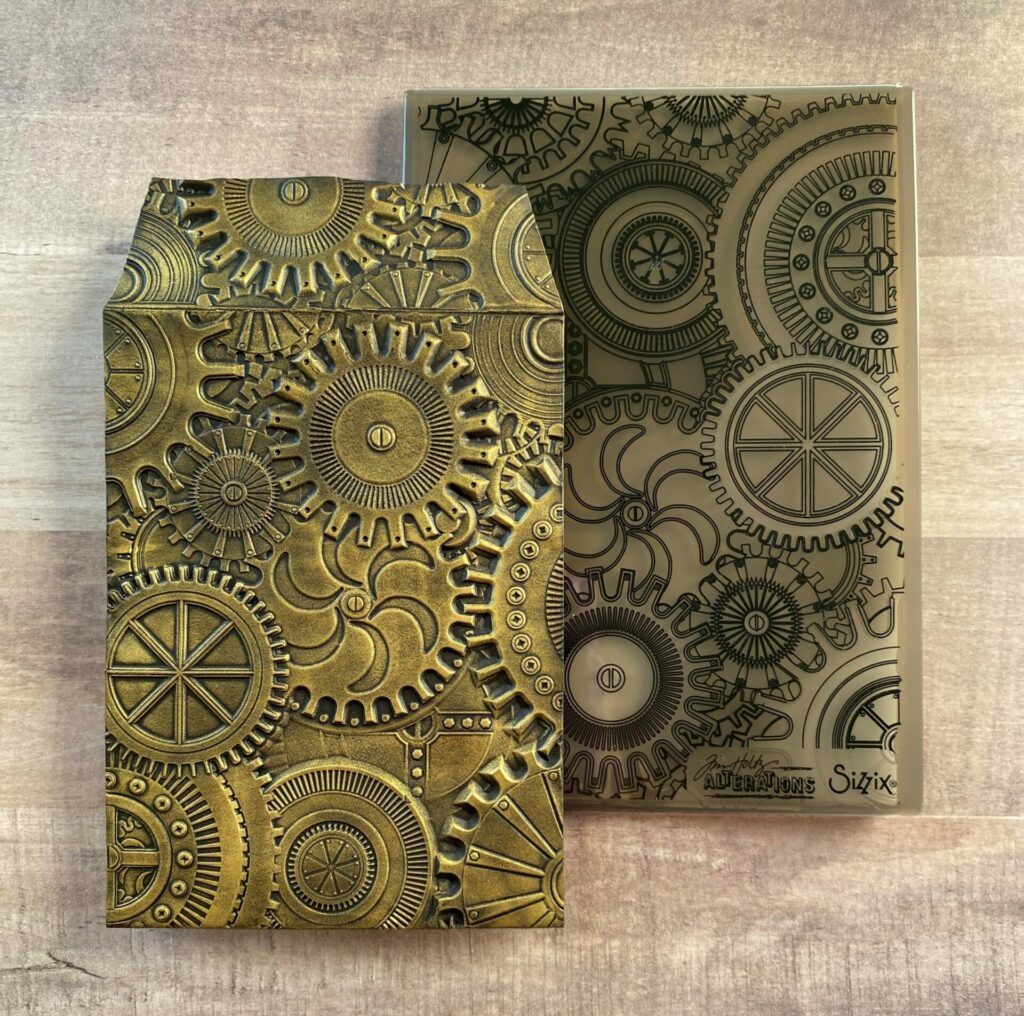
Hello card makers! It’s that time of year where we need to sift through our crafty supplies and make a masculine card for dad. Yep, Father’s Day is coming up soon. So today I’ll be sharing how I made this gears dad card. It features a faux metal finish technique, and lots of 3D embossed texture. I also made a matching envelope to go with the card. It has the same 3D embossed texture as the card. If you want to learn how I made that, you can skip straight to the envelope tutorial here. This masculine gears dad card is perfect for any dad this Father’s Day.
Now I understand that not everybody needs to make a Father’s Day card. But, don’t leave just yet, because this card design doesn’t just have to be for dad. You could make it for mom by changing the embossing folders to something a little prettier. Or another idea is to customize this card with the recipients name, providing it’s a short name. This card would also make a great birthday card as well. Not just for dad, but for anyone by changing it to say “YAY” instead of “DAD”.
Link Abbreviations
- AMZ – Amazon*
- BA – Blick Art Materials*
- RI – Ranger Ink*
- SB – Spellbinders*
- Sb.com – Scrapbook.com*
- SIZ – Sizzix*
- SSS – Simon Says Stamp
Full Disclosure: This post contains affiliate links which are indicated with an (*). If you click on an affiliate link and later make a purchase, I may receive a small commission. Clicking on an affiliate link which earns a commission does NOT result in additional charges to you or cost you anything extra. Money earned via affiliate links helps pay the fees to keep this blog up and running. Thank you so much for shopping through my links to show your support for the brands that we love and the products that I share!
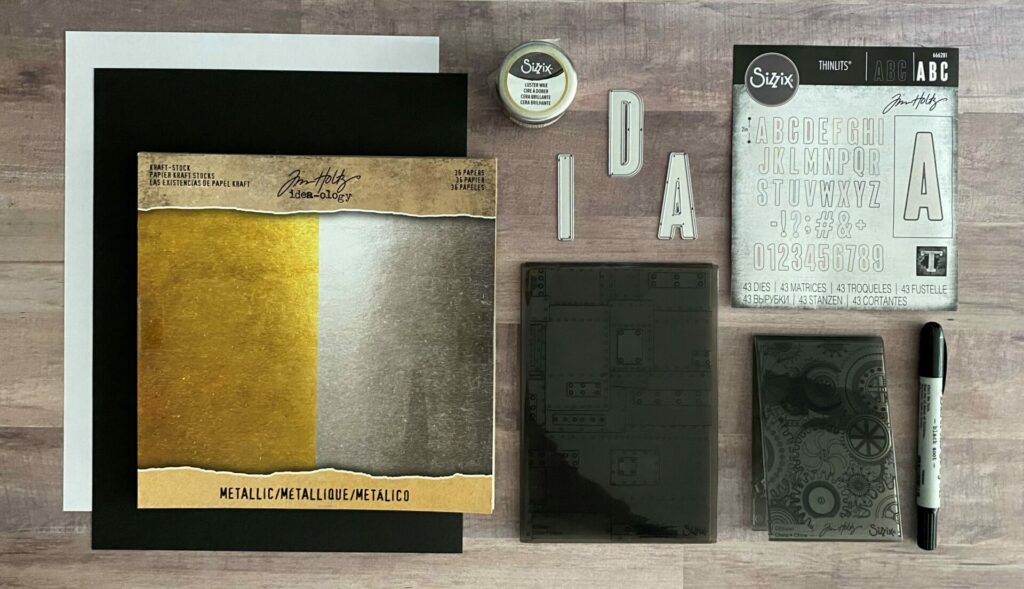
Supplies Used / Substitutions:
- Tim Holtz Sizzix Thinlits Dies – Alphanumeric Bulletin #666281 | Sb.com | SIZ | AMZ / Any bold alphanumeric dies
- Sizzix Tim Holtz 3D Embossing Folder – Foundry #662717 | Sb.com | SIZ | AMZ / Any embossing folder
- Sizzix Tim Holtz 3D Embossing Folder – Mini Mechanics #665633 | Sb.com | AMZ / Any embossing folder
- Black Cardstock / Any color cardstock
- Tim Holtz idea-ology Metallic Kraft Stock – Silver | Sb.com | SSS / Any silver metallic cardstock
- Ranger Tim Holtz Distress Crayon – Black Soot | Sb.com | SSS / Distress paint – Black Soot | RI | SSS |
- Sizzix Luster Wax – Gold | Sb.com | SIZ | AMZ |
- Sizzix Luster Wax – Rose Gold | Sb.com | SIZ | AMZ |
- Sheet of copy paper / Any scrap paper to work on
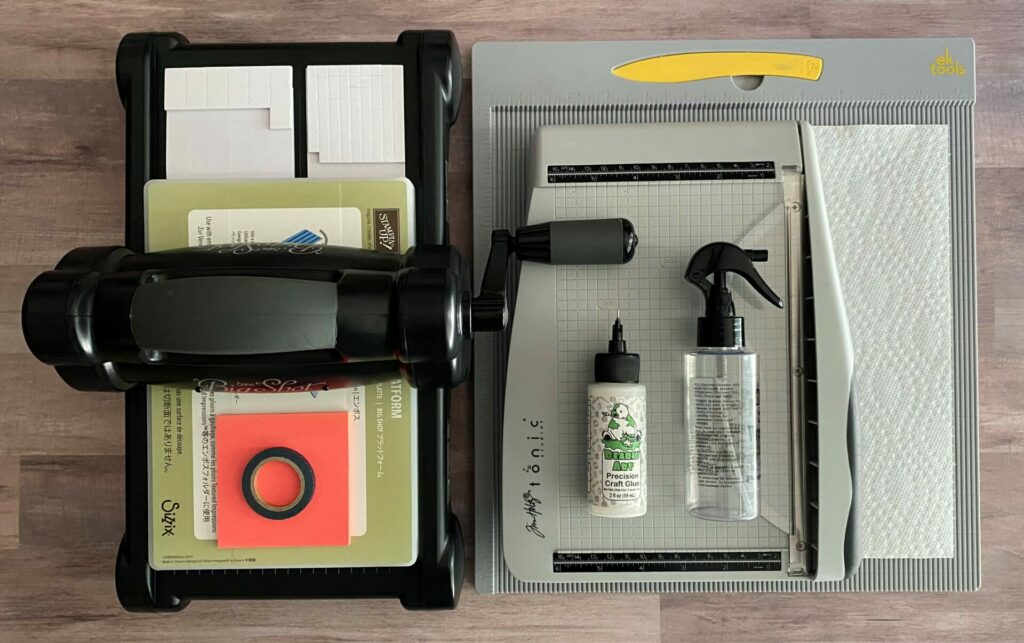
Tools Used / Substitutions:
- Sizzix Big Shot | SIZ / Spellbinders Platinum Six | Sb.com | SB / Any die cutting machine
- Tim Holtz Comfort Paper Trimmer | Sb.com | RI | AMZ / Any paper trimmer
- EK Success Scoring Board | AMZ | SSS / Any scoring board
- Bearly Art Glue | Sb.com | SB | AMZ | SSS / Any liquid adhesive
- Spray Bottle with water | Sb.com | RI | SB / Any spray bottle with water
- Foam Adhesive Squares
- Paper Towel
- Post-It / Scrap paper
- Washi Tape / Best ever craft tape | Sb.com | SB |
Making The Card Base
Firstly, I started by making the card base. For this step, you’ll need the following materials:
-
- Black cardstock
- Paper trimmer/x-acto knife and ruler
- Scoring board
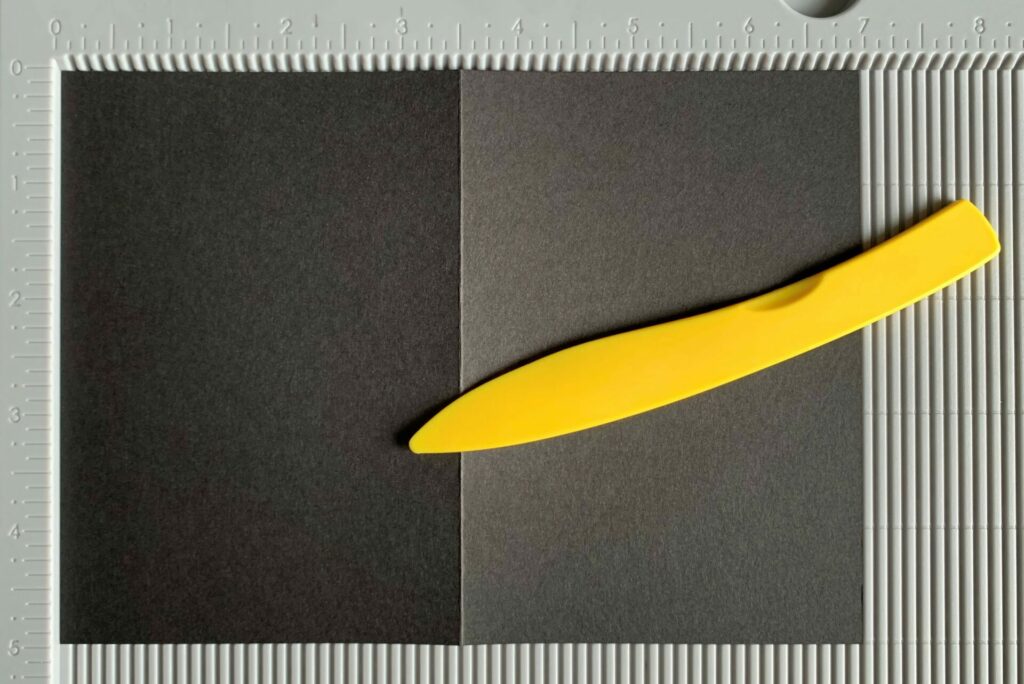
- Take a sheet of black cardstock and cut it down to a size of 5″ x 8½” with your paper trimmer.
- Score the cardstock at the 3½” line. (See image below)
- Fold on the score line and reinforce the fold with a bone folder.
- Trim off the excess 1½” strip of cardstock with your paper trimmer.
Your card base should be 3½″ x 5″.
Die Cutting The Letters
Next, it’s time to die cut the letters that spell “DAD”. For this step you’ll need the following materials:
-
- Metallic silver kraft stock
- Paper trimmer
- Alphanumeric Bulletin dies – letters “A” “D” & “I”
- Die cutting machine
- Washi tape
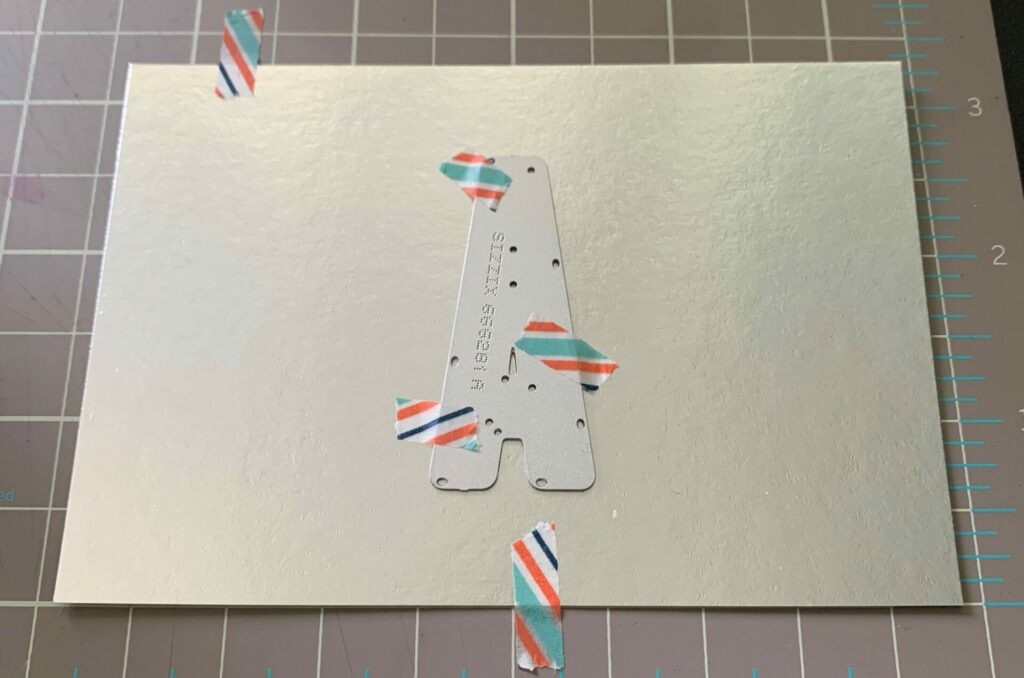
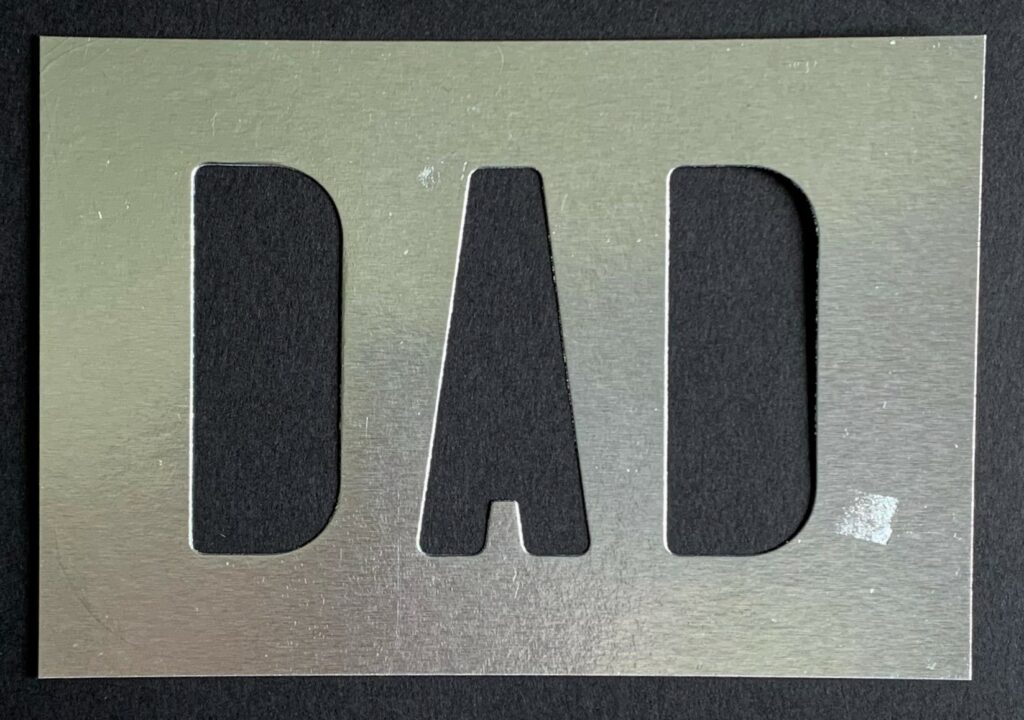
- Cut the silver metallic kraft stock down to a size of 3¼” x 4¾” with your paper trimmer.
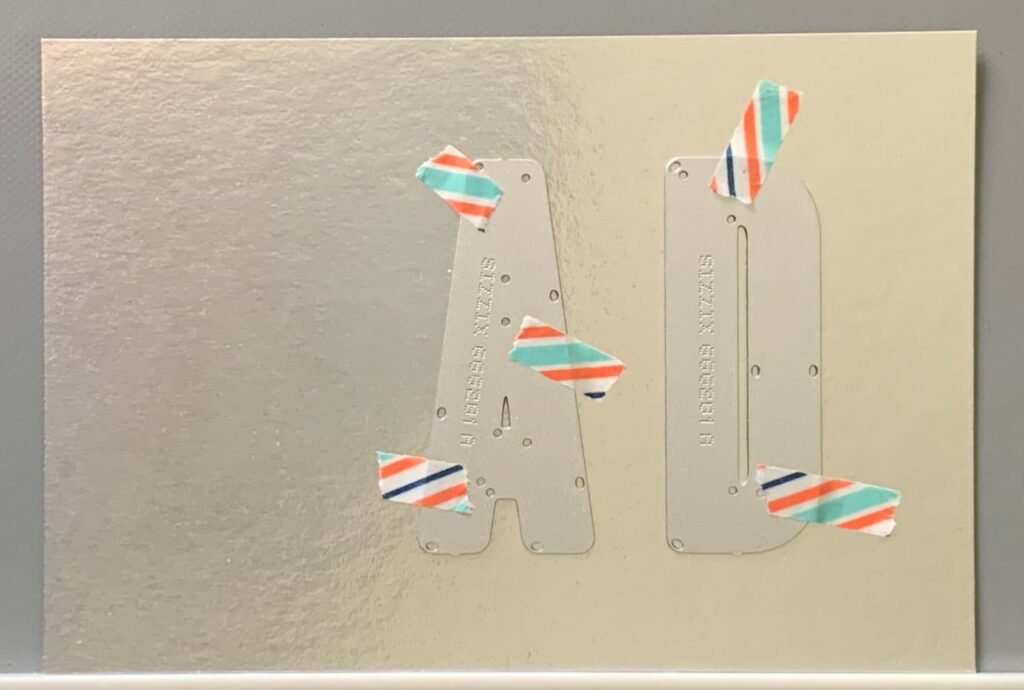
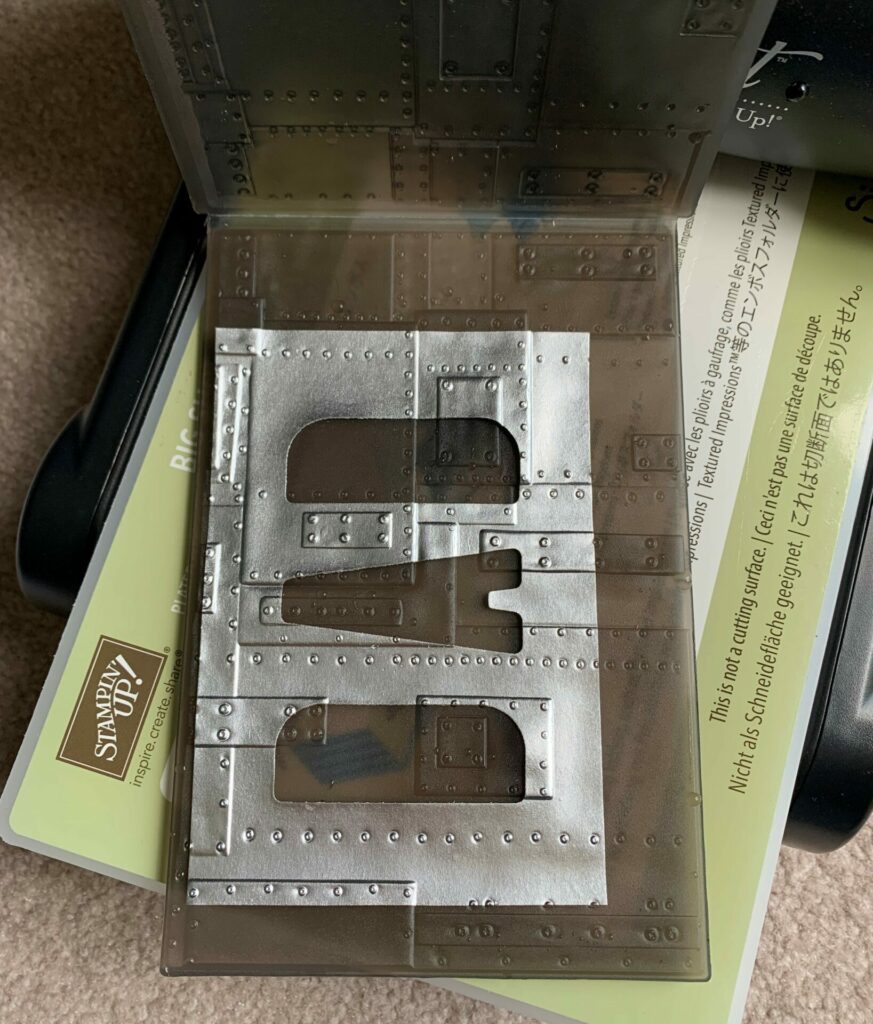
- Place the letter “A” die on the center of the silver kraft stock and adhere it down with washi tape.

- Next, position the letter “D” die to the right of the letter “A” die and tape it in place. (Use a t-square to make sure everything is lined up and square. Also I used the letter “I” for the spacing between letters.)
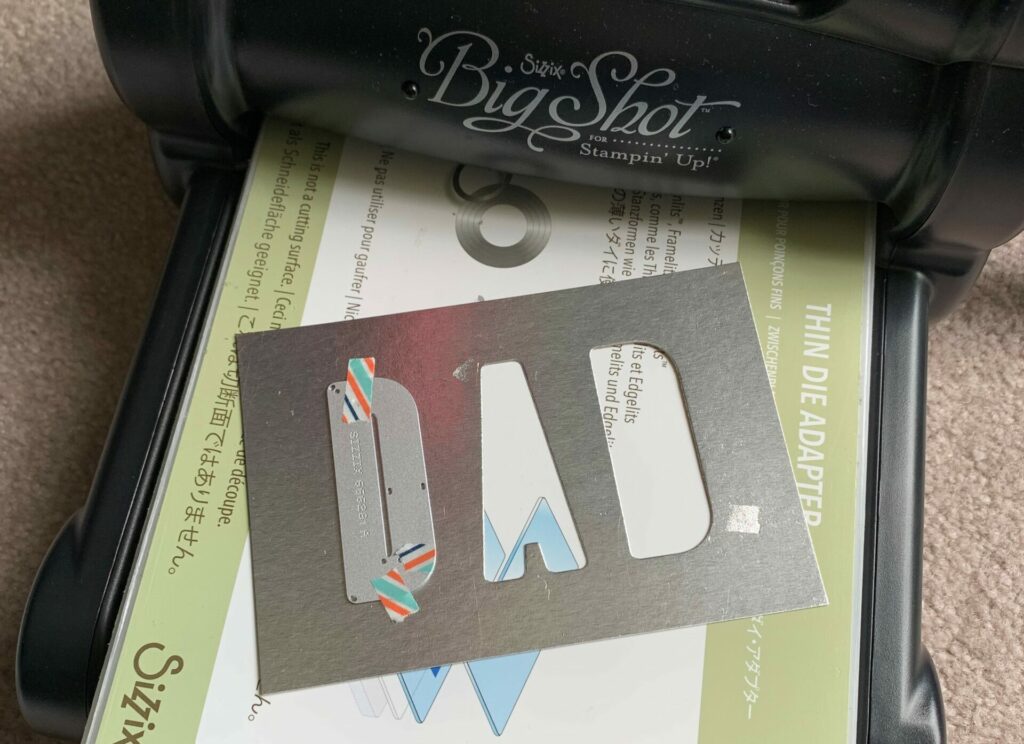
- Run it through the die cutting machine, remove the dies, and pop out the letters.
- Position the letter “D” to the left of the letter “A” and tape it down.
- Then, run it through the die cutting machine and pop out the die cut letter. (Don’t worry if the washi tape left an indentation. That will disappear when we emboss it later.)
3D Embossing Tips
Before we emboss, here are some tips for getting the best 3D embossing.
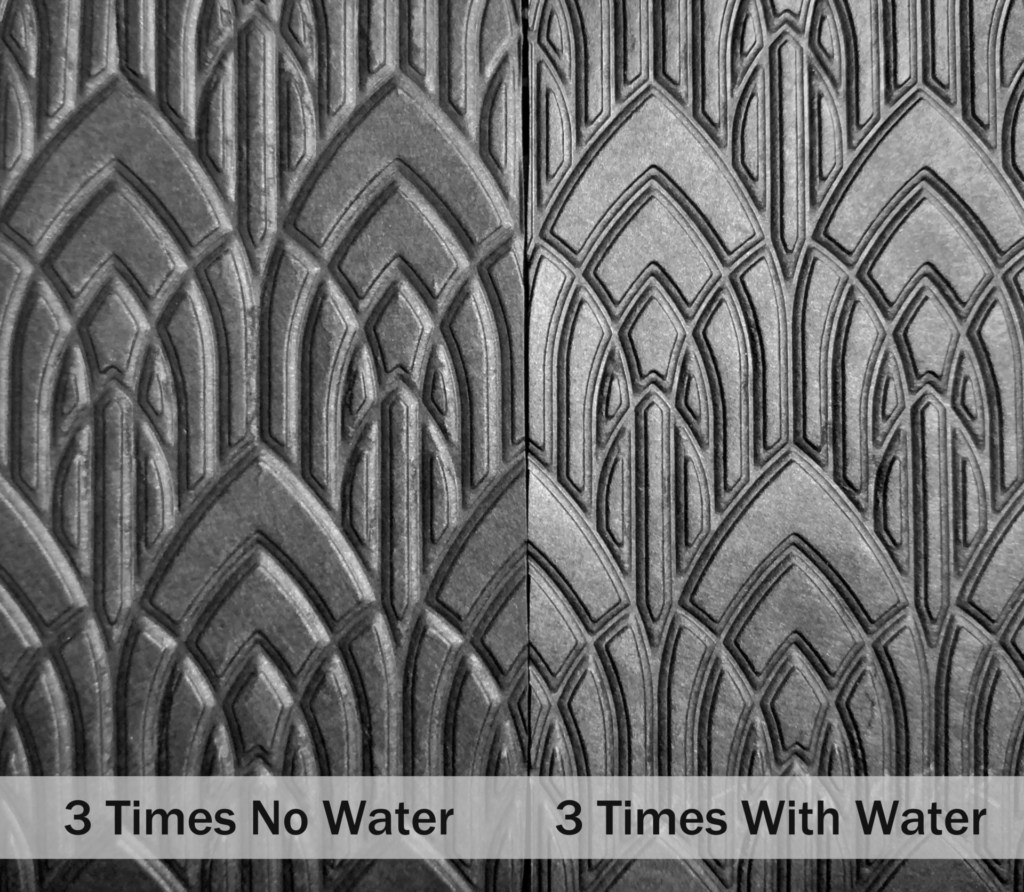
- Spritz the front and back of the paper with water before putting it into the 3D embossing folder. The water helps to soften the fibers of the paper so it doesn’t crack.
- Then, you’ll put the misted paper into the 3D embossing folder and run it through the Sizzix Big Shot/any die cutting machine 3 times. Remember, 3D = 3 times (it makes for a deeper and crisper impression.) See photo below for a side-by-side comparison.
However, each machine applies a different amount of pressure. Older machines tend to be well loved and will probably need the three passes. Newer machines don’t need as many passes. For instance, the Sizzix big shot foldaway machine applies a lot of pressure, and would only need one pass for a 3D embossing folder. The weight of your paper is also a contributing factor. The thinner the paper the less number of passes you’ll need to run it through. The heavier weight paper may need an extra pass through the machine.
I recommend doing some small test swatches to see how many passes is ideal for your machine with the different weights of paper that you will be using.
For more examples of why I recommend using the water spritz, check out my side-by-side photo comparisons in my Elegant & Simple Card tutorial.
Embossing The Metallic Kraft Stock
Next, it is time to emboss the metallic kraft stock. For this step you’ll need the following materials:
-
- Silver metallic “DAD” panel
- Foundry 3D embossing folder
- Spray bottle with water
- Die cutting machine
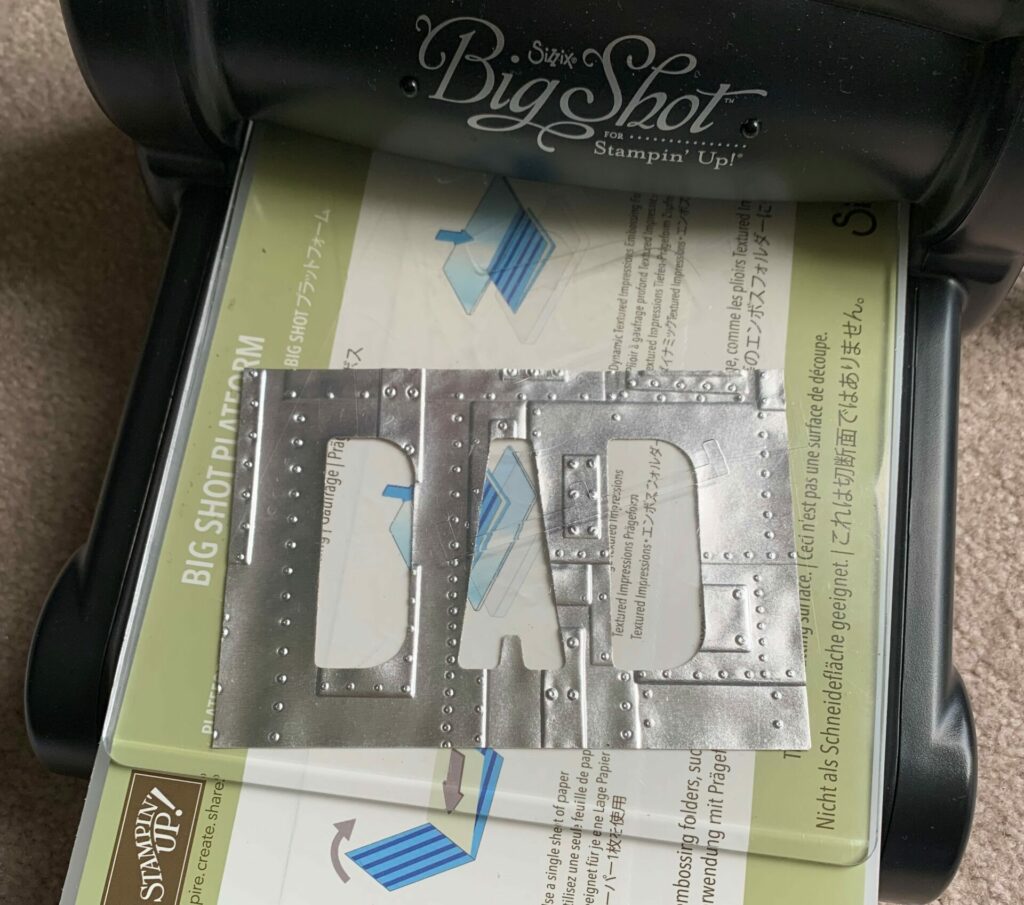
- Mist the back side of the silver metallic “DAD” panel with water.
- Place it in the foundry 3D embossing folder.
- Run it through your die cutting machine. I did three passes for mine.
- Remove the embossed panel from the folder and let it dry under a flat cutting pad.
Adding The Distress Crayon
Then, I added distress crayon to the silver “DAD” panel. For this step you’ll need the following materials:
-
- Silver embossed “DAD” panel
- Black soot distress crayon
- Wet paper towel
- Sheet of copy paper/scrap piece of paper to work on
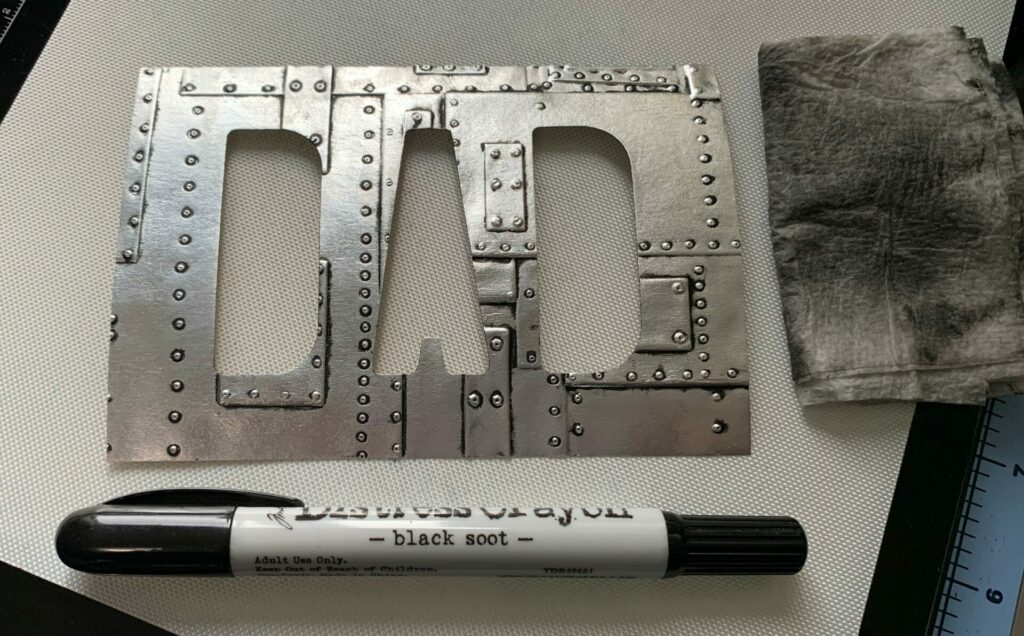
- Scribble the crayon along the rivet lines.
- Rub it in with your finger. You’ll want to work the crayon into all the lines and crevices.
- Take a wet paper towel (wring out most of the water) and gently rubbed it over the panel.
- Set it aside to dry.

Tips: The wet paper towel removes the crayon from all the high points of the paper. This gets a little messy and your fingers will get black, but don’t worry because it wipes right off with water. You’ll also want to move to a clean part of the paper towel once it becomes to black. If you end up rubbing off too much crayon, no big deal. Just add more crayon to that area, and repeat the process.
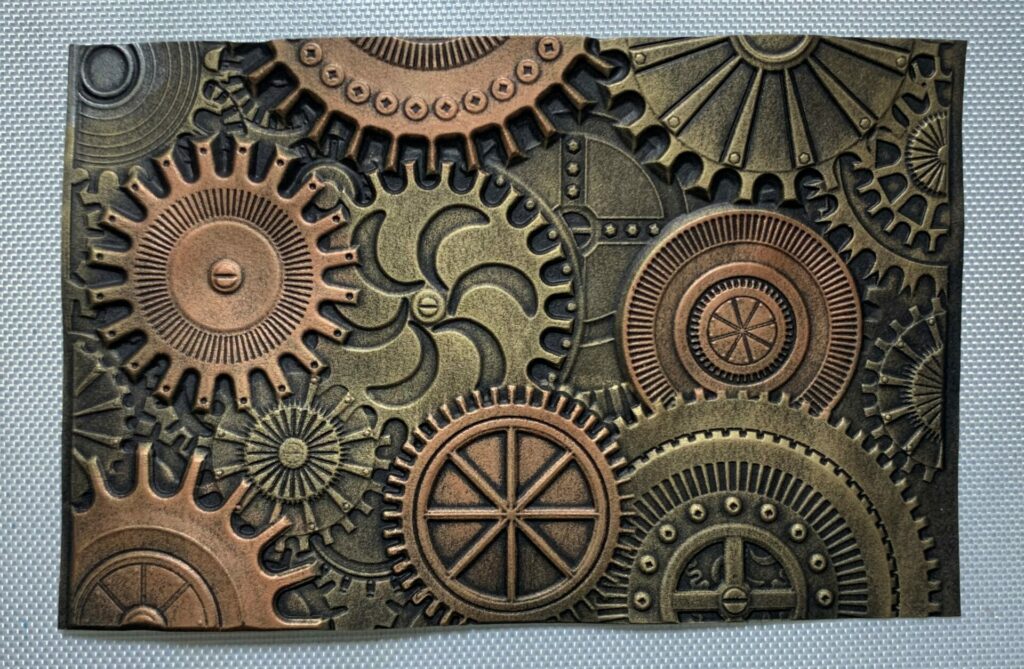
Embossing The Gears
Next, it is time to make the gears panel. For this step you’ll need the following materials:
-
- Black cardstock
- Paper trimmer
- Mechanics 3D mini embossing folder
- Spray bottle with water
- Die cutting machine
- Cut the black cardstock down to a size of 2¾” x 4¼” with the paper trimmer.
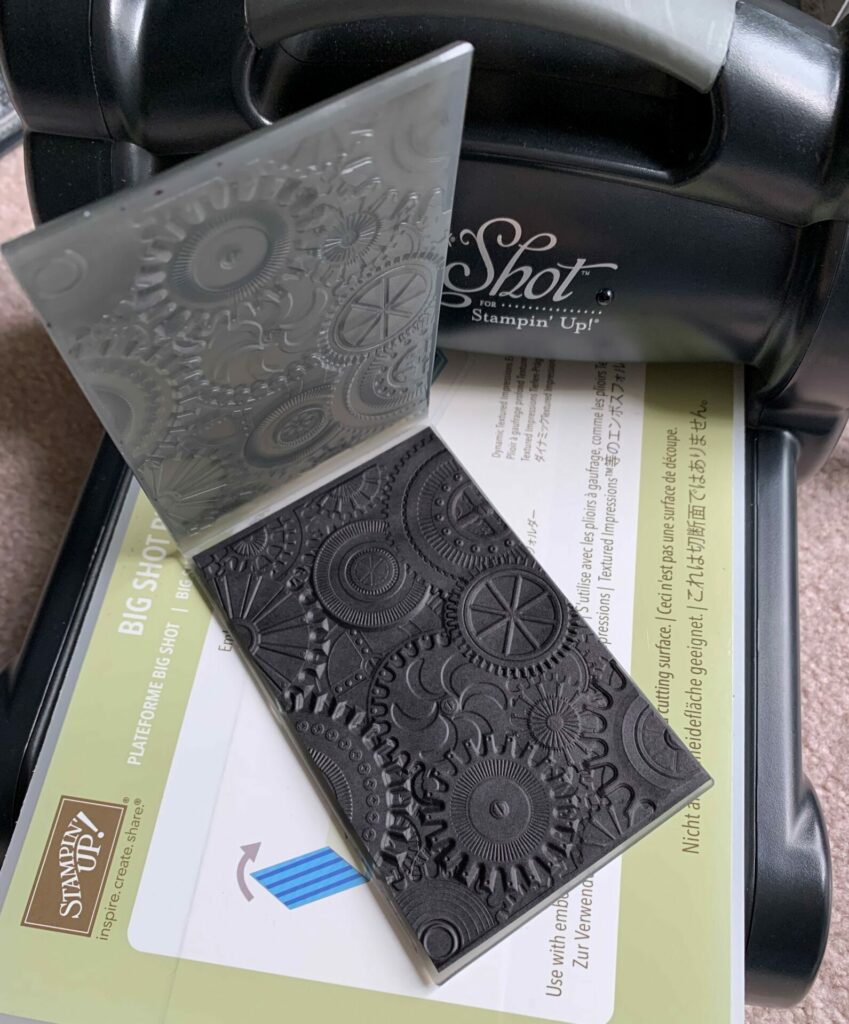
- Mist both sides of the cardstock with water.
- Place it in the mechanics mini 3D embossing folder.
- Run it through your die cutting machine. I did two passes for mine.
- Remove the embossed panel from the folder and let it dry under a flat cutting pad.
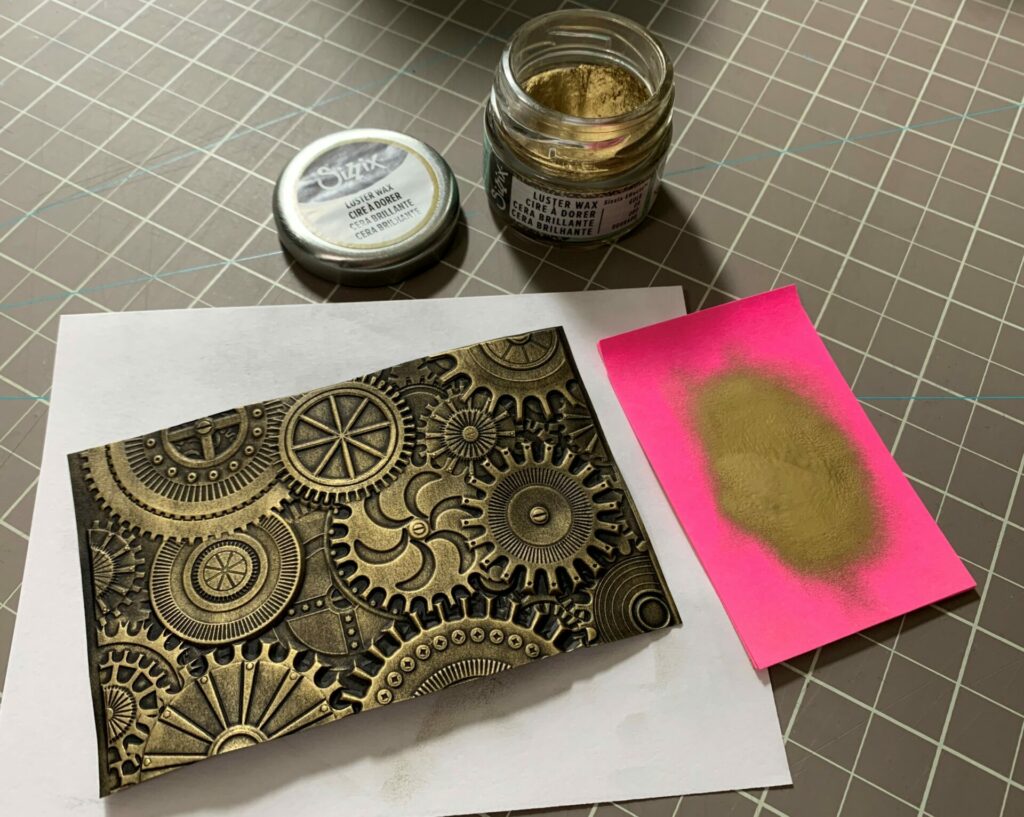
Applying The Luster Wax
Then, I added the gold and rose gold luster wax to the gears. For this part you’ll need the following materials:
-
- Embossed gears panel
- Luster wax in gold and rose gold
- post-it note
- scrap piece of paper to work on
Luster Wax Tips: Firstly, you’ll want to take a little bit of luster wax out of the jar with your finger tip and rub it onto the post-it note or scrap piece of paper. This removes some of the excess wax globs and will save you from ruining your project with hot spots of wax all in one area. It also makes for an even application of the luster wax. Then, rub the wax onto the high points of the embossed gears. Here you’ll want to use a light touch and take your time. Continue this process until all the gears are covered. When finished, wash the luster wax off your hands with soap and water.
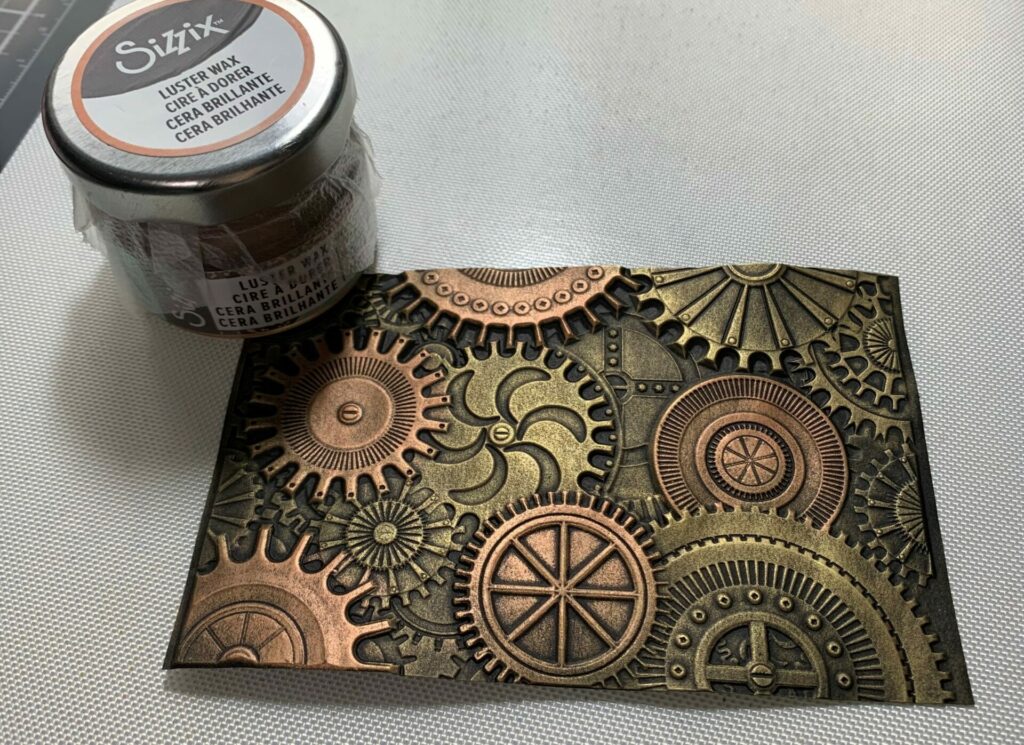
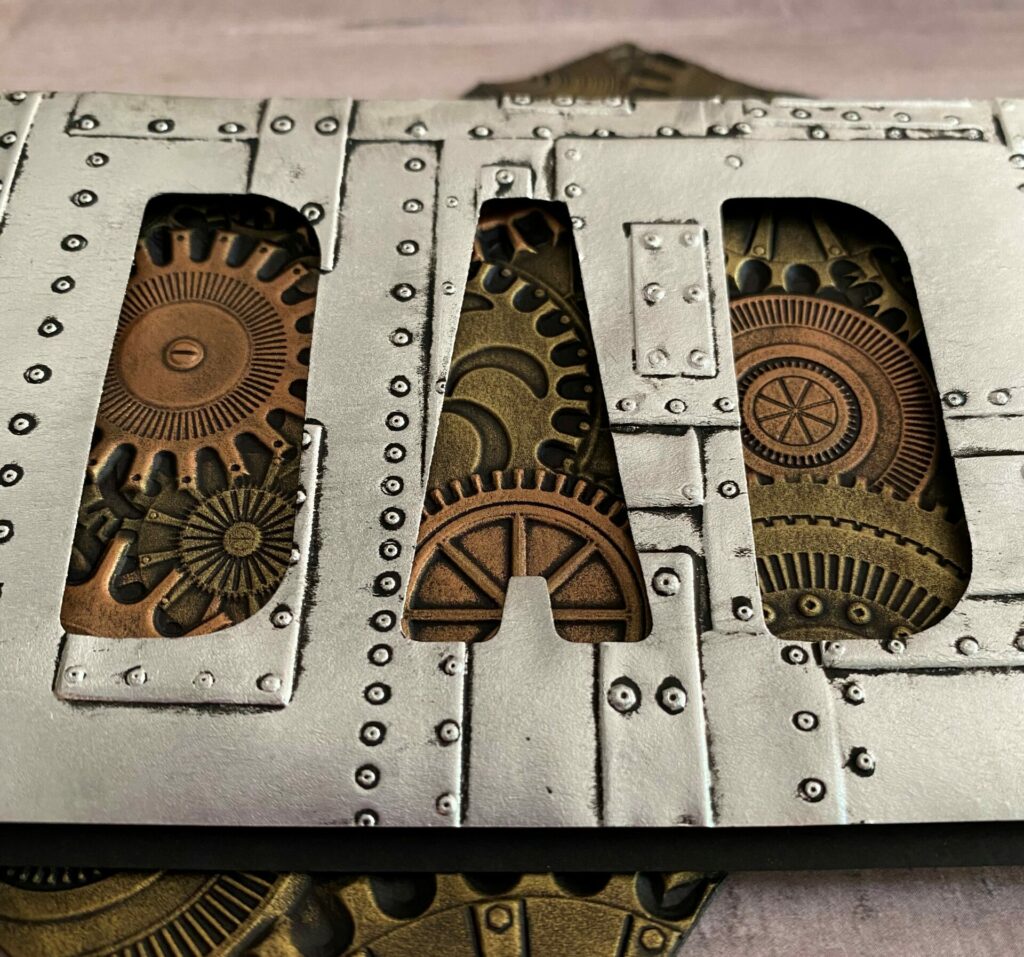
- Rub gold luster wax all over the gears panel.
- Add rose gold luster wax to some of the gears. See picture below.
- When finished, wash hands with soap and water.
Gluing It All Together
Lastly, all we need to do is glue it all together. For this step you’ll need the following materials:
-
- Black card base
- Gears panel
- Silver “DAD” panel
- Foam squares
- Glue
- Firstly, glue the gears panel to the front of the black card base centered equally on all sides.
- Then, set something heavy on top of it while the glue dries.
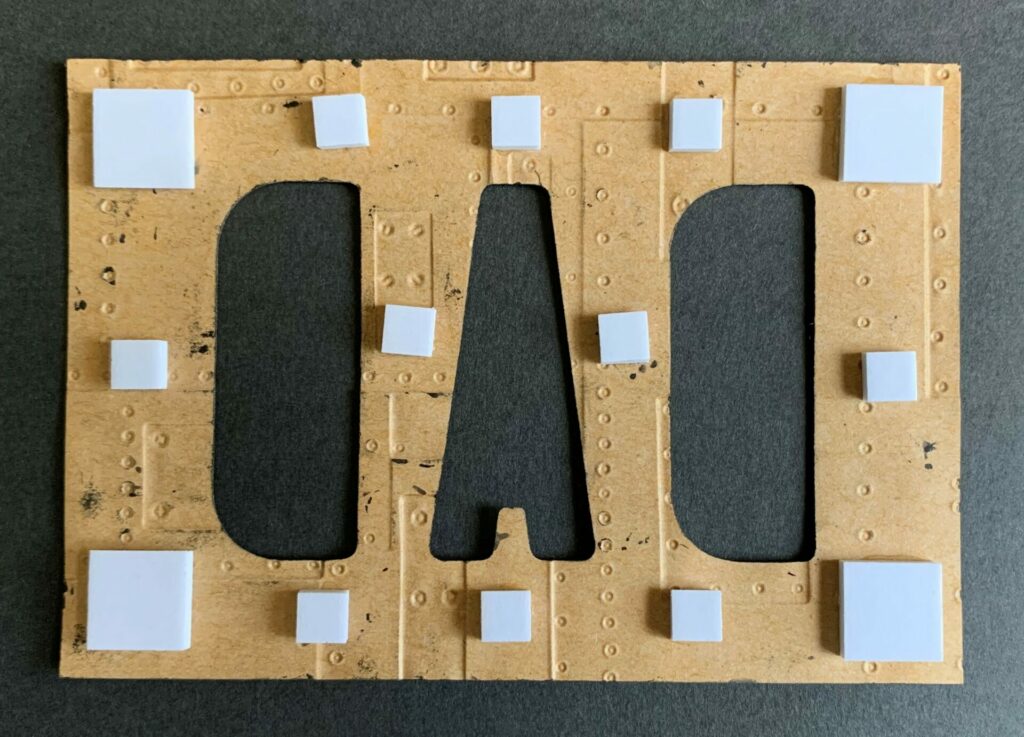
- Using some glue adhere foam squares to the back of the silver “DAD” panel.
- Remove the release paper from the squares and put a dot of glue on each square.
- Adhere the silver panel to the front of the gears card base, centering it equally on all sides.
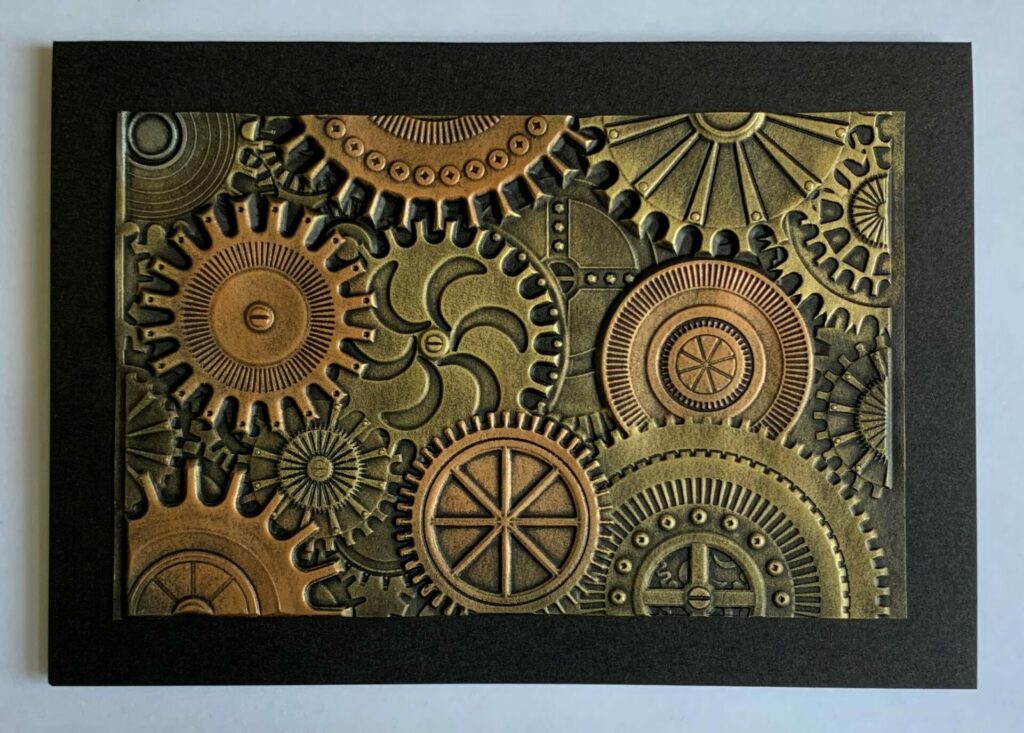
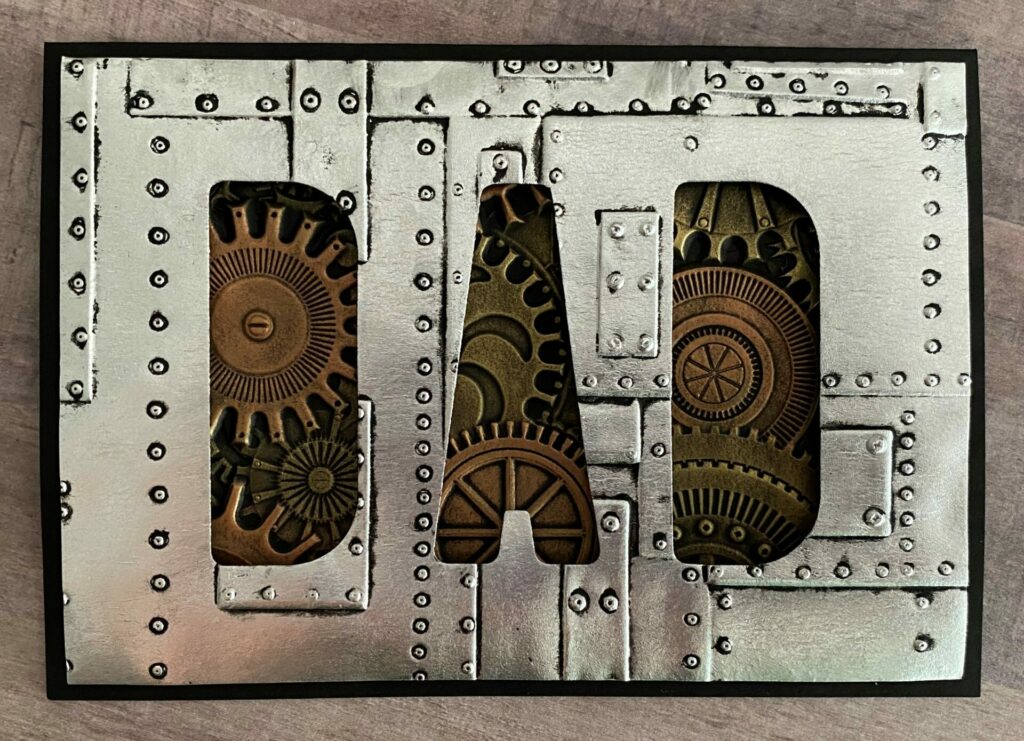
Your Gears Dad Card Is Now Complete!
Congratulations! You have now completed your gears dad card! I hope you enjoyed this tutorial and have as much fun making it as I did. If you do make this card, please use the #grovecrafted and tag me (@grovecrafted) on Instagram. I’d love to see what you’ve created! Thanks for stopping by and I hope you found some new inspiration to create.
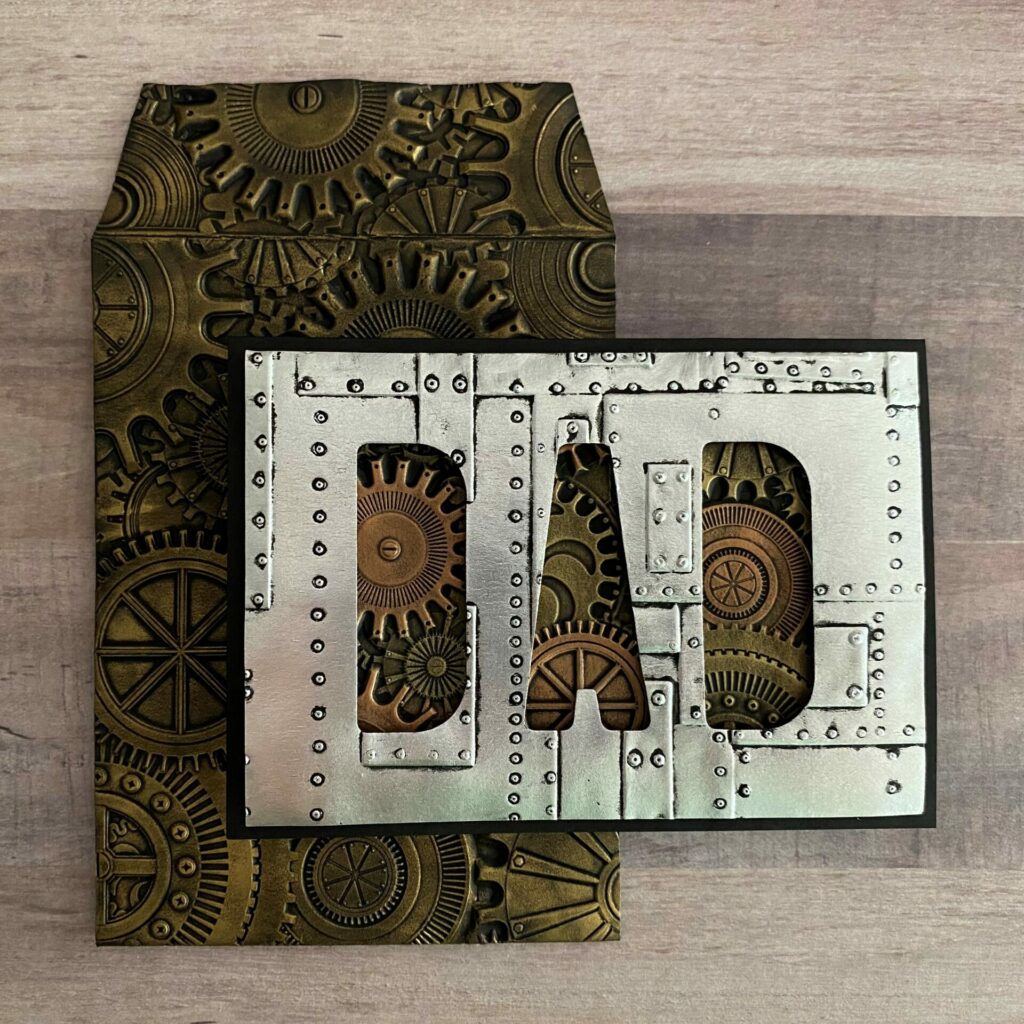

If your interested in making the matching envelope you might want to check out my Gears Embossed Envelope tutorial. It coordinates perfectly with the gears dad card that you just made.
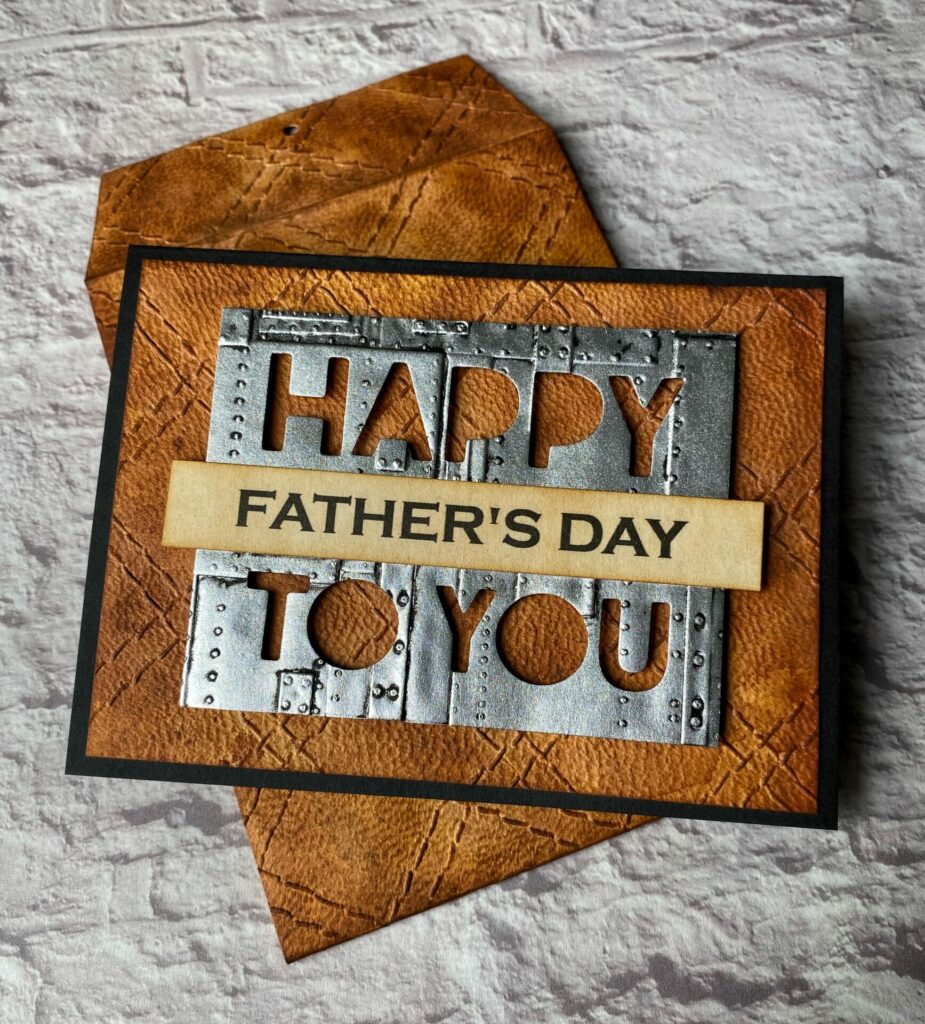
If you enjoyed making this Father’s Day card, I have another masculine card tutorial you might want to check out. It’s called the Quilted Leather Card. I can be for birthdays too.
Looking for more handmade masculine card options? Click here to see more.