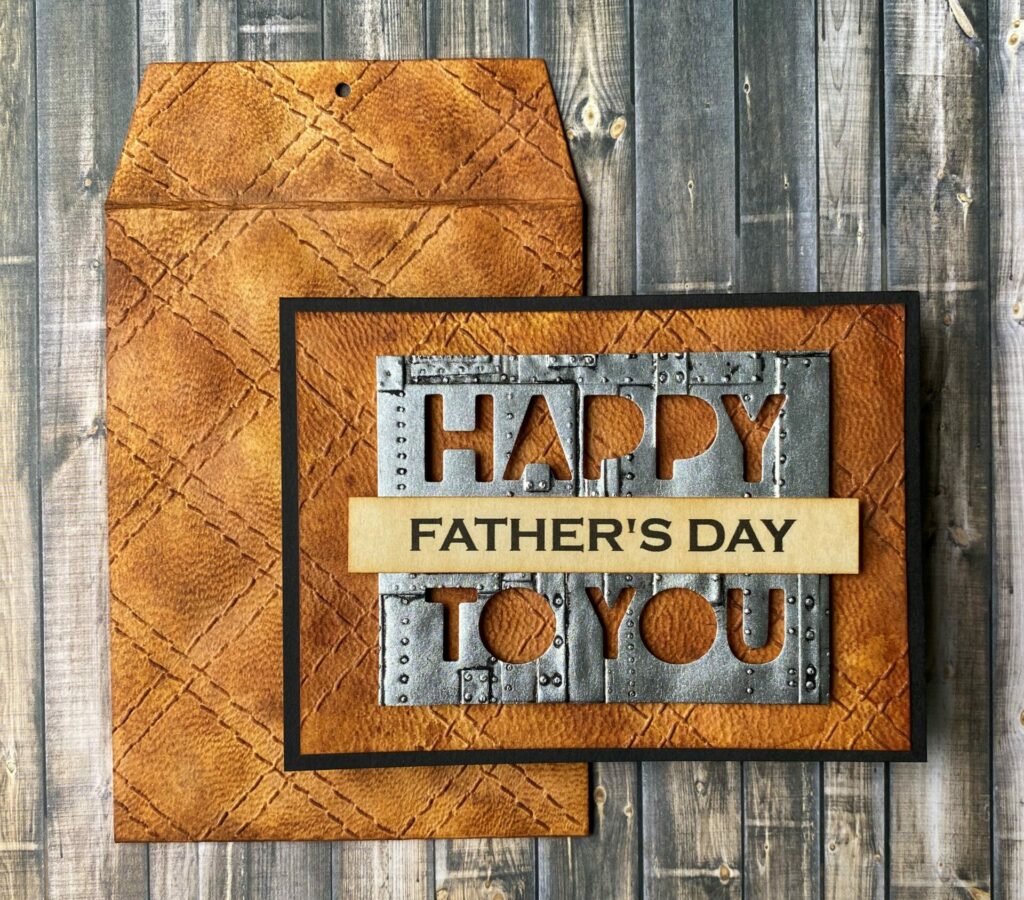
Quilted Leather Envelope
Hello crafty makers! Today I’m sharing how to make the 3D embossed quilted leather envelope. It’s perfect for adding texture and style to an otherwise plain and boring envelope. It will also take your handmade cards to the next level! This envelope coordinates perfectly with the quilted leather card. If you’re interested in the matching card, you can find the tutorial here. This envelope is for 4 bar sized cards. When assembled, the dimensions of the envelope are 5¼” x 4″. If you’re planning on sending these through the mail then I would recommend putting it into a larger envelope or a small mailer.
Link Abbreviations
- AMZ – Amazon*
- Sb.com – Scrapbook.com*
- SIZ – Sizzix*
- SSS – Simon Says Stamp
- RI – Ranger Ink*
- BA – Blick Art Materials*
Full Disclosure: This post contains affiliate links which are indicated with an (*). If you click on an affiliate link and later make a purchase, I may receive a small commission. Clicking on an affiliate link which earns a commission does NOT result in additional charges to you or cost you anything extra. Money earned via affiliate links helps pay the fees to keep this blog up and running. Thank you so much for shopping through my links to show your support for the brands that we love and the products that I share!
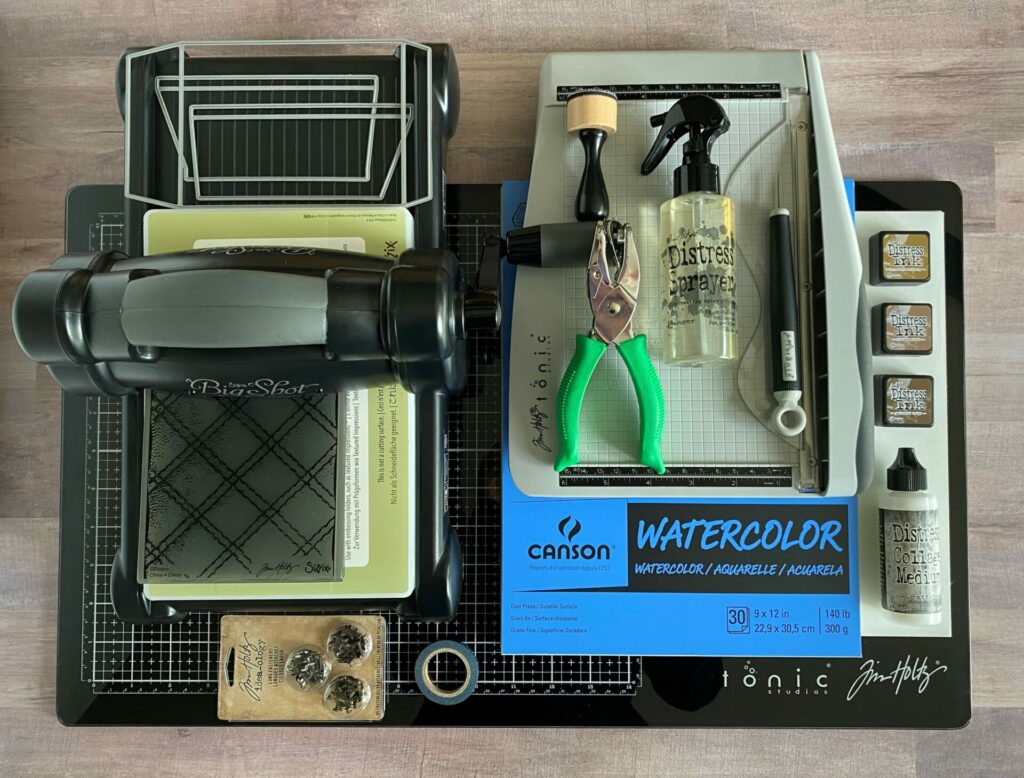
Supplies Used / Substitutions:
- Simon Says Stamp 4 Bar Square Flap Envelope Die – SSSD112115 | SSS |
- Sizzix Tim Holtz 3D Embossing Folder – Quilted #665734 | Sb.com | SIZ | AMZ | SSS / Any embossing folder
- Canson XL 140lb Watercolor Paper – Cold Press | BA | AMZ / Any watercolor paper
- Ranger Tim Holtz Distress Ink / Any colors of distress ink
- Sizzix Big Shot | SIZ / Any die cutting machine
- Tim Holtz Glass Media Mat | Sb.com | AMZ | SSS / Non-stick craft sheet
- Tim Holtz Tonic Guillotine Comfort Paper Trimmer | Sb.com | AMZ | RI | SSS / Any paper trimmer
- Distress Collage Medium – Matte | Sb.com | RI / Any liquid adhesive
- Distress Sprayer with water | Sb.com | RI / Any spray bottle with water
- Master’s Touch Soft Taklon Filbert Paint Brush – #6 / Any watercolor brush
- Tim Holtz Tonic Studios Retractable Craft Pick | Sb.com | SSS | AMZ |
- Circle Hole Punch – 1/8″ | HL | SSS / Any small hole punch
- Idea-ology Long Fasteners Brads – TH92703 | Sb.com | SSS / Any small flat head brads
- Ranger Mini Round Ink Blending Tool & Foam | Sb.com | RI | AMZ | SSS |
- Washi Tape / Low tact tape
- Mechanical Pencil | AMZ / Any pencil
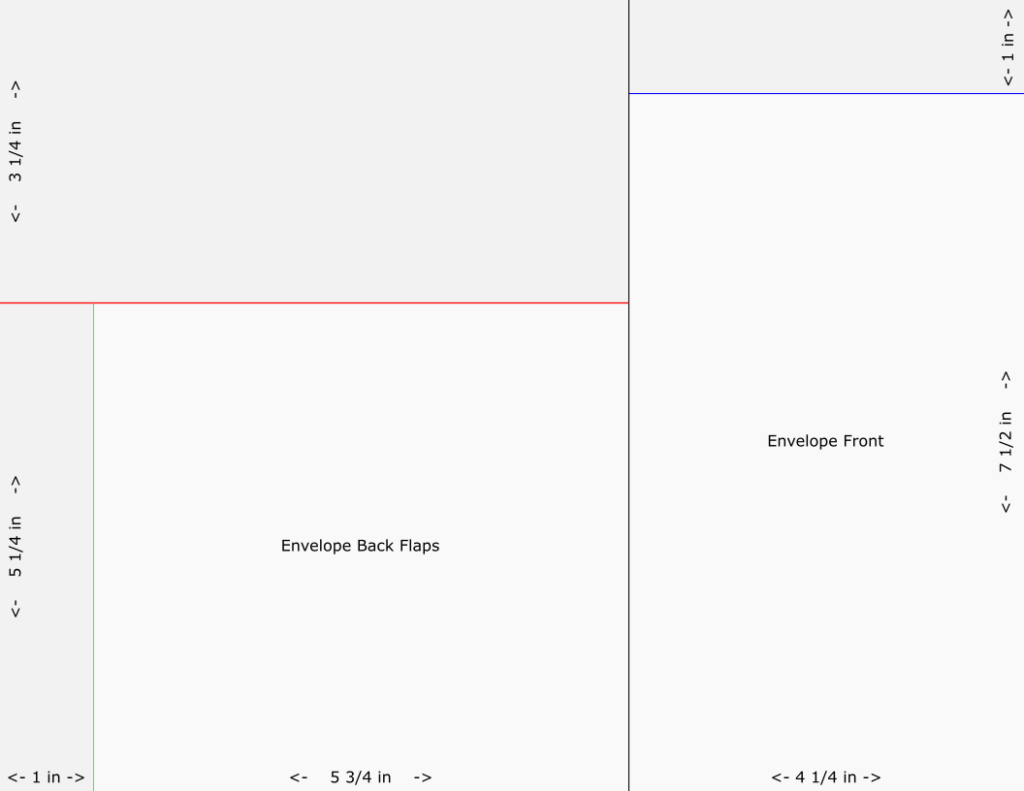
Trimming The Watercolor Paper
Firstly, I trimmed the watercolor paper down to be a little bigger than the envelope dies. For this, I used my trusty paper trimmer by Tim Holtz. To start, I put my paper in the paper trimmer and cut at the 4¼” mark (black line). Then, I took that piece, turned it, and cut off a 1″ strip (blue line). This will be for the envelope front. Next, I took the other half of the paper, turned it, put it into the trimmer and cut it at the 5¼” mark (red line). Then, I took that piece, turned it, and cut off a 1″ strip (green line). See below for reference. This will be for the back flaps of the envelope. You can cut this piece apart or leave it whole. I cut mine apart, that’s why you’ll see me inking three pieces of paper in the next step.
Inking The Watercolor Paper
Now it’s time to get a little inky. Firstly, you’ll need the watercolor paper you just cut, distress inks, spray bottle with water, and a glass media mat/non-stick craft sheet. The shades of distress ink I used were brushed corduroy, vintage photo, & gathered twigs.
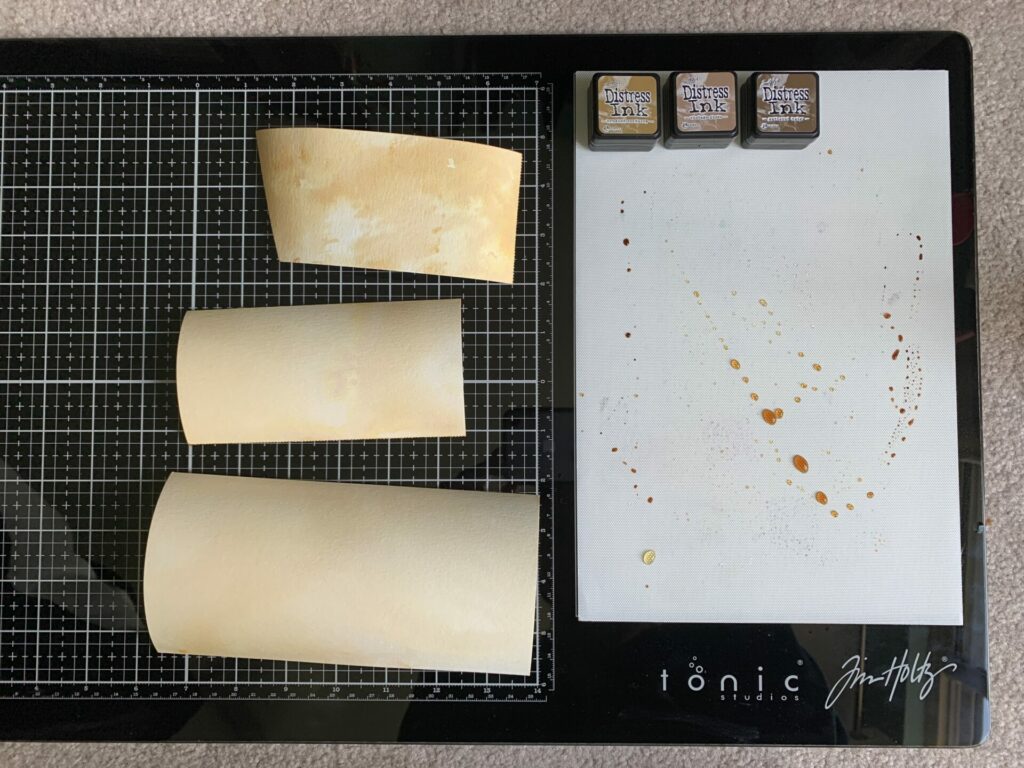
To start, I pressed all three brown shades of distress ink pads onto my craft sheet. Next, I spritzed the inks on the craft sheet with water and ran my fingertips through the ink droplets. I do this to brake up the straight harsh lines created by the square ink cubes. I misted my watercolor paper with water and made a print. To do this I press and drag the paper through the ink. You can dry each layer with a heat tool or you can just let it air dry. If you want to use a heat tool, then I would recommend the *Heat It Craft Tool by Ranger (linked United States version).

I repeated the inking process a couple more times until I achieved the look that I wanted. In all, I did about three to four layers. Then, I let the inked background dry.
Die Cutting The Envelope
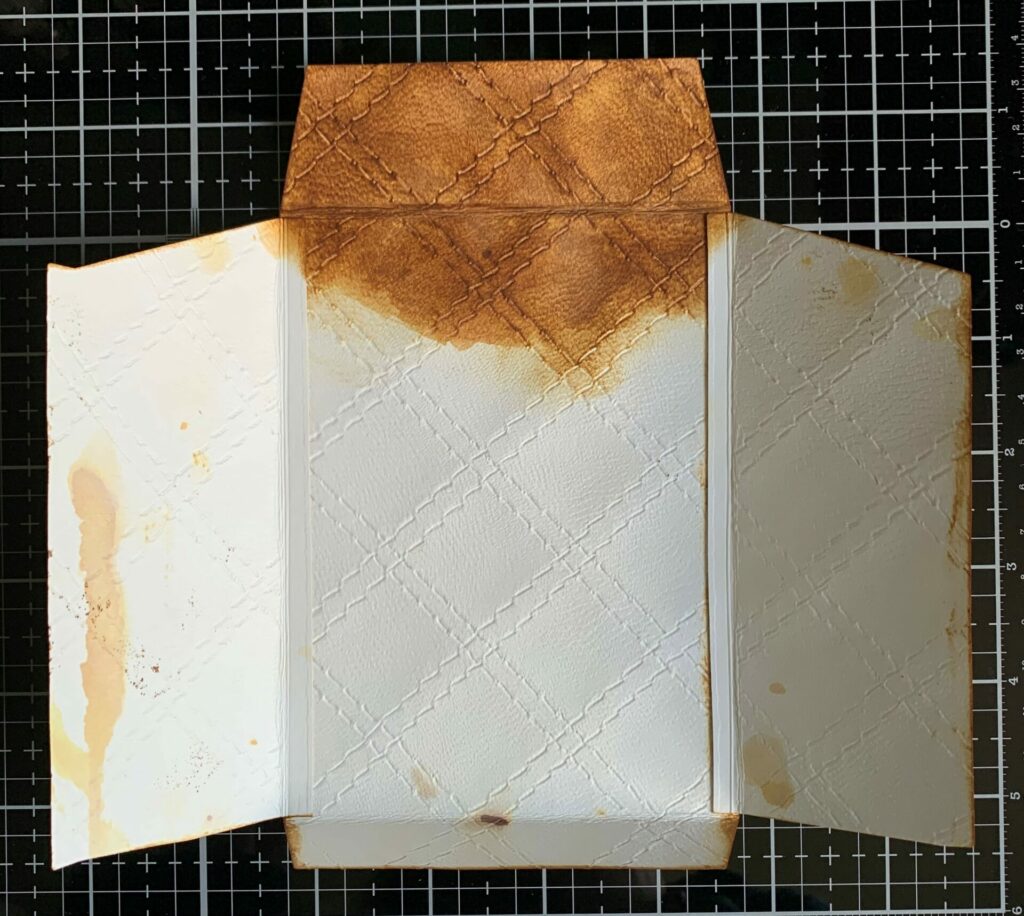
When it was fully dry, I took my washi tape and taped the envelope dies to the inked paper. The die I used is the Simon Says Stamp 4 bar square flap envelope die. Then, I ran them through the Sizzix Big Shot. Next, I popped them out of the dies and creased down the scored fold lines.
3D Embossing Tips
Before we emboss, here are some tips for getting the best 3D embossing. You’ll want to spritz the back of the inked paper with water and put it into the 3D embossing folder. You only want to spray the back of the paper because the distress inks are water reactive. This means the water will remove some of the ink and ruin the inking that was done in the previous step. The water helps soften the fibers of the paper so it doesn’t crack. For more examples of why I recommend using the water spritz, check out my side-by-side photo comparisons in my Elegant & Simple Card tutorial.
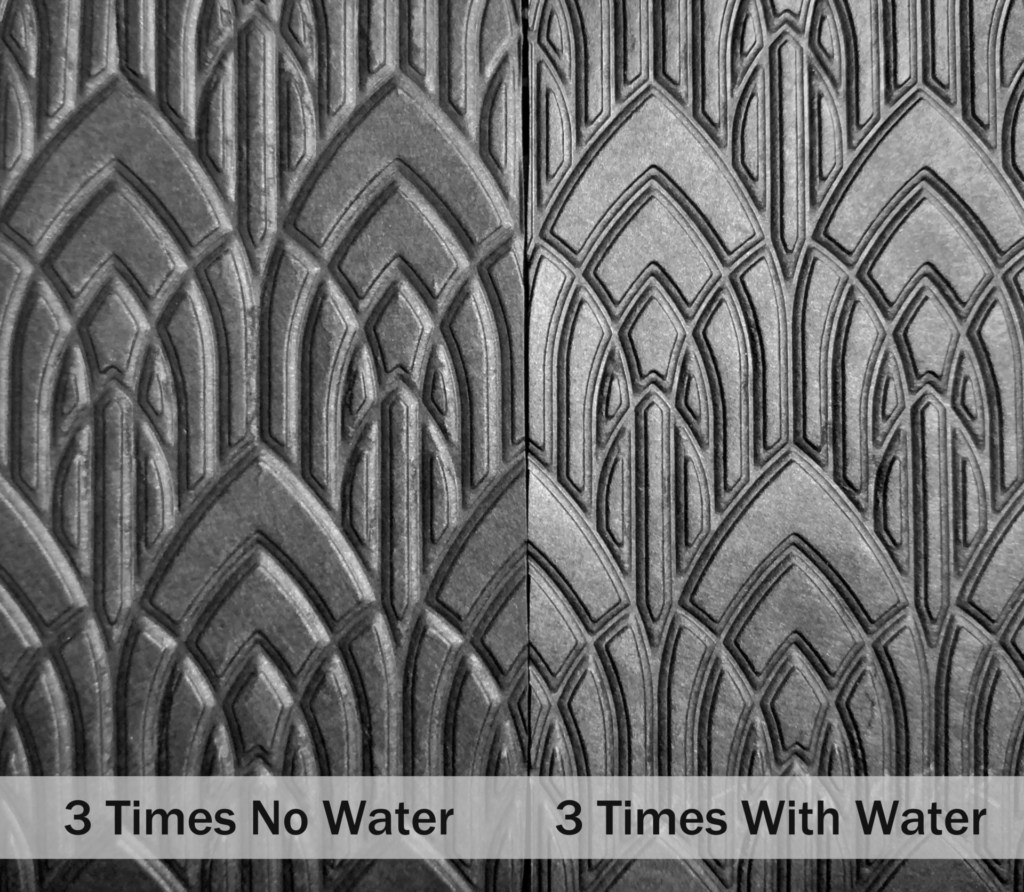
Then, you’ll run it through the Sizzix Big Shot three times. Remember, 3D = 3 times (it makes for a deeper and crisper impression.) See photo above for a side-by-side comparison. However, each machine applies a different amount of pressure. So I recommend doing some small test swatches to see how many passes is ideal for your machine. Next, you’ll removed it from the 3D embossing folder and set it aside to dry. I also set something light on top of it to ensure that it dried flat. I used my clear cutting pad.
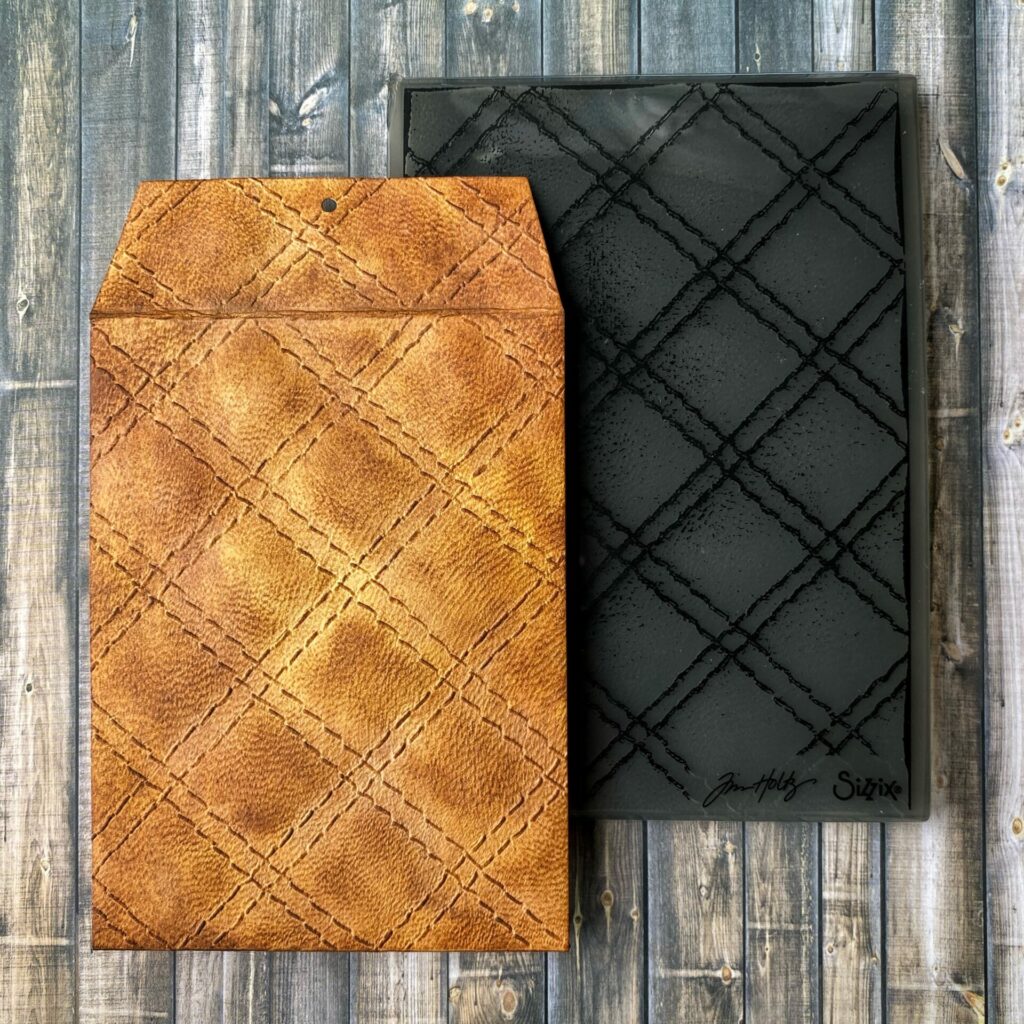
Embossing The Envelope Front
Next, I took the die cut for the front of the envelope and misted the back side with water. Then, I placed it into the Sizzix Quilted 3D embossing folder and aligned the flap fold line along the bottom of the embossing folder. (Paper placement pictured below.) I closed the folder and ran it through the Sizzix Big Shot three times.
*Sorry I didn’t take as many photos as I should have for this tutorial. So there will be some photo examples using different embossing folders and paper.
After embossing the score lines might get lost. So what I do is line the die cut back up with the die and mark on the back where the scoreline is. Then, I used my Tim Holtz acrylic block and line the scoreline marks up with the edge of the block. I press the paper up against the edge of the block and then reinforce the fold with my fingers. I also set something light on top of it to ensure that it dries flat. For this I used my clear cutting pad.
Embossing The Envelope Flap
When it had dried, I misted the back side of the flap with water and positioned it into the folder. I aligned the fold line with the bottom edge of the embossing folder and ran it through the Sizzix Big Shot three times (see image below for paper placement reference). Then, I reinforced the fold and set my clear cutting pad on it and left it to dry.
Embossing The Envelope Back Flaps
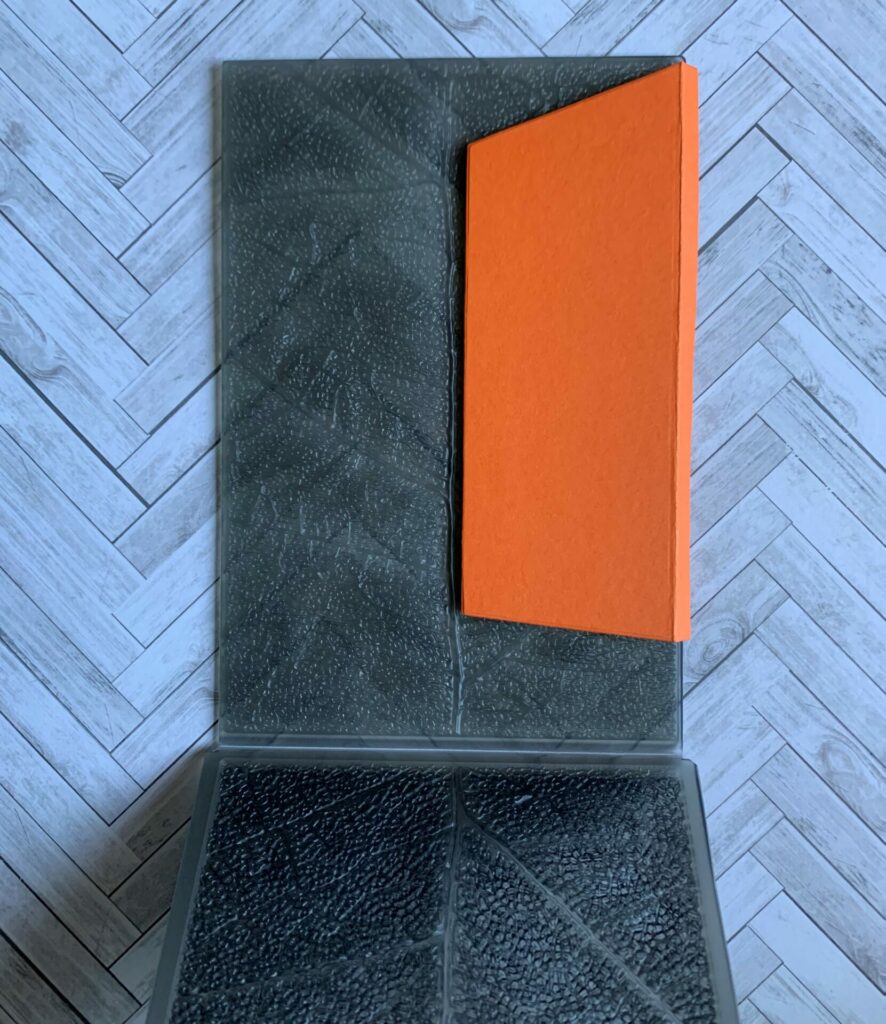
Next, it was time to emboss the back flaps of the envelope. I embossed one flap at a time. Firstly, I took the right flap misted the back side of the paper with water and placed it in the embossing folder. I aligned the folded score line up with the right edge of the embossing folder. (See photo below for exact paper placement reference.) Then, I closed the embossing folder and ran it through the Sizzix Big Shot three times. Next, I removed it from the folder, reinforced the fold, and set it aside to dry. I also set something light (clear cutting pad) on top of it to ensure that it dried flat.
After that, I followed the exact same process with the left flap. I misted the back of it with water and aligned the folded score line up with the left edge of the embossing folder. Then, I ran it through the Sizzix Big Shot three times, reinforced the fold, and set it aside to dry.
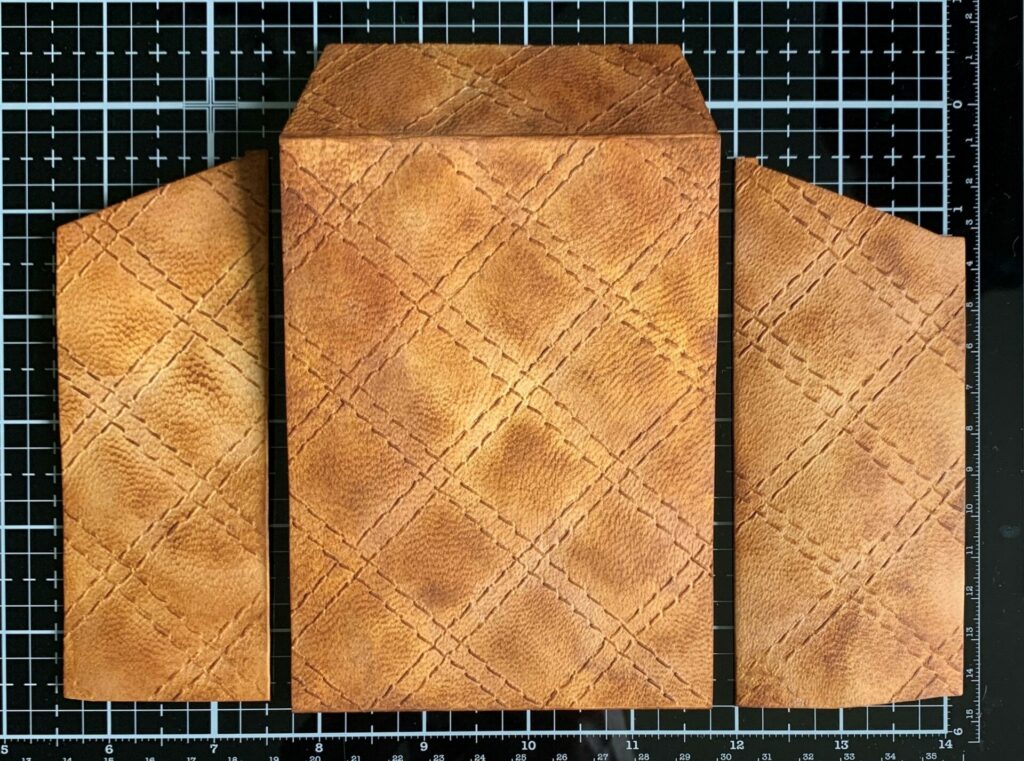
Trimming The Back Flaps
Next, when the back flaps were flat and dry, I trimmed off a bit from the bottom of each flap. For this, I lined up the left flap to the left side of the envelope front, made a small mark with a pencil on the flap, and trimmed it off with the paper trimmer. Then, I did the same thing with the right flap.
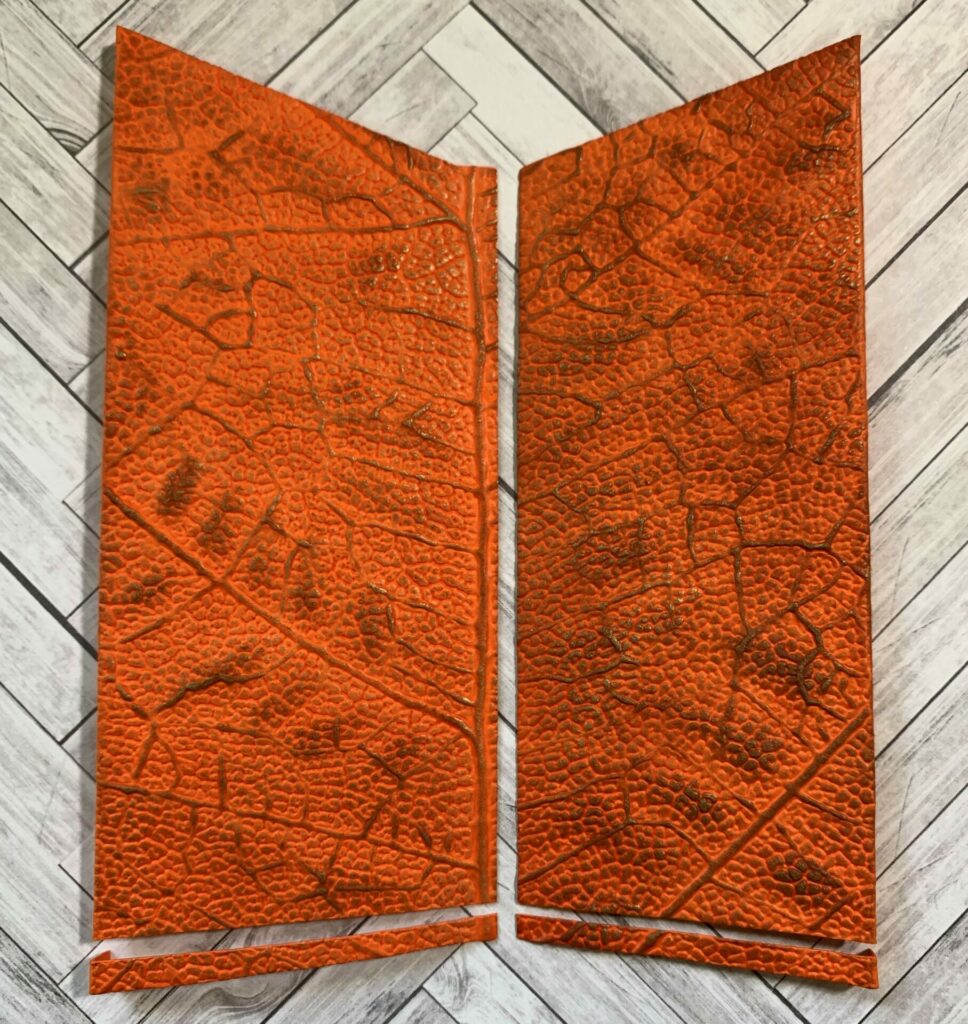
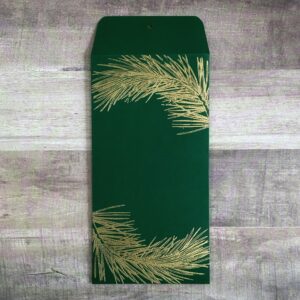
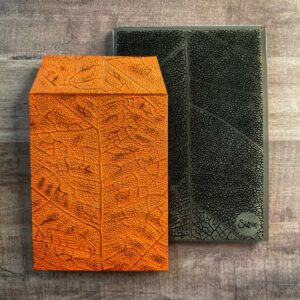
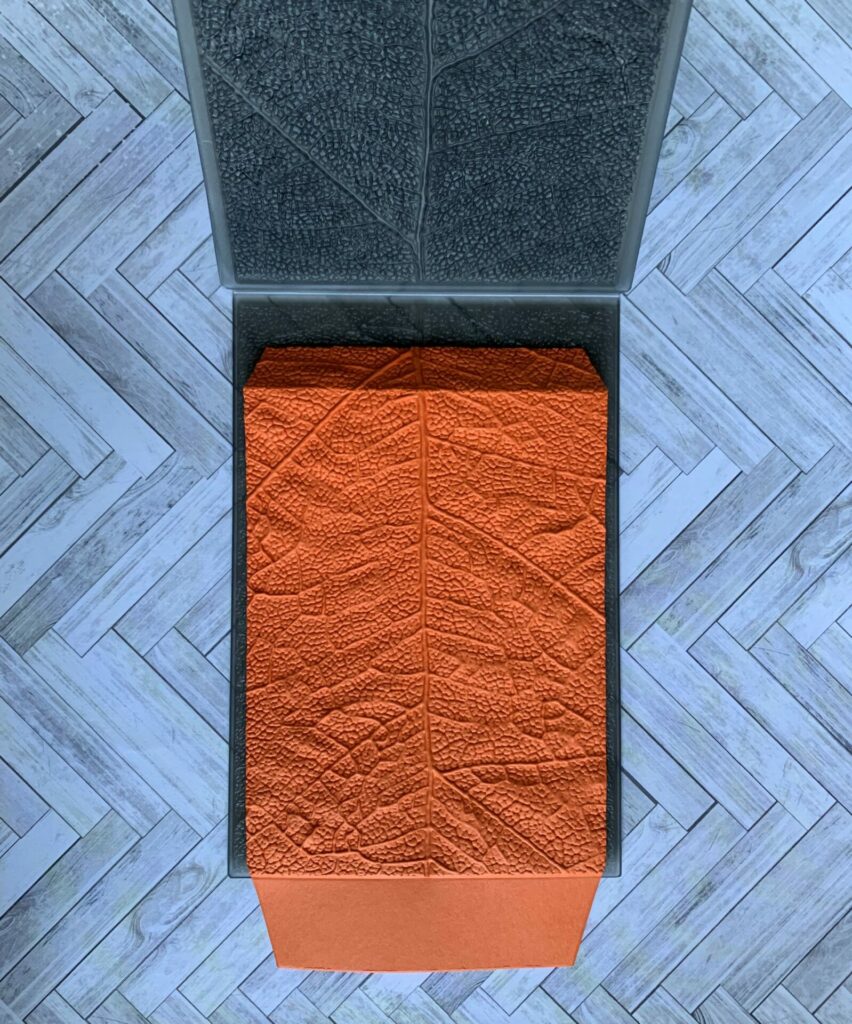
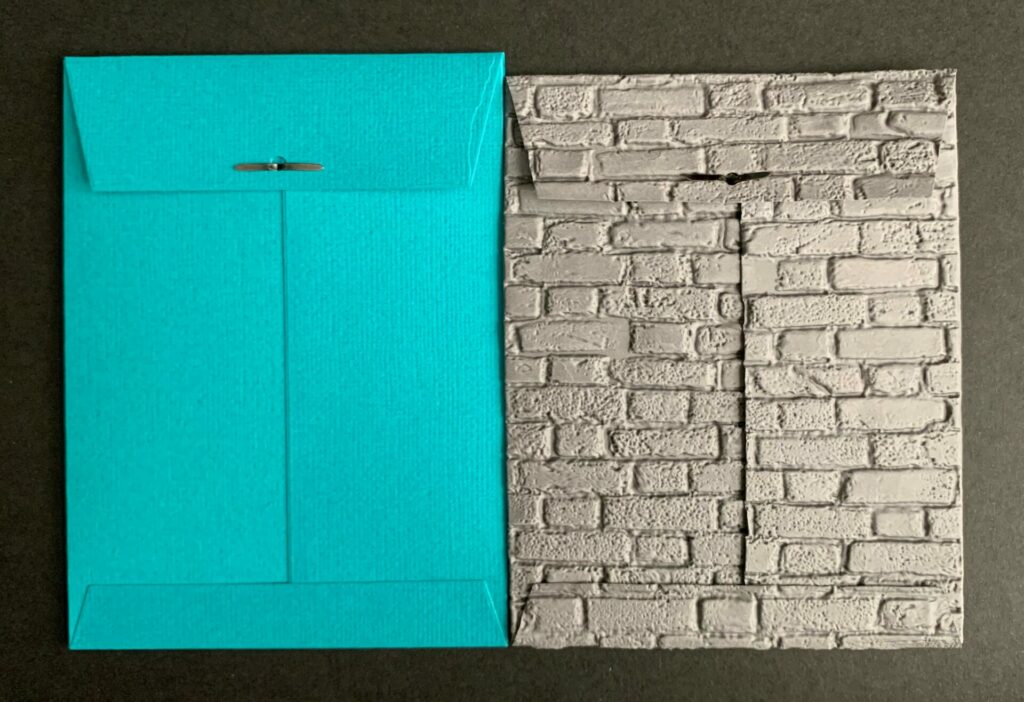
This is because when you emboss, the paper gets pushed into all the nooks and crannies of the embossing folder and in the process you loose some length of you envelope. You can see from the image below the difference between a plain envelope, (left side) and one that used a deeper embossing folder (right side). The brickwork embossed envelope is a quarter of an inch shorter than the plain envelope.
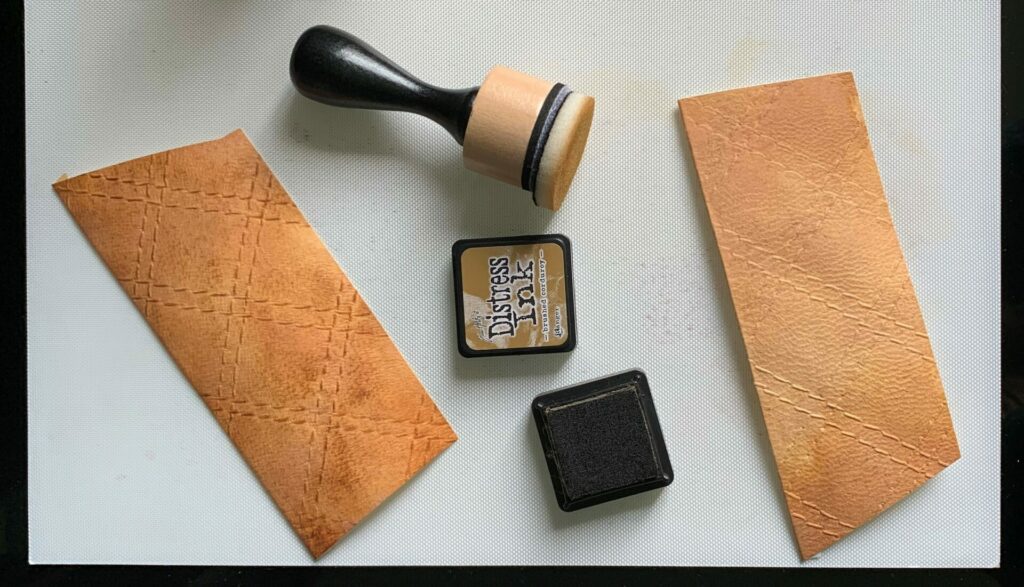
Applying The Distress Ink
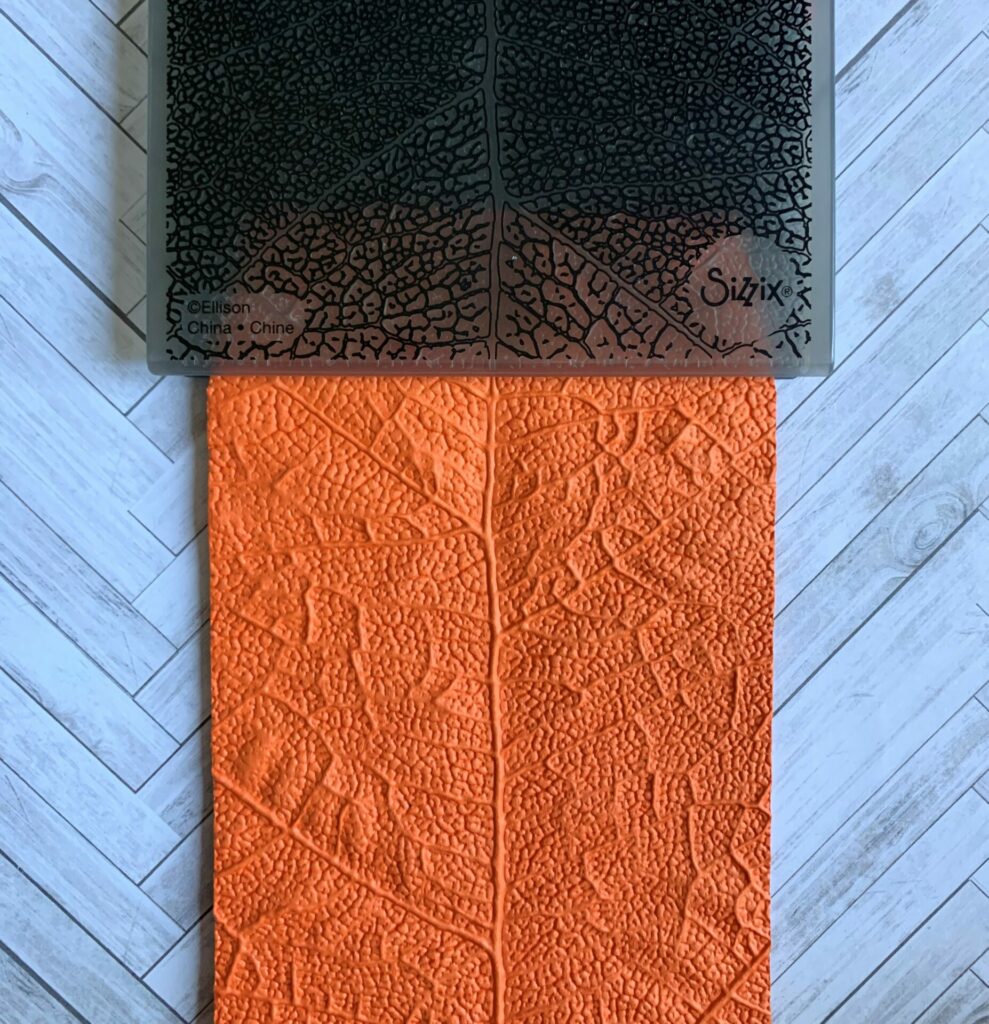
Then, I took the embossed envelope pieces and added some ink to the raised areas. For this I used a blending tool with foam and rubbed distress ink in the shade Brushed Corduroy on all the high points of the quilted leather. Try to do this with a lighter hand. You can add as much ink or as little ink as you like. Below is a comparison on how it looked before adding the ink (right side) and after applying one layer of ink (left side). I think this little step really brings out the stitching and texture of the leather and makes it look more realistic.
Next, I used the blending foam and inked all the edges of the envelope with the Brushed Corduroy. This covers up the white core of the watercolor paper and makes the envelope look more finished.
Gluing The Back Flaps
Then, I glued the back flaps to the front embossed panel of the envelope. For this, my glue of choice is distress collage medium. It’s really strong, it shrinks when it dries, and it’s matte. But you can use whatever liquid adhesive you want. Again, I like to work one flap at a time. To do this I applied glue to the inked side of the skinny scored strip of the flap, and lined it up to the back edge of the envelope front panel. I pinched it together with my fingers and held it closed for about a minute. Then, I put my big shot platform on top of it and let it dry. When it had dried, I glued the other flap on following the same process.

Inking The Inside
Next, I inked the inside of the envelope only where it would show when it was open. To do this I used a brush, distress ink in the shade Brushed Corduroy, and some water. I brushed on a couple layers of ink just to get some ink on the paper and let it dry. Then, I used the blending foam and added more Brushed Corduroy until the color saturation matched the outside of the envelope.
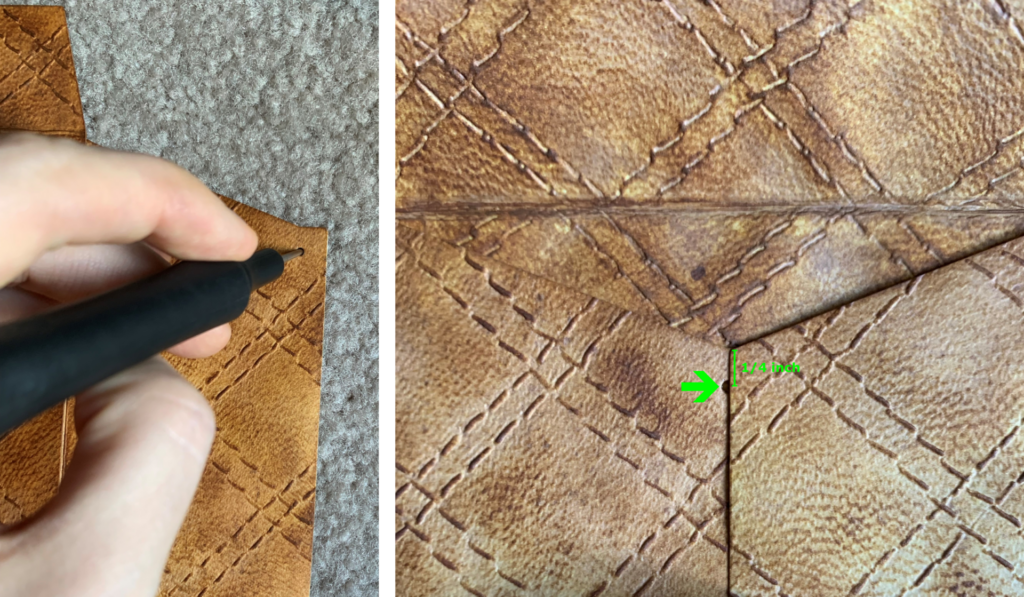
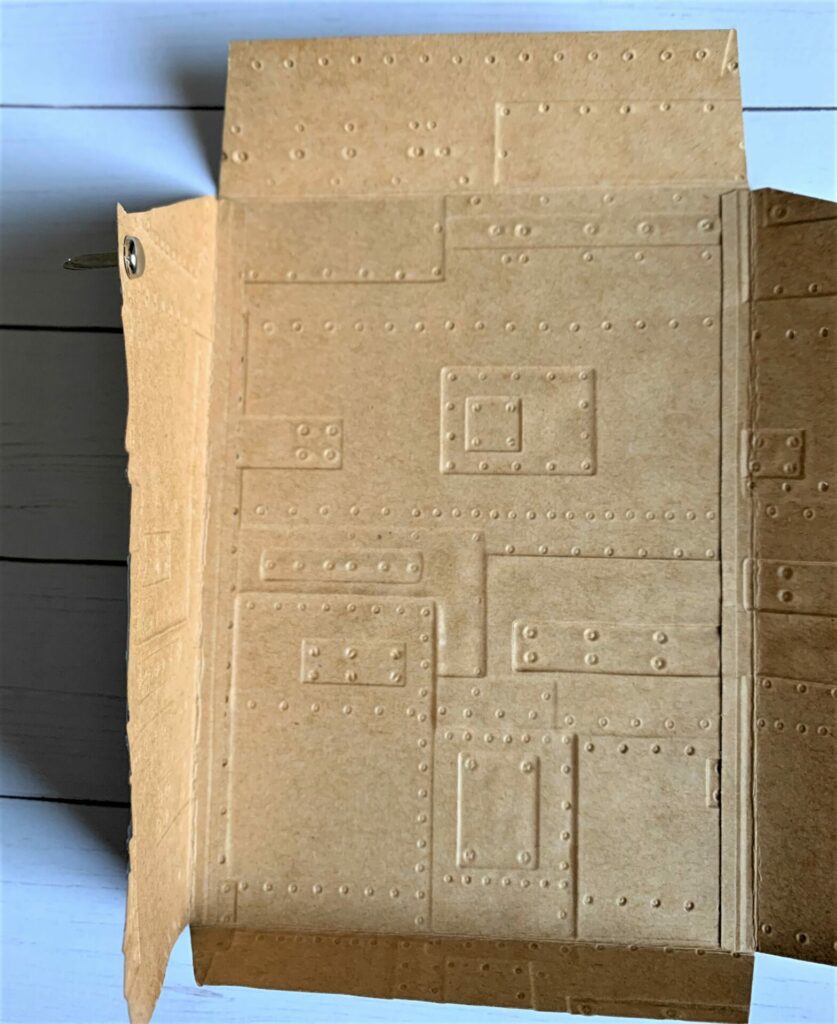
Making The Brad Hole
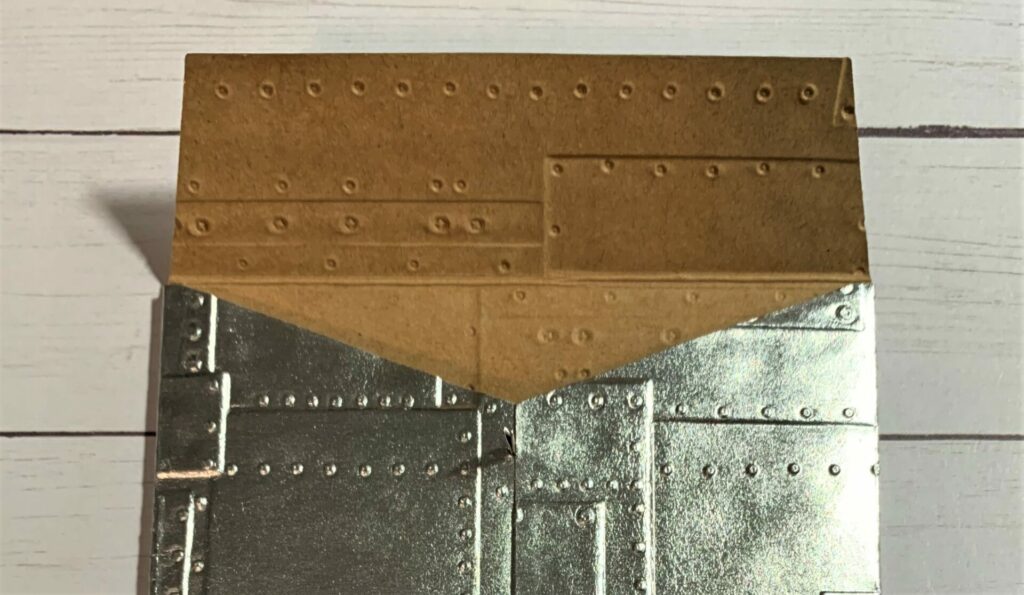
Firstly, fold in the envelope flaps with the right flap on top. Then, where the flaps meet in the middle, measure down a quarter of an inch, and make a small pencil mark. Next, take the retractable craft pick and puncture a hole through the paper where the pencil mark is. You can do this over a piece of foam or over the carpet (that’s what I did). See photos below.
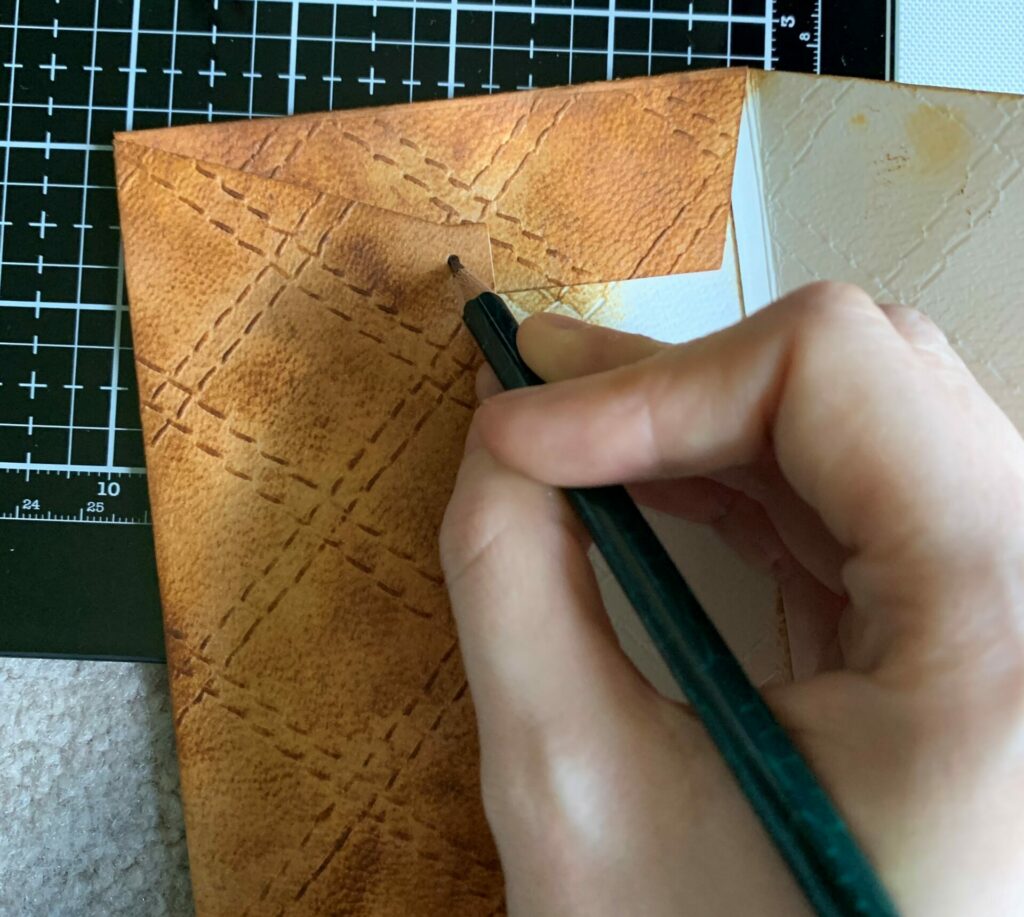
Next, I folded the top flap down, and then the left flap down over it. Then, I took my pencil and traced the small hole onto the top flap.
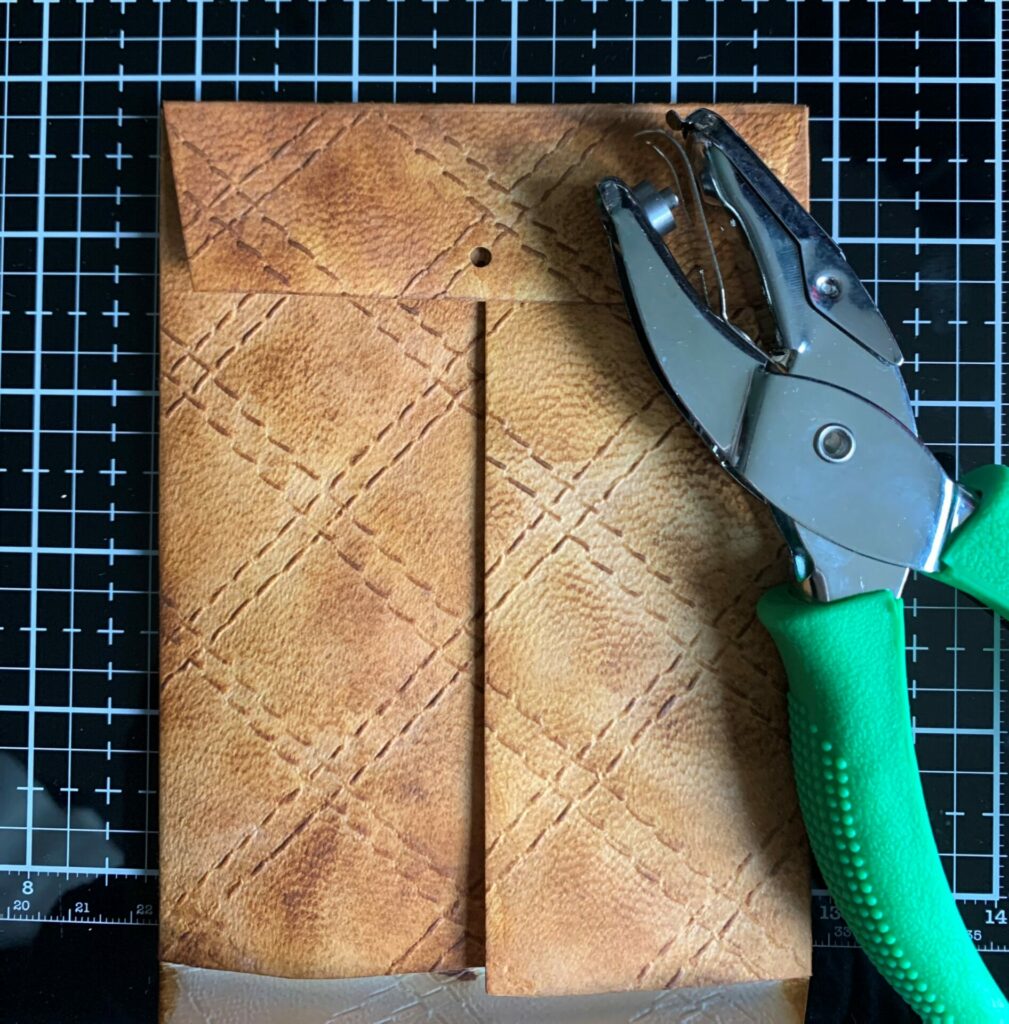
After that, I took the small circle hole punch and punched a hole in the top flap where the circle was drawn in pencil.
Attaching The Brad
Now it’s time to add the brad to the quilted leather envelope. To do this, I attached the brad to the envelope with collage medium. Then, I used a Tim Holtz Idea-ology long fasteners brad in the bronze shade. But, you can use whatever flat head brad you want.
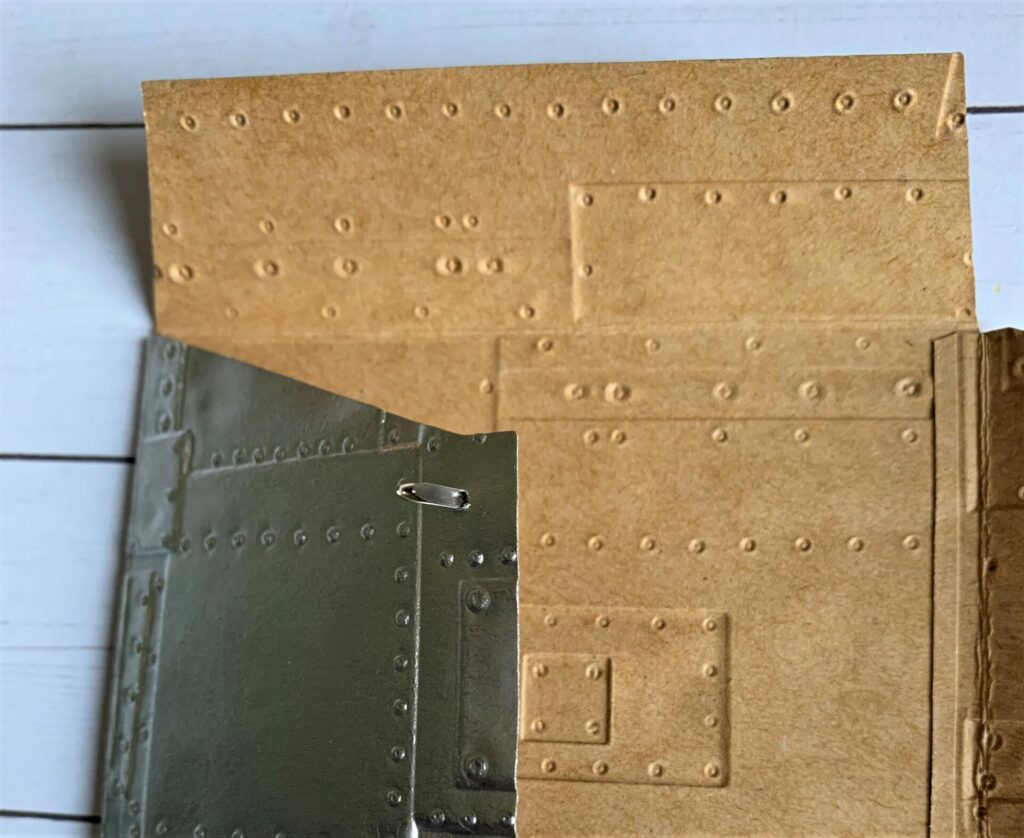
Firstly, I put glue on the inside of the head of the brad and put it through the hole of the left flap. See above and below for reference.
Then, I turned the brad so it was positioned vertically. This is so it sits flush up against the right flap when it gets glued down later. See below for reference. Next, I laid it flat to dry. I put something heavy on top of it, close up against the brad to make sure the glue fully adhered to the paper.
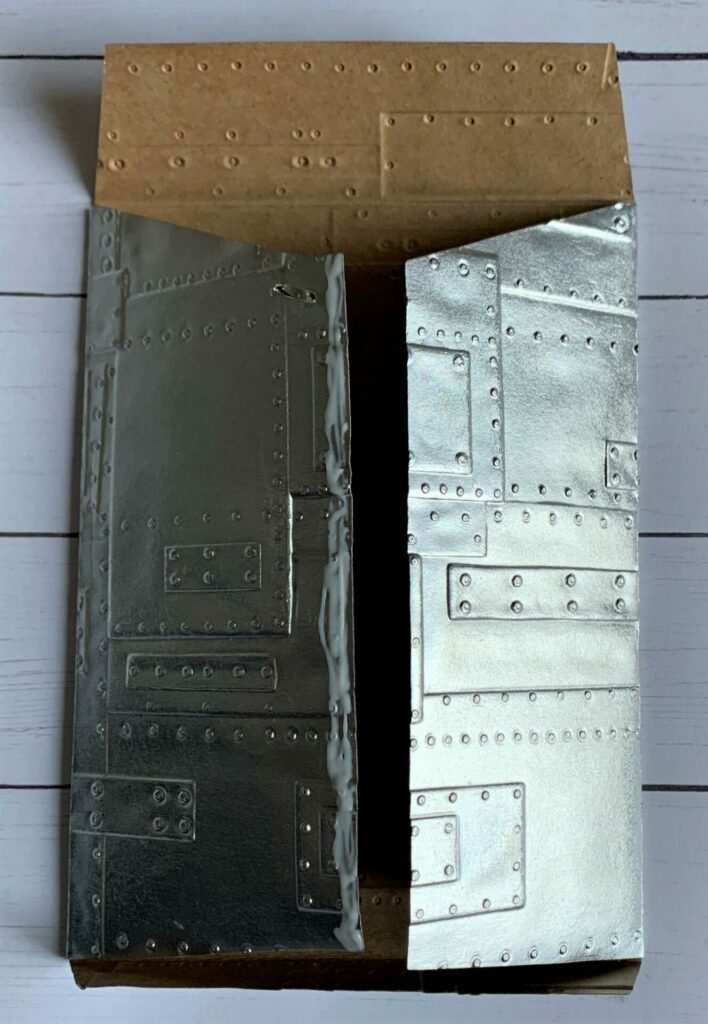
Gluing The Embossed Envelope Together
Now it’s time to glue the quilted embossed envelope together. Firstly, I put collage medium down the right edge of the left flap. Next, I folded down the right flap on top of the left flap. See photo reference below. Then, I set my Big Shot platform on top of it and let it dry. When that was dry, I put glue on the bottom flap. I folded it closed, set the Big Shot platform on it, and let it dry.
Quilted Leather Envelope Complete!
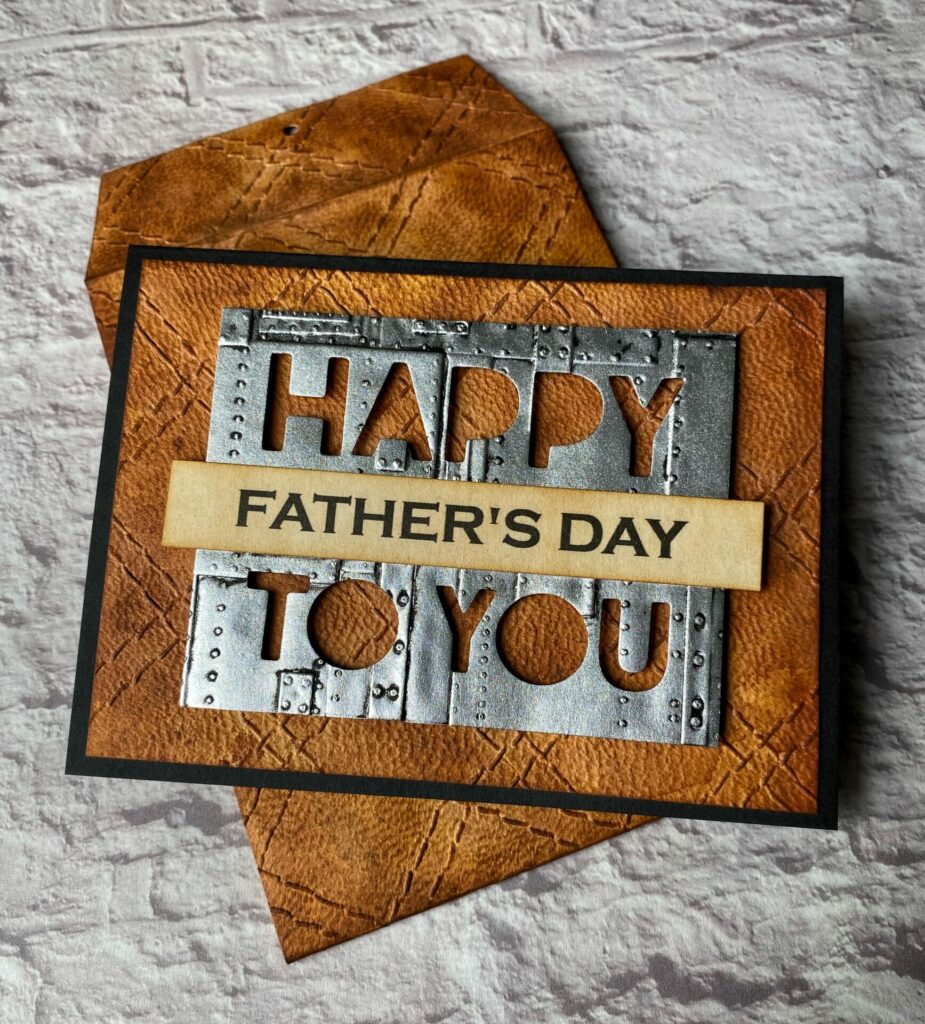
Congratulations your embossed quilted leather envelope is now complete! I hope you enjoyed this tutorial and have as much fun making it as I did. If you do make this envelope, please use the #grovecrafted and tag me on Instagram. I’d love to see what you’ve created! Thanks for stopping by and I hope you found some new inspiration to create.
If you enjoyed making this embossed envelope, you might want to check out my Quilted Leather Card tutorial. It coordinates perfectly with the quilted leather envelope you just made.