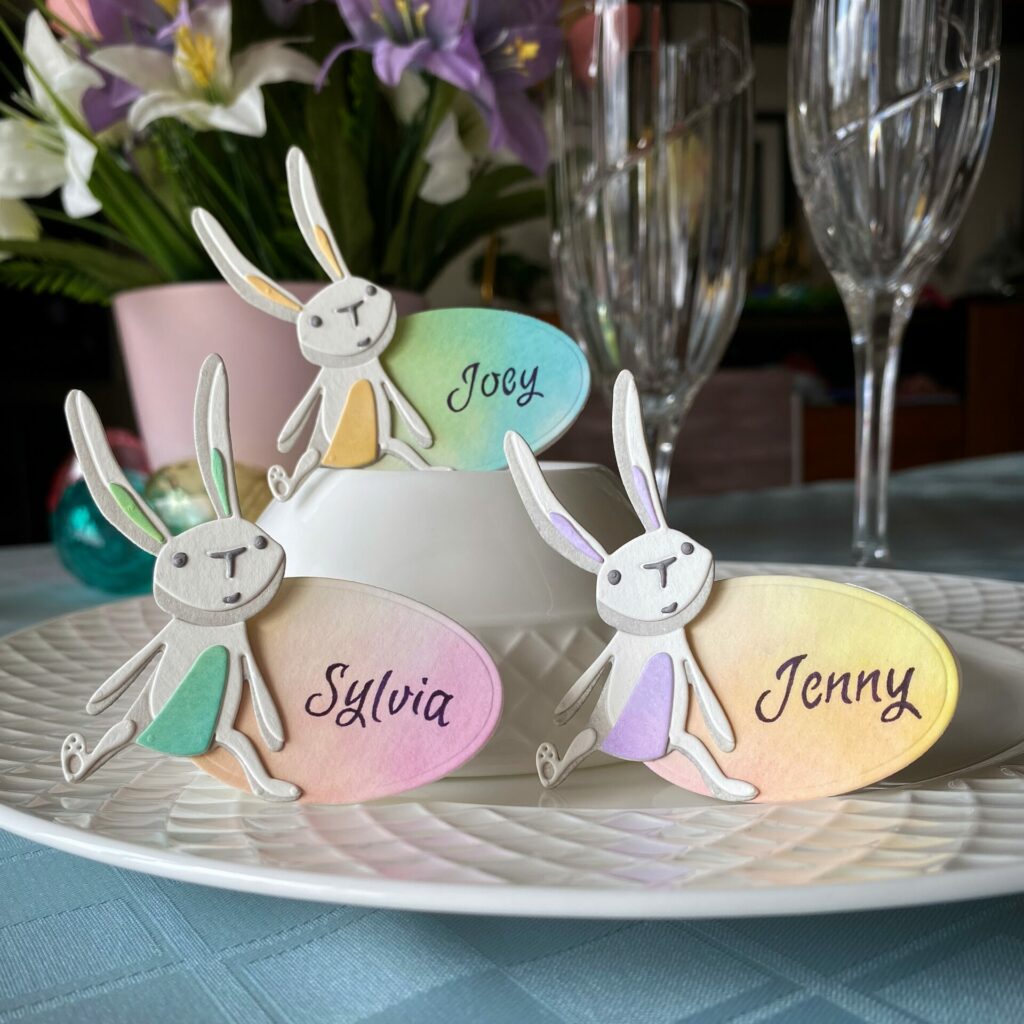
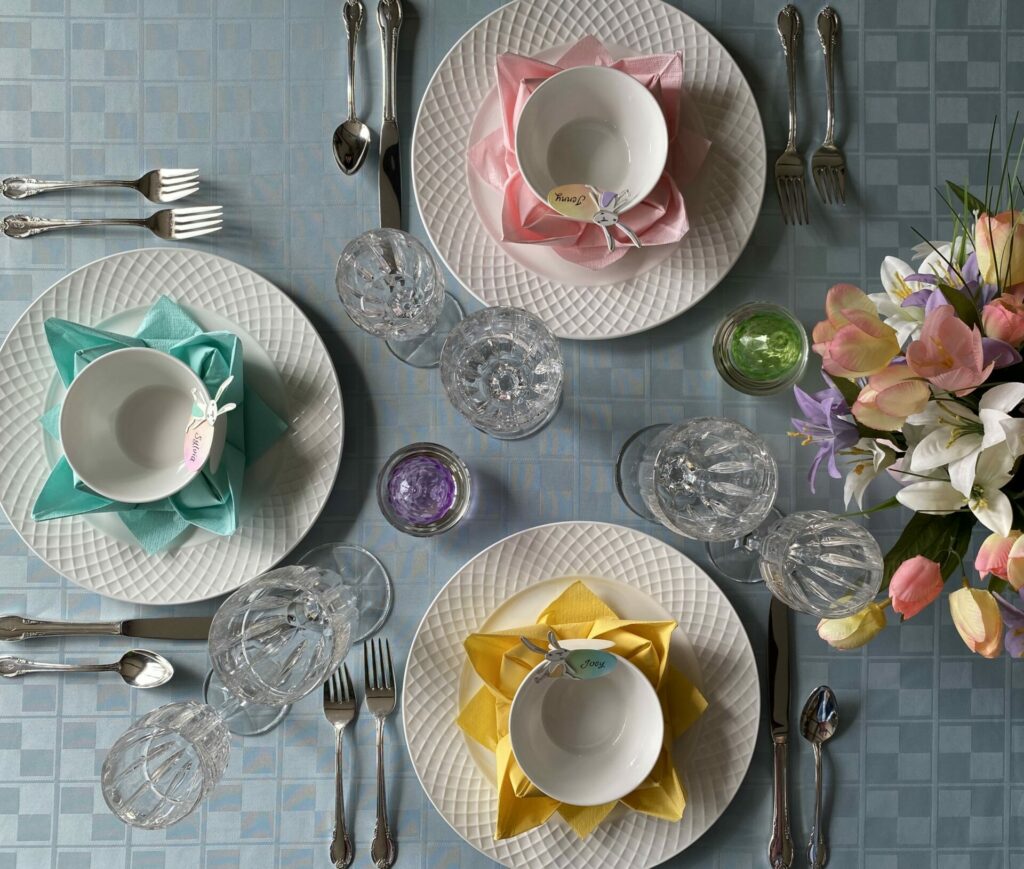
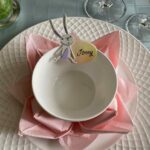
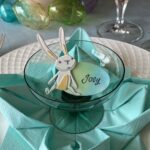
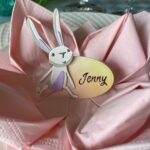
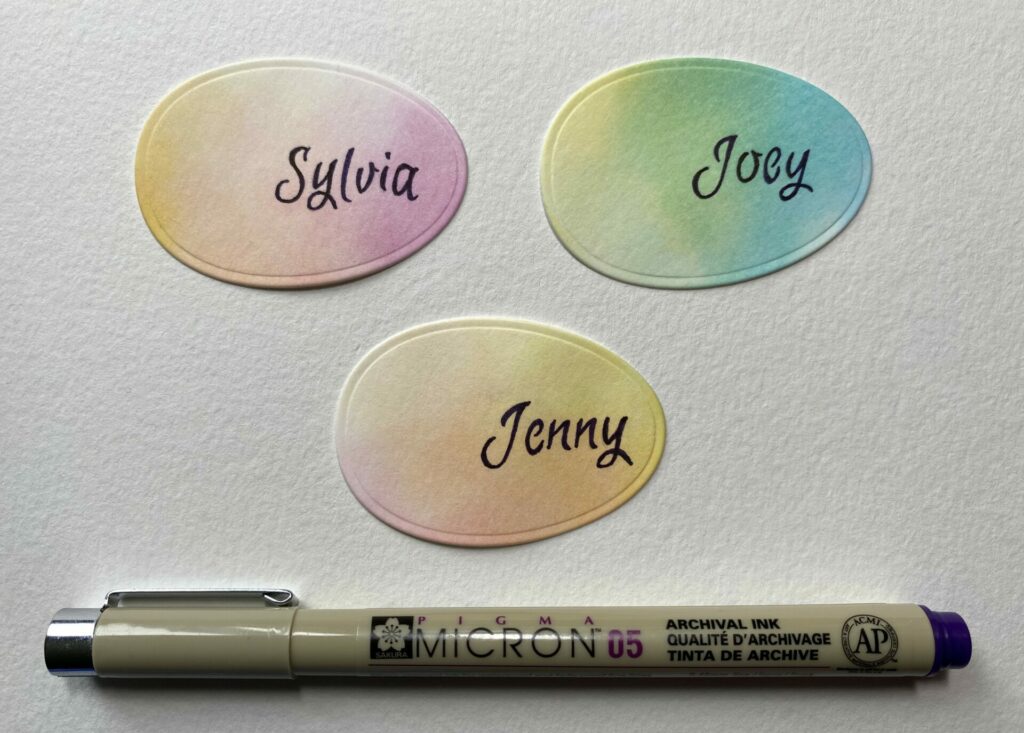
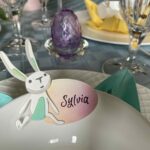
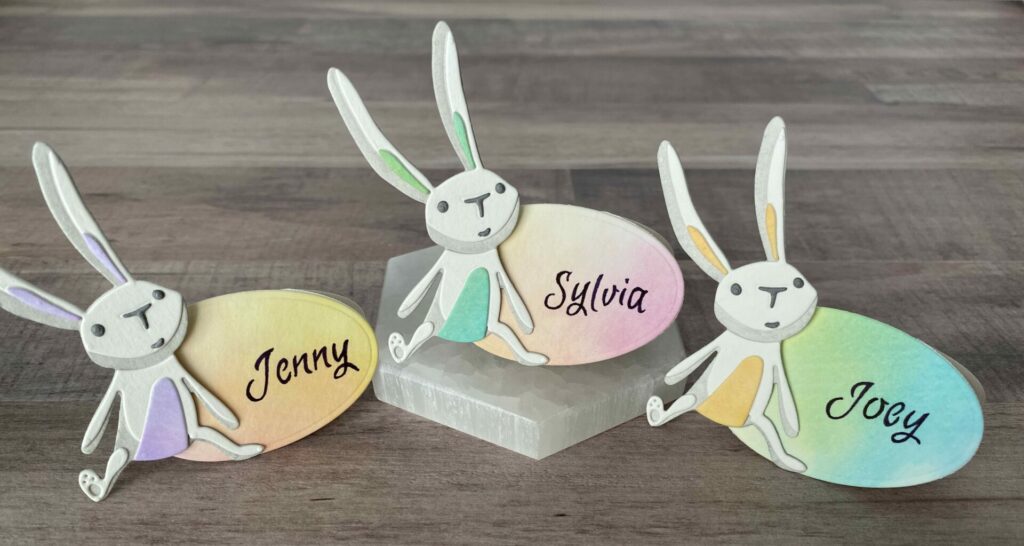
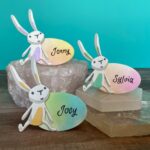
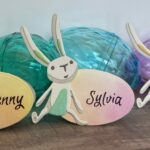
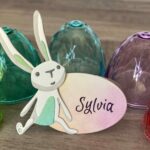
Easter Bunny Place Cards
Hello makers! With Easter approaching, I wanted to share how I made these adorable Easter bunny place cards. These charming cards include watercolor die cuts and hand lettering. If water coloring isn’t your style, colored cardstock can be used as a substitute. These Easter bunny place cards are ideal for adding a special touch to your Easter Sunday dinner.


Link Abbreviations
- AMZ – Amazon*
- Sb.com – Scrapbook.com*
- SIZ – Sizzix*
- RI – Ranger Ink*
- BA – Blick Art Materials*
- SB – Spellbinders*
- SSS – Simon Says Stamp
Full Disclosure: This post contains affiliate links which are indicated with an (*). If you click on an affiliate link and later make a purchase, I may receive a small commission. Clicking on an affiliate link which earns a commission does NOT result in additional charges to you or cost you anything extra. Money earned via affiliate links helps pay the fees to keep this blog up and running. Thank you so much for shopping through my links to show your support for the brands that we love and the products that I share!
Supplies Used / Substitutions:
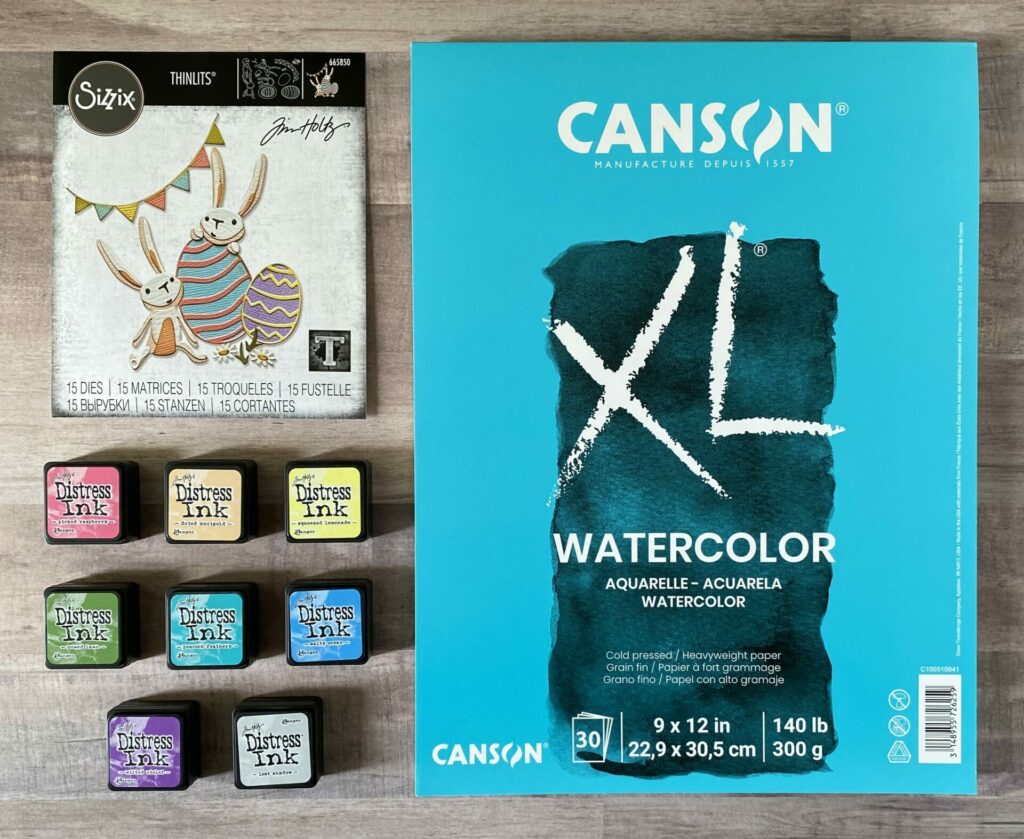
- Tim Holtz Sizzix Thinlits Dies – Bunny Games #665850 | Sb.com | SIZ | AMZ | SSS |
- Canson 140lb Cold Press Watercolor Paper | BA | AMZ / Any watercolor paper
- Gray Cardstock
- Distress Ink Pads – full size & mini ink pads linked below / Distress spray stains, watercolor pencils, or any watercolors
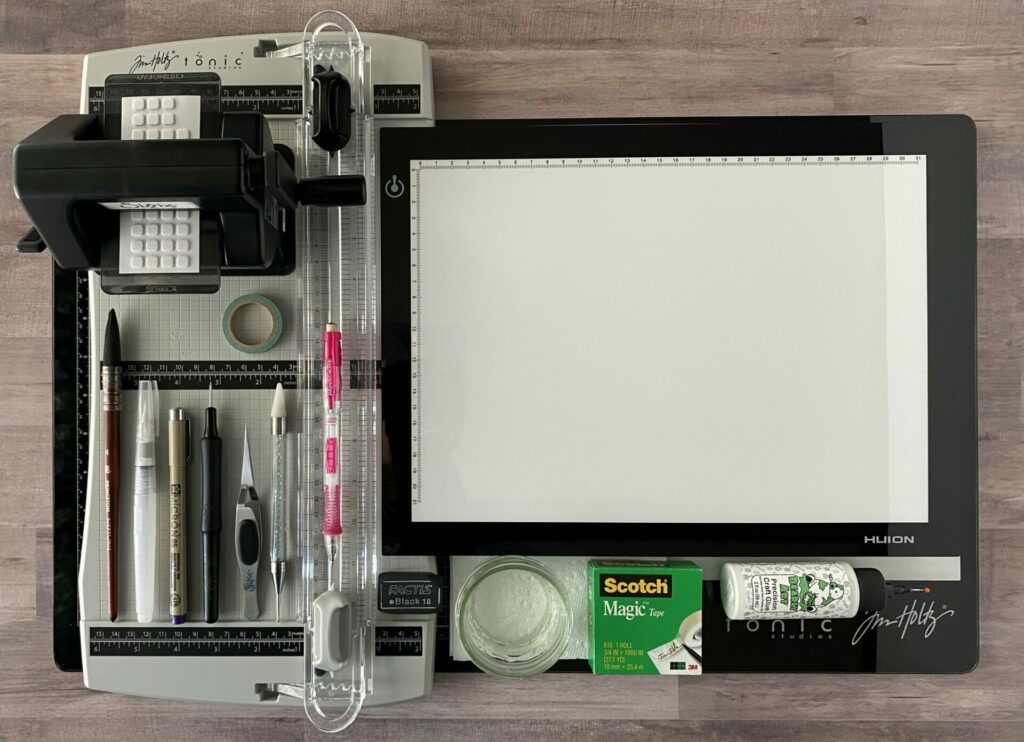
Tools Used / Substitutions:
- Sizzix Sidekick | Sb.com | SIZ | SSS / Any die cutting machine
- Tim Holtz Tonic Precision Trimmer | Sb.com | RI | SSS / Any paper trimmer
- Tim Holtz Glass Media Mat | Sb.com | AMZ | SSS / Optional
- Huion L4S LED Light Pad | AMZ / Window, tape, & the sun
- Princeton Neptune Watercolor Brush – Quill #4 | BA / Water Brush | Sb.com | AMZ |
- Bearly Art Glue | Sb.com | SB | AMZ | SSS / Any liquid adhesive
- SSS Embellishment Wand | SSS / Reverse Tweezers
- Sakura Micron Pen 05 – Purple | BA / Any fine tip marker that doesn’t bleed
- Die Pick | Sb.com / Toothpick
- White Foam Squares | SSS / Optional
- Scotch Tape – Magic / Blue painters tape
- Washi Tape / Any low tack tape
- Mechanical Pencil / Any pencil that erases easily
- Magic Black Eraser | BA | AMZ |
- 2 Jars of Water – one to rinse your brush in and one for applying clean water to your paper
- Paper Towel
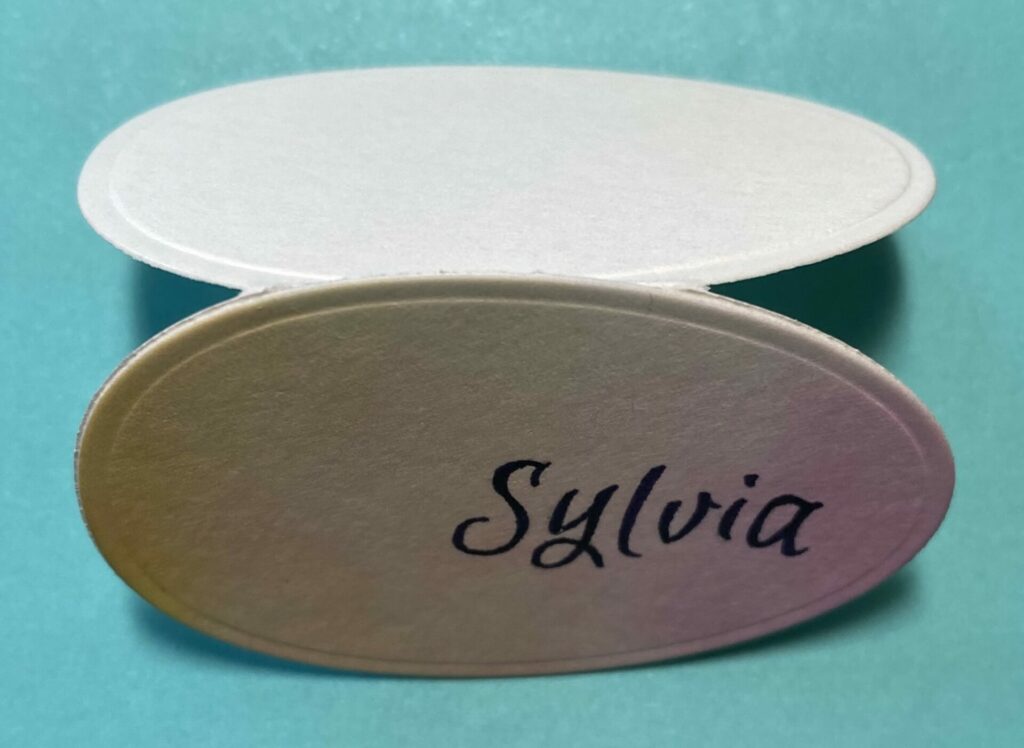
Making The Place Card Base
- Using a paper trimmer, cut the watercolor paper to a size of 2¾ x 2¼ inches.
- Score it at the 1 and 3/8-inch line and fold it in half.
- Take the large egg die and position it on the folded paper as shown below.

- Make sure the fold is at the top, and that the top of the egg die hangs off the edge a bit. This creates the folded hinge of the place card base.
- Secure the die down with some washi tape, and run it through your die cutting machine.
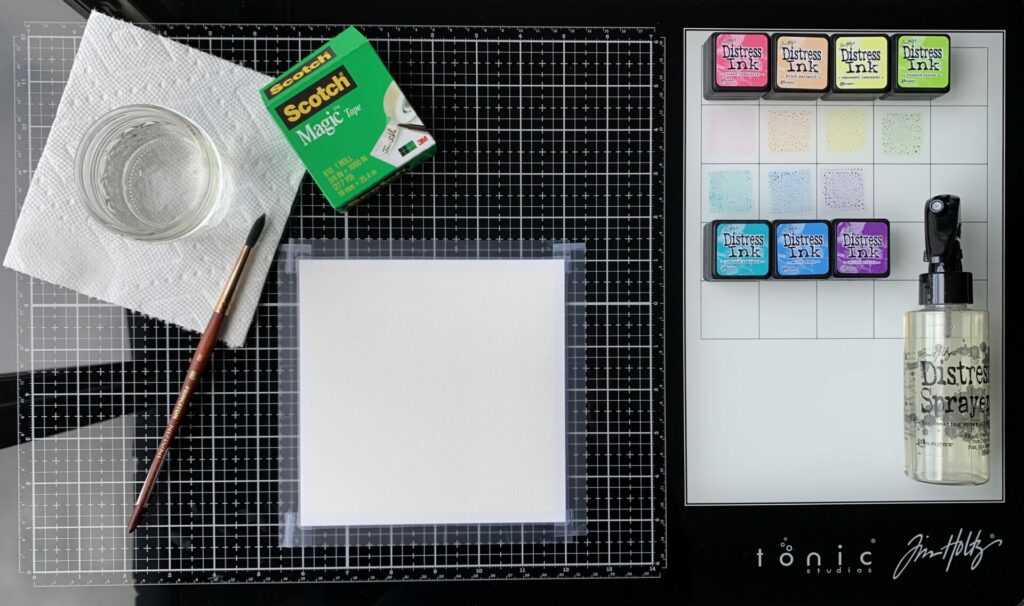
Water Coloring
Pallet Set Up
- Tape a full sheet of watercolor paper to your glass media mat using Scotch Magic Tape. (To make it easier to remove the tape at the end of your project, fold one end of the tape down to create a tab.)
- Remove the craft sheet from your glass media mat and set up your ink palette.
- Wet the watercolor paper with your brush using water, being careful not to over saturate it.
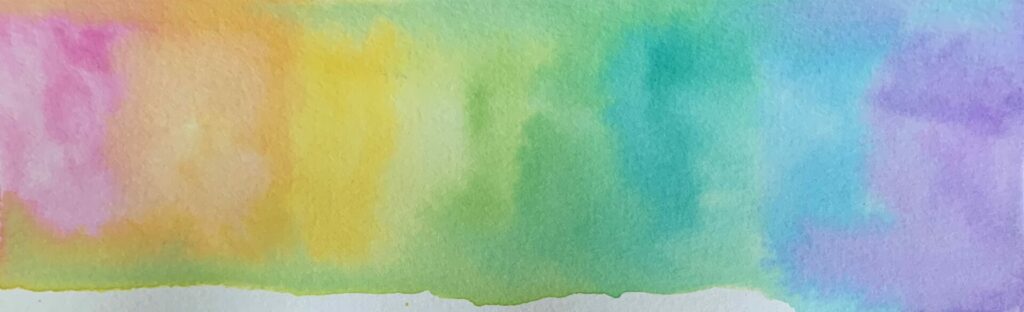
Time To Watercolor
If you’re right-handed, start on the left side of the paper and move towards the right. On the other hand, if you’re left-handed, begin from the right side and go towards the left.
Important – Keep your paper wet to achieve this tie-dye blended effect. To prevent your paper from drying out, simply add more water as needed. But don’t over saturate the paper with too much water.
- Apply picked raspberry distress ink onto one side of your paper. (Using more ink will result in a more vibrant color saturation. For a softer pastel appearance, opt for a light application of color.)
- After finishing with the color, clean your brush by rinsing it in one of the water jars.
- Apply a small amount of clean water to the paper next to the pink ink using your brush.
- Apply dried marigold distress ink to the wet paper, next to the pink and let the two colors overlap and blend together.
- Clean your brush in the dirty water jar.
- Apply a small amount of clean water to the paper next to the orange ink using your brush.
- Apply squeezed lemonade distress ink to the paper, next to the orange and let the two colors blend together.
- Clean your brush in the dirty water jar.
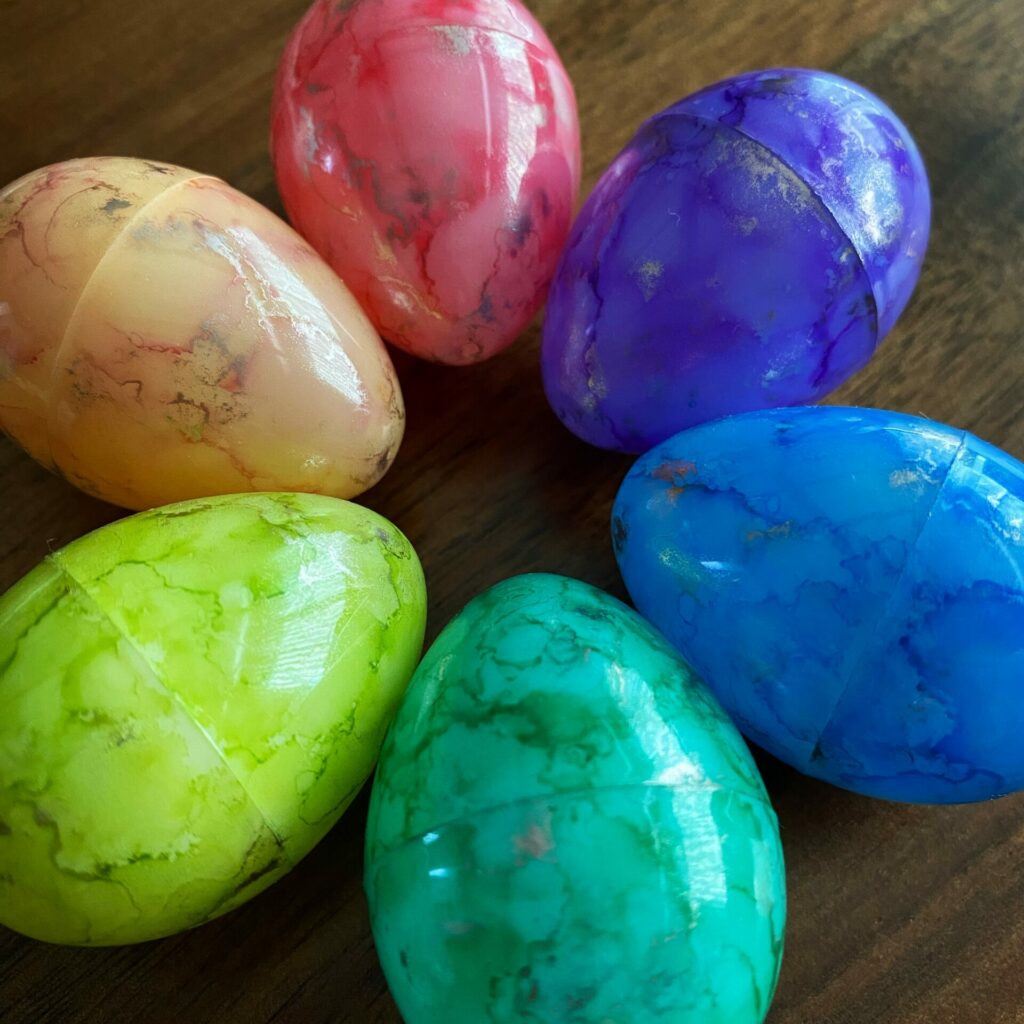
- Repeat this process for the remaining ink colors: mowed lawn, peacock feather, salty ocean, and finally wilted violet.
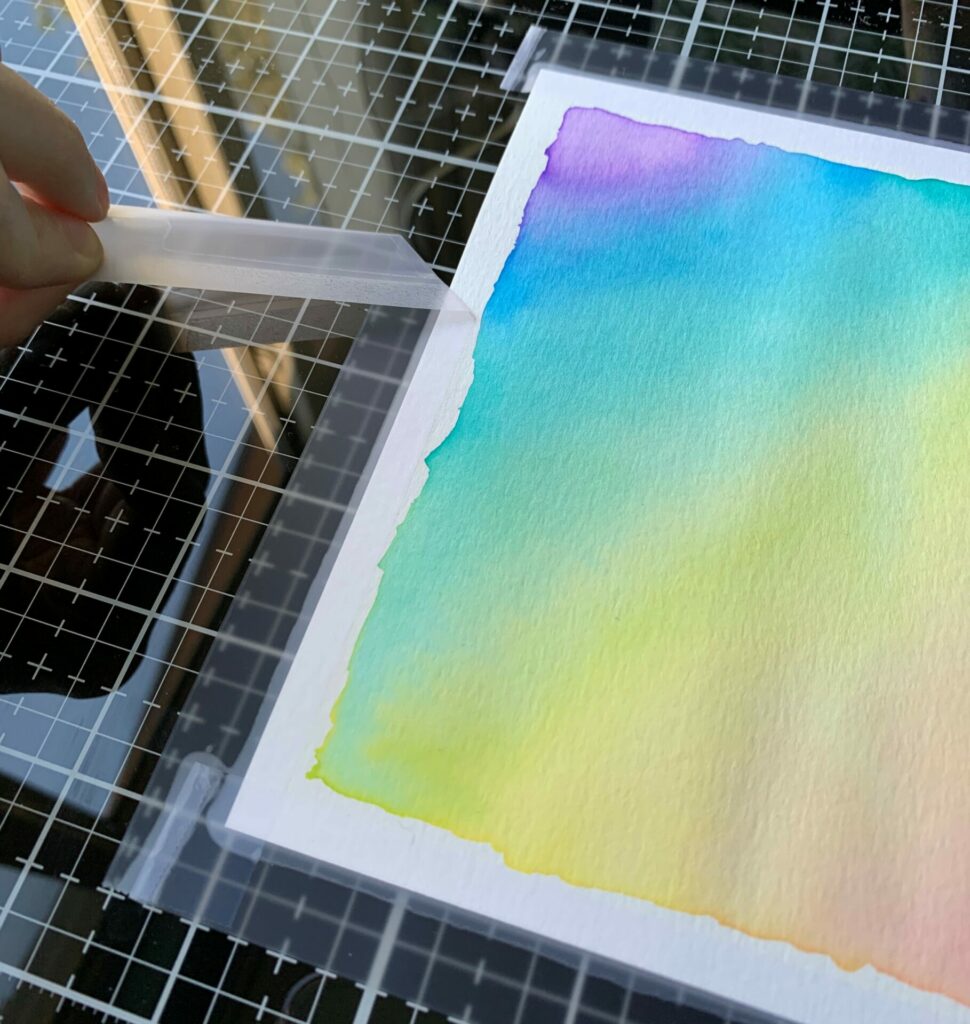
- Leave the paper securely taped to the media mat and allow it to dry overnight.
Watercolor Clean Up
- It is normal for some warping of the paper to occur.
- Removed the tape carefully to prevent tearing of the watercolor paper. (Remember to pull the tape away from your work for best results.)
- Your rainbow watercolor panel is now complete!
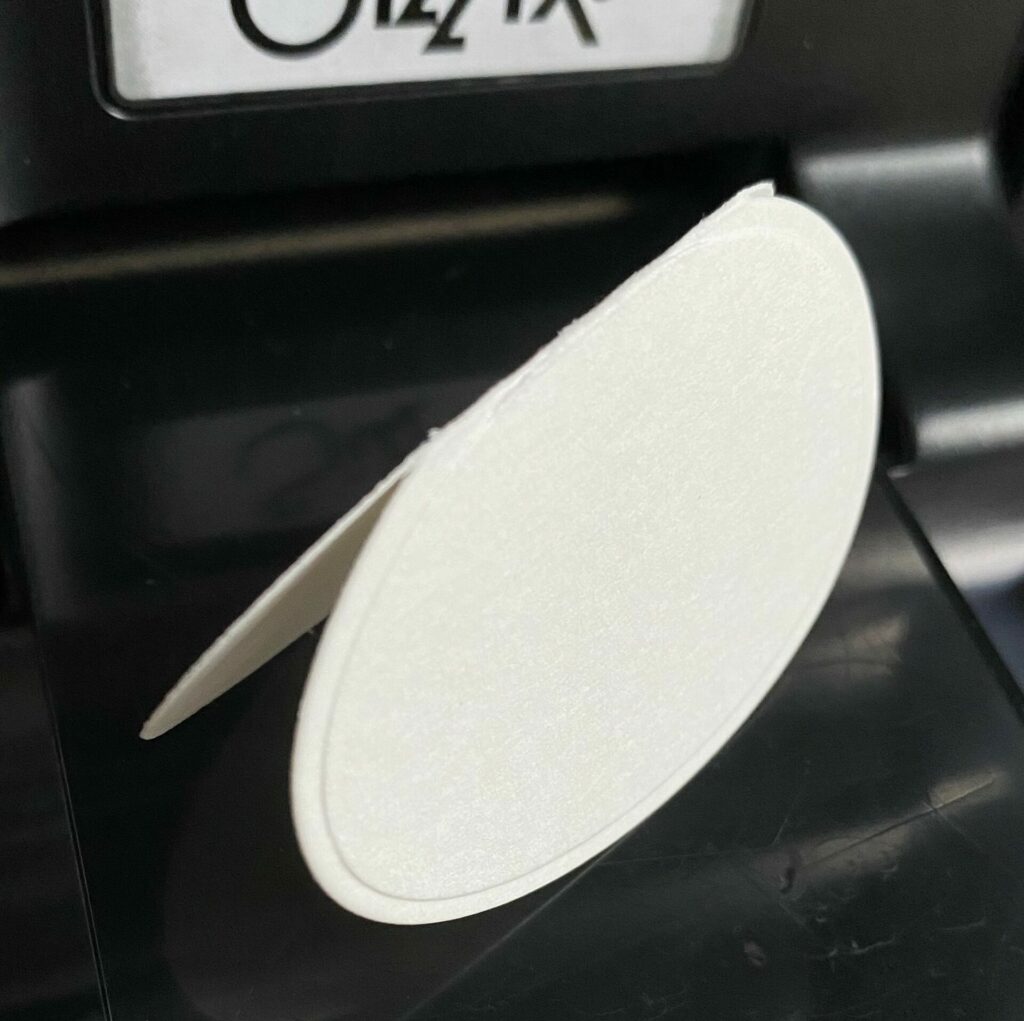
Die Cutting The Eggs
- Use the large egg die to cut the eggs from the inked watercolor paper.
- Use washi tape to prevent the egg die from shifting.
- One at a time, run them through your die-cutting machine.
- Cut as many eggs as you have guests in attendance.

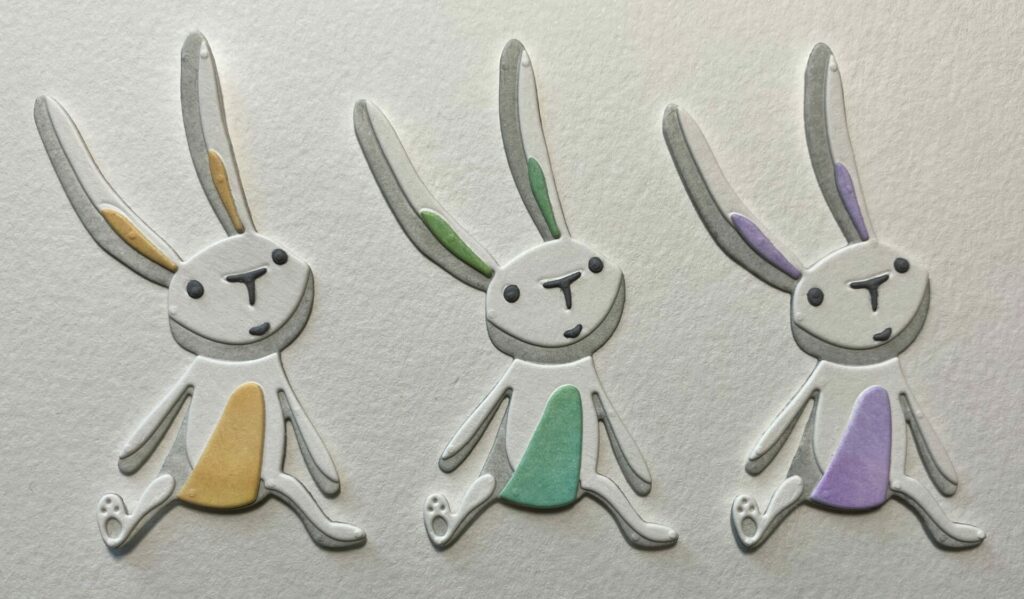
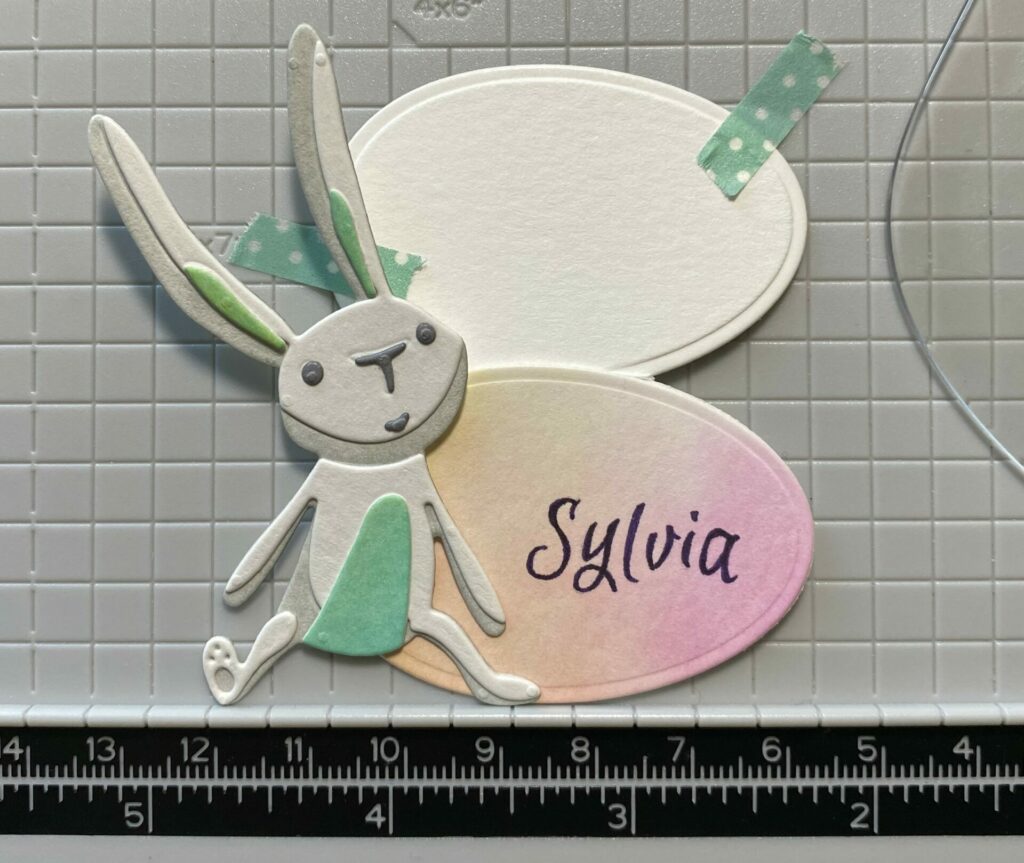
Die Cutting The Bunny
- Cut layer 1 and 2 of the sitting bunny from plain watercolor paper.
- Watercolor layer 1 with a wash of lost shadow distress ink.
- Leave layer 2 white.
- Cut the belly and ears from the leftover paper used to watercolor the eggs. (I chose a complementary color to the egg for this.)
- Cut the face layer (eyes, nose, and mouth) from gray cardstock. (Leave the pieces in the die for now to prevent them from getting lost.)

Assembling The Bunny
I used tweezers for step 1 & 2, and the sticky embellishment wand for step 3.
- Glue all three pieces of bunny layer 2 on top of bunny layer 1.
- Then, glue the belly and ears on top of bunny layer 2.
- Glue the eyes, nose, and mouth on top of bunny layer 2.
Lettering The Name
If you have beautiful handwriting or are skilled in hand lettering/calligraphy, feel free to write the names with your preferred marker. However, if you’re like me and aren’t confident in your handwriting, you can trace the names instead. I have designed an editable name template in Canva that you can access here.
To to accomplish this step, you’ll need a light pad. But if you don’t have one, you can use “nature’s light box” instead. Just tape the paper to a window and let the sunlight be your light source. Just remember, this method works best on a sunny day.
- Enter your list of names into the Canva template.
- Double-check that all names are spelled correctly.
- Print out the list at 100%. DO NOT SCALE TO FIT PAGE.
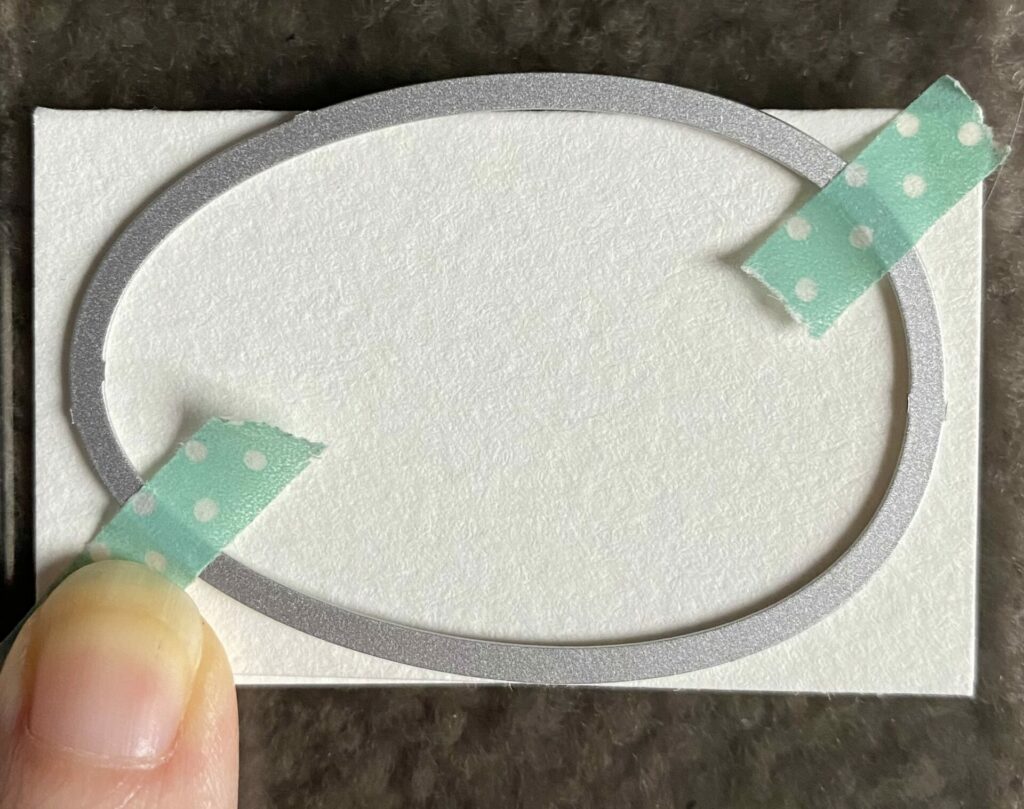
- Place the watercolor egg inside the box with the top of the egg facing the right side.
- Secure the egg to the paper by using washi tape.
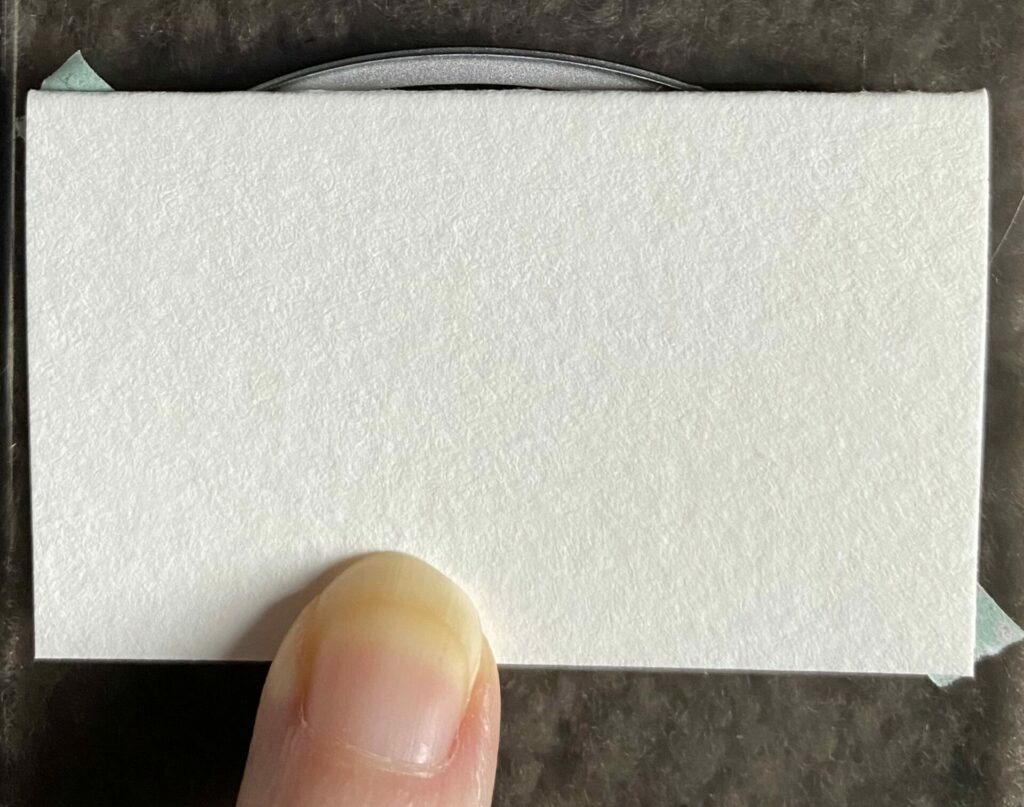
- Place the paper on your light pad/window, then use a mechanical pencil to trace the outline of the name.
- Remove the washi tape.
- Trace and fill in the letters with a Sakura micron pen. I used a purple micron pen.
- When dry, erase any pencil lines that are visible.
- Repeat steps 3-7 for every name.

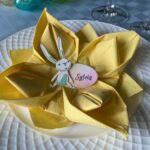
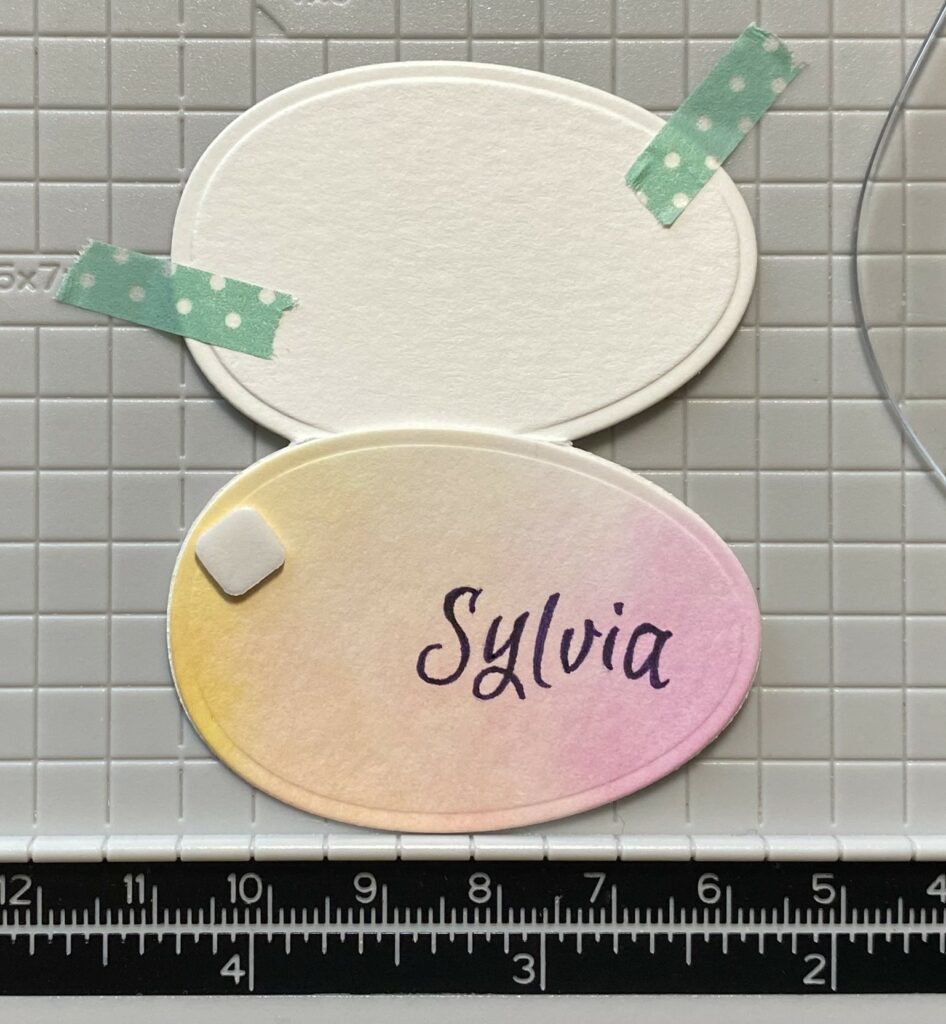
Assembling The Place Card
- Glue the hand-lettered egg to the back side of the folded egg place card base.
- Set something heavy on it while the glue dries.
- Open the place card and tape it to the bottom edge of your paper trimmer. Make sure it is straight by aligning it with the grid lines.
- Place a small foam square in the upper left corner of the egg.
- Apply glue to the backside of the left arm, leg, and bottom of the bunny.
- Peel off the foam square release paper and adhere the bunny to the egg, ensuring that both feet are pressed against the bottom edge of the paper trimmer.
- Take off the washi tape and place something heavy on top of it while the glue dries.

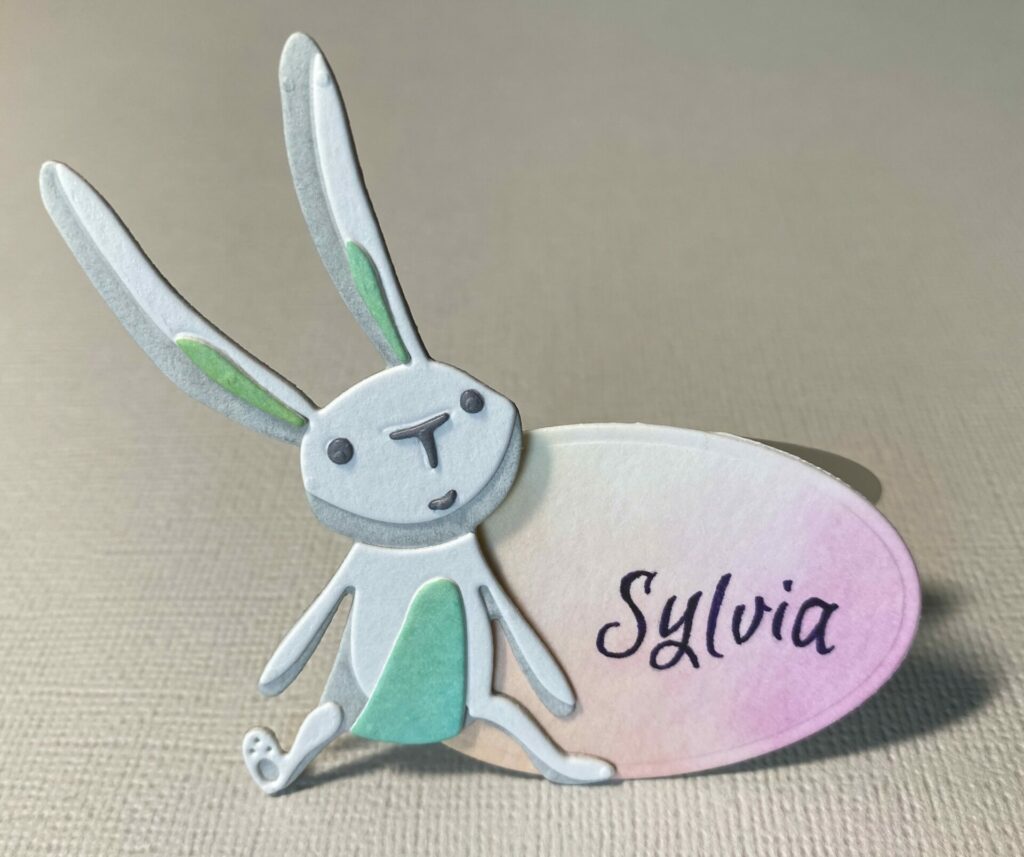
Easter Bunny Place Cards Complete!
Hey, congrats! You’ve finished making your Easter Bunny Place Cards! I really hope you had a blast following this tutorial, just like I did. If you decide to give it a go, don’t forget to tag me (@silversgrove or @grovecrafted) on Instagram. I’m super excited to see what you’ve come up with! Thanks for checking this out, and I hope it sparked some fresh ideas for your own creations. Have a great time crafting!
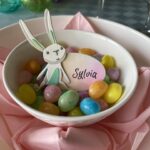
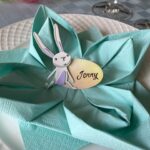
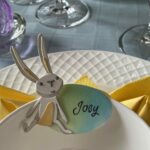


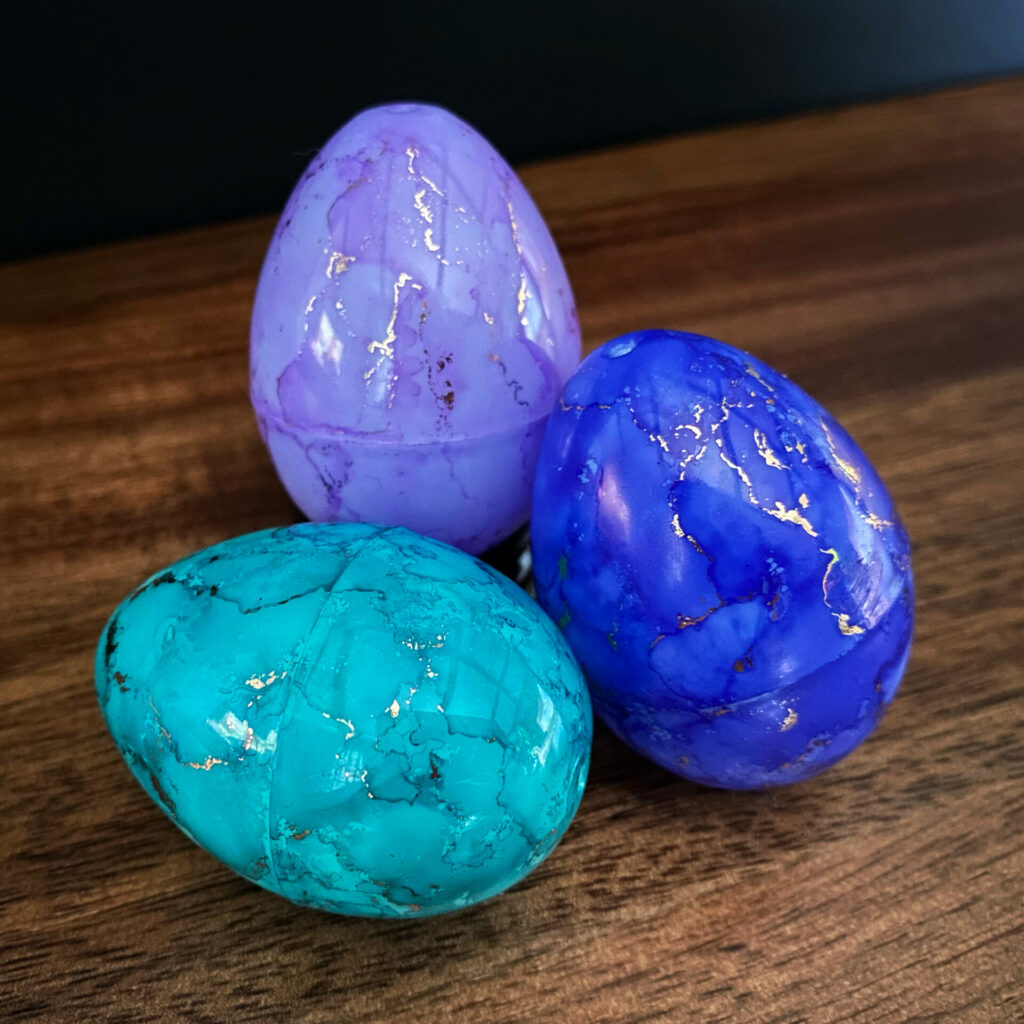
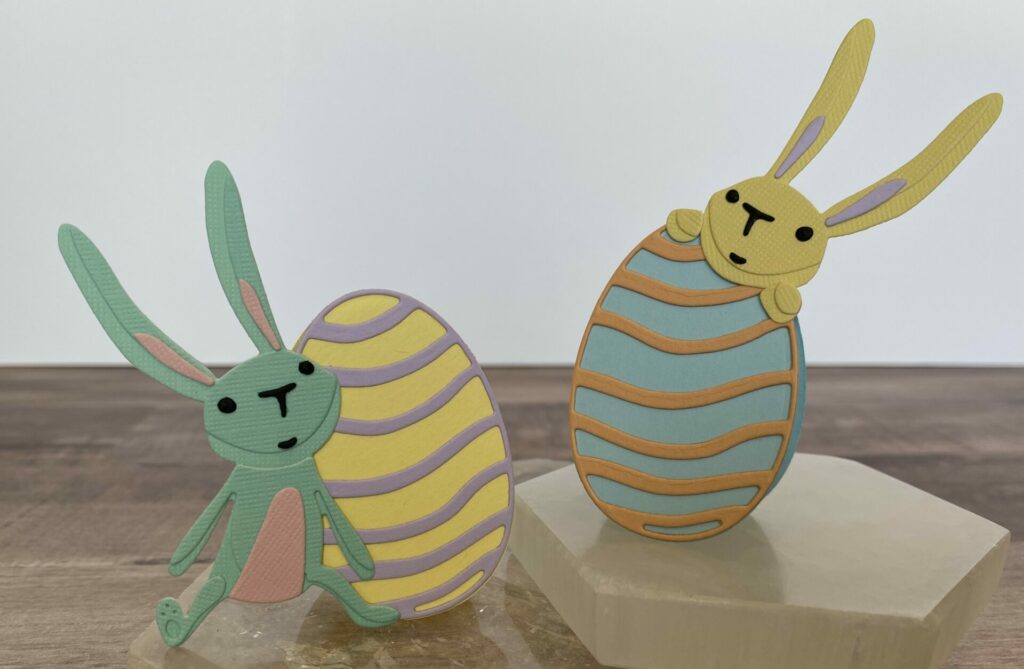
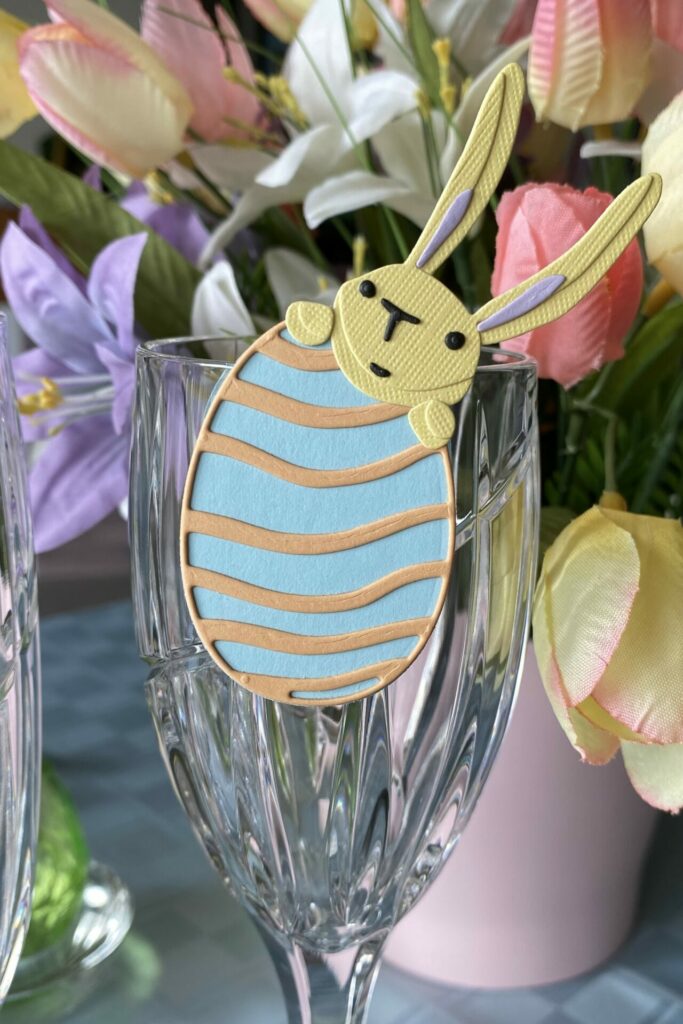
Examples of alternative solid cardstock options and various layout designs. Personalize the place cards by writing their name between the lines.

Check out more Easter card tutorials! If you had fun making these Easter Bunny Place Cards, you’ll definitely like checking out my other Easter card designs.
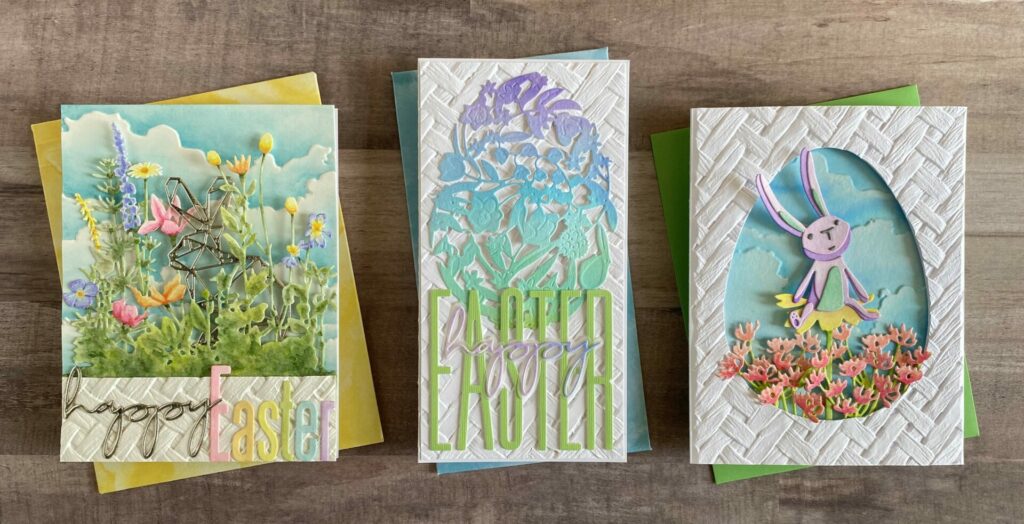
Easter Wildflowers Card (on the left), Floral Easter Egg Card (in the middle), and Bunny Daydreams Easter Card (on the right).
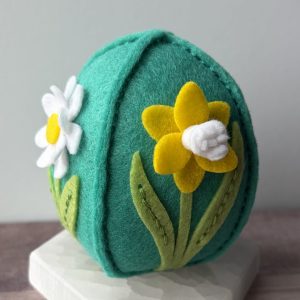
Check out all my other Easter Tutorials for additional inspiration and ideas.