Foiled Marble Easter Eggs
Hello crafty makers and Happy Easter! Today I’m sharing how I made these cute foiled marble Easter eggs. They feature a marbled look with rose gold foiled veining. They’re really simple to make and perfect for spring. You can use these for home décor and even decorate your Easter table and baskets with them.
Link Abbreviations
- AMZ – Amazon*
- HL – Hobby Lobby
- RI – Ranger Ink*
- Sb.com – Scrapbook.com*
- SSS – Simon Says Stamp
Full Disclosure: This post contains affiliate links which are indicated with an (*). If you click on an affiliate link and later make a purchase, I may receive a small commission. Clicking on an affiliate link which earns a commission does NOT result in additional charges to you or cost you anything extra. Money earned via affiliate links helps pay the fees to keep this blog up and running. Thank you so much for shopping through my links to show your support for the brands that we love and the products that I share!
Supplies Used / Substitutions:
- Plastic Easter Eggs | HL / Any plastic Easter eggs
- Sizzix Decorative Foil Sheets – Rose Gold #664568 | AMZ / Gold | AMZ | SIZ / Silver | Sb.com | AMZ
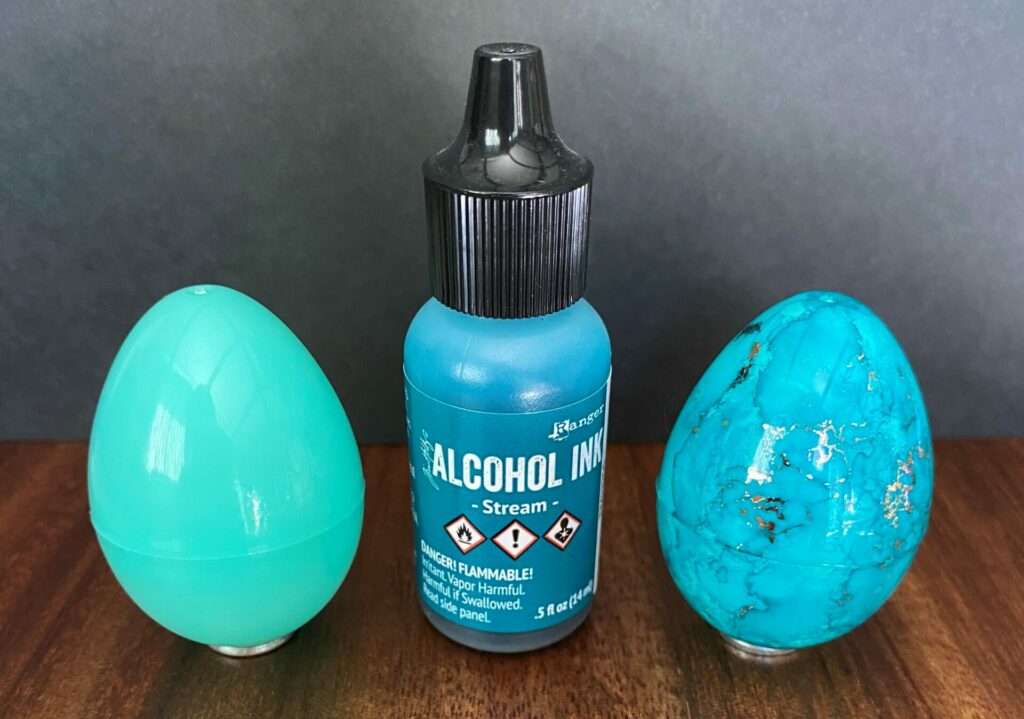
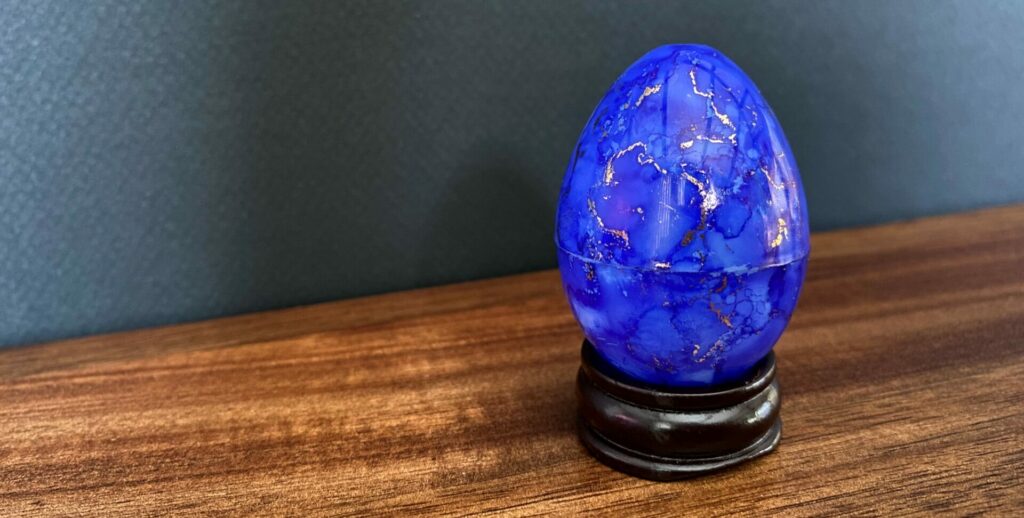
- Tim Holtz Alcohol Ink – Indigo | RI / Any alcohol ink in any color | Sb.com |
- Ranger Tim Holtz Alcohol Blending Solution | Sb.com | RI
- Alcohol Ink Mini Applicator Tool & Felts | Sb.com
- Tim Holtz Glass Media Mat | Sb.com | AMZ / Cardboard
- Gloves
- Paper Towels
- Plastic Trash Bag
About Alcohol Inks & Advice
If you’re new to alcohol inks, here’s a little info about them. For this project, I used the Tim Holtz alcohol inks from Ranger Ink. Ranger’s website describes the inks as follows:
“Alcohol Inks are fast drying, acid free, fade resistant dye inks specially formulated to create gorgeous backgrounds and vivid pops of color on non-porous surfaces.”
Important Safety Warnings
Alcohol Inks do have an odor, so if you are sensitive to smells, this might not be the medium for you. Also, this is an adult project, and is not intended for children.
- Work in a well ventilated area.
- Open up doors and windows and/or wear a respirator.
- Wear gloves.
- Keep away from heat, sparks, and flame.
- Keep out of reach of children
- Do not use a straw to blow ink. Use an air blower tool instead.
- Never ever spray alcohol inks or blending solution.
Below is a safety note from Ranger’s website:
Note: Ranger does not recommend using Tim Holtz® Alcohol Inks, Metallic Mixatives, Snow Cap Mixative or Alcohol Ink Blending Solution in spray bottles as these contents contain alcohol and should not be airborne.
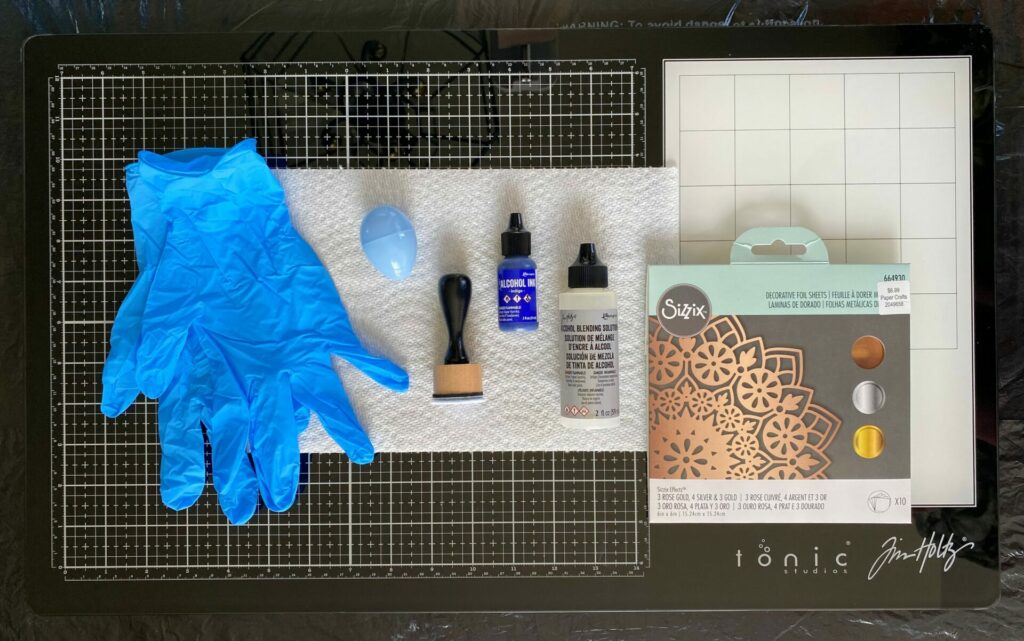
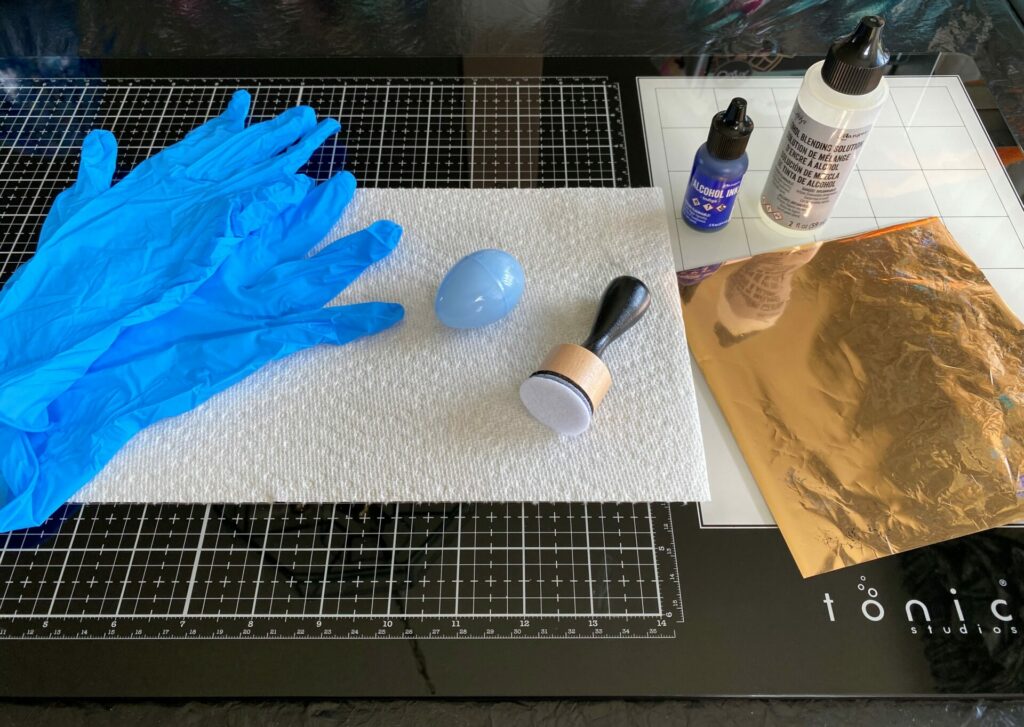
Setup Work Surface & Supplies
Firstly, I setup my work surface and collected my supplies. You might want to put a plastic trash bag under the glass media mat to protect the table. If you don’t have a glass media mat, you could work on a piece of cardboard. Also, you’ll want to work in a well ventilated area, so crack a window while you’re working. Gather the supplies listed below and let’s get started.
- Glass Media Mat (remove kraft sheet from mat)
- Plastic Trash Bag
- Plastic Easter Eggs
- Alcohol Ink
- Blending Solution
- Alcohol Ink Mini Applicator Tool & Felt
- Sizzix Decorative Foil Sheet
- Paper Towels
- Gloves
Applying The Alcohol Inks & Foil
After your work surface is all setup, it’s time to start inking. Firstly, watch the video below to get a visual understanding on my inking process. Then, follow the steps below the video.
- Open a window for ventilation.
- Put on gloves.
- Apply a couple drops of blending solution to the felt.
- Then, apply a couple drops of alcohol ink to the felt.
- Stamp the egg with the felt mini applicator tool. Work in small sections at a time.
- Wait a few seconds and press the foil sheet (shiny side up) against the egg along the alcohol ink veining.
- If you’re too early, the ink is still wet and the foil will not adhere. If you wait too long, the ink is all dry and the foil won’t stick either. So there’s a small time window where it works out perfectly. It takes a bit of a learning curve to find it. You can see from my video it took me some time to figure it out.
- Also, don’t ink over already foiled areas. The ink will cover up the pretty metallic foil veining you’ve previously done.
- Repeat steps 3-6 around the egg until it is fully inked and foiled.
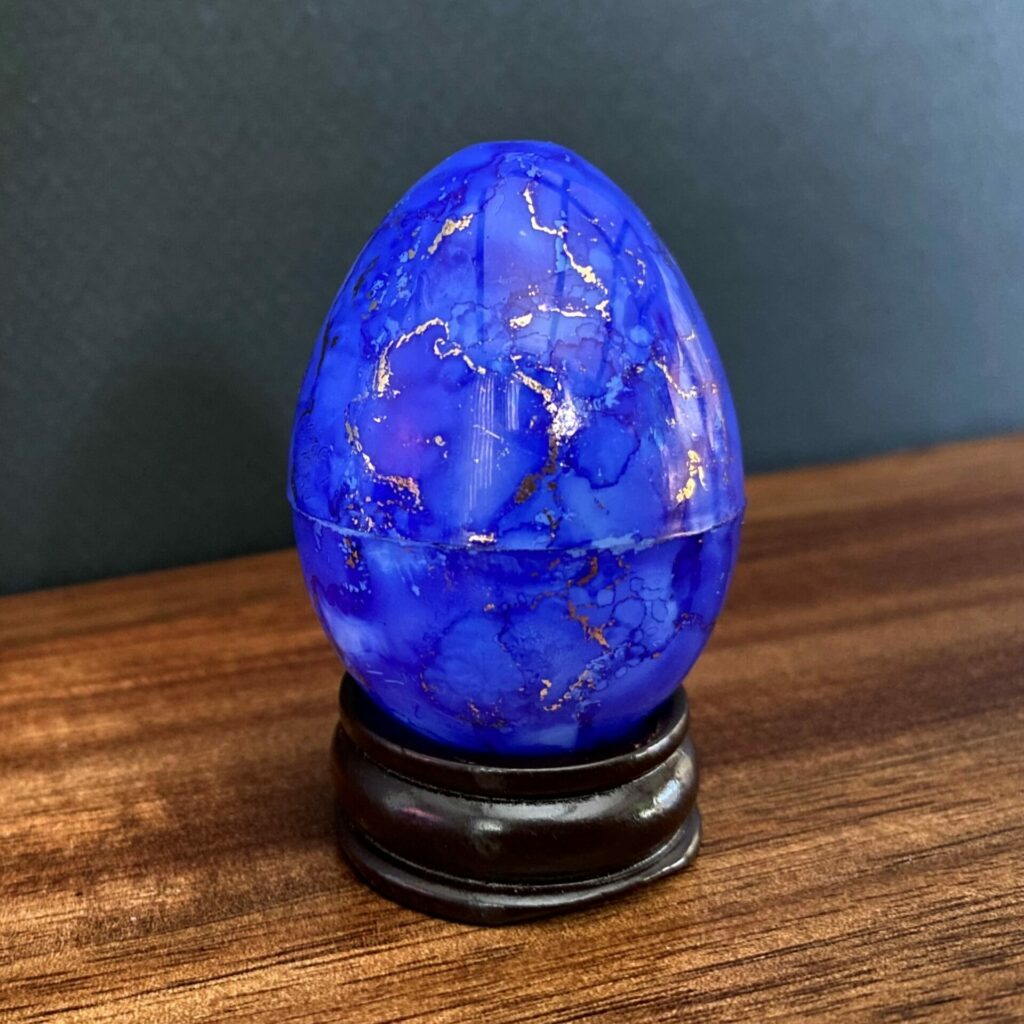
When I finished inking, the foiled marble egg looked like this.
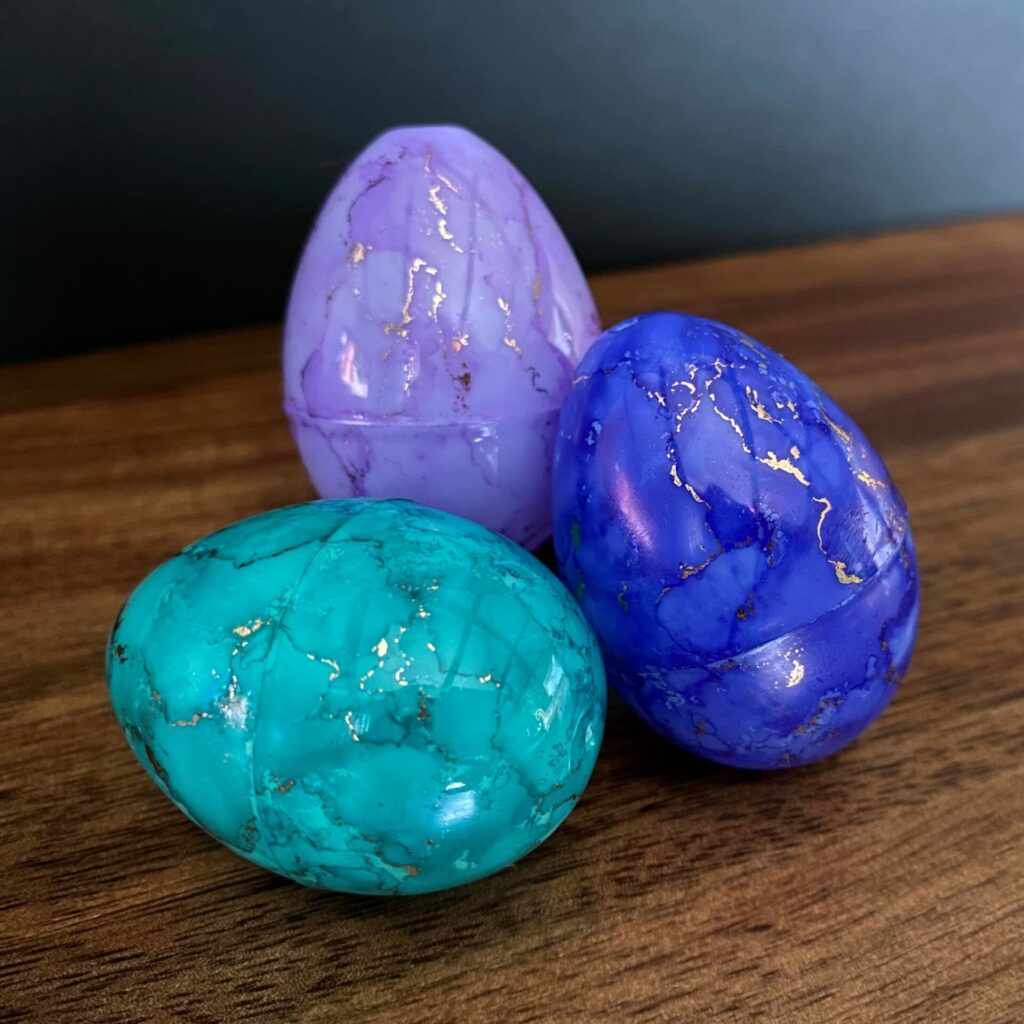
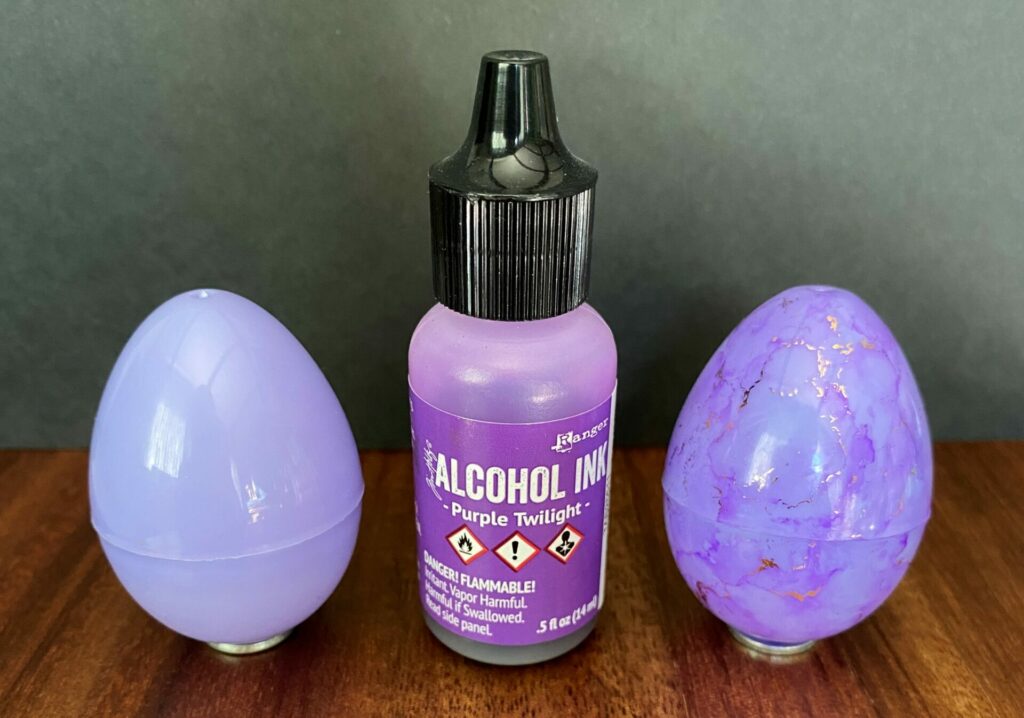
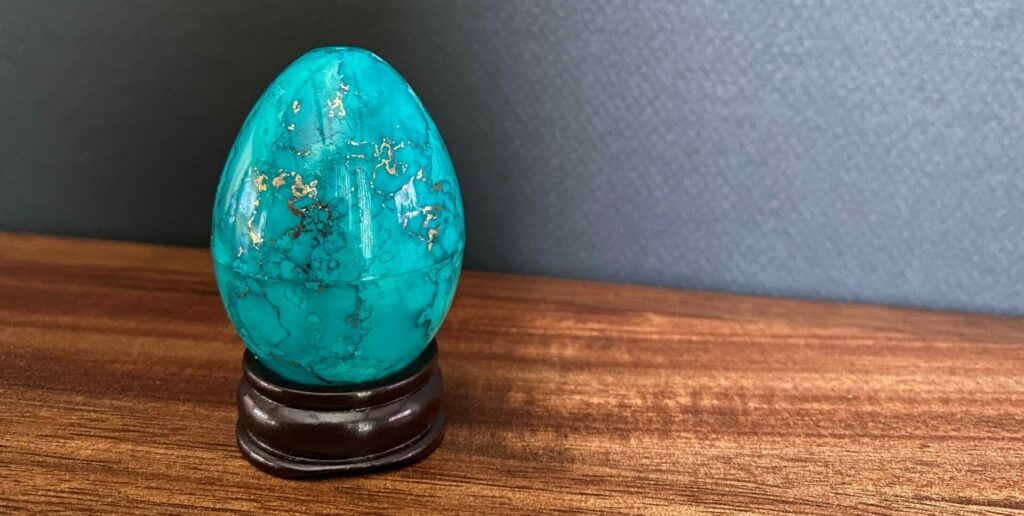
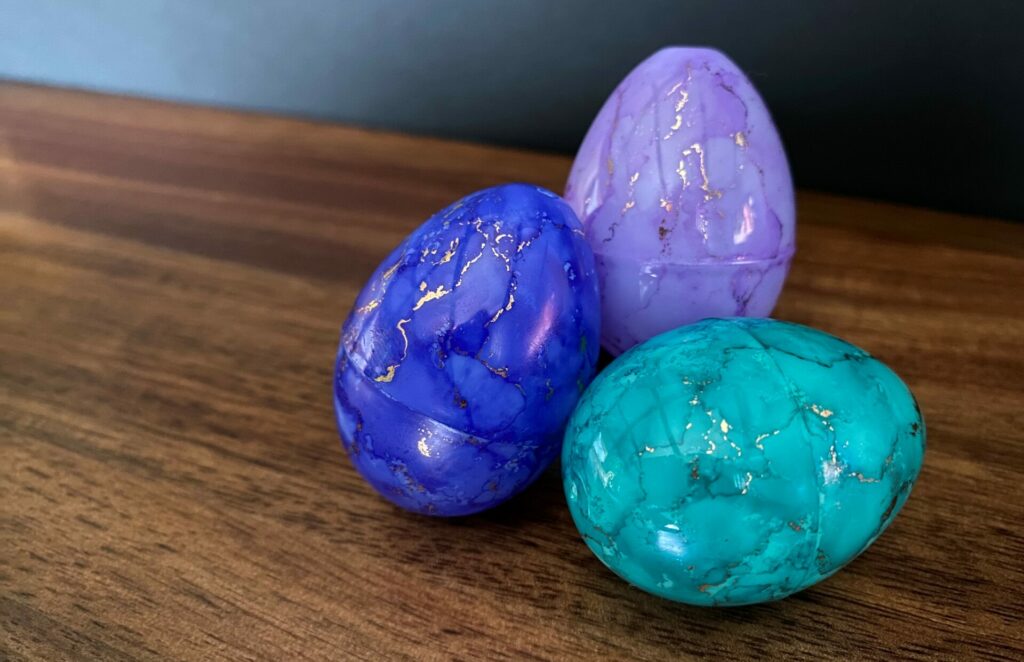
Other Color Combinations
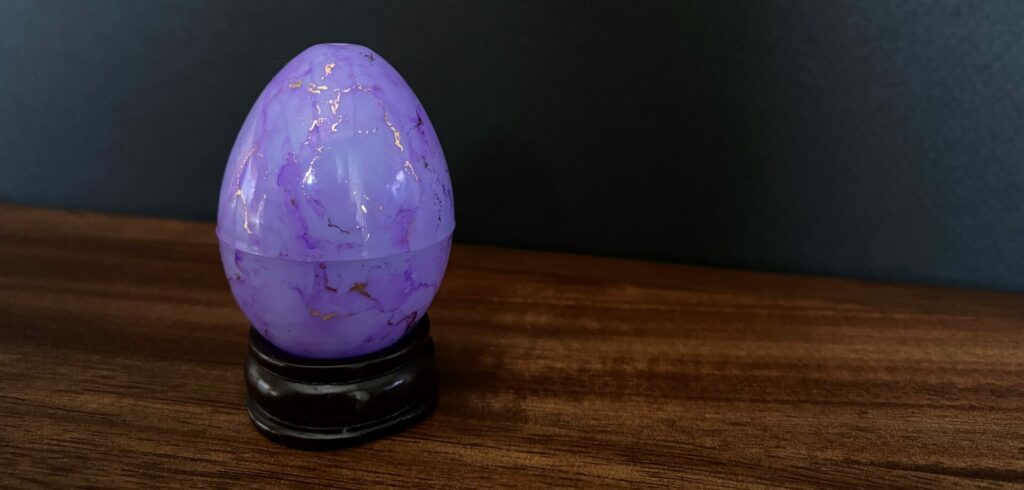
Foiled Marble Easter Eggs Complete!
Congratulations! You have now completed your foiled marble Easter eggs! I hope you enjoyed this tutorial and have as much fun making it as I did. If you do make these eggs, please use the #grovecrafted and tag me (@grovecrafted) on Instagram. I’d love to see what you’ve created! Thanks for stopping by and I hope you found some new inspiration to create.

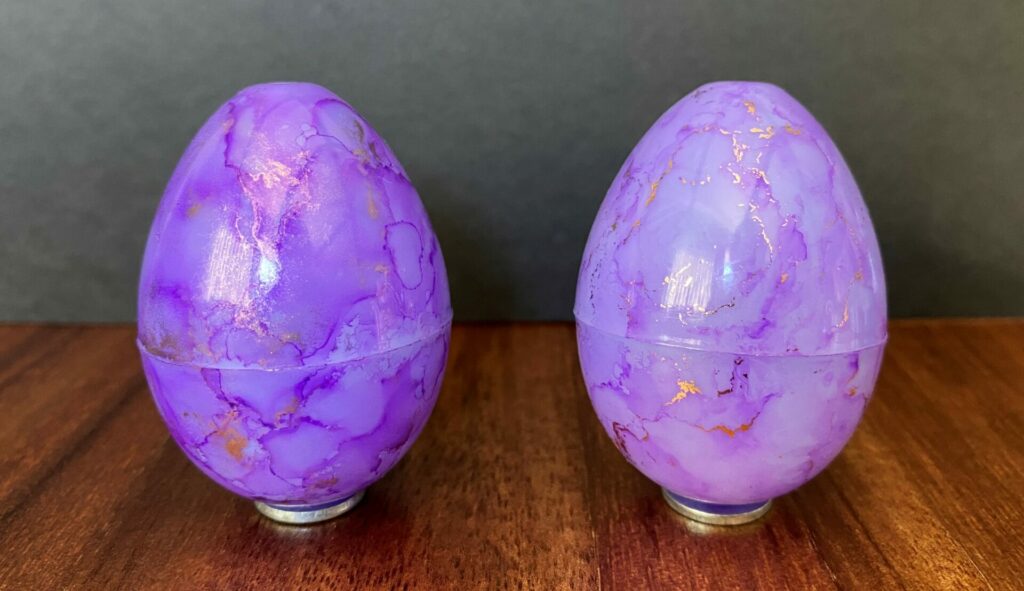
If you enjoyed making these foiled marble Easter eggs, you might want to check out another one of my alcohol ink tutorials called Marbled Alloy Easter Eggs. This tutorial follows mostly the same steps, but instead of using foil, I used alloy alcohol ink. In the examples below, the foiled egg is on the right and the alloy alcohol ink egg is on the left.
If you’re interested in even more Easter themed tutorials, you can find them here.